Thinking of You …

Hello Stampin’ Friends ~

I hope you enjoyed your Valentine’s day … I spent mine with my great grandson ❤ so nice!

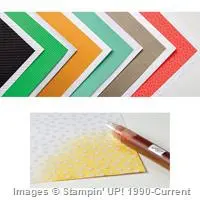
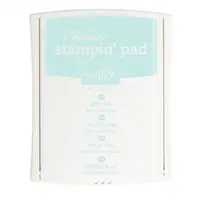
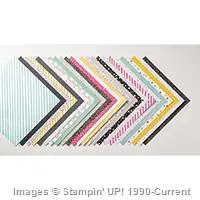
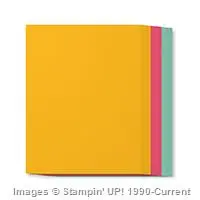
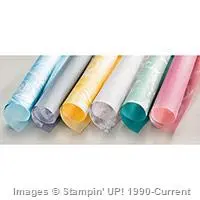
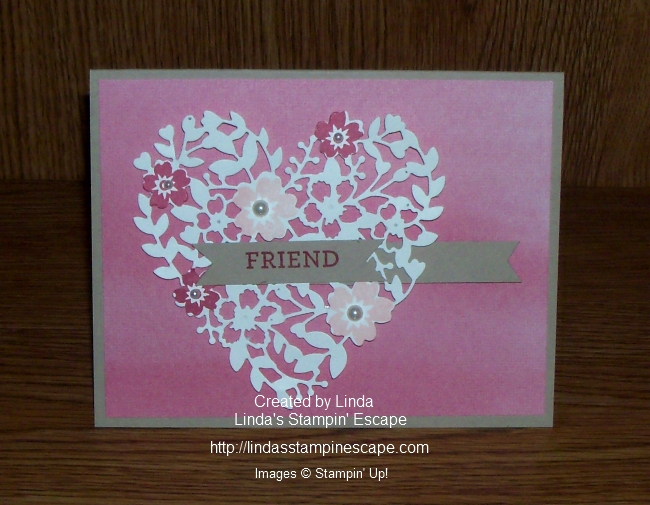
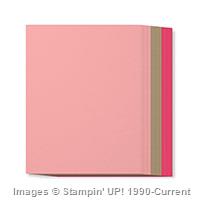
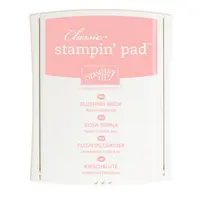
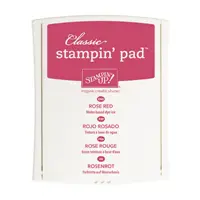
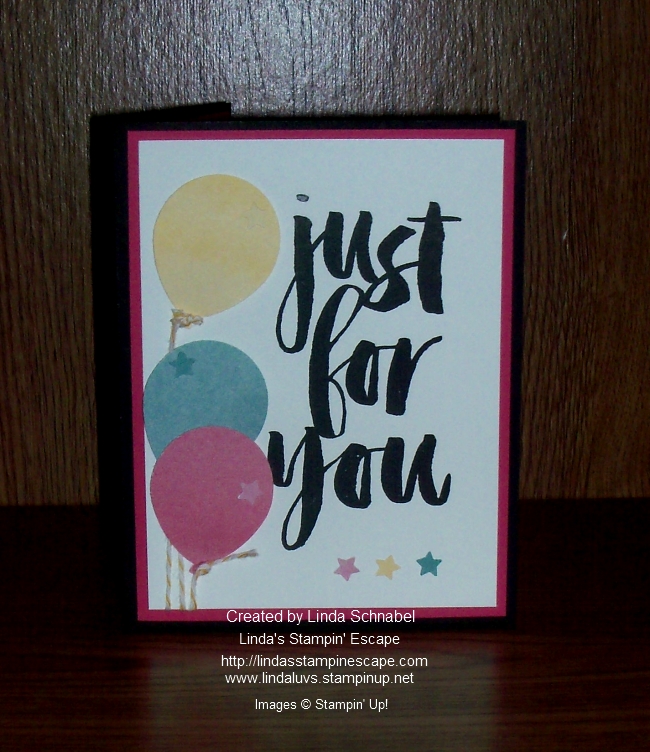
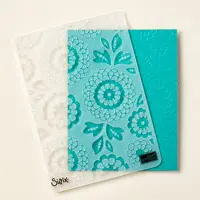
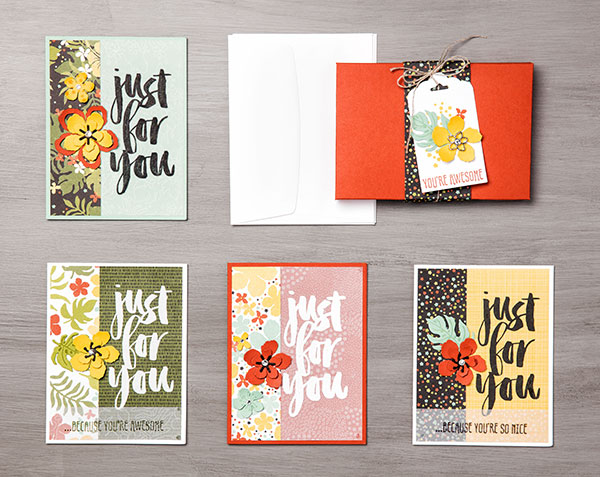
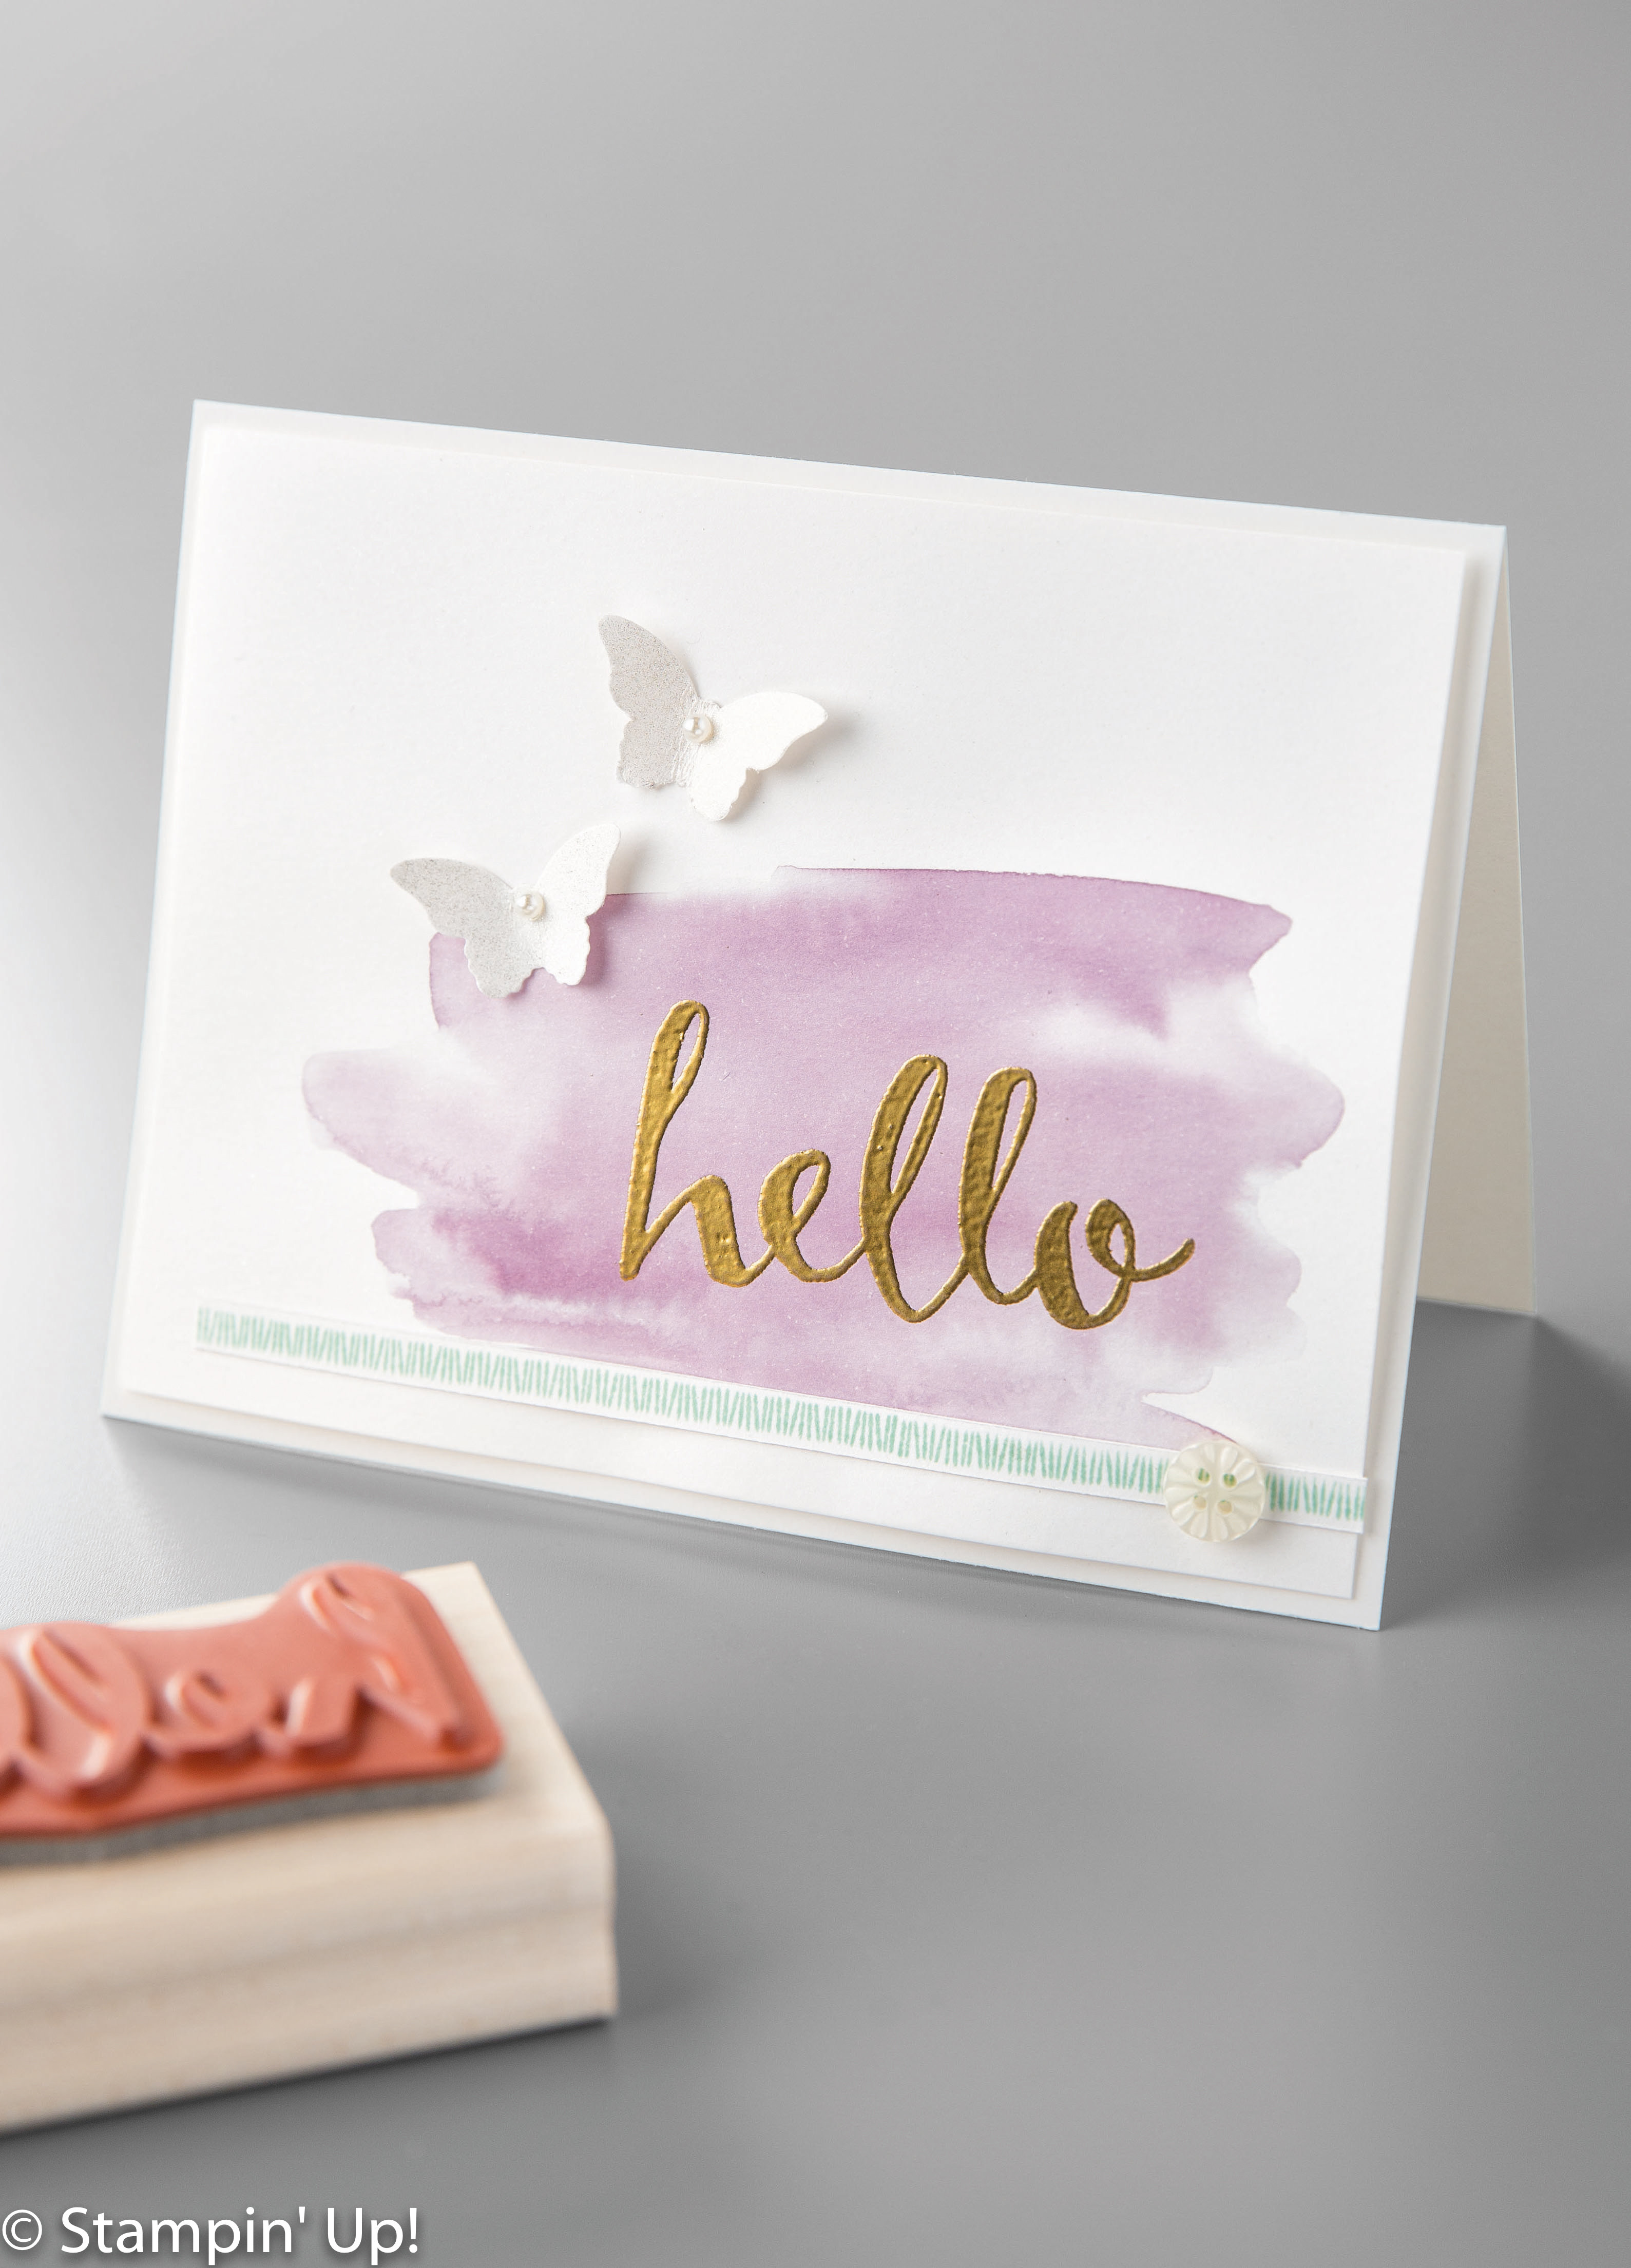
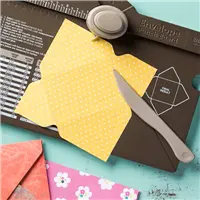
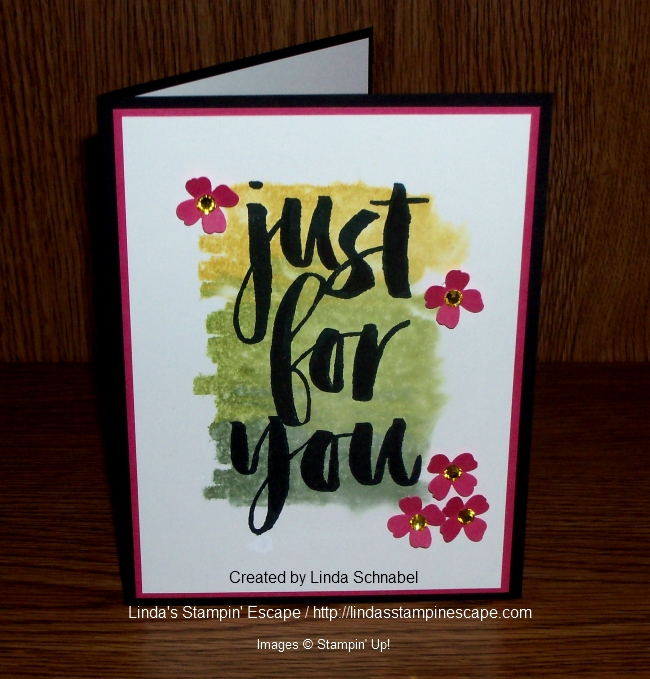
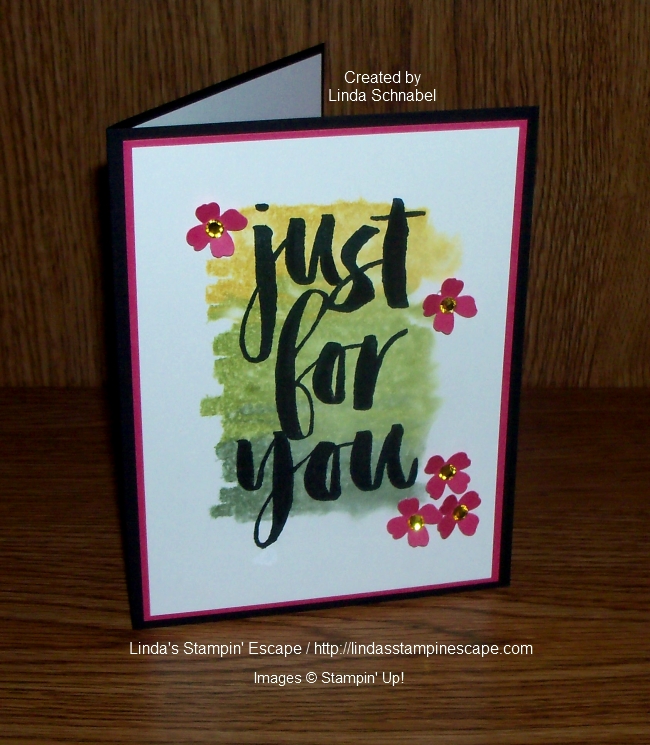
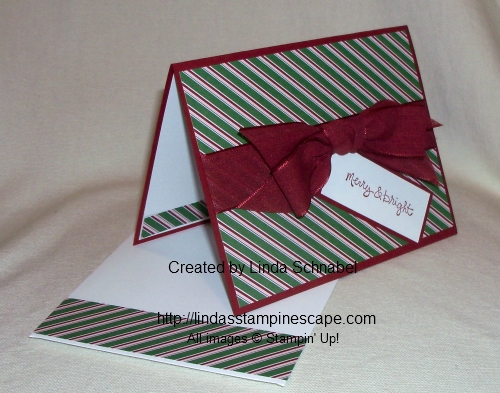
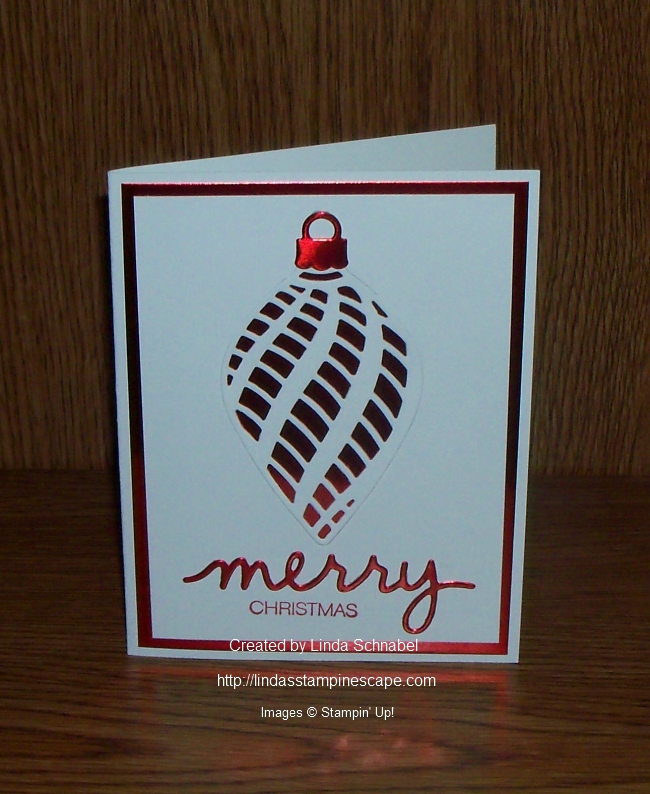
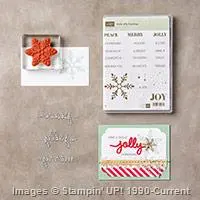
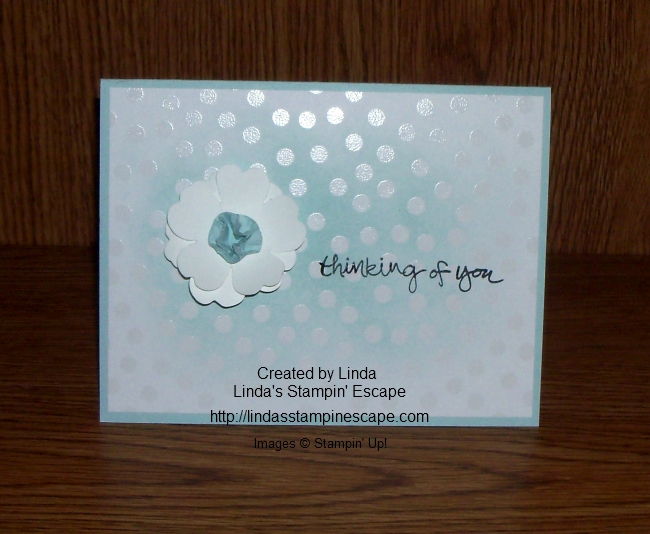
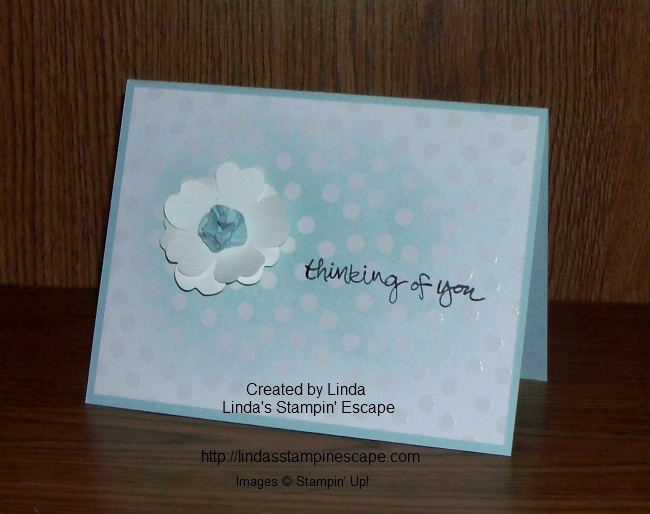
Today I’d like to share a card with you that you can easily recreate and send off to your friends. It starts with the “Color Me Irresistible” Designer Series paper. My base card is Soft Sky as is the ink I sponged onto the card front.

000_3145

The “Color Me Irresistible” Designer Series paper takes the work of the “Resist” technique out of your hands so all you have to do is add the color … easy peasy!

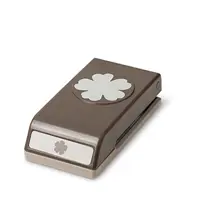
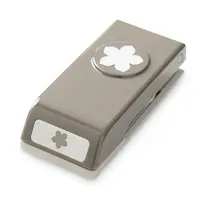
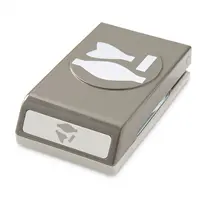
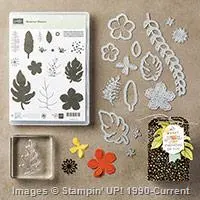
Once that was done I punched two flowers from the “Pansy” punch … I curved the petals on the bottom flower down, and the petals on the top flower up. This gave my card much dimension.

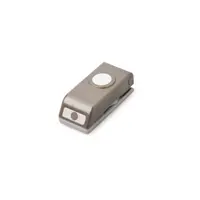
The Soft Sky center was punched from the 1/2″ punch, then crumpled and pulled apart, and re-crumbled to create the center you see on my flower.

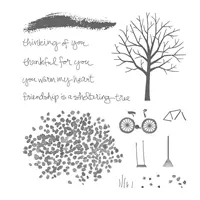
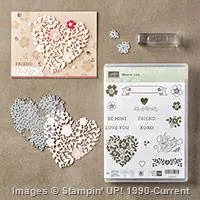
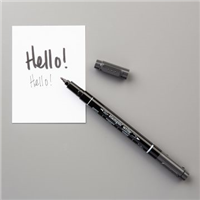
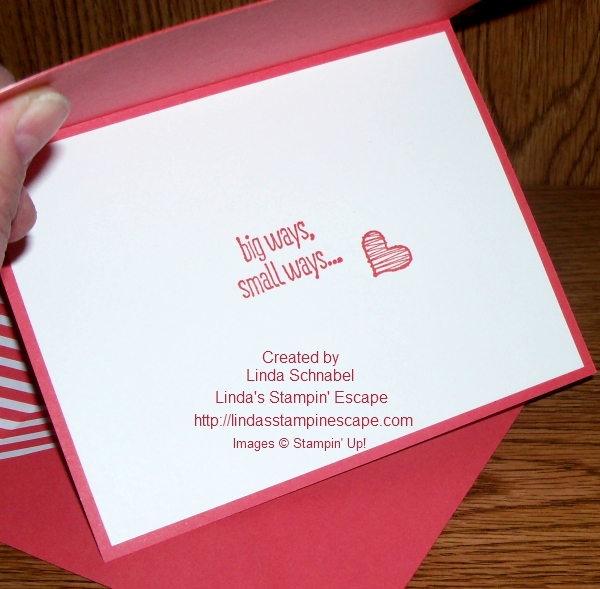
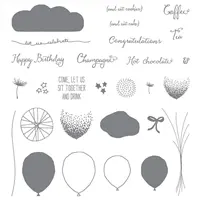
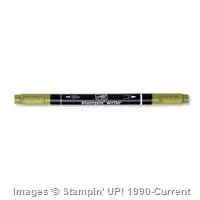
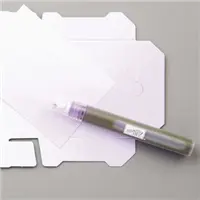
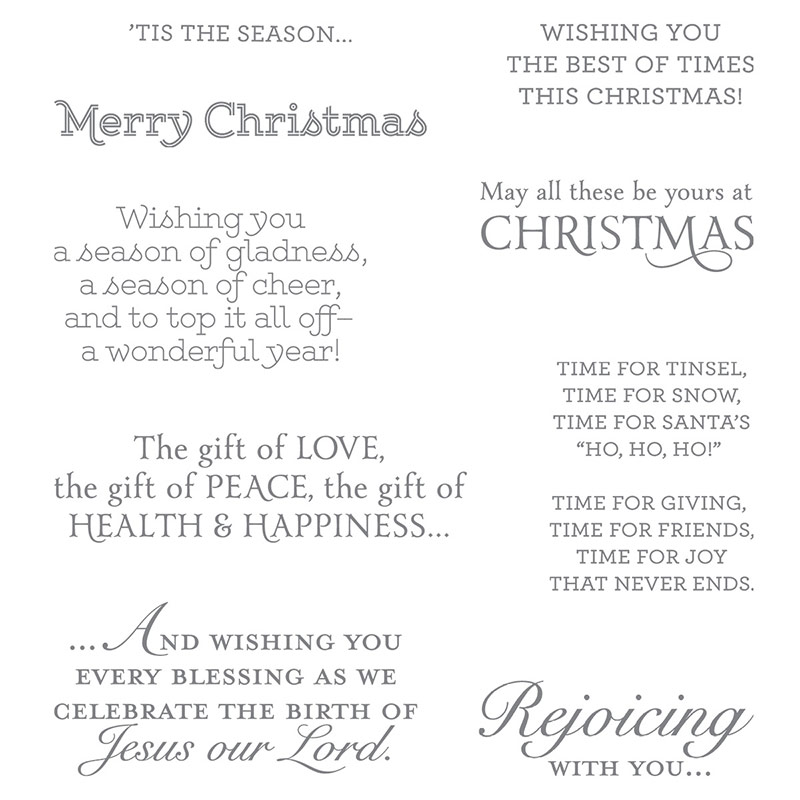
My greeting comes from the “Sheltering Tree” stamp set, and I stamped it with StazOn so it would cover the “resist” dots … other inks would resist, leaving your greeting spoty.

000_3143

I actually CASEd (Copy And Share Everything) this card from our very own Stampin’ Success magazine. (From Stampin’ Up! for their demonstrators) … another one of the lovely perks we enjoy as demonstrators.

You should think of joining us … we have a great group. Tomorrow I will share a few of our swap cards along with the Weekly Deals.

Till then … Enjoy your day.

blog-closing-small

TODAY’S STAMPIN’ SUPPLY LIST …


You Have My Heart Valentine

Hello Stampin’ Friends,

Today’s Simply Sunday is a card I created using the 2015 January Paper Pumpkin Kits… one of my all time favorites! It was super simple to put together as all these fabulous components are found in the kit … the refill is still available.

All I added to my Valentine’s card is cardstock! Whisper White is my base and makes the the focal point (the heart) really stand out. The Real Red was embossed with the “Happy Heart” textured embossing folder from the occasions catalog.

000_1945

The tag, clip, bakers twine, heart, banners are included in the refill kit. To join in on all the fun … you just need to sign up for Paper Pumpkin. As a subscriber, you receive a pretty package packed with fun every month. You can put it on hold while your away, or just subscribe for a determined length of time.

CLICK HERE to View the Options

3-Month Prepaid Subscription (137859) $59.85 $55
Save on a 3-month prepaid subscription and instantly qualify for a FREE Sale-A-Bration item!

As a special perk for Paper Pumpkin subscribers, Stampin’ Up! offers a selection of past kits and refill kits for purchase, while supplies last. We just added new kits to the offering. Click here to learn more and visit the Online Store to shop.

You can always contact me: lindaluvs2stamp@aol.com to answer any questions you may have.

Thanks for stopping back, and be sure to come back again tomorrow … I have another Valentine’s Day project from my Paper Pumpkin kit!

Have a wonderful day ~

blog-closing-small

Time to Celebrate!

Hello Stampin’ Friends ~

It’s time to celebrate birthdays!! Today I’m going to share a FUN card created with the “Party with Cake” and “Party Pop-Up” bundle. It is really easy to use and I have some great tips to add a pop of color without a mess.

My club members did cards similar to this one, and I’m hosting a class on February 25th to showcase all the things you can do with this fun, fun bundle. You’ll find full details in my events page.

First let me show you the card ….

000_3138

Start with the “It’s My Party” Designer Series Paper … you can make endless cards with this paper stack, combine that with the “It’s My Party” cardstock pack and your ready to go!!

For our greeting … I omitted the “with cake” by putting a post-it note over it before inking up the stamp, then we pulled it off so only the words we wanted were inked.

Next, I took my “Perfectly Artistic” Designer Paper (ends Monday) from our Sale-a-bration catalog to make our balloons. I love our balloon punch with 2 sizes of balloon. (Also bundles with the Balloon Celebration Stamp Set) We tied a knot in our White Bakers Twine and attached it to the balloon with a “rolled up” glue dot!

Ahhhh … Let’s get to the inside and make this card REALLY POP!

000_3141

How fun is this! And it’s really simple to do.  Fold your cardstock in half and use the crease to align your die – there are tabs on the die that you align with the crease.  I used the “Precision Base Plate” to use with my dies … then used the “Big Shot Die Brush” which helps the paper release from the dies.  I LOVE IT!!!

Here’s a great tip for coloring your die cut …

000_3128

Slide a post-it note behind your cut out and one over it …

000_3131

This simple technique allows you to color your pop up dies without getting ink all over everything else!

000_3142

Your birthday person who receives this card will love the surprise inside! This is just one of the two dies in this bundle. I have listed the items needed to make this card, click on any of the items to get the details .

000_3138

Thank you for checking out my blog today, hope you enjoyed the card and the stampin’ tips! I’d love to hear what you think … feel free to post your comments below.

Have a Fabulous Friday!

blog-closing-small

TODAY’S STAMPIN’ SUPPLY LIST …

Happy Valentine’s Day … Friend

Hello Stampin’ Friends ~

As promised I have a card for you, using the Perfectly Artistic Designer Series Paper.  I teamed it up with the “Bloomin’ Love” stamp set and “Bloomin’ Hearts” Thinlits Die.

A perfectly quick -n- cute card for anyone who did not know that Valentine’s Day is only in 3 more days! Managing a Candy store … I don’t forget these dates! lol

I began with a Crumb Cake base and then added my “Perfectly Artistic” Designer Series Paper.  The heart maybe the focal point but the beautiful watercolor background just adds a soft touch to the card.

000_3125

I used the “Thick Whisper White” Cardstock because it holds up so nicely with all the intricate cuts – not all bendy and floppy! I then stamped the flowers with Rose Red and Blushing Bride.

The banner was created with the Triple Banner Punch and stamped “friend” on it.  There is one banner on top of the heart and another underneath it … just to add a bit more dimension.

To complete my card I added a few pearls and popped up the heart with Stampin’ Dimensionals … Sweet, Simple and complete.

I appreciate you stopping in today ~

Hope your day is a good one.

blog-closing-small

TODAY’S STAMPIN’ SUPPLY LIST …


Just for You … Happy Birthday!

Hello Stampin’ Friends ~

Today I have a quick -n- cute card for you created with our Balloon Bouquet Punch and a couple of our Sale-a-bration items: Botanicals for You and the Perfectly Artistic Designer Series Paper.

I wanted my card to make a bold statement so I knew I would be stamping the greeting in black, therefore my card base would also be black. To give it that extra “wow” … I chose the Melon Mambo as my contrasting color, based off of my 3 balloons: Melon Mambo, Bermuda Bay & Crushed Curry.

000_3090

If you wanted to create this card for a boy, you could easily swap out the Melon Mambo for the Bermuda Bay … the Perfectly Artistic Designer Series Paper had 12 different colors, depending on what side of the paper you choose.

I used the Crushed Curry Bakers Twine to tie down my balloons! Here’s a quick tip … Instead of trying to tie a knot around the actual balloon, just tie a quick knot at the end of your Bakers Twine, then roll up a glue dot to attach it to your balloon. So Easy! Then we just tucked the ends under the Whisper White before mounting the front to the base of the card.

000_3093

You can’t forget about the inside … plus, you have all the smaller balloons! We simply attached them with your snail adhesive and then we drew our ties with a Black marker.

000_3094

To add a bit more fun to our card, we punched stars from the “Confetti Stars Punch” and attached them to highlight the greeting and the balloons with the “Fine-tip Glue Pen”. I think it just adds the right touch off added color to finish off the card.

000_3090

DON’T FORGET … Our Perfectly Artistic Designer Series Paper is one of the “Limited Time” items can is only available through February 15th.

Hope you enjoyed our celebration of a “Just for You” birthday card. I have two little grandsons that would love this card, so off I go to swap out some colors and stamp them a card.

Thank you so much for joining me today …

Have an awesome Friday!

blog-closing-small

TODAY’S STAMPIN’ SUPPLY LIST …

…BECAUSE YOU’RE AWESOME

Hello Stampin’ Friends ~

Today I’d like to share a cute card that you can whip up with just a couple of punches and a fun embossing folder! Easy right! Cute too!

000_3069

Those of you who have stamped with me for a while, know that I love to layer color on color … today it’s white. Layers on a card just add that extra touch … a little more love. The first thing I did once I decided to do the white on white, was emboss the top layer with the “Lovely Lace” embossing folder.

I like to combine my punches to create even more layering – it adds depth and dimension to the card. Here is used the “Petite Petals” punch on the Wild Wasabi, Rose Red and Island Indigo cardstock… this flower is the perfect size to highlight so many other stamp sets and projects.

I then added the little white flower – punched from the “Itty Bitty Accents” Punch Pack and topped it off with a rhinestone. I liked it … but wanted a bit more color so I added a mat in Rose Red and White – that really popped my flowers.

000_3066

Awe … and you couldn’t find a better greeting to send some flowers to a friend than “because you’re awesome”.  This comes from the Sale-a-bration stamp set “Botanicals for You”. You can get this stamp set for free with a qualifying order of $50 (before shipping & handling).

I did hand cut my banner ends but you could easily use the “Triple Banner” punch. I use it all the time except when I let my sister use it to complete the extra packets of cards from my Catalog party.

Hope this quick -n- cute card inspires you to whip up a few cards for yourself.  Have fun and enjoy your weekend!

Thanks so much for joining me today.

blog-closing-small

TODAY’S STAMPIN’ SUPPLY LIST …


Beautiful Botanicals …

Hello Stampin’ Friends ~

Today I’m going to share with you a group of cards that were created at the Stampin’ Up! home office with the beautiful Botanicals collection! I “LOVE” this suite of products … I makes me think of warm exotic locations…. like Hawaii, Panama, the Caribbean (just some of the places I have gone courtesy of Stampin’ Up! and you!)

Header_SAB_demo_Nov1615_NA

During Stampin’ Up!’s annual Sale-A-Bration event, you earn FREE Sale-A-Bration rewards for every $50 you spend on Stampin’ Up! products, including the very diverse Botanicals for You Stamp Set and Botanical Gardens Designer Vellum Stack—two of our favorite Sale-A-Bration products!

SW_JustForYou_SABPoW_012616

One of the things that makes these products so cool is that they coordinate perfectly with the Botanical Gardens Suite from the 2016 Occasions catalog. Arrange all of these products together in a semi-organized way and you’ll come out with a set of four fantastic cards, as well as a nifty card holder. Life is good during Sale-A-Bration! Contact me lindaluvs2stamp@aol.com anytime before March 31st to learn how you can get your hands on these tropically-themed products.

Thank you for poppin’ in on me today …

Hoping your day is a beautiful one.

blog-closing-small


Hello … The Sky is the Limit

Hello Stampin’ Friends ~

I hope you have time to enjoy a wonderful weekend! We were busy cutting and packaging all the make & takes for the New Catalogs Kick-Off party.  Today I’ll be doing the baking … can’t wait for my guests to see the cards!!

Today I want to share a couple of cards created by Stampin’ Up! and to remind you these awesome stamp sets are only available through January 15th … they are our Sale-a-bration items and you can earn them FREE!

US_AU_EU_16_SAB_Demo_Images-4

Whether our Sale-A-Bration event is brand new for you, or this is your umpteenth year Sale-A-Brating,  here’s some information that will help you enjoy this exciting annual event.

Header_SAB_demo_Nov1615_NA

What Is Sale-A-Bration?

Sale-A-Bration is an annual promotion event where you can participate three different ways:

  • Shop: for every $50 your customers spend, they’ll get a FREE exclusive Sale-A-Bration reward-they’ll get to choose from several brand-new products that are available only during Sale-A-Bration!
  • Join: When customers join Stampin’ Up! as a demonstrator during Sale-A-Bration, they get to choose an additional $30 worth of product for their starter kit-that’s $155 of products for only $99!
  • Host: when customers host a stamping party during Sale-A-Bration, they’re eligible to receive extra Stampin’ Rewards-up to $25 more that they can use on any Stampin’ Up! products!

The products offered January 5 through February 15th are the “Sky is the Limit” …

US_AU_EU_16_SAB_Demo_Images-21

I love this stamp set, we’re always looking for man cards and this one fits the bill … and I think it’s a pretty cool set for a graduation as well.  You can coordinate this stamp set with “Going Global” from the Occasions Catalog or “Traveler” from the annual catalog.

US_AU_EU_16_SAB_Demo_Images-8


The other stamp set offer for a Limited Time is the “HELLO” stamp set …US_AU_EU_16_SAB_Demo_Images-23

This stamp set is perfect for quick and easy cards!  A little watercoloring and some butterfly punches and you have a beautiful card.

US_AU_EU_16_SAB_Demo_Images-25

How sweet and simple is this!  You can always step it up by adding some designer paper … that will really make the card pop all while keeping it simple.

In fact, our beautiful “Perfectly Artistic” Designer paper is also on the Limited time products, and you can see it here on these two projects.

US_AU_EU_16_SAB_Demo_Images-7

Hope you enjoyed a closer look at our Limited Time products … time is going quickly so if you are interested in getting any of these items, feel free to contact me.  lindaluvs2stamp@aol.com  You can begin your shopping experience by clicking here.

DOREEN … Congratulations on WINNING the Blog Candy.  Please notify me by WEDNESDAY with your information so I can send it to you. 

Send Info to: lindaluvs2stamp@aol.com

Thank you for coming by today …

Hope your day is a good one!

blog-closing-small

Birthday Balloons …

Hello Stampin’ Friends ~

Today I want to share with you a card that I have “stepped up” from the Simply Sunday card I posted …

000_2991

On Sunday’s card I stamped a single balloon, today’s card we have multiple balloons. This is done by the “Masking Technique”.

Here are the step by step instructions …

1]   Stamp image on card stock.

2]   Stamp it again on a piece of scratch paper.

3]   Cut carefully around the scratch paper image, cutting just inside the lines; this will be your mask.

4]   Place the mask on top of the card stock image.

5]   Stamp another image over a portion of the mask to create layered, interacting images.

6]   Remove the mask to see the finished look.

7]   To stamp a partial image, use tape to cover the part of the stamp you don’t want to appear, ink the stamp, remove the tape, and stamp the image.

QUICK TIP
To ensure that the mask stays in place, stamp image on a Post-It® note.

Here is my “Stepped Up” card using the Masking Technique …

000_3025

When you stamp your secondary balloons – you go over the first, your mask will cover (protect) the first balloon. Your secondary balloons will appear as if they are behind the first one!  It’s so cool and so easy to do.

Just like the first card, I used the “Party Wishes” stamp set and the “It’s My Party” Designer Series Paper Stack. I added highlights to the balloons using the “Chalk Pen” and then covered the balloons with Crystal Effects.

I used the Bow Builder punch to get the cute little edges on my birthday banner. Just because it’s a punch to create bows … don’t let that stop you from finding other ways to use it!!

Hope you enjoyed today’s card … I thank you for checking it out.

Have a wonderful day today!

blog-closing-small

Today’s Stampin’ Supply List …

000_3025

Love you always!

Hello Stampin’ Friends ~

Today I would love to share with you the cute card that I made using some of the Weekly Deals. If you would like to see them again CLICK HERE.

Valentine’s Day is just around the corner and I think our “Hearts Border Punch” and “Something to Say” stamp sets are a great combination to have around! Let’s not forget the Envelope Paper … I’ve combined them all for today’s post  …

000_3005

This card is dedicated to our dear friend Alice … We loved stamping with you, your sense of humor, and your wit. You will be deeply missed, and we know there is a special angel watching over us ❤

I started with the Envelope paper because it would help determine my color pallet … I chose the “Watermelon Wonder” for my card. At this point I pulled out the “Envelope Punch Board” because I not only used the paper for my card but created a matching envelope. How fun is that!

Next I punched a strip of hearts with the “Hearts Border” punch and decided to put a strip of “Dazzling Diamonds” Glimmer paper behind it … gotta love that sparkle!

With so many greeting types in the “Something to Say” you think it would have been hard to chose from, but I was focusing on Valentine’s so the “love you always” was easy. It has a coordinating stamp “big ways, small ways” that I stamped on the inside of my card.

000_3007

The little heart also comes in the “Something to Say” stamp set and I stamped that on the front greeting and on the inside of my card. On the front I added “Crystal Effects” to my heart and then sprinkled it with some “Dazzling Diamonds” while it was still wet … LOVE that effect!!

I finished off my card with a simple bow made from the 1/4″ White Cotton Ribbon. It’s so easy to use and I keep plenty on hand because it goes with everything!

000_3005-small

Now you can see why I love our Weekly Deals this time (well, to be honest … they’re always good!)

Thank you for joining me today … I love the company!

We’re fighting some mighty cold weather here in Wisconsin … so stay warm! If you’re in one of those nice warm states … send some our way. Thanks again.

blog-closing-small

TODAY’S STAMPIN’ SUPPLY LIST … Please let me know if you need help or have questions on any of the items listed below. You may click on anyone for more details or to begin shopping.


Simply Sunday: Let Us Celebrate

Hello Stampin’ Friends ~

I hope you are having a peaceful weekend (unless your hoping for a fun packed one!).  I have had the pleasure of meeting with two of my clubs this weekend so mine was good … anytime shared with friends is a good time.

Today we are bringing it back to basics … with a focus on stamping. I am using the “Balloon Celebrations” stamp set from the Occasions Catalog. It is a two-step stamp … one in which you can use multiple stamps to layer color onto your image.

000_2991

You can see that my first stamp was the bold (solid) balloon done in Melon Mambo. Then it was stamped with the speckled (partial / detailed) stamp directly over the top – I used Melon Mambo again and stamped it twice to get a darker color. My last stamp was the line image the outside of the balloon – I chose the Black Momento pad to create more of an impact.

My greeting – the balloon string was also stamped in the Momento Ink. I punched the corners for a bit more flair and then popped it up onto the “It’s My Birthday” Designer Series paper also from the Occasions Catalog.

Only one more step to finish off my card … I added “Crystal Effects” to the balloon to make it shine! Simple, basic techniques can still make a fun, colorful card.

000_3001

The purchase of the “Balloon Celebrations” stamp set and the “It’s My Birthday” Designer Series paper Stack (48 sheets, 4 each of 12 double-sided designs) will get you a FREE Sale-a-bration Item (VIEW HERE)

Thank You for taking time out of your Sunday to stop by and visit with me. I hope you enjoyed the card and feel inspired to get back to basics and create fast and fun birthday cards!

Have an awesome day ~

blog-closing-small


TODAY’S STAMPIN’ SUPPLY LIST …


Experience the Magic …

Hello Stampin’ Friends ~

Hey, have you heard the good news? Paper Pumpkin 3-month subscriptions are on sale! Plus, you can choose a FREE Sale-A-Bration item. Win-win!

PP_SAB_2016_Header

OR … Surprise yourself every month for a year! Get a 12-month Paper Pumpkin subscription and you’ll save $2/month, get Stampin’ Rewards, and earn 4 FREE Sale-A-Bration product item! Click Here

I am absolutely blown away each month when my PAPER PUMPKIN kit arrives, and December was NO exception I couldn’t wait to put this adorable 2016 calendar project kit together!

05425ef6997859f06b085e2d9792812a

Here’s an alternative project that I came up with from my December kit ….

000_2985

(I used the the “month” stamp to create a background for my card, you can personalize a card for every month! Every occasion!  *Guy Greetings was also used to create this card)

A big benefit of being a subscriber is that you get to purchase past kit and refill kits!! If you missed a kit and it’s available, as a subscriber you can now purchase it! And if you LOVE one of the kits you received and want more … Just buy the refill!! I have done that a number of times, and used them for gifts and / or giveaways.

Here’s the August Kit (available) and an alternative project you can make for Valentines day …

000_2982

(All of the stamps used to create this card came from the August 2015 stamp set included in the Paper Pumpkin kit.  I love the script and find I use that stamp set a lot. Just one more benefit of being a Paper Pumpkin subscriber … exclusive stamp sets!)

Already A subscriber to Paper Pumpkin?   How about purchasing a subscription as a gift for a friend, spouse, child, or parent… then you’ll have a crafting buddy every month!

Never tried Paper Pumpkin? Then now is the perfect time … get a discount, grab a free Sale-A-Bration item, and get three months of papercrafting bliss!

Banner_PP_SAB_OLO_12.29.2015_USand get a FREE Sale-a-bration item too!!

Ready to Order? Click Here to begin … then set up an account

Please let me know if you have any questions about Paper Pumpkin or if you need help placing your order.

Thank you for stopping by …

Have a great day!

blog-closing-small


Sale-a-bration Teaser “Just for You”

Hello Stampin’ Friends ~

Yesterday I introduced you to the new “Botanical” bundle from the upcoming Occasions catalog… Today I’d like to show you the fabulous “Botanicals For You” stamp set in our Sale-a-bration Catalog!

This stamp set was designer to coordinate with the Botanicals bundle, and you can get it FREE when you purchase the Botanicals Bundle! (Available Jan. 4th)

000_2980

For those of you who don’t know, Sale-a-bration is our most anticipated event of the year ….

Header_SAB_demo_Nov1615_NAHere’s the deal: for every $50 you spend (before tax and shipping), you get a FREE Sale-A-Bration product. That means it’s the perfect time to purchase those products you’ve had your eye on while earning more products for free.

Note: Pages 4-15 of the Sale-A-Bration brochure show products available throughout the entire Sale-A-Bration sales period (January 5-March 31 2016); Pages 16-19 show limited-time products available only until February 15.* Watch for another batch of limited-time products coming February 16!
*Based on inventory, availability may be temporarily extended.

When you purchase the Botanicals Bundles … you qualify for a FREE Sale-a-bration item, which means you can get the “Botanicals for You” stamp set!! The cute little flower comes from th “Itty Bitty Accents” Punch Pack.

000_2978

The Technique is super simple … just scribble marker onto a clear block, spritz with water and press to your cardstock. It turns out so cool.

Want to learn a few more ways to get FREE Sale-a-bration items …

header_shophost_SAB2016_demo_ENG
Need another excuse to get together with friends? Just host a qualifying party with at least $250 in sales during Sale-A-Bration and you’ll earn $25 more Stampin’ Rewards! You can even apply your Stampin’ Rewards toward a Starter Kit and become a demonstrator yourself!

header_join_SAB2016_demo_ENG

It’s the best time of year to join Stampin’ Up! During Sale-A-Bration, you can become a demonstrator for just $99 and choose $30 more of FREE products for your Starter Kit. Plus, the kit ships for free!

Plus … you’ll be part of my “Star’s by Design” group. I host team meetings and retreats where we share ideas, laugh, and make new friends.

As always, let me know if you have a question with our Sale-a-bration event, the new Occasions catalog, or joining my team.  I’m here to help.

This is just one of many stamp sets from our Sale-a-Bration catalog… there are other products available as well … CLICK HERE TO VIEW.

000_2980

Thanks for stopping by!

Hope you have an awesome Saturday ~

blog-closing-small

Today’s Stampin’ Supply List …

Occasions & Sale-a-bration Catalog items “Available for Order” on January 4th.


Throw-back Thursday: Christmas Past

Hello Stampin’ Friends,

Today I wanted to share with you some of my favorite Christmas cards from Christmas’ past.  I’m taking cards that can still be made with a change of designer paper or so.

I’d like to start with my JOY card using the  “Wondrous Wreath” stamp set and “Wonderful Wreath” Framelits … that is where the Joy and the Bow come from. This card comes from my November 2014 files and is still current today!

000_1652-BThe wreath framelit coordinates with our new “Peaceful Wreath” in the Holiday catalogs and is still available.

This quick and easy card can also be made today with our “Star’s Framelits” and any designer paper you love, and a touch of ribbon!

000_1625

We also have some great holiday greetings sets. My favorite is the Versatile Christmas stamp set (CLICK HERE).

140392G

My tree card comes from the “Festival of Trees” stamp set and the “Tree” punch which are both still available to order.

000_1734_0001You could add any designer paper as a background to add more color. This year we have then new “Peaceful Pines” stamp set which can be bundled with the Perfect Pines Framelit Dies!

Looking for a super simple card to make? So true … some of us do not have our cards done yet, so here’s the answer … Designer Paper, a greeting and a bow!

000_1545

This card is so easy to make and will still leave quite an impression! Just think of all the beautiful designer papers in the holiday catalog.

I hope this gave you a few more ideas. The last one would work great for birthdays too!

Thank you for joining me today.

Have a wonderful day ~

blog-closing-small

STAMPIN’ SUPPLY LIST …

Easy & Elegant Christmas Card …

Hello Stampin’ Friends ~

I’m back with one of the cards that we made at our Holiday Stampin’ Retreat. This card is elegant but easy to create! What an awesome combination when making Christmas cards.

Let’s begin with the “Delicate Ornament” Thinlits Dies … I chose the longer thin one. I really like the soft swirl in the design. Whisper White cardstock was used for my base and the front of my card. Using the BigShot and the Precision Base Plate I cut out the ornament. You will save both pieces as the ornament is laid back into the cut out.

(Note: the Delicate Ornament Dies are bundled with the Embellished Ornament Stamp set ~ A great buy)

000_2913

The Red Foil Sheet is used for the mat and becomes the focal point as it makes the ornament pop! Look closely at my card … you will see that I had enough space to cut my greeting and the ornament top out of the foil before I adhered the card together. Just make sure you are not cutting into the area of the ornament.

My greeting comes from the Holly Jolly Greetings (Christmas) & Christmas Greetings (Merry) Bundle! I love using these two items together … so much you can do with it.

Wow … you’ve just finished the card! Wasn’t that easy … and it’s so pretty. I love the shine of the red foil paper. You can use either the Multipurpose Liquid glue to adhere the ornament and “merry” … however, the new Fine-Tip Glue Pen works slick on the “merry”.

000_2915

As I said, this was one of my Holiday Retreat cards, now with the new Occasions catalog out (for demonstrators now) I’m planning projects for our Spring Stampin’ Retreat. I’ve got an April date planned … make sure you’re on my mailing list to get your invitation!

Thank you so much for stopping by today.

Have a wonderful Friday!

blog-closing-small

TODAY’S STAMPIN’ SUPPLY LIST …