Hello Stampin’ Friends ~
I am excited to share a video and two cards that I created using the amazing “Blends, Alcohol & Vellum” technique! This is such a fun technique and creates amazing backgrounds where no two will look alike. The more you play with it, the more you will be hooked!!
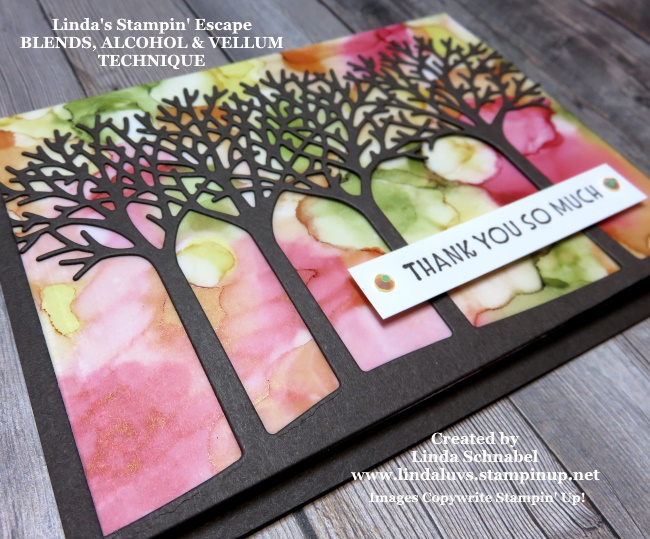
Here is the card that I created in the video, I’ll share another with you later in my post.

I have a few tips to share and then I invite you to watch the video;
- Make sure you are using 91% (or higher) Isopropyl Alcohol … the 70% will not work properly.
- Your room should be well ventilated due to the Alcohol
- A paint brush works great, or you could try your old Aqua Painters. (I like the stability of the brush)
- Have paper towel or something to clean your brush off with and absorb excess alcohol on your brush.
- Pick colors that coordinate well together as some combinations may get muddy… But have fun experimenting!
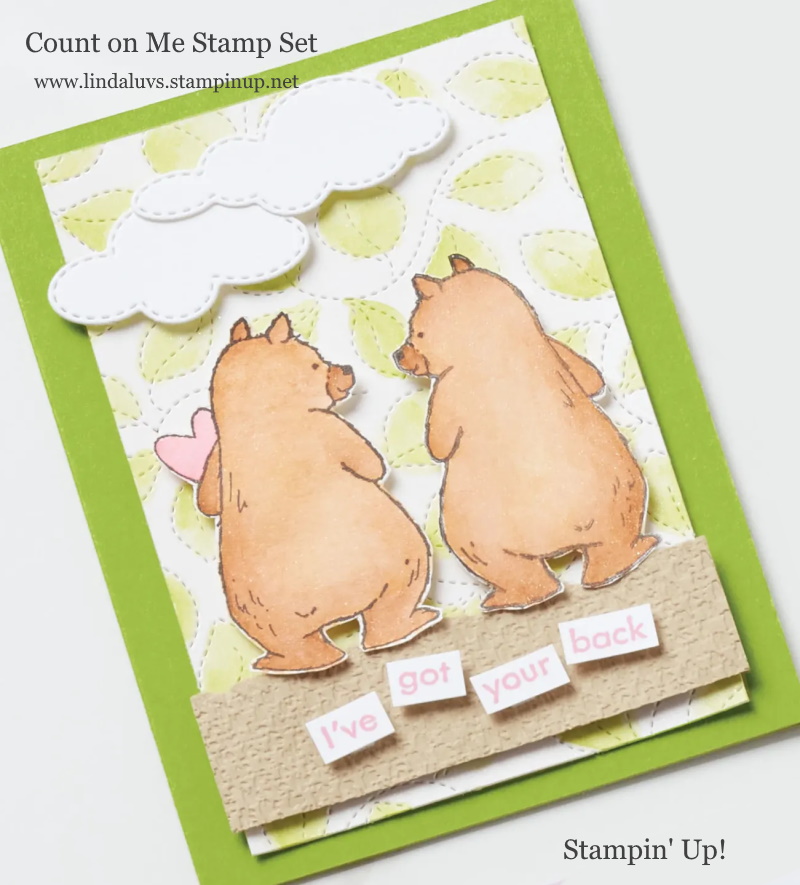
I had so much fun sharing this technique last night with my stampin’ friends, that I made even more backgrounds!! I was playing around with some color combinations and thought of a sunset, so I layered my colors and this is what developed …

Cool … right!! I made this card just like the one in the video. My Stampin’ Blends colors were: (from the bottom up) Dark Night of Navy, Dark Highland Heather, Dark Calypso Coral, Dark Daffodil Delight and Dark Balmy Blue.
I added a big patch of the Daffodil Delight to create the “sun” area … and once that was created, I used a circular candle holder to trace a circle in that area – wow, doesn’t that look cool!? I also dropped my trees lower, so I had to cut off the bottom, trim the trunks and then glue to bottom back on.
This technique creates such unique background which gives such depth to the card, and then our trees and some really nice texture. Both of these cards were so much fun to create, and I can’t wait to send them out, or give them away as one of my door prizes!!
If you really enjoyed this technique, be sure to join me on my Linda’s Stampin’ Escape Facebook page next Tuesday, the 20th of July as I take this technique to another level … so excited to share this with you!!
And, I’d like to invite you to join me this Thursday for a sneak peek …

I want to “Thank you” for spending time with me today, to check out my cards and my video! I’d love to know what you think of this technique, and what colors would you use?
Have a fun and creative day ~

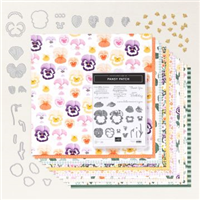
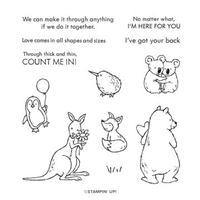
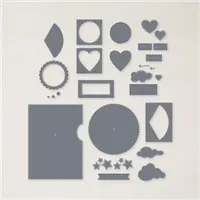
TODAY’S STAMPIN’ SUPPLY LIST … If you liked the products used in today’s projects, I have links for you below. Just click on the item you would like more information on, or to begin your shopping. It will take you directly to my website. Thank you ♥