Hello Stampin’ Friends,
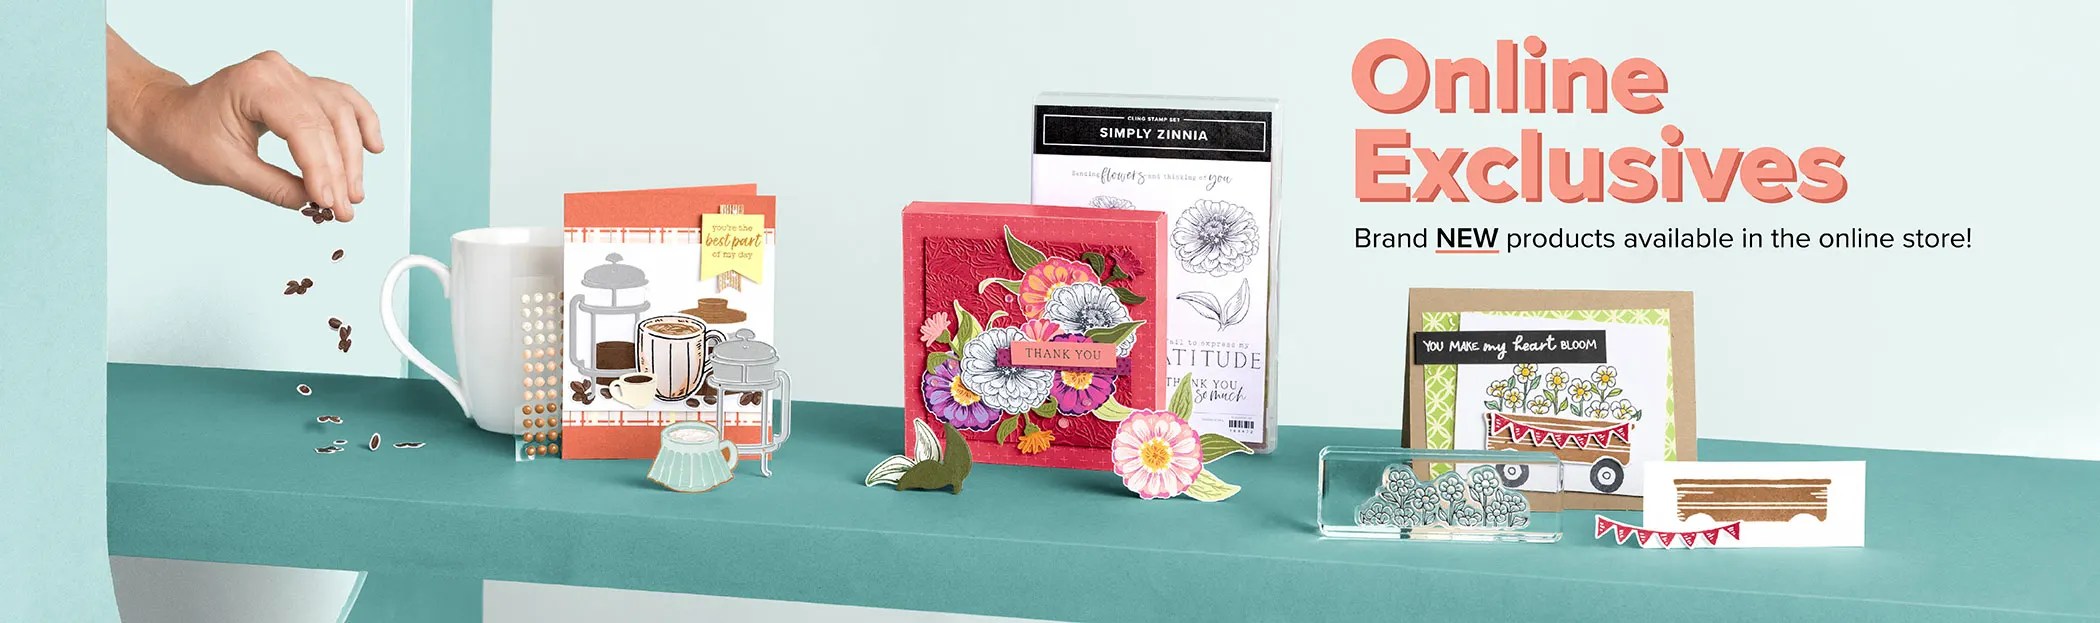
I’d like you to check out these Online Exclusive products that have been released, and let me tell you, it’s today’s product share you won’t want to miss. Today, I’m excited to share with you the dazzling and delightful Flowering Zinnias Suite Collection.
To give you an inside look at this stunning suite, Stampin’ Up! has prepared a special treat for you. Our amazing staff from the product and concept art departments have come together to create a captivating video, walking you through each component of the Flowering Zinnias Suite. From the intricate details of the stamp set to the coordinating dies and embellishments, you’ll get to see it all up close and personal.
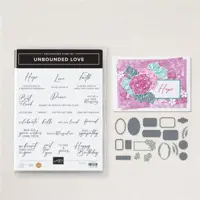
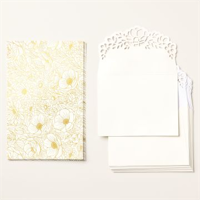
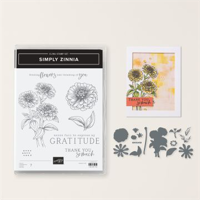
At the heart of this collection lies the mesmerizing Simply Zinnia Stamp Set, which is bursting with lush florals and beautifully etched designs. But that’s not all – this set also includes sentiments of thanks, making it perfect for expressing gratitude and spreading joy in your papercrafting projects.

But let’s talk about what makes the Simply Zinnia Stamp Set truly special. These zinnia blooms are not your average florals – they exude elegance and grace with every stroke of the stamp. Whether you’re creating handmade cards, scrapbook layouts, or home décor pieces, these blooms will add a touch of beauty to your projects. (The difference in the color of the flowers indicates a coordinating die)
And let’s not forget about those sentiments of thanks. In a world where expressing gratitude is more important than ever, these heartfelt messages will serve as the perfect finishing touch to your projects. Whether you’re thanking a friend, a family member, or a frontline hero, these sentiments will convey your appreciation in the most heartfelt way possible.

So, if you’re ready to elevate your papercrafting game and infuse your projects with the beauty of zinnias, then look no further than the Flowering Zinnias Suite Collection. With its exquisite designs and endless creative possibilities, this collection is sure to inspire you to create something truly magical.

Head over to my Online Store now to get your hands on the Flowering Zinnias bundle and coordinating product before they’re gone. (The embellishments are currently unavailable) or you can shop by clicking the links below. Trust me, you won’t want to miss out on this blooming beauty!
Happy crafting, and may your days be filled with joy, creativity, and lots of zinnia-inspired magic!


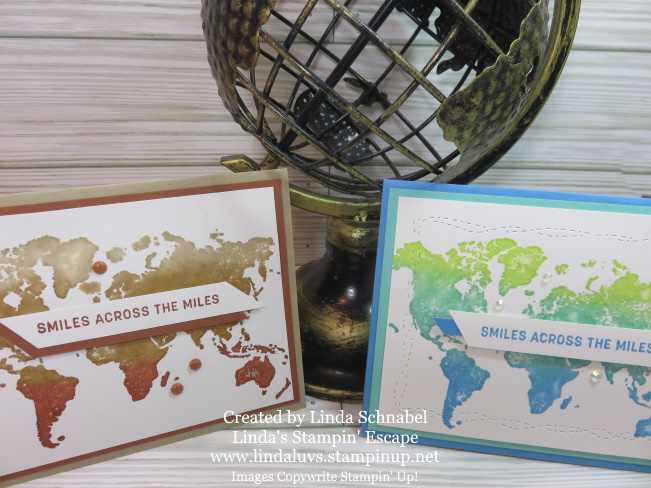
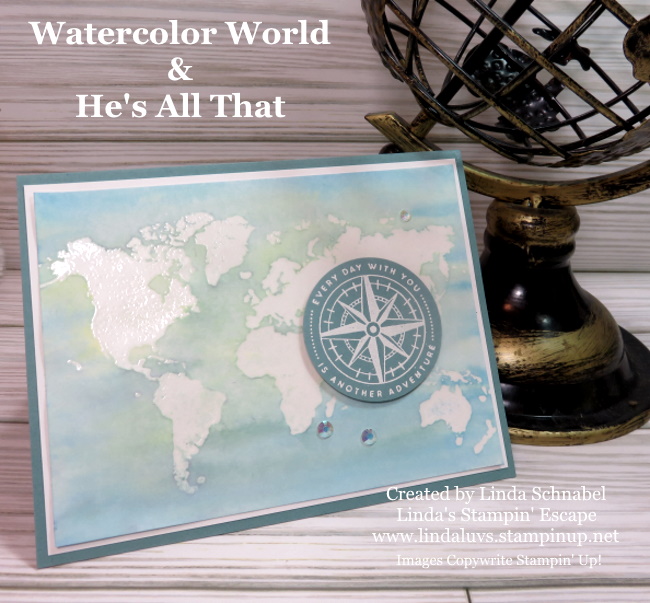
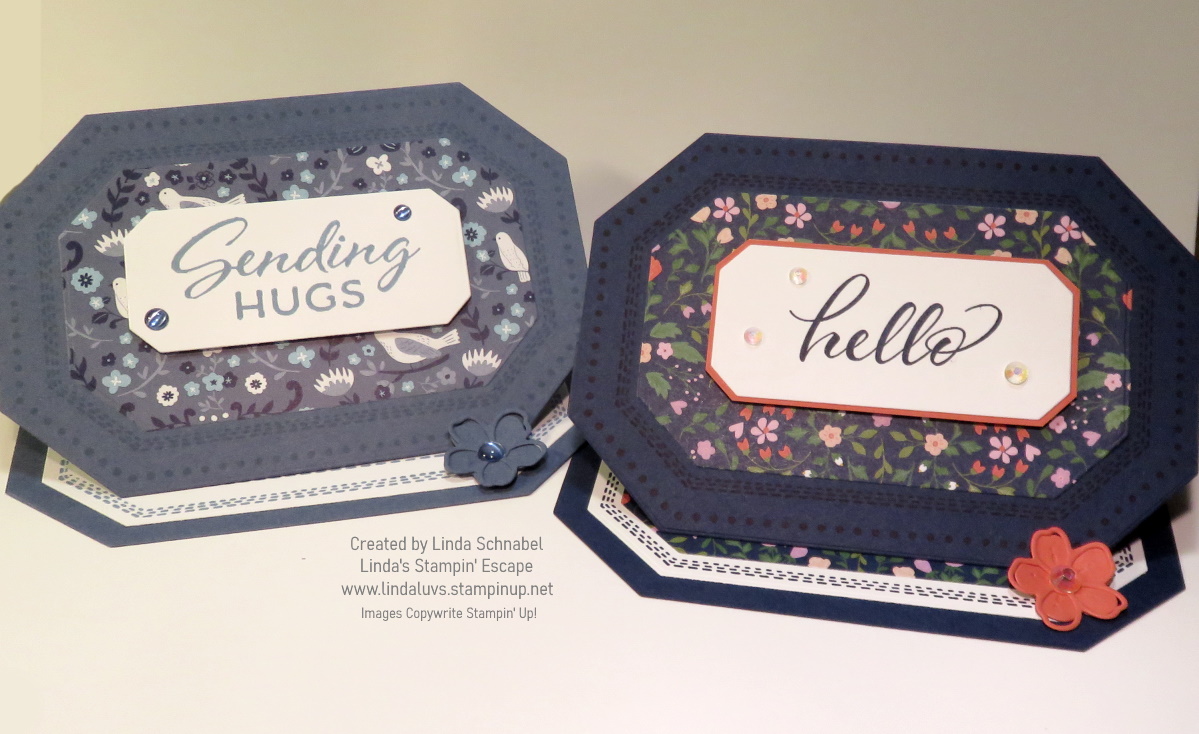
Cards shown here today are designed and copywrite Stampin’ Up!