Book Binder Fun Fold: Two Layouts

Hello Stampin’ Friends ~

I am thrilled to share this Quick & Easy Fun Fold with you today. Super simple to make yet it adds a fun twist to your cards. I demonstrated two different layouts in my video (a replay of last nights Facebook LIVE) and then I’ll have another layout that you can create as well.

Let’s take a look at the video now …

Book Binder Fun Fold … Super Simple!

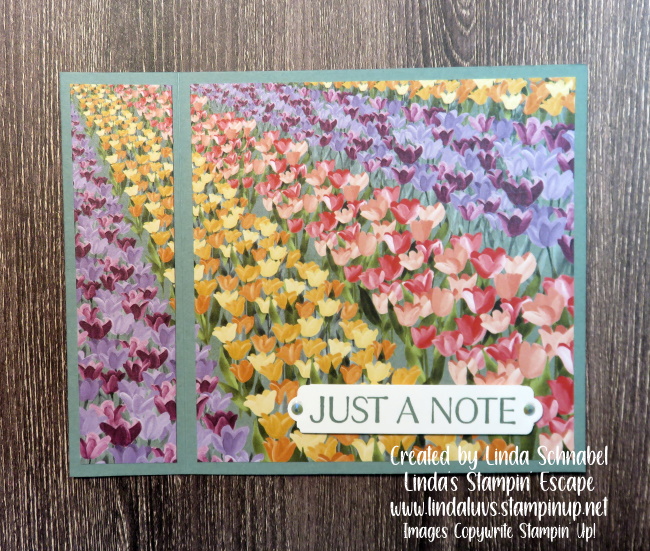
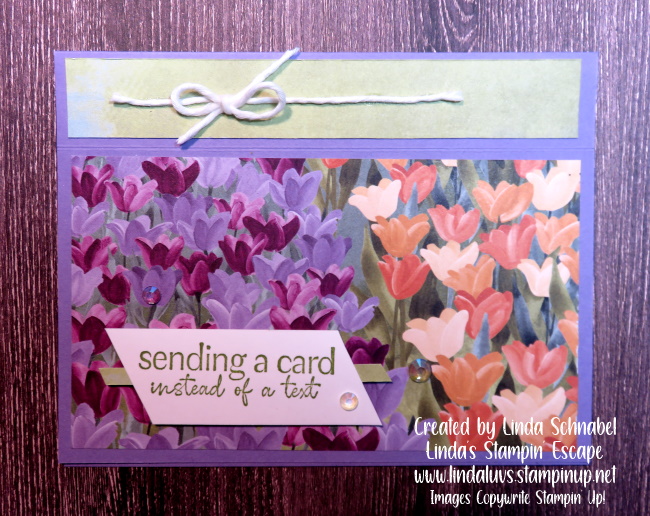
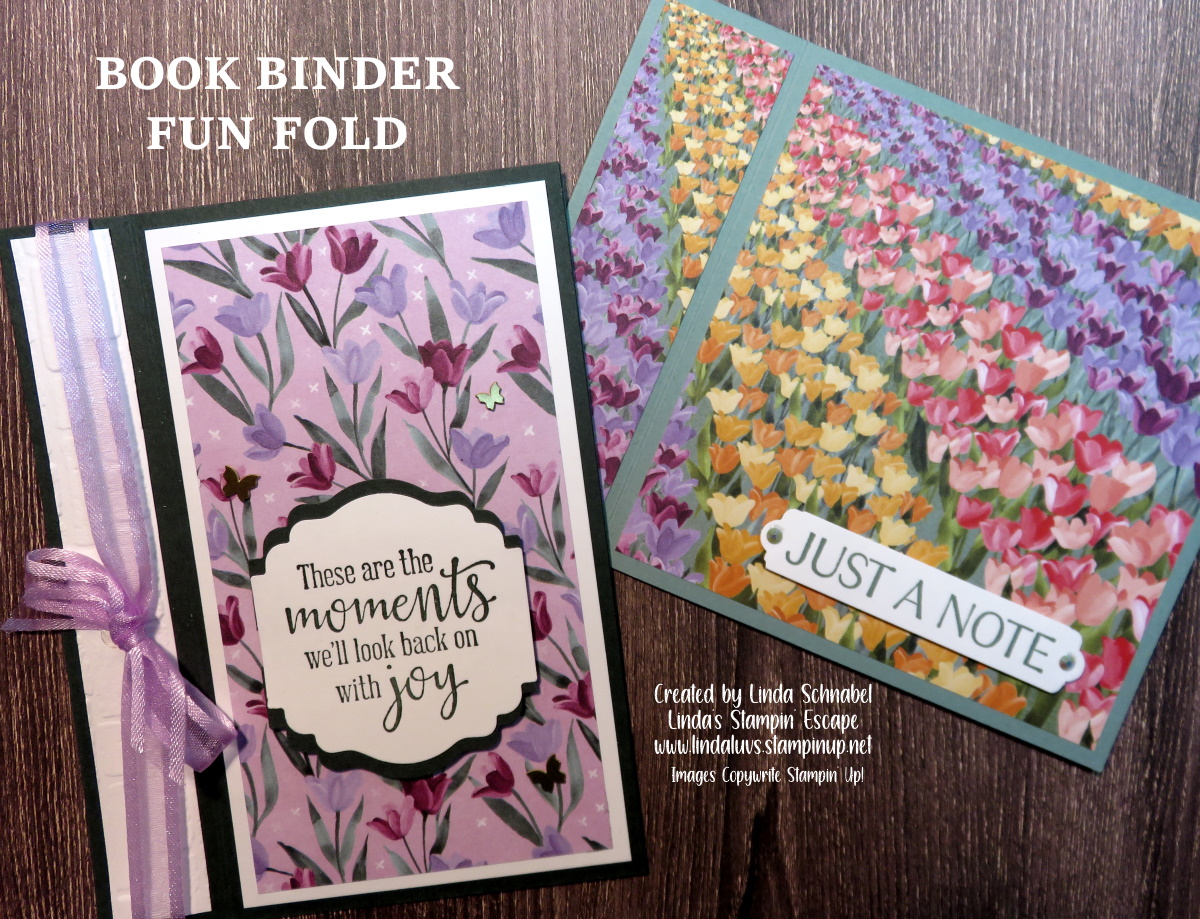
HORIZONTAL PROFILE (Above) How It’s Made  

  • Cut a 4-1/4 x 11″ piece of Soft Succulent cardstock for the card base. Score at 5-1/2 and 4-1/4.  Crease folds and add adhesive to the inside of the two scored lines.  The 4-1/4″ score line should be facing out on the front of the card. 
  • Cut a 4 x 4″ piece of Designer Paper (or cardstock) and adhere to card front. 
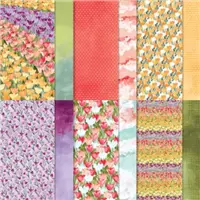
  • Cut a 1″ x 4″ strip from the tulip design designer series paper and adhere to the left side margin on the card front.

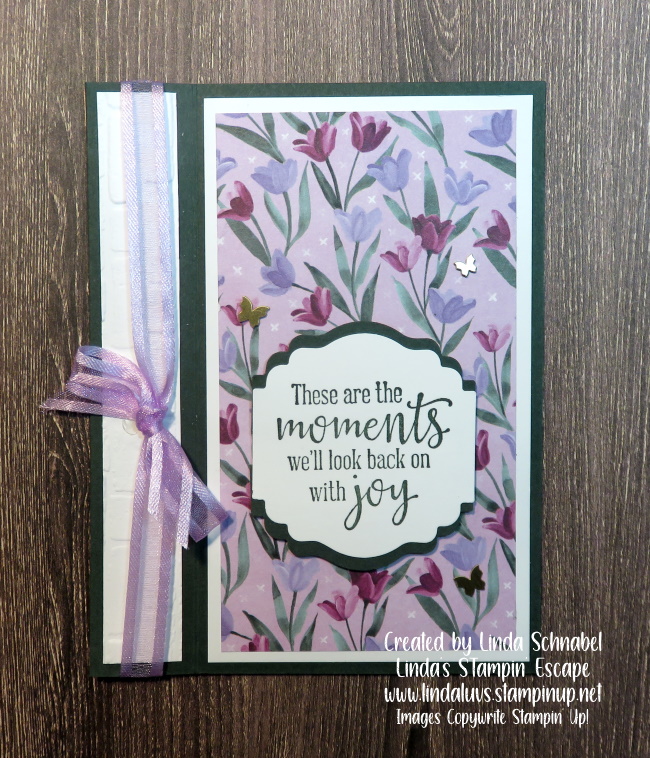
PORTRAIT PROFILE (Above) How It’s Made  

  • Cut a 5-1/2 x 8-1/2″ piece of Evening Evergreen cardstock for the card base. Score at 4-1/4” and 5-1/4”.  Crease folds and add adhesive to the inside of the two scored lines… You can add your ribbon at this time.
  • To layer card front; cut Basic White 5-1/4” x 3” (Cut 2: one for inside and one for mat on front)  Cut Designer paper to 5” x 2-3/4” to layer on top of white.
  • Binder area is cut in Basic White at 5-1/4” x 3/4” and I embossed with “Brick” embossing folder for some texture.

Cool … right! Now, let me share another layout you can use when creating the Book Binder Fun Fold. It’s another portrait however the card stock is cut at the usual 8-1/2″ x 5-1/2″ and it is scored at the 4-1/4″ and 5-1/4″ … now you will just position your “binder” to the “TOP” of your card.

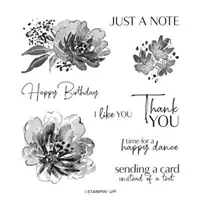
The designer paper is cut at the same dimensions as well … however, you need to make sure you are “cutting” to the designer of the paper. On this card, my “binder” actually has the same designer paper, I just flipped it over. The greeting also comes from the Flowing Flowers stamp set, same as we used on our first card.

Enjoy making this fun fold … it’s really easy, and you’re going to have a blast creating with all your beautiful designer papers. Don’t forget, you can add in your embossing folders, die cuts or hand stamped items!

TODAY’S STAMPIN’ SUPPLY LIST … If you liked the products used in today’s projects, I have links for you below. Just click on the item you would like more information on, or to begin your shopping. It will take you directly to my website. Thank you ❤

Faux Step Card with a Twist

Hello Stampin’ Friends ~

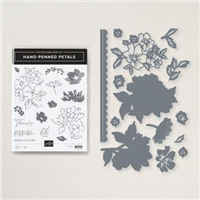
I am back today with the “FAUX” Step Card that I changed up a bit … and I’m going through step by step with dimensions on how to recreate this card. Today I’m using the Hand Penned Petals bundle… and I love the way this card turned out. I have this all on video for you to view.

Let’s take a look at the video now …

Dimensions:

  • Card Base: Basic Black: 9” x 4-1/4” then Score at 1-1/4”, 2-1/2” and 5-3/4”
  • Cardstock #2: Basic Black Center Step: 8-1/2” x 2-1/4” then Score and fold at 5-1/2”
  • Cardstock #3: Basic White 3″ x 4″ for inside of card / Scrap of white for greeting and Highland Heather as a mat (Cut with the Layering Circle Dies)
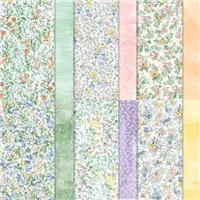
  • Designer Paper #1: Hand Penned Petals (Mint Macaron) for Center Step 2″ x 5-1/4″ and Floral Design paper is 3″ x 4″ and 1″ x 4″.

I find it easiest to lay the card base out flat when attaching the designer paper, as shown in the video.

What a fun twist to the card … placing your “center step” either on the right or the left side of the card. It gives you a totally different look. For my card, I choose to put my center step to the right to balance out the greeting which I let “hang over” the left side … that gives it another dimension to the card.

I love the way this card turned out! Don’t you just love that feeling when you’re done creating something that turned out sooo cool!

I hope you enjoyed the quick coloring technique as well …. it was fun and easy to recreate the watercolor look that you find on the Hand Penned Petals designer paper.

Enjoy making this fun fold … it’s really easy, and I love the twist of placing the “step” off to the side.

TODAY’S STAMPIN’ SUPPLY LIST … If you liked the products used in today’s projects, I have links for you below. Just click on the item you would like more information on, or to begin your shopping. It will take you directly to my website. Thank you ❤

Creating Textured Gift Bags!

Hello Stampin’ Friends ~

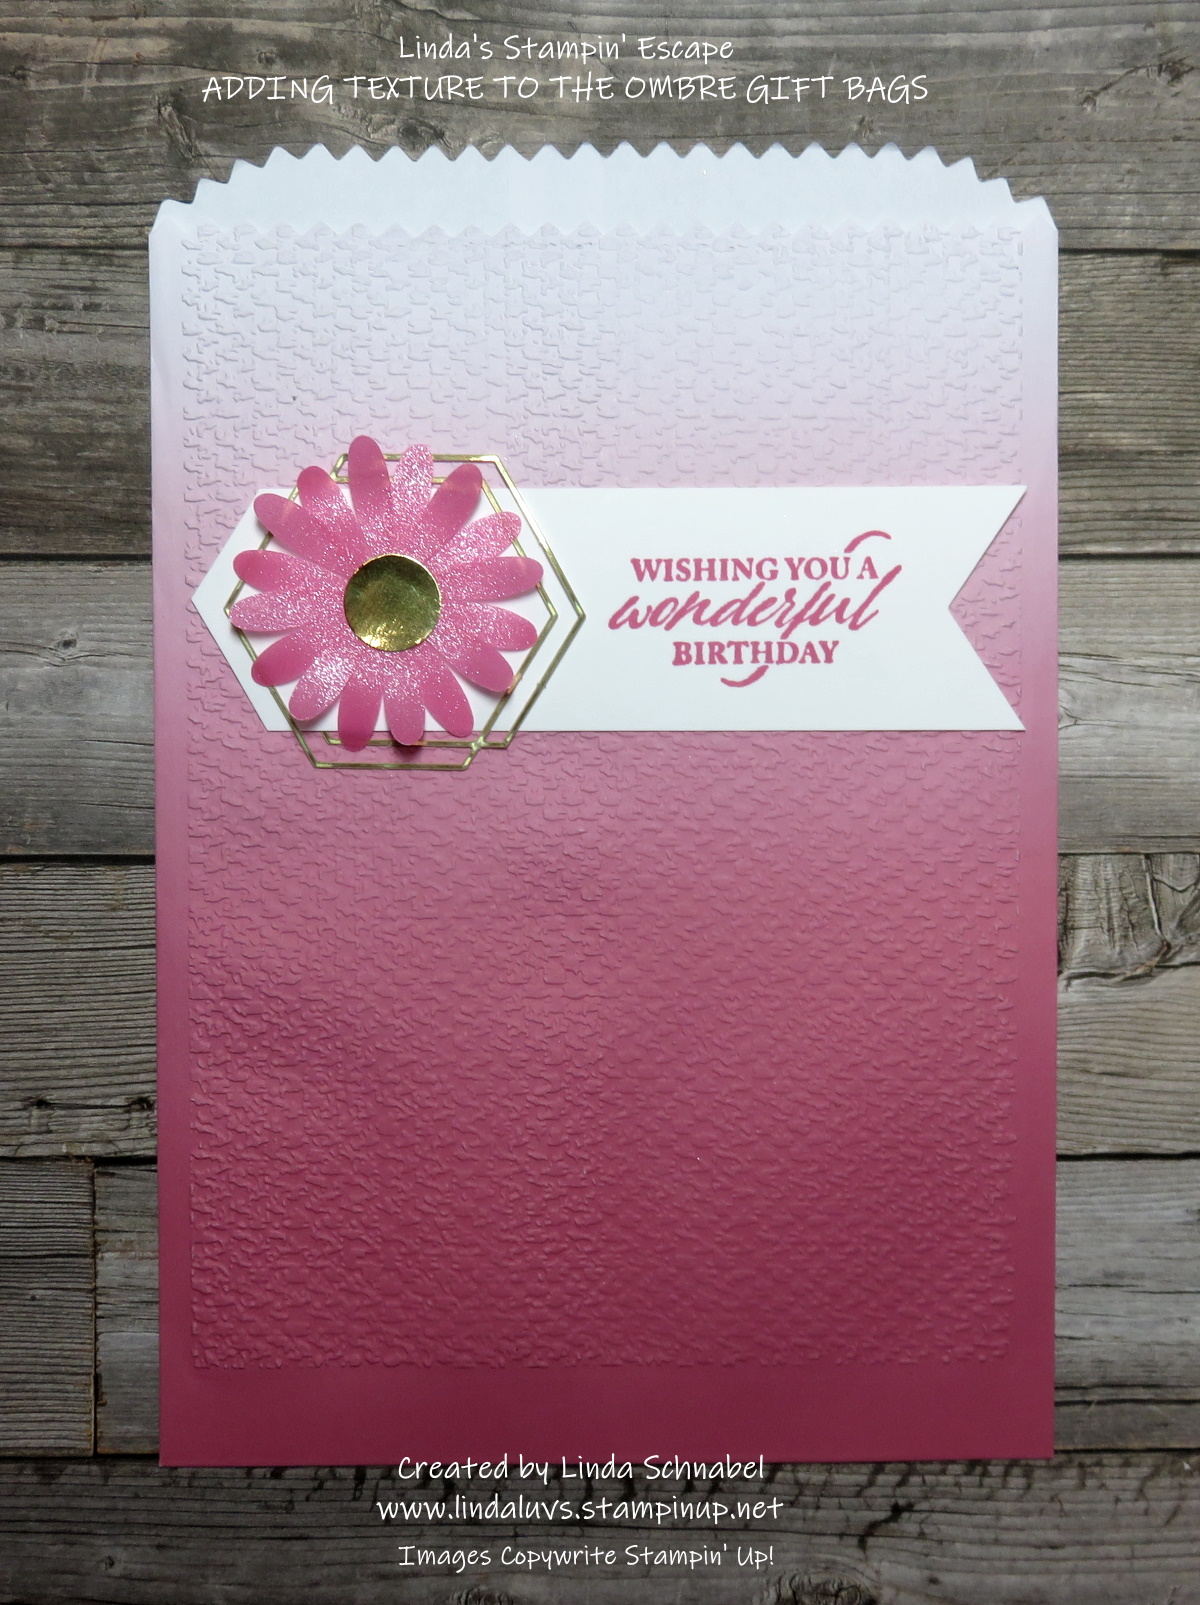
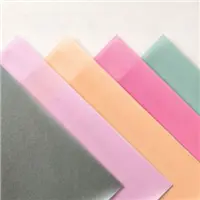
Today I’d like to share how fun and easy it is to add texture to our Ombre Gift Bags. They come in the 5 New In-Colors and each one is embossed with a different folder and decorated differently. The Gift bags and many of the items used to create them are are the retiring list.

Please join me, sit back, relax and watch the video and then I’ll share each of the bags including the Soft Succulent which is not seen in the video!

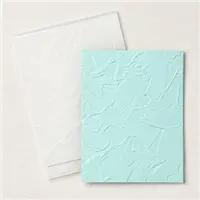
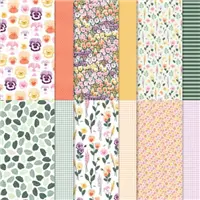
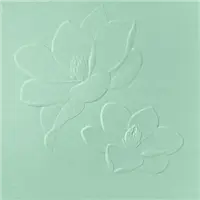
Alright … the cover gives away my surprise! I embossed the Soft Succulent bag with the “Painted Texture 3D” Embossing Folder, it’s so versatile and can be used with so many different styles. I wanted to showcase the new Pansy Petals Designer Series paper as well …

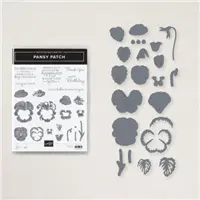
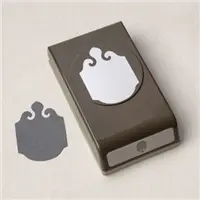
The greeting comes from the Pansy Patch bundle and is stamped in Soft Succulent to coordinate with the bag (and the designer paper). I then punched it out using the Elegant Tag Punch and adorned it with the Soft Succulent Open Weave Ribbon. I completed this bag by adding the Silver Epoxy Essentials.

The Fresh Freesia bag is the first I demonstrated in the video and uses the Magnolia 3D embossing folder … It’s simple but pretty!

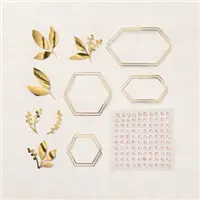
I used the folder “side-ways” for this one and decorated it with the Expressions in Ink Ephemera Pack, both the gold elements and the adhesive backed sequins come in the pack!! The gold piece you see here is actually the outer part of the piece I use on my Polished Pink bag …

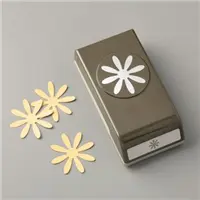
My Polished Pink bag is embossed with the Tasteful Textile 3D embossing folder and embellished with the our stunning Shimmer Vellum punched from the Medium Daisy Punch which I highlighted with the Expressions in Ink Ephemera Pack!

If you do not like the space on the bottom … you can emboss from the bottom and then your un-textured area will be on the top, that is how Jan Farring did her bags… this means you will have texture on both sides, since I came in from the top, mine is only textured on the front.

My Pale Papaya card is textured on both sides because we embossed side-ways to give it a totally different look …

I used the Hammered Metal 3D embossing folder to texture this back … I really love it embossed sideways, it really gives definition to that area. I highlighted it even more by adding an oval from the Shimmer Vellum and another pretty daisy!! I added the Clear Epoxy Dots from the Silver & Clear Epoxy Essentials to finish off my Gift bag.

I thought I’d have a little fun with the Evening Evergreen Gift Bag …

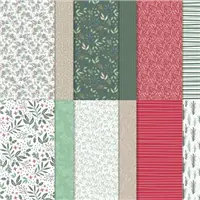
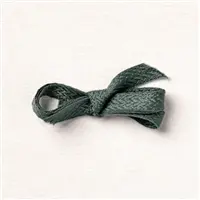
so I made it into a Christmas Gift Bag!! I used the Tidings of Christmas 6 x 6 Designer Paper and tied it up nicely with the Evening Evergreen Chevron Weave Ribbon.

I hope you enjoyed watching how easy it is to emboss these beautiful Gift Bags to give them some texture and then add a few embellishment (or more if you wish) to get them ready to “Gift”!

Thank you for joining me and checking out my video today …

I hope your day is a good one!

TODAY’S STAMPIN’ SUPPLY LIST … If you liked the products used in today’s projects, I have links for you below. Just click on the item you would like more information on, or to begin your shopping. It will take you directly to my website. Thank you

Quick Cards with Foam Adhesive Sheets Video

Hello Stampin’ Friends ~

Oh my gosh … this video is perfect for those of us who need to make a quick last minute card! I will share some great tips to make your card making a bit easier, the Foam Adhesive sheet. Grab a cup of coffee and join me for a spell.

Let’s take a look at the video now …

Dimensions:

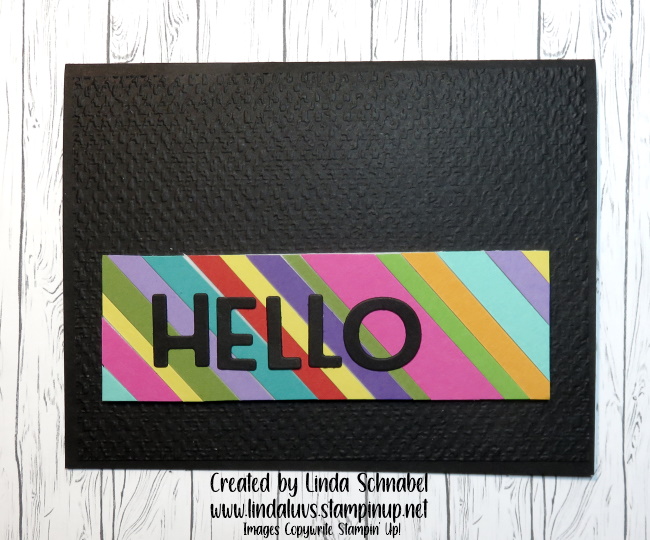
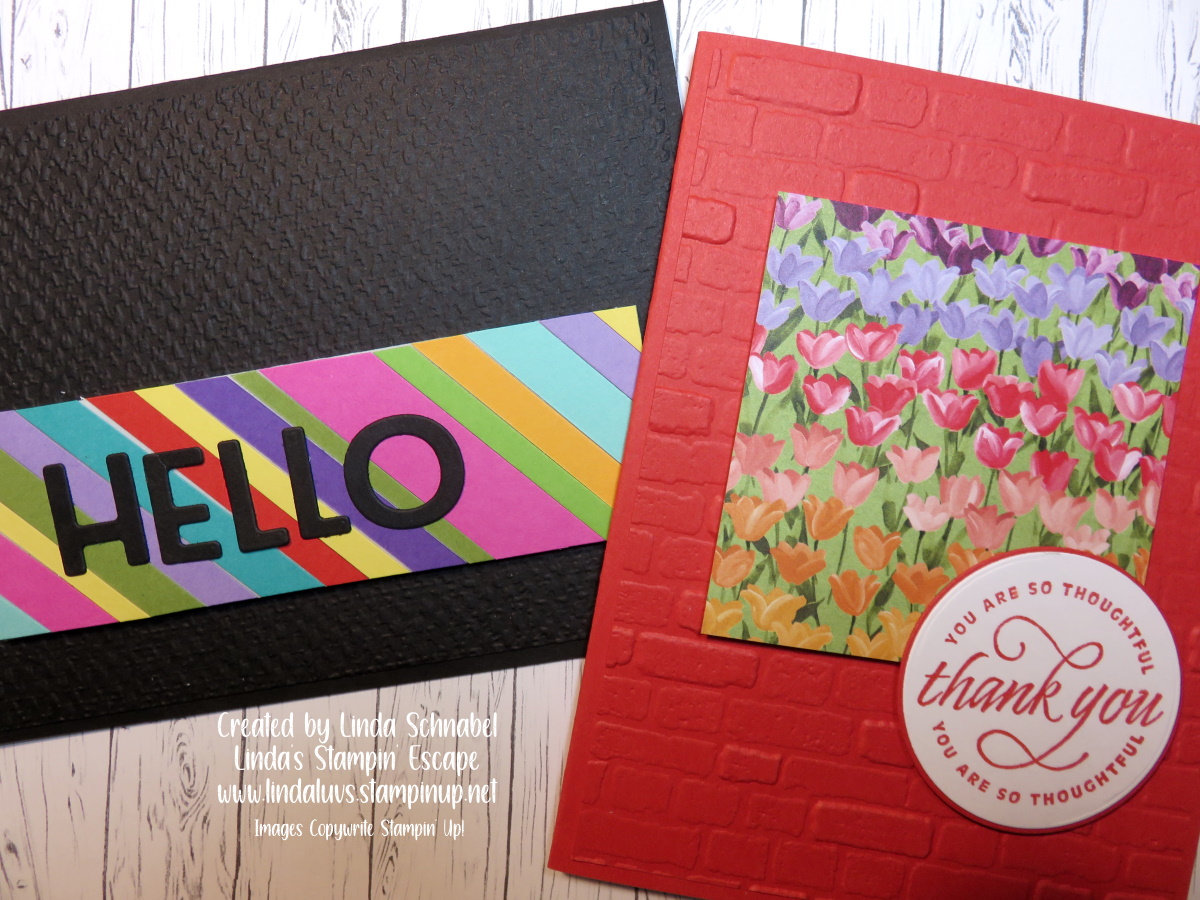
  • Card Base / Basic Black : 8-1/2” x 5-1/2” then Score at 4-1/4”
  • Basic Black Card front Embossed: 4″ x 5-1/4″ (Scrap to die cut letters out: HELLO)
  • Foam Adhesive Sheet: 4″ x 1-3/4”

This card was so fun to create … a great way to use up some of those scraps and the result is a bold, fun and colorful card!

Don’t we all that some scrap designer paper left over as well, so cut your Foam Adhesive sheet the size of your Designer Paper (Mine was 3″ x 3″) and adhere it to the card front you just embossed. Finish off your card with a cute greeting ….

There are so many ways to use these foam adhesive sheets, but I think that “Use Your Scraps Up” Card is my favorite!!

Have fun creating and thank you for hanging out with me today.

TODAY’S STAMPIN’ SUPPLY LIST … If you liked the products used in today’s projects, I have links for you below. Just click on the item you would like more information on, or to begin your shopping. It will take you directly to my website. Thank you ❤

Tulips & Stitched Greenery Die Video

Hello Stampin’ Friends ~

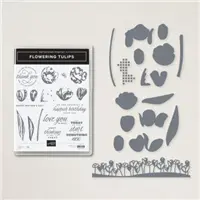
I am happy to share an amazing die that I have fallen in love with along with two cards highlighting the cool look that you get… It’s the Stitched Greenery die. I’m teaming it up with the beautiful Flowering Tulips bundle. I’m having quite a bit of fun playing with this bundle.

Let’s take a look at the video now …

Dimensions:

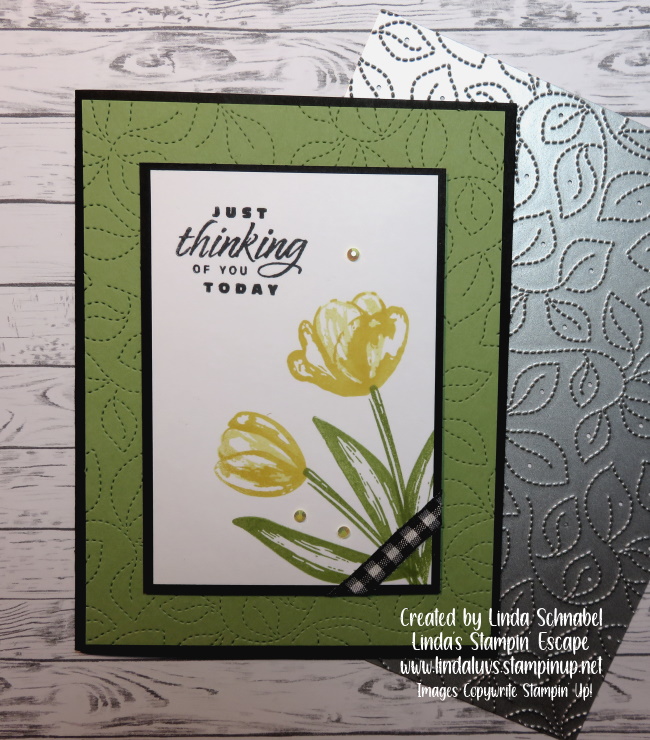
  • Card Base / Basic Black : 8-1/2” x 5-1/2” then Score at 4-1/4” and Mat: 4-1/8″ x 2-7/8″
  • Cardstock #2: Pear Pizzazz: 4″ x 5-1/4”
  • Cardstock #3: Basic White 4″ x 2-3/4″

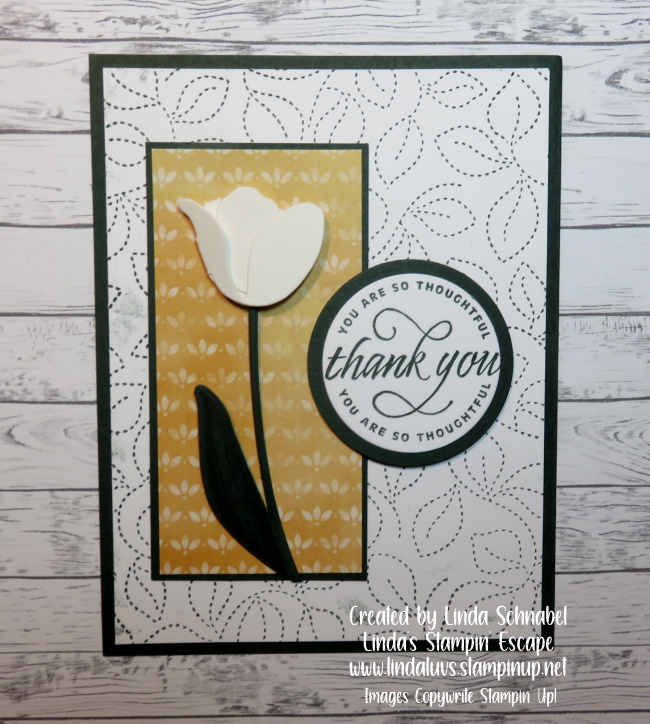
The depth and detail of the Stitiched Greenery die is nothing short of stunning, and with all of the beautiful floral stamp sets and bundles, I believe this to be a staple in anyone’s stamping room.

You can just run it through your die cutting & emboss machine and leave it as is … or you can add a touch of color directly to the die as I did on my next card ….

On this card I patted the Evening Evergreen ink pad onto the die and then ran it through the Die cutting & embossing machine. It is a very subtle touch of color but still adds the texture as before. I’m hooked!!

Stop back tomorrow and the next couple of days as I share even more ideas on how you can maximize the use of this die. I know once you get it … YOU will love it! I have the link for you below.

Have fun creating and thank you for hanging out with me today.

TODAY’S STAMPIN’ SUPPLY LIST … If you liked the products used in today’s projects, I have links for you below. Just click on the item you would like more information on, or to begin your shopping. It will take you directly to my website. Thank you ❤

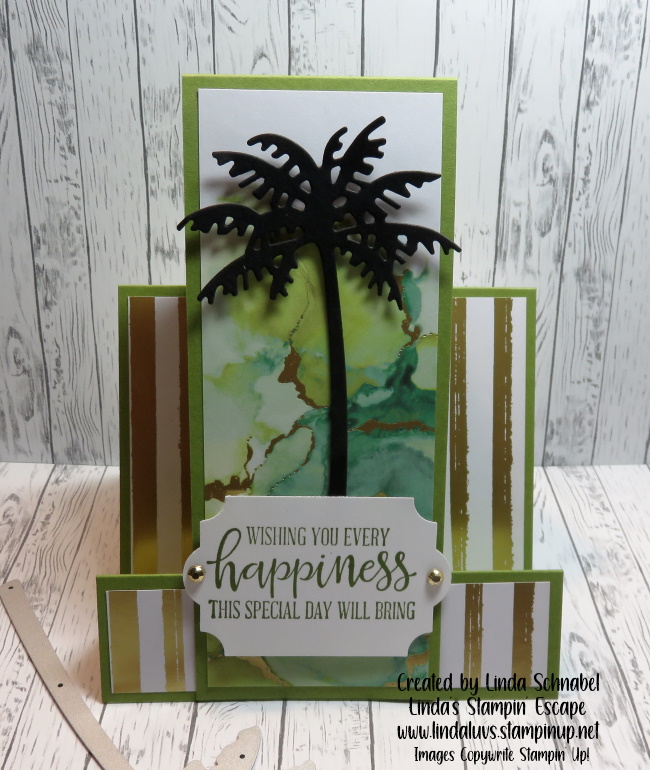
FUN FOLD: Faux Step Card

Hello Stampin’ Friends ~

I am excited to share the “FAUX” Step Card that I shared with my Stamp Club in February. I have my Facebook LIVE video to share with you so you can see how easy it is to create this FUN FOLD card. I’m also sharing the dimensions with you.

Let’s take a look at the video now …

Dimensions:

  • Card Base: Old Olive: 9” x 4-1/4” then Score at 1-1/4”, 2-1/2” and 5-3/4”
  • Cardstock #2: Old Olive Center Step: 8-1/2” x 2-1/4” then Score and fold at 5-1/2”
  • Cardstock #3: Basic White 3″ x 4″ for inside of card / Scrap of white for greeting
  • Designer Paper #1: Expressions in Ink for Center Step 2″ x 5-1/4″ and Striped paper 4″ x 4″ cut off 1″ from bottom so it aligns during assembly

I find it easiest to lay the card base out flat when attaching the designer paper, as shown in the video. Then use your favorite adhesive to attach the center flap … you’ll want to make sure to center and align the front flap to the bottom, then attach to the back.

.

Ahhh … Don’t you just love making quick & easy cards that look like you spent all day cutting and creating!! lol No one has to know that … right! Just image all the different designer papers or dies that you can use with this Fun Fold Faux Step Card.

Have fun creating and thank you for hanging out with me today.

TODAY’S STAMPIN’ SUPPLY LIST … If you liked the products used in today’s projects, I have links for you below. Just click on the item you would like more information on, or to begin your shopping. It will take you directly to my website. Thank you ❤

Celebrating Sunflowers & Savings

Hello Stampin’ Friends ~

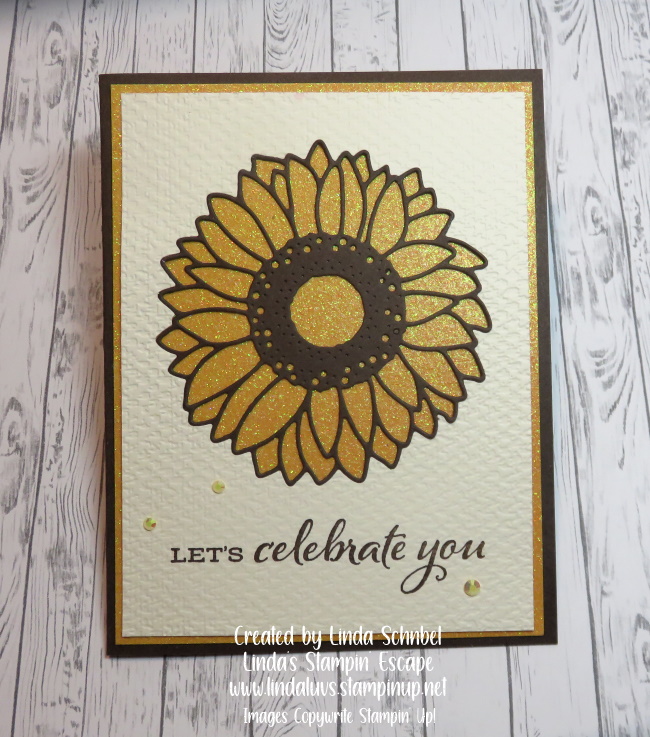
I’m excited to share today’s cards with you… Yes, I have 2 for you today!! It is a fun and creative way to use your Sunflower Dies without all the waste … and it looks so cool!! With prices rising all around use, it’s nice to be cost effective … you know, save some money by not wasting our cardstock! OH … and by the way, you can save 20% on this bundle right now.

I also will share the video created from last nights Facebook LIVE ….

As promised … I’m going to give you the measurements for the cards

Measurements:  

  • Cardbase: 8-1/2″ x 5-1/2″ … Score & Fold at 4-1/4″
  • Ombre Glimmer paper: 5-1/4″ x 4″
  • Cardstock for Sunflower Die Cut: 5-1/8″ x 3-7/8″
  • Very Vanilla Inside Cardstock: 5-1/4″ x 4″ plus scrap to punch greeting

This card is so cute and easy to make … After you die cut the sunflower out, you can place your flower back into the cut out area to create a unique look … I like mine embossed!!

Don’t be afraid to mix and match colors … it can really highlight the ombre paper underneath. Have some fun with it and add a patterned designer paper!!

I hope you caught my little tip for finding the perfect size greeting for the punch design you want to use … I do this all the time. Don’t forget to head over to my YouTube channel … there is a video that highlights the card you saw yesterday! CLICK HERE … and please subscribe!

Have a wonderful day and thank you for stopping by.

TODAY’S STAMPIN’ SUPPLY LIST … If you liked the products used in today’s projects, I have links for you below. Just click on the item you would like more information on, or to begin your shopping. It will take you directly to my website. Thank you ❤

We’re in this Together …

Hello Stampin’ Friends ~

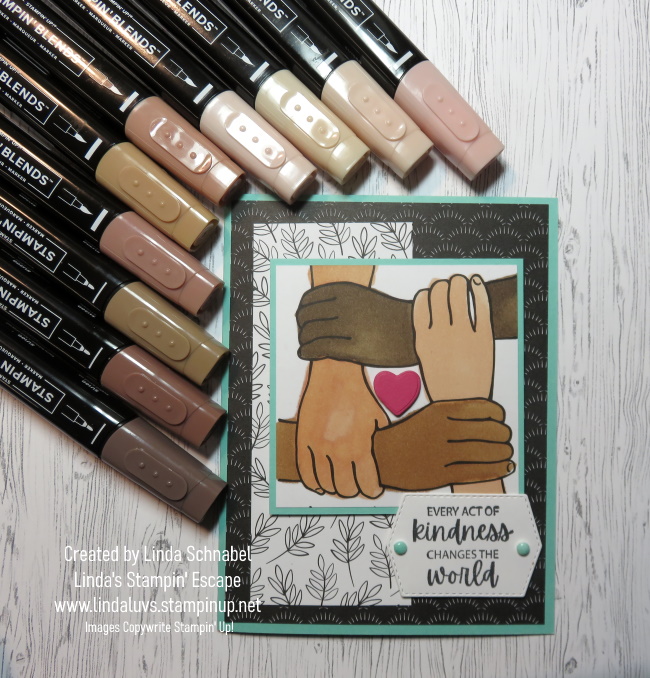
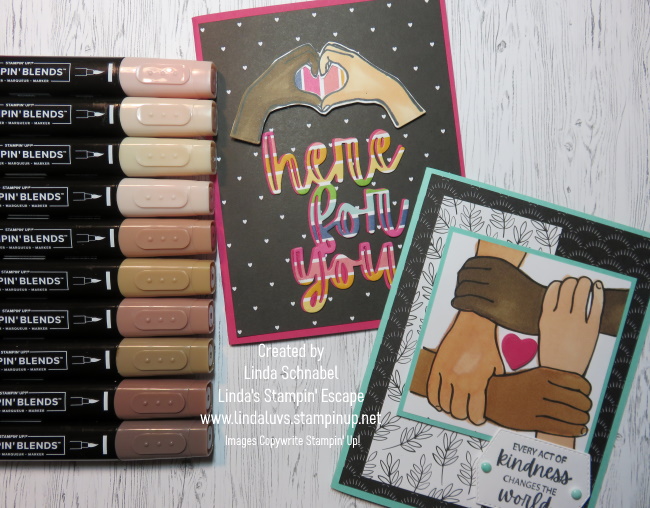
Today I’m going to share with you two cute cards and a short video that highlights the All Together Collection by Stampin’ Up! I’ll share the new Natural Tones Stampin’ Blends markers … It’s a fun sneak peek as these will not be released until May 1st … luckily that is only a couple days away!

Let me begin with the video which is a replay of my Facebook LIVE mini-class.

I am really enjoying these new markers, and the stamp set and designer paper are so much fun, and so needed in these times. I feel stampers are conduits to a happier world … sending joy one card at a time!!

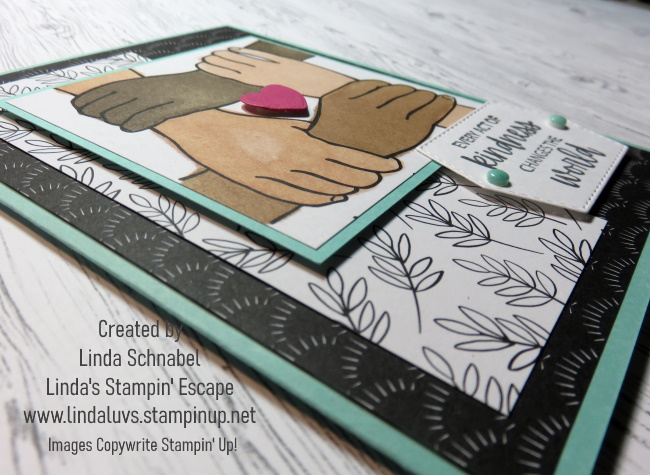
As I stated in the video, the designer paper was created with a nice and simple design so we don’t feel like we have to go crazy with shading and trying to create a realistic hand! It’s easy and fun to make … and share! I believe that every act of kindness truly does change the world.

Check out the layering on this card …

I created this color pallet of sorts with the 10 new Stampin’ Blend markers ….

CLICK HERE TO DOWNLOAD THE STAMPIN’ UP! TONAL CHART

Now … when you get your markers, you can write in the numbers like I did above and then try some color combinations of your own. I did a little experimenting here …

You know I’m going to have to come up with a card using those raised hands … I’m always asking for a “show of hands” for this or that … lol

Here is my card where I highlight the stamp set and dies along with the markers. … This really is a versatile stamp set and your can have a whole lot of fun with it!

This card was fun to make … and always remember that you can pick designer paper or greetings from anything you have in your stash. I’m sure you can come up with some really cool stuff. And like I said, those markers are perfect for hair and/or fur!! lol

Thank you for spending time here today, and to those of you who hung out with me last night for the LIVE broadcast.

Have an awesome day and don’t forget to share your smile 🙂

Sweet Talk for Valentines

Hello Stampin’ Friends ~

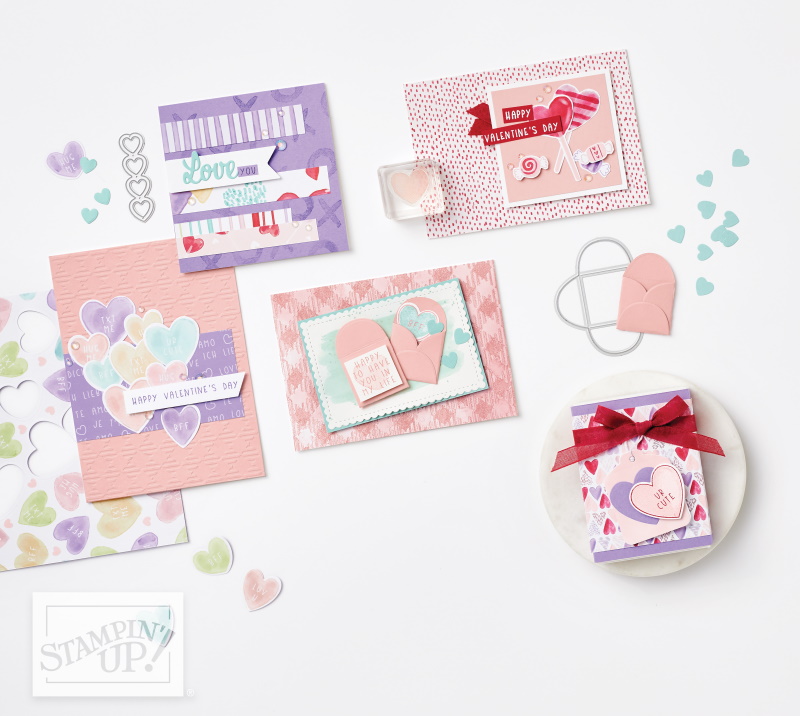
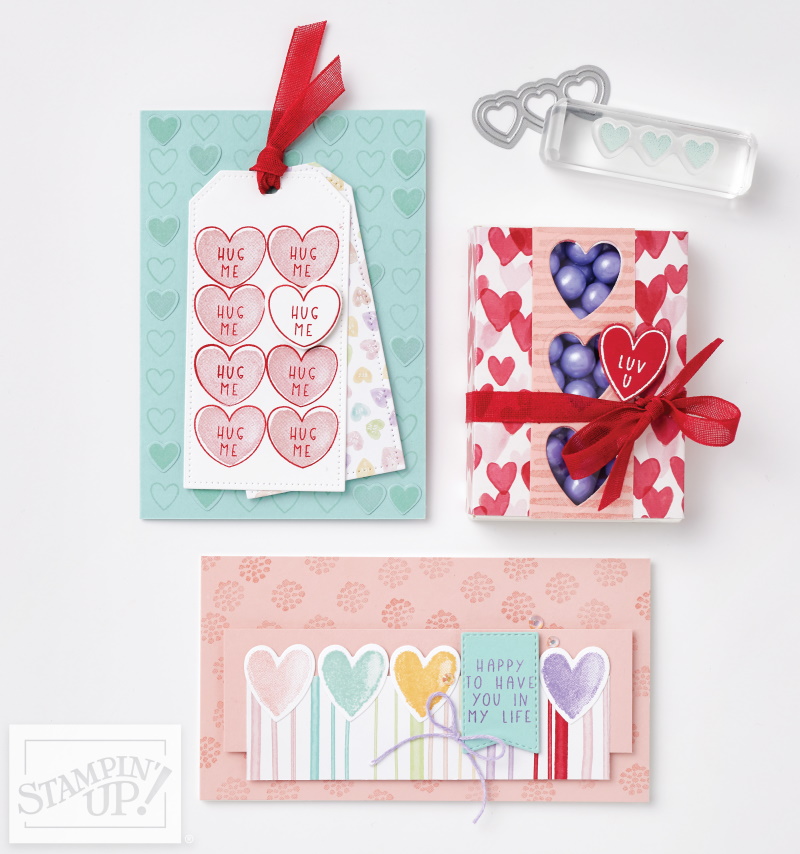
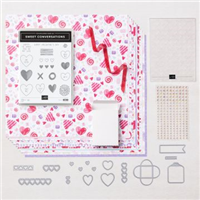
Today I’m going to highlight the Sweet Talk Suite … You can get everything you need to create easy valentines with the Sweet Talk Suite Collection. With these products, you can also make cute tags, cards, and treat boxes. Let’s start the fun off with the video ….

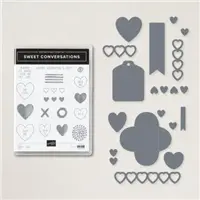
The Sweet Conversations Bundle includes the Sweet Conversations Stamp Set and the Sweet Hearts Dies. The hearts in these products make it so easy to create unique valentines. You can also use them to create love notes throughout the year.

Conversations will be cuter than ever with the Sweet Conversations Stamp Set. This fun, valentine-themed set includes a variety of hearts—including conversation hearts—that can be used on valentines and with other love-themed projects. It also includes circles, stripes, and a tag, all things that make this set even more versatile.

It’s an explosion of hearts in the Sweet Hearts Dies. But that’s not all. In addition to the hearts, this set of dies include banners, a box, and a tag. Use them to make easy valentines, little love notes, and tiny treat boxes. You’ll love seeing what you can create.

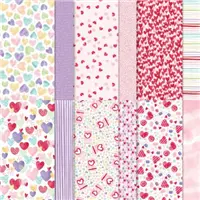
There are infinite ways to express love, and we wanted to ensure the Sweet Talk 12″ x 12″ Designer Series Paper offered a variety of patterns that will allow you to create your own expression. Many of the patterns feature hearts (of course!), but you’ll also find versatile patterns such as stripes and polka dots that can be used any time for any occasion.

Don’t forget … Sale-a-bration has begun and you will receive a FREE Sale-a-bration item with a qualifying purchase.

If you’d like to see me demonstrate and share some fun Valentine projects … then join me tonight for my FACEBOOK LIVE as I highlight this cute suite.

Thank you for hanging out with me today, and I hope you are just as excited as I am for this new suite, see you tonight!

Have a wonderful day ~

TODAY’S STAMPIN’ SUPPLY LIST … If you liked the products used in today’s projects, I have links for you below. Just click on the item you would like more information on, or to begin your shopping. It will take you directly to my website. Thank you ❤

Enhance Designer Papers with Embossing Paste

Hello Stampin’ Friends ~

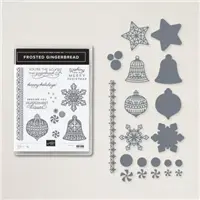
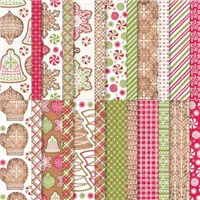
I’ve been asked several times lately how I created the snowflakes on my Gingerbread & Peppermint Christmas Card sooooo … I thought I would just show you.

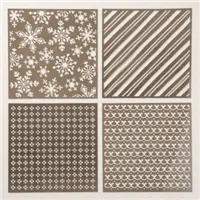
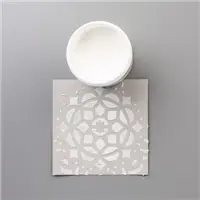
The cards were demonstrated on my Facebook LIVE … where I shared how you can enhance your designer papers using Embossing Paste and the Adorning Designs Decorative Masks. I figured the masks were in the Gingerbread & Peppermint suite for a reason … so that is where I started!

I also wanted to show you that some of the masks line up pretty nice with some of our other designer papers. Here I used the Peaceful Deer bundle and the Peaceful Prints Designer paper from the Sale-a-bration Catalog … I know many of you picked this paper! 🙂

Now join me and watch the video as I show you how easy it is to create these cards! Then I will be sharing the card where I used the Beauty of the Earth Designer Paper!!

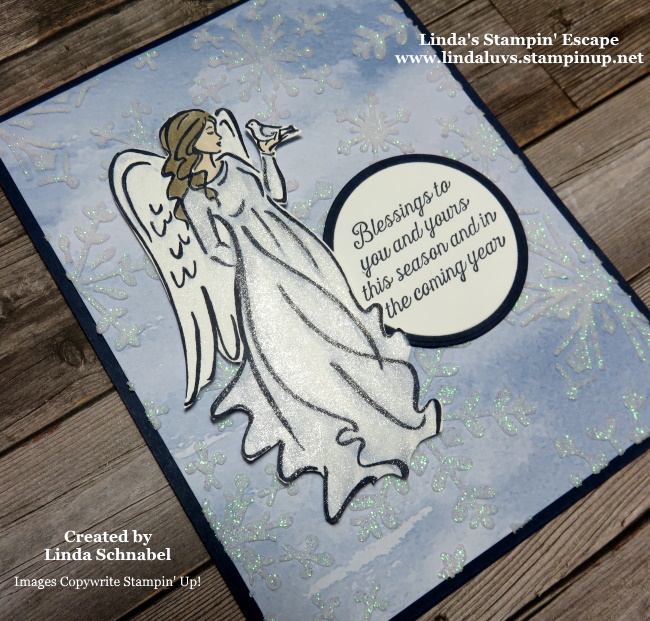
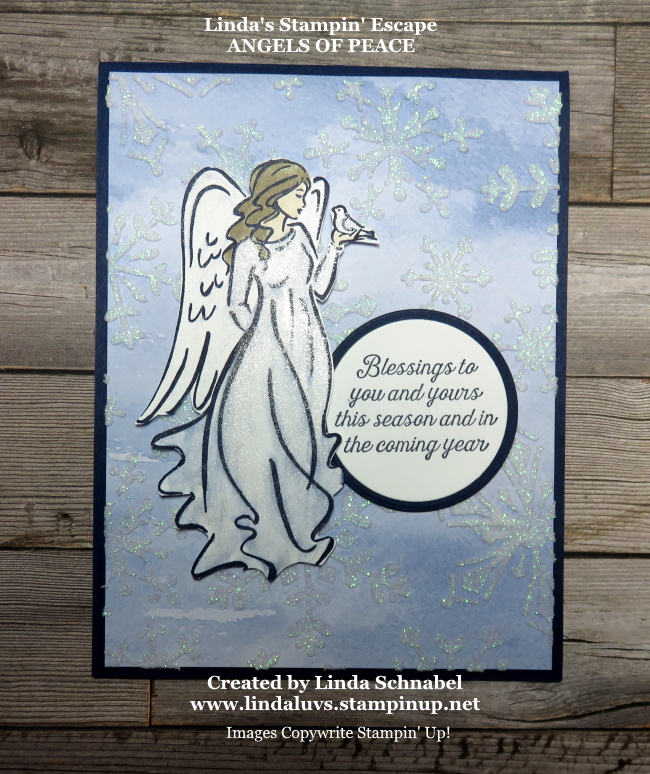
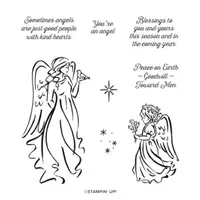
I am thrilled to share my next card with you!! I feel in love with the “Angels of Peace” stamp set the moment I saw it. She is so lovely and delicate and these angels can be used for so many different occasions …

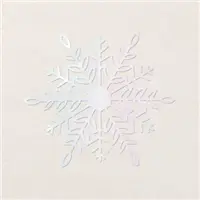
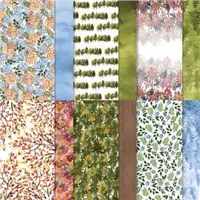
The sentiment “Sometimes angels are just good people with kind hearts”… is the second reason I had to have this stamp set. The water washed background of the Beauty of the Earth designer paper was the perfect background for the snowflake mask and the Sparkling Embossing Paste…. and the angel was meant to go with them.

I stamped my angel in Night of Navy and then gently used the Wink of Stella to add some some sparkle to her. I was VERY careful on the wings as I wanted them mostly white, and the wetness of the Stella will smear the Night of Navy ink. On the other hand … I used the Wink of Stella to pull some of the color out of the lines and into her dress to give it that soft blue look.

The greeting was also stamped in Night of Navy and then cut out using the Layering Circle Dies. I also cut a Night of Navy mat to coordinate with her dress and the card base. It all flows so nicely and completes the card.

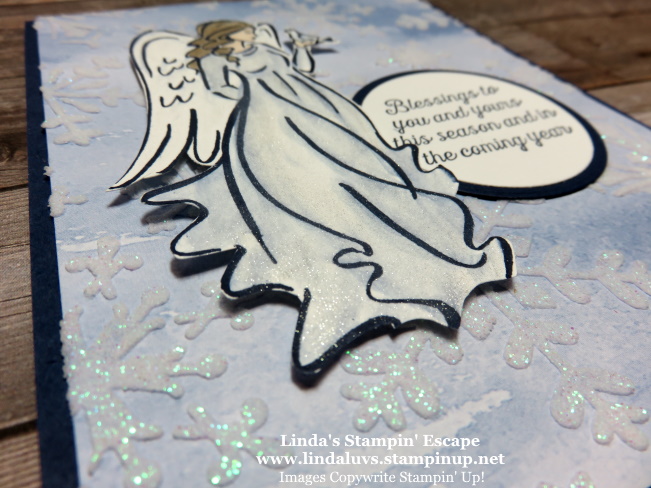
This angle of the photo is to show you the beautiful texture on this card!! The sparkle in the snowflakes is accented by the Wink of Stella on our Angel. One of my favorite cards that I ahve made in a while!

I want to thank you for joining me today. Don’t forget I’m going LIVE tonight at 6:30 Central Time … You won’t want to miss this cute Holiday Idea!

Have a beautiful day, and take good care ~

SNEAK PEEK: Jan-June Mini & Sale-a-bration Catalogs

Hello Stampin’ Friends ~

I hope you had a wonderful Thanksgiving! I spent the afternoon at my nieces house with family … full of good food and conversation.

Today I’d like to share a SNEAK PEEK into the New 2022 Mini and Sale-a-bration Catalogs via a video. I presented LIVE on my Facebook page so if you missed it, or would like to view it again … Grab your cup of coffee and join me!

Thank you for joining me today… Which catalog item was your favorite? Oh … I can’t wait to show you more when my next batch of goodies arrive in early December.

Have a good day!!

Embossing Paste to Enhance Your Designer Paper

Hello Stampin’ Friends ~

We had a discussion at my Stampin’ Retreat this past weekend about Embossing Paste so I’m excited to share the cards from one of my Facebook LIVEs … I shared how you can enhance your designer papers using Embossing Paste and the Adorning Designs Decorative Masks. I figured the masks were in the Gingerbread & Peppermint suite for a reason … so that is where I started!

I also wanted to show you that some of the masks line up pretty nice with some of our other designer papers. Here I used the Peaceful Deer bundle and the Peaceful Prints Designer paper from the Sale-a-bration Catalog (no longer available).

Now join me and watch the video as I show you how easy it is to create these cards! Then I will be sharing the card where I used the Beauty of the Earth Designer Paper!!

I am thrilled to share my next card with you!! I feel in love with the “Angels of Peace” stamp set the moment I saw it. She is so lovely and delicate and these angels can be used for so many different occasions …

The sentiment “Sometimes angels are just good people with kind hearts”… is the second reason I had to have this stamp set. The water washed background of the Beauty of the Earth designer paper was the perfect background for the snowflake mask and the Sparkling Embossing Paste…. and the angel was meant to go with them.

I stamped my angel in Night of Navy and then gently used the Wink of Stella to add some some sparkle to her. I was VERY careful on the wings as I wanted them mostly white, and the wetness of the Stella will smear the Night of Navy ink. On the other hand … I used the Wink of Stella to pull some of the color out of the lines and into her dress to give it that soft blue look.

The greeting was also stamped in Night of Navy and then cut out using the Layering Circle Dies. I also cut a Night of Navy mat to coordinate with her dress and the card base. It all flows so nicely and completes the card.

This angle of the photo is to show you the beautiful texture on this card!! The sparkle in the snowflakes is accented by the Wink of Stella on our Angel. One of my favorite cards that I ahve made in a while!

I invite you to join me tonight at 6 pm Central Time for my Facebook LIVE presentation … we’re getting ready for Christmas!! Click Here to my Linda’s Stampin’ Escape Facebook page.

Have a beautiful day, and take good care ~

TODAY’S STAMPIN’ SUPPLY LIST … If you liked the products used in today’s projects, I have links for you below. Just click on the item you would like more information on, or to begin your shopping. It will take you directly to my website. Thank you 

Peaceful Christmas Alternative Projects …

Hello Stampin’ Friends ~

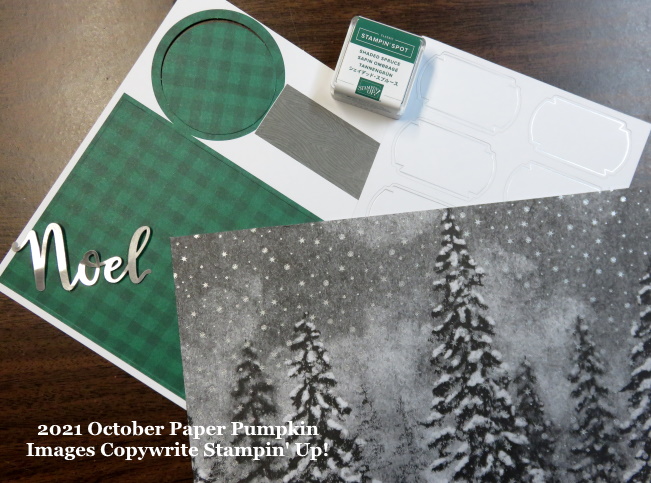
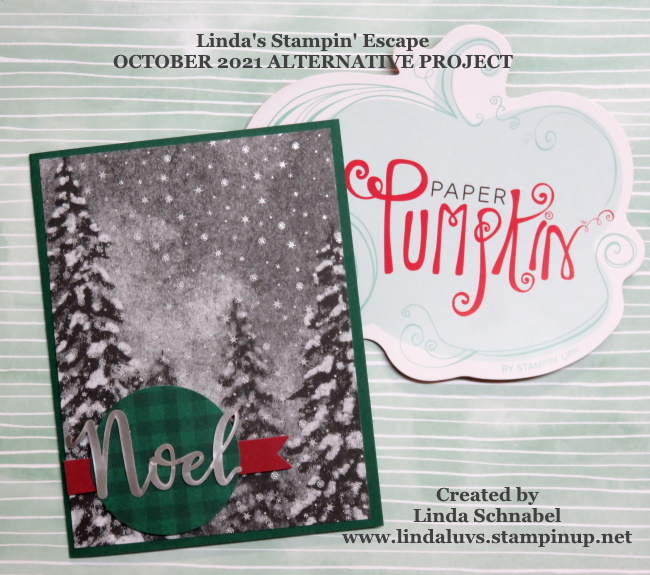
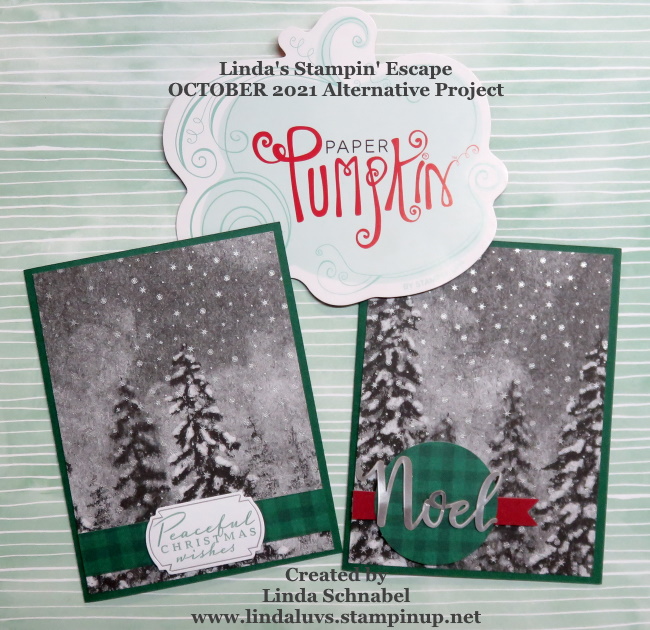
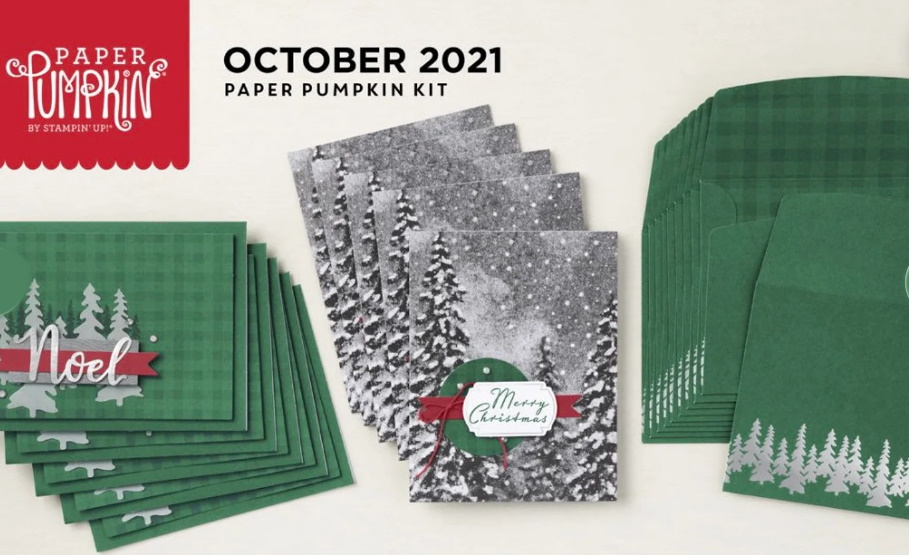
I’m excited to share two cards with you today!! Both are alternative projects to the October 2021 Paper Pumpkin kit. You’re getting two cards today because the Paper Pumpkin cards beautiful design is not only on the front, but on the back as well … so with just a little trimming, you can double your card count!! Here are the pieces I used from the kit …

Can you see how the card laid out can easily be doubled … LOVE IT!! So I trimmed it down to 5-1/4″ … then I folded it in half, and cutting on the fold down to 4 inches, creating the two pieces. Then I took a sheet of Shaded Spruce, cut it in half and used the two pieces for my card bases. Then I attached my cut card fronts onto my card bases …

On my first one I cut down the card front from the other card in this kit to use as an accent on this card. I then stamped the greeting that is include in the kit with the Shaded Spruce ink pad (also included in the kit) I popped it up and it completed my card!

My second card uses a few other pieces; the banner and circle and the Noel … so no stamping needed on this one. I used the Glue Dots to attach the “Noel” and then I popped up the entire greeting and placed it in the lower left hand corner, trimming off the left side of the banner.

I also cut 2 … 4″ x 5-1/4″ Basic White for the inside of my card … those I stamped with the trees included in the kit. (It matches the trees shown on the enveloped below) I love that you get “everything” you need to create beautiful cards, and that there is the ability to change up the design … or double it, like we got to do in this kit!

I’m sharing the video again today for those who may have missed it yesterday….

I hope this inspires you to try out some of our upcoming Paper Pumpkins! Here is a peek of our November Paper Pumpkin …

I hope you enjoyed the alternative projects and how you can “stretch” your kit … and still get amazing cards! You can click on any of the links below to begin a Pre-Paid Subscription or you can CLICK ON THIS LINK to start the monthly subscription.

Thank you for taking time out of your weekend to hang out with me today.

Peaceful Christmas …

Hello Stampin’ Friends ~

When you picture a peaceful Christmas, what comes to mind? Do you see snow outside your window, softly swirling through the sky? A tree trimmed with tinsel, a fire crackling nearby? Maybe you’re dreaming of decorating a holly jolly gingerbread house. Can you catch a whiff of Christmas cookies wafting through the air?

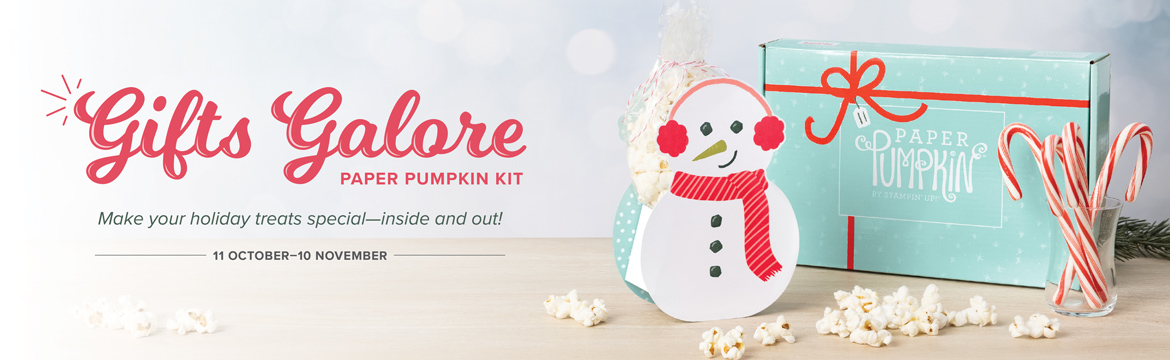
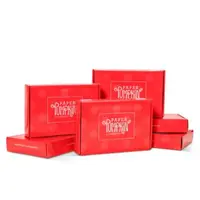
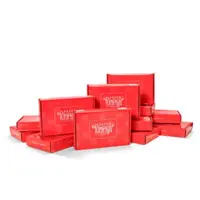
Whatever it is you think about when Christmas comes to town, picture a peaceful Christmas with the Peaceful Christmas Paper Pumpkin Kit! This still, silvery, and snowy kit is the nudge you need to get nutcrackin’ on your Christmas cardmaking. With a flocked and frosted forest feel, sprinkles of silver snow, and warm winter wishes, you’ll find enough festive elements and embellishments to create 10 Christmas cards and coordinating envelopes! And all your supplies will arrive in an enchanting evergreen box—a special addition for the spirit of the season.

What is Paper Pumpkin? Paper Pumpkin is our monthly One-Stop Box™ that offers a unique variety of paper projects for subscribers of any skill level to enjoy! These thoughtfully themed and all-inclusive craft kits encourage Stampin’ Up! customers to explore their creativity, try new techniques, and discover their potential in papercrafting. 

Take a look at this months Paper Pumpkin and tomorrow I’ll share an alternative …

I hope this inspires you to try out some of our upcoming Paper Pumpkins! Here is a peek of our November Paper Pumpkin …

Stop back tomorrow to see my twist on the Peaceful Christmas Kit and how you can “stretch” your kit!

Thank you for stopping by today.

Enjoy your Friday!!

Quick & Easy Halloween Treat Holders!

Hello Stampin’ Friends ~

Today I’m here to share two different styles of Treat Holders for your little ghouls and goblins! If you’re like me, you like to create “special” little packages for those close to you. Whether the receivers are friends or family … they will be charmed by these little cuties!

I’m also sharing the my Facebook LIVE so you can see how to create these treat holders. Sit back and take a look … then I’ll share the pictures so you get an even closer look.

Did you like how easy these were to make … and NO Adhesive needed!! Each of these little cuties were make from the “Cute Halloween” Designer Series paper and a few other accessories which I’ll share as I go.

This sheet of designer paper has the polka dots on one side and Pumpkin Pie and Black stripes on the other. I used the Black Organdy Glitter Ribbon and the “Little Delights” stamp set. I also used the “Cute Stars Adhesive Backed Sequins” on this one!

I actually used the “Cute Stars Adhesive Backed Sequins” on all of my Halloween Pouches …

I used a more subtle pattern on this sheet of the “Cute Halloween” Designer paper … I then highlighted it with a cut out of another sheet of the designer paper. That little bat trick-or-treating is just too stinkin’ cute!!

Here is a closer look at the “Pillow Boxes” … these are so cute, and I think I’ll be trying out some of the suggestions I shared in the video. I’ll be sure to share those with you as well …

I hope this inspires you to try out either one of these cute patterns … the pouch (also called the Diaper Fold) need no special tools, dies or adhesive so you can try it right away.

Thank you for joining me today.

Hope your day is a good one!!