Hello Stampin’ Friends ~
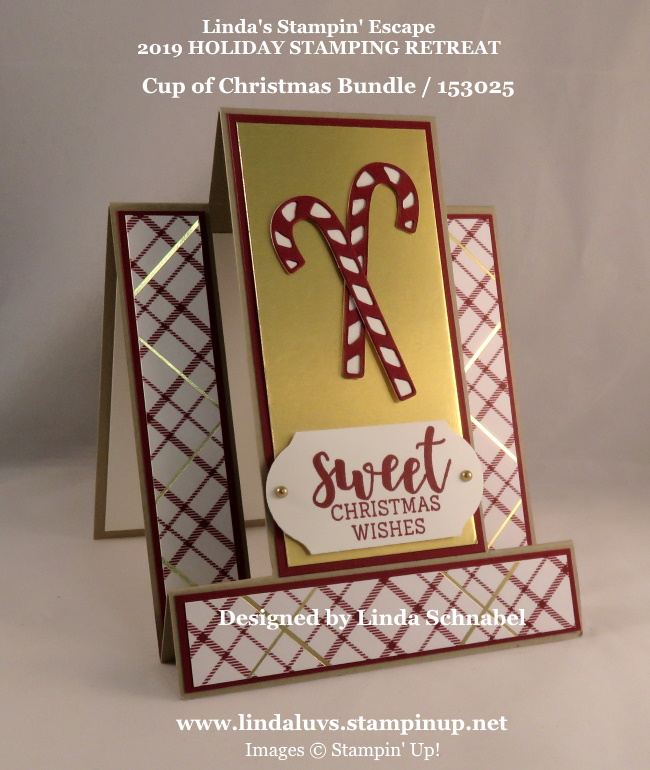
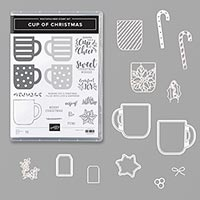
Hope you got a chance to check out my “sweet” Christmas card from the Cup of Christmas bundle that I shared yesterday. Today I have one of the cards that I created for our Saturday morning stamping session at our Annual Holiday Retreat.
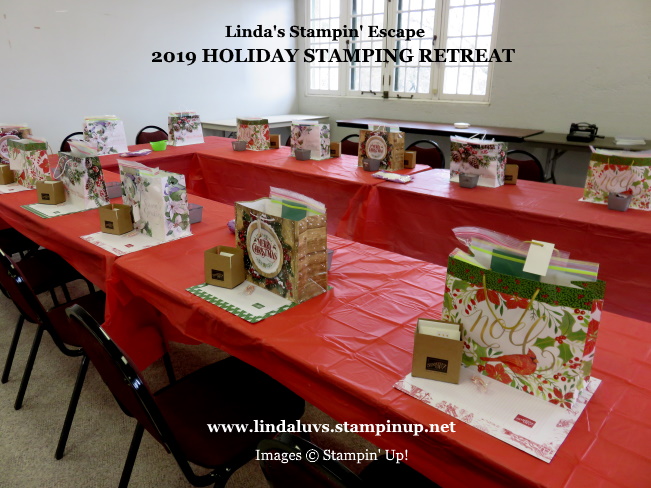
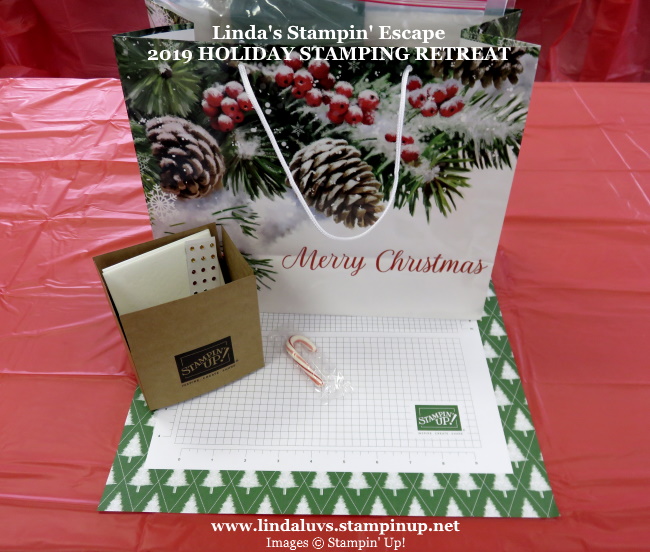
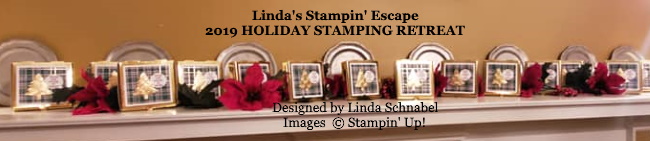
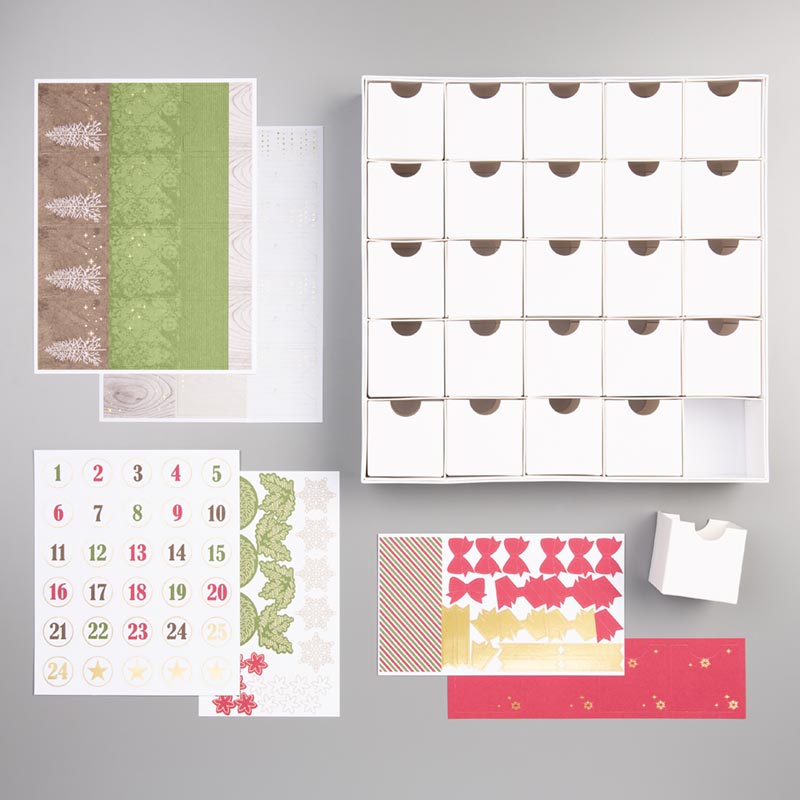
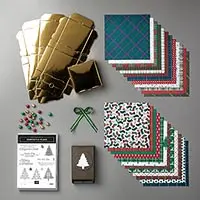
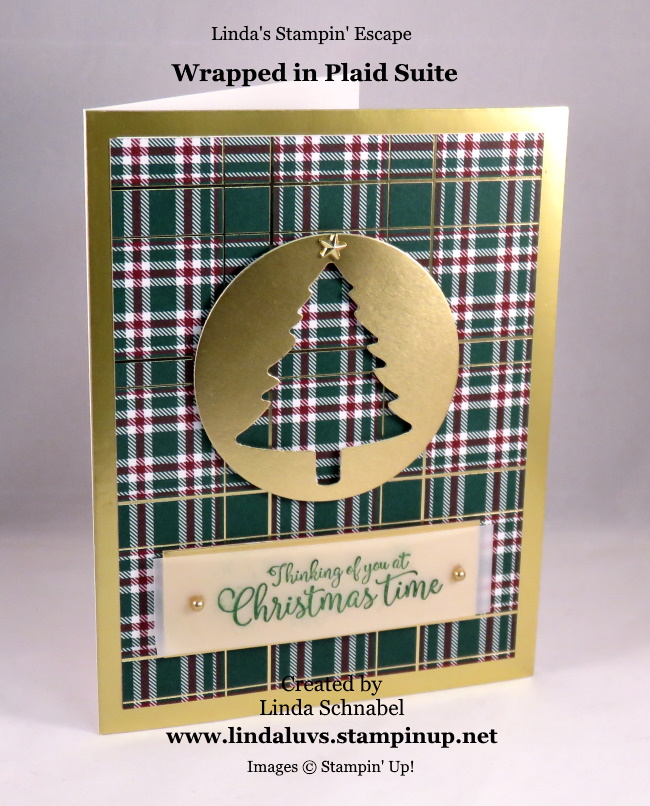
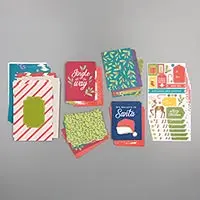
The Wrapped in Plaid Designer paper I’ve been using so far is part of the Wrapped in Plaid Suite… remember seeing the gold boxes on the mantle? I’ll have more information about those in a couple of days …

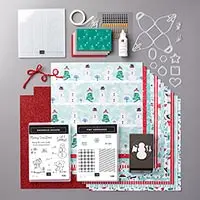
The Wrapped in Plaid Suite Bundle gives you a coordinating selection of products with one simple purchase. It includes the stamp set and tool bundle at 10% off plus one each of the other items listed…
The Wrapped in Plaid Suite Bundle includes
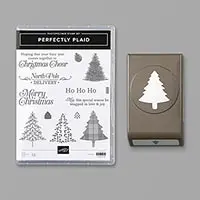
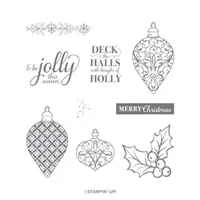
* Perfectly Plaid Photopolymer Stamp Set (10% off)
* Pine Tree Punch (10% off)
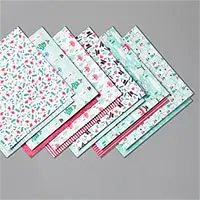
* Wrapped in Plaid 6″ x 6″ Specialty Designer Series Paper
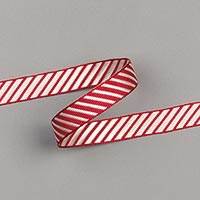
* Shaded Spruce/Gold 3/8″ (1 cm) Striped Ribbon
* Jingle Bells
* Gold Mini Pizza Boxes
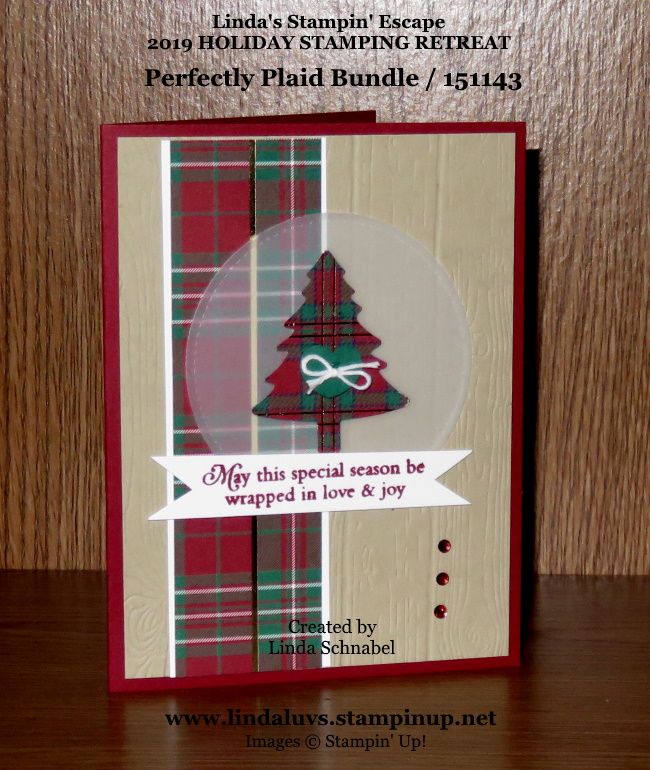
Our group of stampers gathered in the morning to kick off our “Perfectly Plaid” session. The Perfectly Plaid Bundle includes the Perfectly Plaid Photopolymer Stamp Set and the Pine Tree Punch.

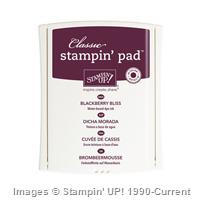
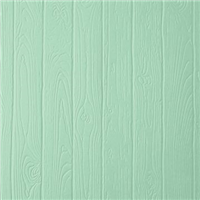
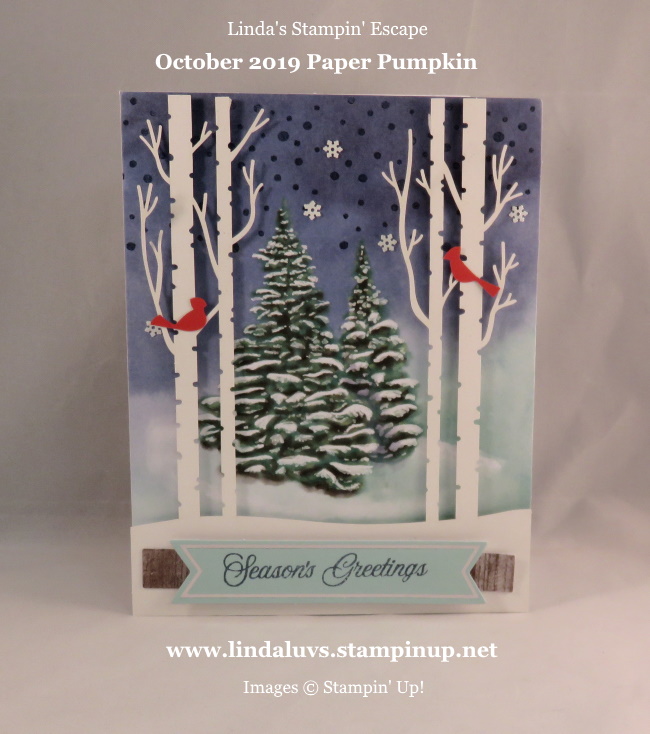
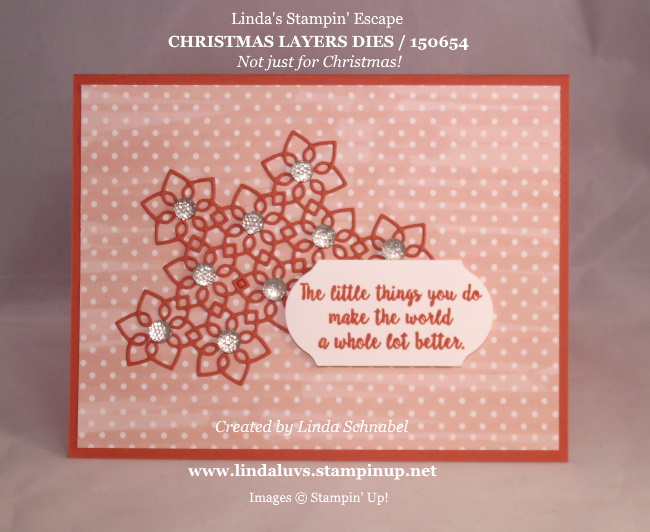
I started with a Cherry Cobbler base, one of the coordinating colors in the Wrapped in Plaid designer paper. I wanted this card to have a more rustic feel so I used a Crumb Cake front embossed with the Pinewood Planks embossing folder. I then layered a strip of the Wrapped in Plaid Specialty Designer paper with a Whisper White mat.
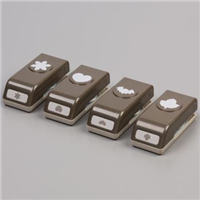
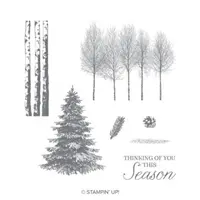
The tree was punched out using the Pine Tree punch and was mounted onto a piece of Vellum Cardstock that was cut with the layering circles dies. I could not resist decorating my tree, so I punch out a Shaded Spruce “heart” from the Every Season Punch Pack and then tied a cute little bow out of the Whisper White Bakers Twine.

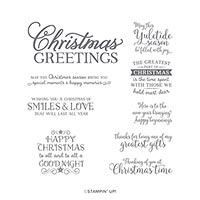
The greeting was added onto a white banner tying all the white together on my card … and to add the final touches, I added 3 Holiday Rhinestones in the Cherry Cobbler color.
I’ll be back tomorrow with another card showcasing the versitile Wrapped in Plaid Suite/Perfectly Plaid Bundle.
Thanks for spending part of your day with me ~
Wishing your day is a good one!

TODAY’S STAMPING SUPPLY LIST: If you liked the products I used in my cards, I have links for you below. Just click on the item you would like more information on, or to begin your shopping. It will take you directly to my website. Thank you ♥
Supply List
Thank you ♥ for choosing me as your demonstrator!
Please feel free to share or save ...