Simply Sunday: Sweet Season

Hello Stampin’ Friends & a Happy Sunday to you!

A quick post for you today, but it’s sure to satisfy your sweet tooth, because our card was created using the “Candy Cane Lane” product suite!

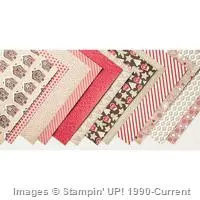
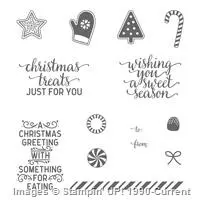
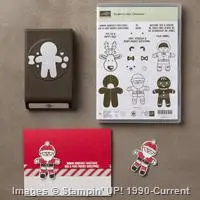
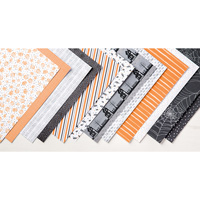
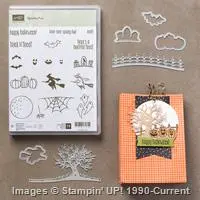
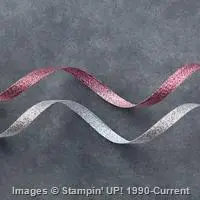
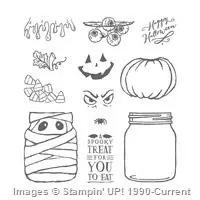
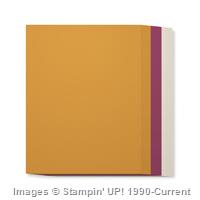
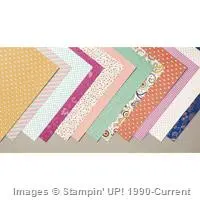
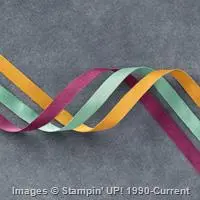
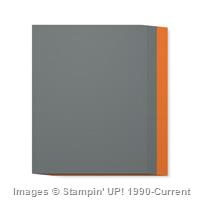
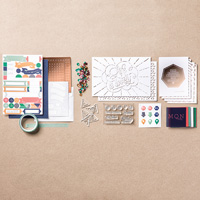
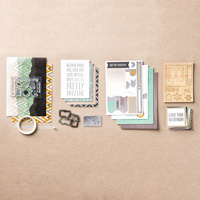
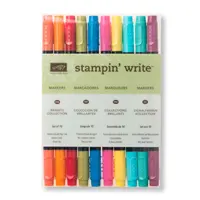
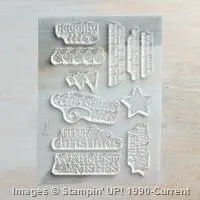
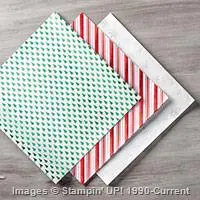
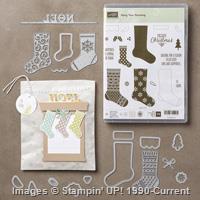
You will need the “Candy Cane Lane” Designer Series paper, the “Candy Cane Christmas” stamp set and the beautiful “Real Red 3/4″ Stitched Edge” Ribbon. Just so you have everything handy … also grab your “Triple Banner Punch”, Whisper White and Early Espresso Cardstock, Real Red ink pad and your Dazzling Diamonds Glitter! Now we’re ready …

000_3701

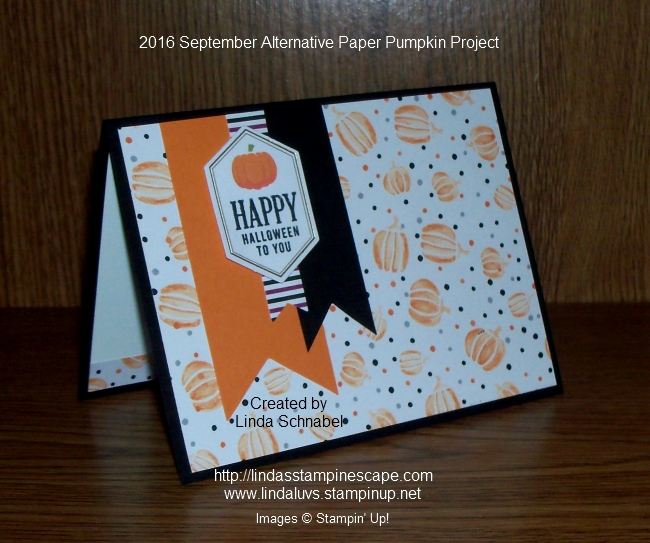
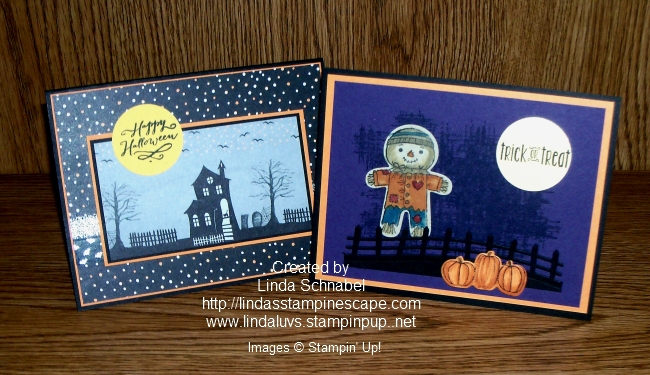
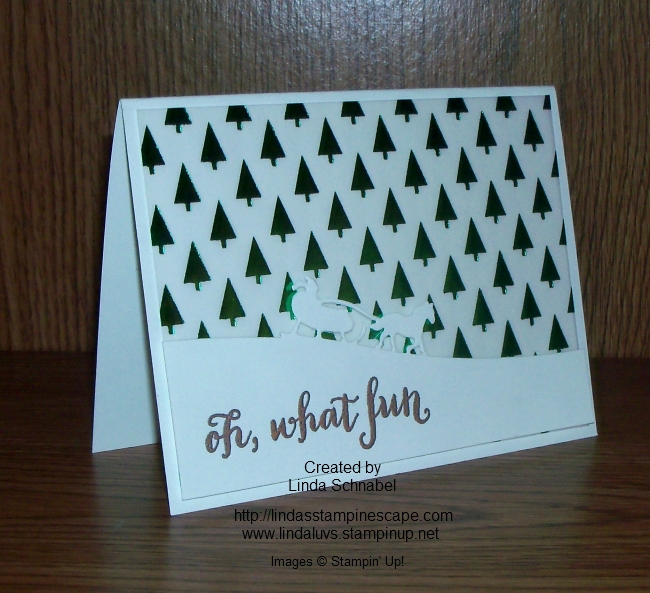
As you can see, the base of our card is Early Espresso as is our 1″ banner. This color not only coordinates with the designer paper, but made our house really “pop”. The banner on the opposite side, balances your card nicely.

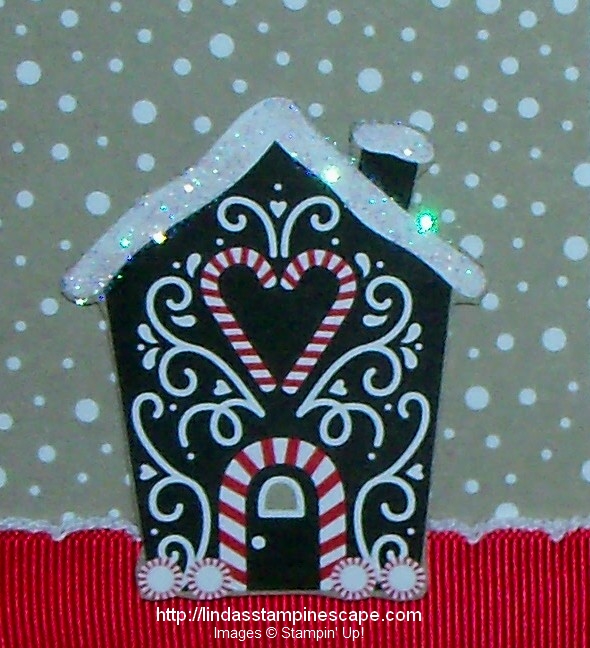
The background reminding me of a snowy day (even though it was crumb cake) We are in the land of Gingerbread houses so I guess anything goes! lol 

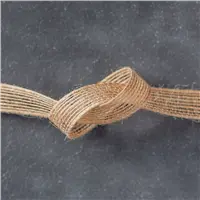
Speaking of houses, our cute little gingerbread house was cute directly from one of the “Candy Cane Lane” Designer Series paper sheets! All we did was add a little glitter! The “Real Red 3/4″ Stitched Edge” Ribbon was added to anchor the house and add a pop of color to the card.  The house was then mounted with our Stampin’ Dimensionals.

000_3701-house-only

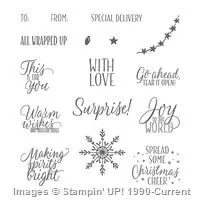
Only thing left to complete the card was the greeting from the “Candy Cane Christmas” stamp set, and I truly with you a Sweet Season!

Thank you for taking time our of your Sunday to visit, I hope you enjoy the rest of your day.

Better yet, have a sweet day ~

blog-closing-small                     starry-purple-background-vector

TODAY’S STAMPIN’ SUPPLY LIST … Just click on the photos below for more information about the product or to begin shopping. REMEMBER … All orders over $50 (before shipping & handling) will be added to your virtual rewards card. When your card is full – I will notify you to pick out a FREE Stamp Set of your choice!


Wonderful Birthday Wishes

Hello Stampin’ Friends ~

Today I’m going to share with you a sweet card to celebrate a friends birthday, and what better way than to send a “Basket of Wishes”. This is the stamp set that creates the focal point of your card.

Let’s begin with the “Pretty Paisley” textured embossing folder … this is your first step in creating this card. I love the way the oval encompasses the greeting and our dragonfly, then brings your eye right to your focal point … the basket of flowers.

000_3693

The basket and flowers were simply colored with multiple markers … you could watercolor with the Aqua Painters is you wanted a more subtle look.

Our cute little dragonfly comes from the “Touches of Texture” stamp set found on page 141 of the Annual catalog. There are no rules that say you can’t mix and match stamp sets, in fact, Stampin’ Up! designs many of their sets to coordinate and flow with each other … Love it!

Just a quick post today to get you back to your weekend, but I appreciate that you stopped in to check out my blog. Thank you.

Have yourself a wonderful day ~

blog-closing-small         starry-purple-background-vector

TODAY’S STAMPIN’ SUPPLIES …


A Few Spare Parts

Hello Stampin’ Friends ~

How are you on this Friday? I am excited to share this totally cute card with you today!!

Have you ever just looked at a stamp set or a crafting item and this “IDEA” pops into your head? Well that is exactly what happened to me when I opened my September Paper Pumpkin kit! Right away my thoughts went to our Cookie Cutter Halloween stamp set and a little item I had in my kitchen cupboards … Intrigued??

Well wait no more because here it is …

000_3691

I’m just in love with the Cookie Cutter stamp sets (Halloween and Christmas) they are just the cutest! But when my Paper Pumpkin kit came and I saw the little test tubes, something just clicked!! I remembered I had some little candy bones left over from last Halloween’s cupcake decorating, so I put it all together!

Seriously, aren’t there days when we all could use a “few spare parts”! I couldn’t resist. Hmmm … if we didn’t have the “Halloween Nights” designer paper in our background, you might be able to send this off to someone going into a surgery … they would need to have a good sense of humor though!

I hope you had as much fun with this card as I did creating it! Thanks for checking in on me today.

I think from now until Halloween … I will reserve my Friday posts for Halloween and we’ll call it Friday Frights! You may see a few in between as well 😉

 Have a Frightfully Fabulous Friday!

blog-closing-small          starry-purple-background-vector

TODAY’S PRODUCT LIST …


Happy Halloween to You …

Hello Stampin’ Friends ~

Did you check out the video yesterday?  Cute right? Well, today I have an alternative project I’d like to share with you …

000_3685

I teamed up the September Paper Pumpkin with the adorable “Halloween Night” Specialty Designer paper. Use the paper as a background and add a few banners and you’ve got a great start to a quick -n- cute card.

I added the little striped banner from the Paper Pumpkin kit along with the tag which completes are card.

000_3682

Remember all the stamps are also included in the Paper Pumpkin kit … they are valued around $14.95, and when you add all the other goodies, it makes Paper Pumpkin a steal!!

Take advantage of our BOGO sale and get October as your first kit, and November for FREE! As a subscriber … you can get any past kits! FYI ~ Our stamps are exclusive to Paper Pumpkin and will not be available anywhere else.

pp_bogo_demo-header

Hope you enjoyed today’s alternative project … stop back tomorrow and see what I’ve done with the tube!!  Oh …….. I can’t wait to show you!! See you then.

Thanks so much for dropping in on me today,

Hope your day is a good one.

blog-closing-small                starry-purple-background-vector

START YOUR PAPER PUMPKIN SUBSCRIPTION HERE …. CLICK HERE or


Something Good to Eat!

Hello Stampin’ Friends ~

I have the cutest little 3-D projects to share with you today! Whether you’re planning for Thanksgiving, Halloween, or just autumn in general, Paper Pumpkin has you covered with Something Good to Eat! Fill up those trendy treat tubes and dress them up for any occasion. The designs and stamps are flexible for all your fall festivities!

000_3678

You must watch this cute video …

Don’t think it’s too late! In fact, if you Sign up before the 10th of October, you’ll get your October kit and the November kit for FREE!!  Plus … as a subscriber, you can purchase any past kits Ta-da … that’s how you get any of the past kits you choose!!

pp_bogo_demo-header

Use promo code “BOGO” at PaperPumpkin.com, you’ll pay the regular price of $19.95 and get you second month for FREE!

I’d love to have you join my Paper Pumpkin Pals!

Thanks so much for joining me today, let me know if you have any questions about being a Paper Pumpkin subscriber or Paper Pumpkin pal.

Be sure to stop back tomorrow to see what I have created with this cute little kit!! It’s always fun to see the different ways to use your kits.

Have yourself a wonderful day!

blog-closing-small

Two 4 Tuesday: Halloween Fun

Hello Stampin’ Friends ~

Today I have 2 cute Halloween cards to share with you. One that was inspired by the Designer Series paper I used on my scrapbook page on Sunday and the other is made from the “Cookie Cutter Halloween”.

Let’s start with the cute little scarecrow from the “Cookie Cutter Halloween” … these little characters are just irresistible! You can purchase the punch separately or get the Cookie Cutter Christmas bundle like I did… then you be set for Christmas too!

000_3663

I teamed up our cute scarecrow with the Halloween Scene / Spooky Fun Bundle … this is where the fence and the pumpkins come from. It’s amazing how well all of these stamp sets to together. I also used the “Watercolor Wash” background stamp to create an little depth on the card.

As simply as our scrapbook page was on Sunday, it was just as easy to create this cute Halloween card …

000_3666

I used the “Halloween Night” Specialty designer paper with the houses and used this fun “dotted” pattern as my background. I matted it in Basic Black and Pumpkin Pie … I love the pop of color – it brings your card to life!

Another pop of color comes from the moon, which was punched from the 1-1/4″ circle punch and stamped with the “Happy Halloween” from the “Jar of Haunts” stamp set. I’ll be sure to share my creations from that set with you too!

I love the “Halloween Night” washi tape so I added it to the background to break it up. I used the black with the silver bats, which inspired me to add the silver ribbon from the “Glitter Ribbon” Combo pack found on page 37 of the Holiday Catalog. Nothin’ like a little razzle dazzle on your Halloween card!

000_3668

Hope you enjoyed this introduction to Halloween fun … I will be sharing much more with you.

Thank you for hopping over to my page today ~

I hope you have a wonderful day.

blog-closing-small             starry-purple-background-vector

TODAY’S STAMPIN’ SUPPLY LIST …


Thankful * Grateful * Blessed

Hello Stampin’ Friends ~

Yesterday I said I would share a card created with our Petals & Paisleys product suite that can be found on pages 46 and 47 of the Holiday Catalog. I never really considered myself much of a “paisley” person but the beautiful cards I have seen with this product suite inspired me to create this card for you.

000_3657

I love combining products that we already have with our new goodies! Today I have used the “Floral Affection” embossing folder with our Paisleys. You will want to emboss first and then stamp your greeting.

Our color pallet consists of Night of Navy, Delightful Dijon and Very Vanilla. The beautiful designer paper is the “Petals & Paisleys” Specialty Designer paper…. Special because of the two sheets included that have been embossed with beautiful Copper highlights!

I used the “Ribbon Trio Pack” to finish the edge of my designer paper. It is so pretty in “real life” … it has a bit of a shimmer to it – just gorgeous! Of course the pretty die cut posies are from the Paisley framelits (which I have listed below in the bundle) We attached those with Glue Dots and topped them off with a pearl.

000_3661

You cannot make this pretty of a card without putting something on the inside, so I chose the beautiful saying “My world is brighter and more beautiful because of you”, which is included in this stamp set (bundle) … and again the pretty stamped posies are also included in the stamp set.

I’m keepin’ my post short and sweet today just because it’s Monday … I hope this card brightened your day! Thanks so much for stopping by.

I’ll be back tomorrow with a 2 for Tuesday!

blog-closing-small      starry-purple-background-vector

TODAY’S STAMPIN’ SUPPLY LIST …


Simply Sunday: Halloween Night Scrapbook page

Hello Stampin’ Friends ~

Today I have for you a scrapbook page! Stampin’ Up! has made it easy to do some quick -n-cute scrapbook pages … let’s start on page 51 in the Holiday catalog.

The base of my scrapbook page is the “Halloween Night” 12 x 12 cardstock pack. I can’t tell you how excited I was to see colored 12 x 12 cardstock back – a scrapbookers delight!  Woooo Hoooo!

000_3646

Now … here comes the easy part, the “Halloween Nights Specialty” designer paper has a cute sheet that has little haunted houses all over it, so I simply just cut off the bottom layer of houses and added it to my page!

Your page will come to life when you add pictures of your cute trick -or- treaters going from house to house. Don’t forget that close up shot of their cute little face 🙂

This close up shows you the detail … right down to the cute little “Pumpkin Pie” dots. As you know, our designer paper is created using our family of colors so everything coordinates beautifully.

000_3651

 My hauntingly cute ghosts were created from the Paisley framelits (although you’ll want to bundle that set) and the faces came from the “Spooky Fun” stamp set (also has a great bundle).

Tomorrow I’ll share a “Paisley” card with you and on Tuesday I’ll share 2 quick cards from our “Halloween Nights Specialty” designer paper… so I hope you stop by, or better yet, just follow my blog and you’ll get an e-mail each time I post!

Thank you for the visit and can’t wait to show you the other projects!

Have an awesome day ~

blog-closing-small          starry-purple-background-vector

TODAY’S STAMPIN’ SUPPLY LIST …


Merry Christmas Wishes Card

Hello Stampin’ Friends ~

Today I have a quick post for you that showcases one of the cards that we did at my Holiday Catalog Launch party. Head over to page 24 of the catalog and hop in Santa’s Sleigh to follow along on the journey.

The card was cased from a fellow demonstrator … I fell in love with the simplicity yet beauty of the card.

We begin with the  Pretty Paisleys Textured Embossing Folder on page 47, and will emboss it on Very Vanilla cardstock. I love the way the embossed image frames our entire card.

000_3639

Our next step was to stamp the tree image inside the oval in Always Artichoke. I also used Always Artichoke to mat the embossed piece for a little extra pop of color.

You will need to stamp the deer in Soft Suede onto Soft Suede cardstock … Do same with the bow and gift package (Real Red ink onto Real Red cardstock) Then you will cut them out with the framelits included in your bundle.

000_3643

I used the new Burlap Ribbon from the annual catalog, and pulled a string out of it to use as my bow on the present. The gift was mounted with a Stampin’ Dimensional.

The greeting was stamped on a scrap piece of vanilla cardstock and I simply trimmed the edges by hand. You could also use the Triple Banner punch to make your banner.

We added a some holiday cheer to the inside of our card and a bit of our tree. The tree was also stamped on the envelopes so we had a nice coordinating card to mail.

000_3642

You could purchase the stamp set and framelits separately but it’s much better to save 10% by bundling! Besides, you are going to want the sleigh … I’ll be sure to share samples in the upcoming holiday season.

Hope you enjoyed our card as much as the group at the Holiday Catalog Launch party liked it.

I thank you for spending a bit of your Saturday with me.

Enjoy your weekend, and I’ll be back tomorrow with a little surprise for my Simply Sunday series.

blog-closing-small

TODAY’S STAMPIN’ SUPPLY LIST …

starry-purple-background-vector
000_3639


More Special Offers …

Hello Stampin’ Friends ~

Today I’m going to share the new group of products that has just been released ..

6a00d8354941d869e201bb09369bf1970d-600wi

All Year Long Project Life Accessory Pack
Price: $18.00 $13.50
Good Vibes Project Life Accessory Pack
Price: $18.00 $13.50
Good Vibes Project Life Card Collection
Price: $16.00 $12.00
Hello Lovely Project Life Accessory Pack
Price: $18.00 $13.50
Hello Lovely Project Life Card Collection
Price: $16.00 $12.00
Layering Ovals Framelits Dies
Price: $35.00 $26.25
Ma chérie Project Life Accessory Pack (French)
Ma Chérie Project Life Accessory Pack (French)
Price: $18.00 $13.50
Ondes positives Project Life Accessory Pack (French)
Ones Positives Project Life Accessory Pack (French)
Price: $18.00 $13.50
Toute l'année Project Life Accessory Pack (French)
Toute L’année Project Life Accessory Pack (French)
Price: $18.00 $13.50

Here are some really cute samples of projects that were created with the Project Life items by one of our Artisan Design Team 2015–2016 … Joyce Fowler.

1

5

Just think of all the wonderful projects you can make with these kits … and don’t forget about quick and easy cards (that’s one of the reasons I buy Project Life!)

Thanks for joining me today …

I hope you have a wonderful day, and let the weekend begin!

blog-closing-small


It’s a Merry Medley …

Hello Stampin’ Friends ~

Woooo … sorry about that! I had a sinus headache turn migraine yesterday and it won! I don’t normally get headaches, especially like that but I’m here today with the card that I promised.

We made 10 cards at the Holiday Reveal party that highlighted a number of the stamp sets. It was truly hard to choose which stamps to use, there are so many awesome sets and bundles this year!!

Today I’d like to share the card I created using the “Merry Medley” stamp. This is one background stamp … I choose to purchase the wood when it comes to background stamps because I like the weight of the wood.

000_3633

I flip my stamp “rubber up” then ink it … today we used the Whisper White Craft ink on Basic Black Cardstock. I find this to be the easiest way to use the background stamps … by placing the rubber up and placing the cardstock on top, you have more control over the position and coverage on your card.

After picking my cardstock off of the stamp, I dipped it into White Embossing Powder, tapped off the excess and heat embossed it. I love the “white on white” look because it is more bold than if you use a VersaMark or other emboss pad … even though they work well, this is just my preference.

I teamed up the “Merry Medley” stamp with the “Holly Berry” Bundle. I punched out the Holly leaves and then stamped on them (usually I do it the other way, stamp first then punch) but with the photopolymer stamps, it’s just as easy to punch these out first then stamp.

000_3633-detail

You’ll see a strip of Real Red cardstock wrapped with the Old Olive Bakers twine … I added that to draw your eye to the cluster of holly leaves and it coordinates nicely with the red berries. The berries were created using the Rhinestones and a red Sharpie™. The entire front was matted with Real Red cardstock and mounted onto the Black base of the card.

000_3637

The inside was stamped with Momento Ink and colored in with markers. Simple but colorful … if you don’t like to putz with coloring, just stamp your holly in green!

Hope you enjoyed today’s card … we sure had fun on Monday.  What a great group of stampers … Thanks.

Thank you for stopping by today, I hope your day is a great one.

blog-closing-small

Today’s Stampin’ Supply List …

000_3633


They’re Back ….

Hello Stampin’ Friends ~

I am so excited to announce the new items listed on the Clearance Rack … Oh my gosh, there are 5 pages of items!!

I would love to share some of my favorites, let me begin with “Banner Blessings” …

000_1728

Then we have the very versitile holiday greetings: Christmas Bliss.  Christmas imagery that is perfect for beautiful holiday cards and tags. Recommended clear block sizes are H, C, and G (not included in the set).

000_1722

And let’s not forget the beautiful Holidays Fancy Foil Designer Vellum! These vellum sheets make gorgeous accents, invitations, and overlays.

000_2941 000_2937

OH MY … there are just too many to post!  Take a look CLICK HERE and check it out for yourself. I know some of your favorites will be on there too, including some of those in-color cardstocks we were so sad to see go.

Let me know if you have any questions on any of the products or if you need any help.

Thanks so much for stopping by, and be sure to stop back tomorrow as I will be posting one of the lovely cards that we made at the Holiday Catalog Reveal party.

Have a great day today!

blog-closing-small

Here’s a link to the products I highlighted today from the Clearance Rack …

“Merriest Wishes” …

Hello Stampin’ Friends ~

Quick post today but cool ideas to share! Meet the “Merriest Wishes” bundle…

Merriest Wishes Clear-Mount Stamp Set
Share your joyful wishes and glad tidings with tags you make yourself with the Merriest Wishes Stamp Set. You won’t be fumbling around for the right look when you’re using this set of round stamps.
* Quantity: 11 rubber stamps
* Suggested clear blocks (sold separately): a, c, d

Merry Tags Framelits Dies
* 7 dies
* Largest image: 2-1/2″ x 2-1/4″ (6.4 x 5.7 cm)
* Use with Big Shot
* Use Precision Base Plate with detailed images

Now let’s look at some cute projects that you can create with this bundle …

holiday16_p20c-108

Homemade gifts are all the rage these days, and why? Because they are gifts from the heart, and what better way to jazz up your gift than to make your own gift tags … and I love this simple tag with the die cut tree!

holiday16_p20a-107

OK … who doesn’t love a gift, yet these are so cute you may not want to open them! I just fell in love with the Merriest Wishes tag with the deer and tress – perfect for anyone’s gift.

Hope you enjoyed today’s showcase. Thanks for checkin’ in on me.

Have a wonderful day ~

blog-closing-small

TODAY’S SHOWCASED PRODUCTS …

Simply Sunday: Making Spirits Bright

Hello Stampin’ Friends ~

Before I share my card with you today, I want to take a moment to honor those we lost, those who helped, and those who lost their loved ones on this day 15 years ago.  It changed the face of America, but we became strong and rebuilt as we always do.

remembering911

Terrorism is evil and still rears its ugly head all over the world … let’s stand strong together. We are one people and are more a like than we are different (Our Olympians and stampers are a good example of that). Let’s remember how this tragedy brought us together, neighbor helping neighbor, rebuilding together.

We’ll never forget but we move forward, and we live to honor those we lost.

Today’s card is “Making Spirits Bright” …

Yesterday I shared a video of our new “Cable Knit” embossing folder and promised a cute card using this folder.  It is a lot thicker than the folders you are used to using, this is so we can get the detail …

000_3630

I used the cable knit as my background and with it’s deep emboss, it won’t get lost on the card, it stands up on it’s own. It’s done in Very Vanilla and mounted on Garden Green cardstock. The cute little stocking come from the “Hang Your Stocking” bundle.

Our “Making Spirits Bright” comes from the stamp set designed to coordinate with the “Tin of Tags” … however, get your moneys worth and use it on all it’s cards – it’s very versatile!

Let me know what you think … I’ve been missing my stocking die, but now we have the really cute bundle 🙂

Thank you for sharing a part of your day with me. Let me know what you think of the card / embossing folder. I’d also like to know what you want to see … I’d love to help 🙂

blog-closing-small

STAMPIN’ SUPPLY LIST ….


Handmade for the Holidays

Hello Stampin’ Friends ~

Today I’d like to share two videos with you for some fun and to introduce you to the new “Cable Knit” embossing folder, it’s one of those “I didn’t know” so now you will 🙂

Take a look at this cute video from Stampin’ Up! introducing the new Holiday Catalog …


This embossing folder is designed to impress—really impress. It creates a deeper, showier impression. Watch and see how to add easy depth to your crafting.


I’ll leave you with this cute card made by Stampin’ Up! and featured in the Holiday Catalog ….

holiday16_p12a-132

Stop back tomorrow and see the simply cute card that I created using the new “Cable Knit Dynamic” Embossing Folder.

Thanks for stopping by and have yourself a wonderful day.

blog-closing-small