Happy Sunday Stampin’ Friends,
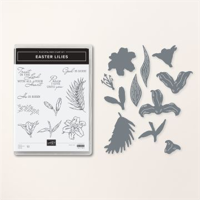
As we approach the sacred season of Easter, it’s a time for reflection, renewal, and reverence. One of the most beautiful ways to capture the spirit of this holy occasion is through heartfelt crafting. And what better way to do so than with the captivating Easter Lilies bundle?
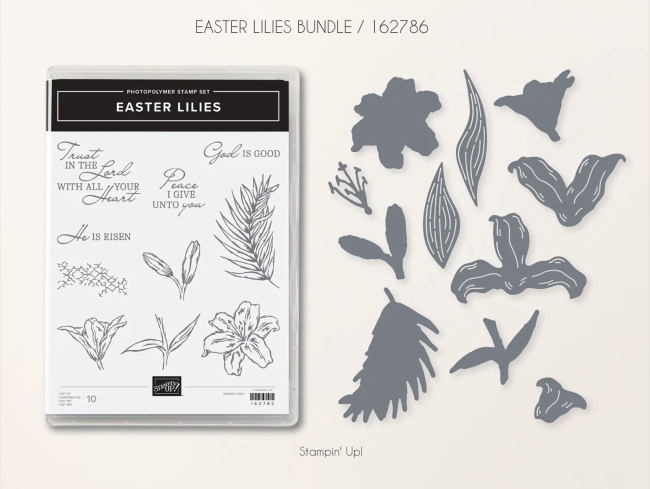
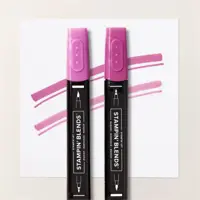
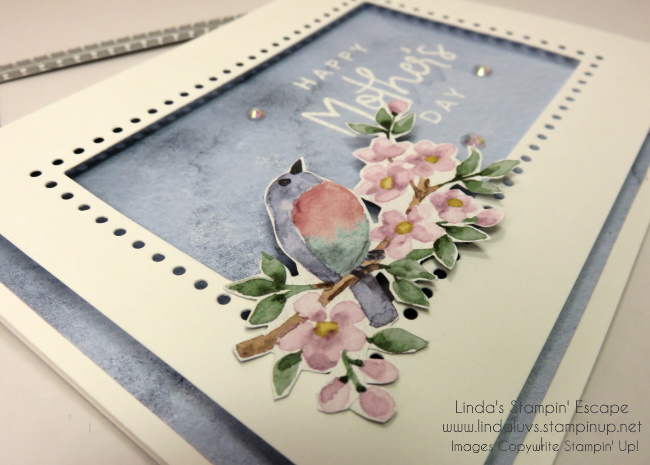
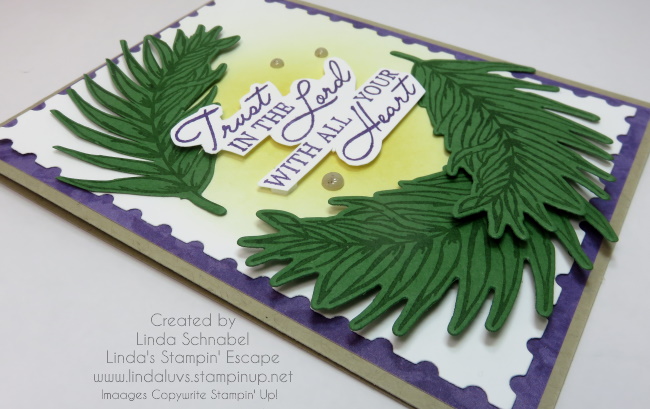
With this bundle, I embarked on a creative journey, selecting the Glorious Grape shade, a color imbued with symbolism that echoes the essence of Lent – penance, humility, and a profound sorrow for the suffering of Jesus. It’s a hue that speaks volumes, reminding us of the sacrifices made and the journey of faith we undertake during this solemn period.
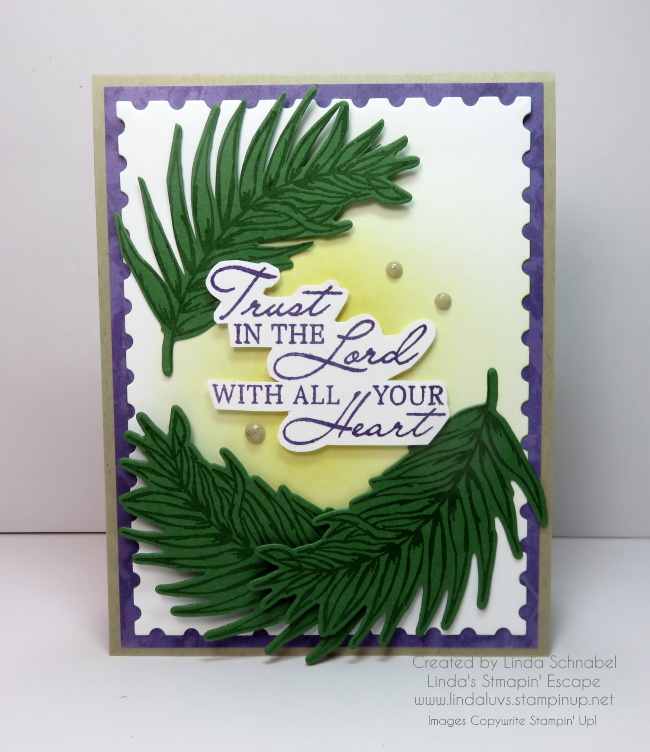
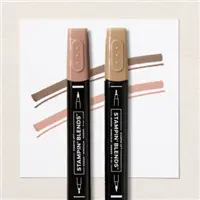
Complementing this regal color, I opted for Crumb Cake cardstock and embellishments, elements that gracefully symbolize the enduring symbol of Christianity – the cross. As I worked with these materials, I felt a sense of connection to the profound narrative of Easter, each choice and embellishment placed carrying the weight of centuries of tradition and faith.
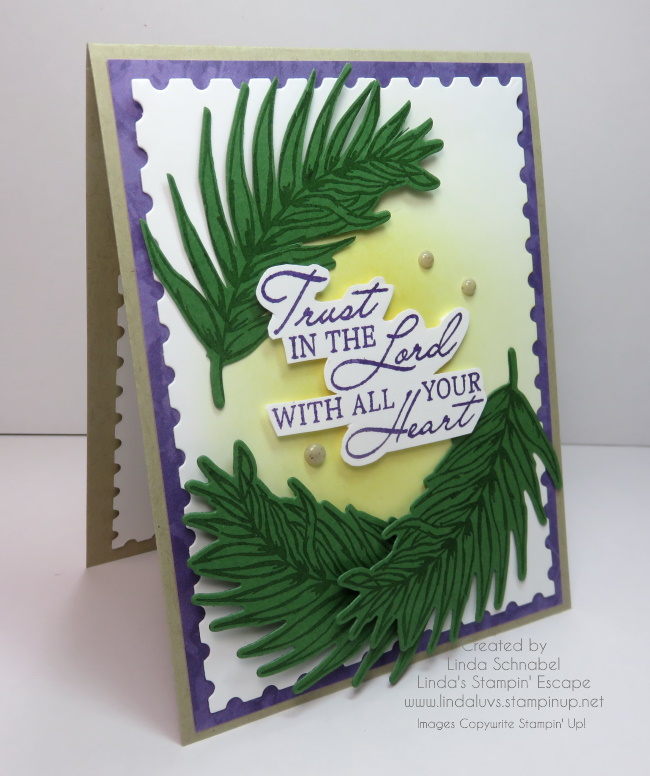
Stamping palms with Garden Green ink onto Garden Green cardstock, I couldn’t help but marvel at the versatility of this bundle. While Easter may be its focal point, its potential extends far beyond the confines of a single holiday. It’s a tool for expressing devotion, gratitude, and joy throughout the year, infusing every creation with a touch of spiritual significance.
This bundle isn’t just about crafting; it’s about crafting with intention. It’s about infusing each project with meaning and purpose, allowing creativity to intertwine with faith in a truly profound way. Whether you’re creating cards, decorations, or keepsakes, the Easter Lilies bundle serves as a conduit for both artistic expression and spiritual reflection.
As we prepare to celebrate Easter, let us embrace the beauty of this season and all it represents. Let us take a moment to pause, to create, and to connect with the deeper significance of the holiday. And what better way to do so than with the enchanting Easter Lilies bundle, a treasure trove of inspiration and symbolism waiting to be explored.
I thank you and appreciate you taking time out of your Sunday to stop by my blog today. God Bless.

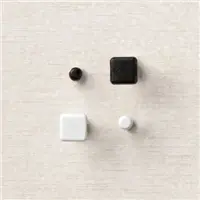
My apologies, I did not realize that the embellishments I used had been discontinued. May I suggest the Brushed Metallic Dots as they could represent the nails in the cross.