I would like to invite you to join me tonight for my Facebook LIVE … I will be sharing how to cut this sheet of the Fresh as a Daisy designer paper that I’ve been sharing samples with you the past few days! Plus … I’ll also be sharing MORE cards.
I hope you are enjoying all the samples of cards created from the pieces cut from that 12″ x 12″ sheet of Fresh As A Daisy Designer Series paper. Hope to see you tonight … Here’s the link to my Facebook page / CLICK HERE!!
Today I have 2 additional cards from the beautiful Fresh As A Daisy Designer Series Paper. I have more of the NEW Colors share with you today too.
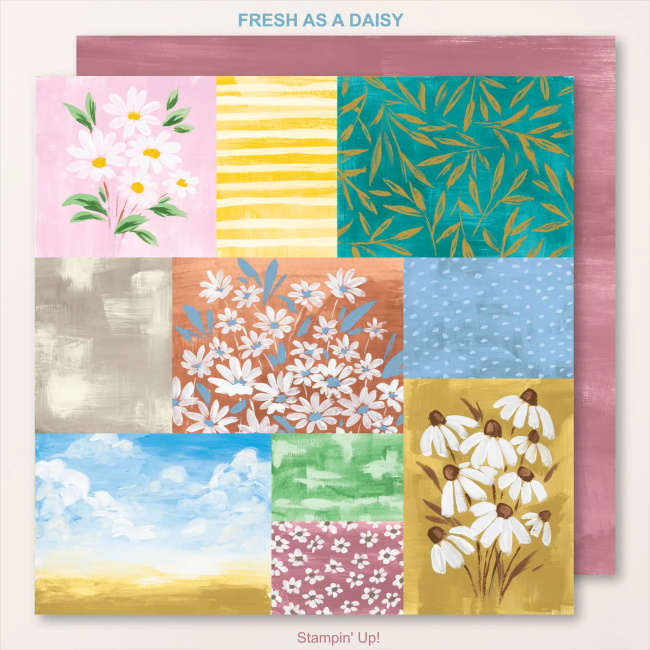
Let me start with the Designer paper as a reminder of how I’m getting all of these cute patterns …
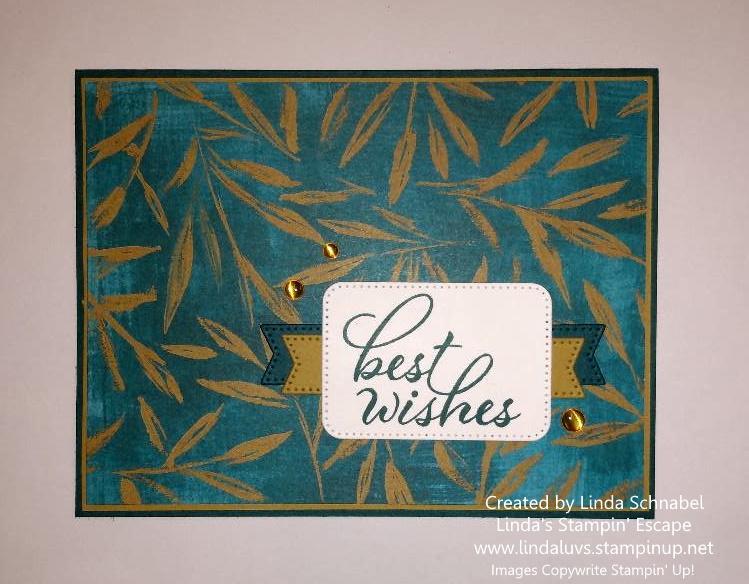
My first card today highlights the “returning” Pretty Peacock and the New Wild Wheat. I am also highlighting the NEW Layering Leaves stamp set (I LOVE this set!!) on both cards today, yesterday I used the greetings from the Cheerful Daisy stamp set.
The designer paper piece cuts to 4″ x 5-1/4″ and has a Wild Wheat mat that measures 4-1/8″ x 5-3/8″ … The card front was then layered onto the returning color; Pretty Peacock that measures 5-1/2″ x 8-1/2″ then scored and folded at 4-1/4″.
Using a piece of scrap, I stamped my greeting in Pretty Peacock and die cut it using the NEW Nested Essentials Dies, then I used the small banner die from the same set and cut two Wild Wheat and two Pretty Peacock banners to create the layering behind the greeting … it creates and nice focal point to the card. I then embellished the card with the Wild Wheat dots from the 2023-25 In Color Dots.
My last card for the day highlights the NEW Bubble Bath and Pebbled Path … I love pink and grey together and this card turned out stunning!
The designer paper that looks like it was painted in Pebbled Path measures 3″ x 4″ and is not matted, instead I used 3 Bubble Bath squares that were die cut from Stylish Shapes and were just “left overs” from my retreat. I also stamped my greeting in Pebbled Path directly onto one of the blocks.
The Pebbled Path base measures 5-1/2″ x 8-1/2″ then scored and folded at 4-1/4″ was stamped with the Daisy image in Pebbled Path to create dimension and a cute background. I really like using the “Color on Color” technique! My daisy and center was stamped in Moody Mauve and then highlighted with a hint of Bubble Bath in the center by using the Sponge Dauber … both were die cut along with extra leaves and they layered onto the front of the card. I then embellished the card with the Pebbled Path dots from the 2023-25 In Color Dots.
I hope you are enjoying all the samples of cards created from the pieces cut from that 12″ x 12″ sheet of Fresh As A Daisy Designer Series paper. I have more in store!!
Today I have 3 cards I’d like to share with you from the beautiful Fresh As A Daisy Designer Series Paper. The sheet that I am using was designed for you to create many different cards!! You’ll see how easy it is to create the pretty cards in no time at all … plus you’ll be introduced to some of the NEW colors.
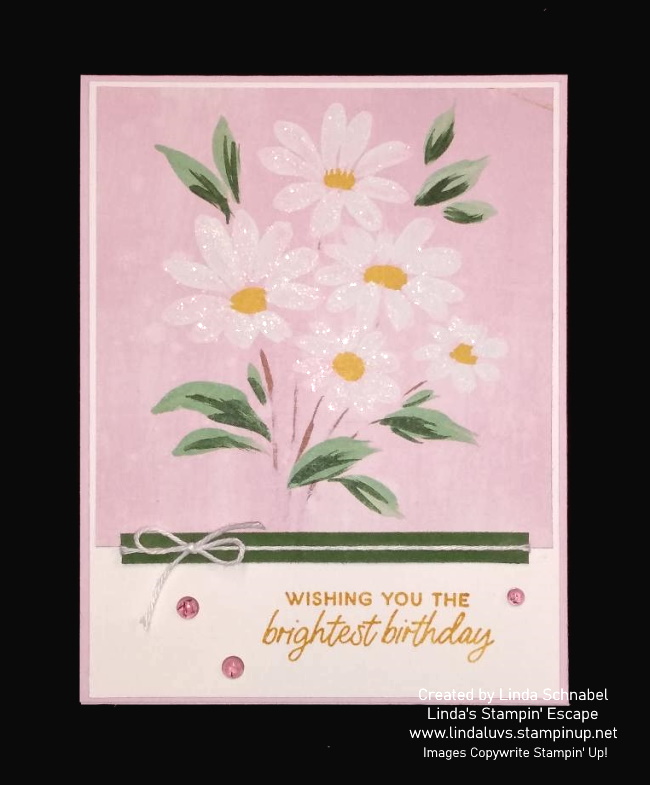
Let me start with the new Bubble Bath (pink) …
The daisies cut to 4″ x 4″ from the sheet and was adhered to a piece of 4-1/8″ x 5-3/8″ Basic White. Our base is 11″ x 4-1/4″ then scored and folded at 5-1/2″. I used a piece of Garden Green scrap for a pop of color and tied a pretty little bow from White Bakers twine. I then stamped my greeting in Crushed Curry to pull that color from the flowers, and added 3 Tinsel Gems (4 pack) that are “Berry Burst” color but looked great on my card. I finished it off with some Wink of Stella on the White daisy petals.
My second card highlights the new Wild Wheat ….
The flower piece cuts to 3-3/4″ x 5-1/4″ and has an Early Espresso mat that measures 3-7/8″ x 5-3/8″ … I then added a strip of Wild Wheat to each side so it stretched out to 4-1/8″ inch. The card front was then layered onto the Basic White base that measures 5-1/2″ x 8-1/2″ then scored and folded at 4-1/4″. Using a piece of scrap, I stamped my greeting in Early Espresso and snipped the ends off at an angle to create a different look.
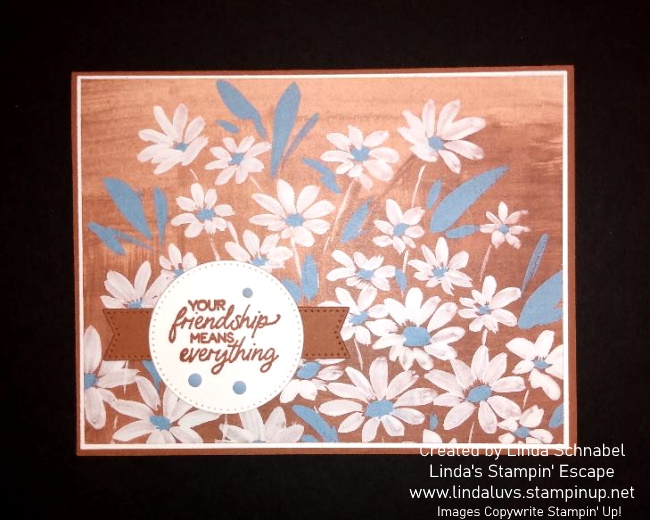
My third and last card for the day highlights the NEW Copper Clay and Boho Blue…
The daisies cut from our designer paper measure 4″ x 5-1/4″ and matted with Basic White measuring 4-1/8″ x 5-3/8″ … this is secured to the Copper Clay base that measures 5-1/2″ x 8-1/2″ then scored and folded at 4-1/4″. I used the Stylish Shapes to cut out my circle for the greeting (stamped in Copper Clay) and the Copper Clay cardstock to die cut the banner. I embellised with the Adhesive Backed Solid Gems in Boho Blue.
Tomorrow I will be back with the other pieces cut from that 12″ x 12″ sheet of Fresh As A Daisy Designer Series paper.
Thank you for taking time out of your Mother’s Day to visit my blog.
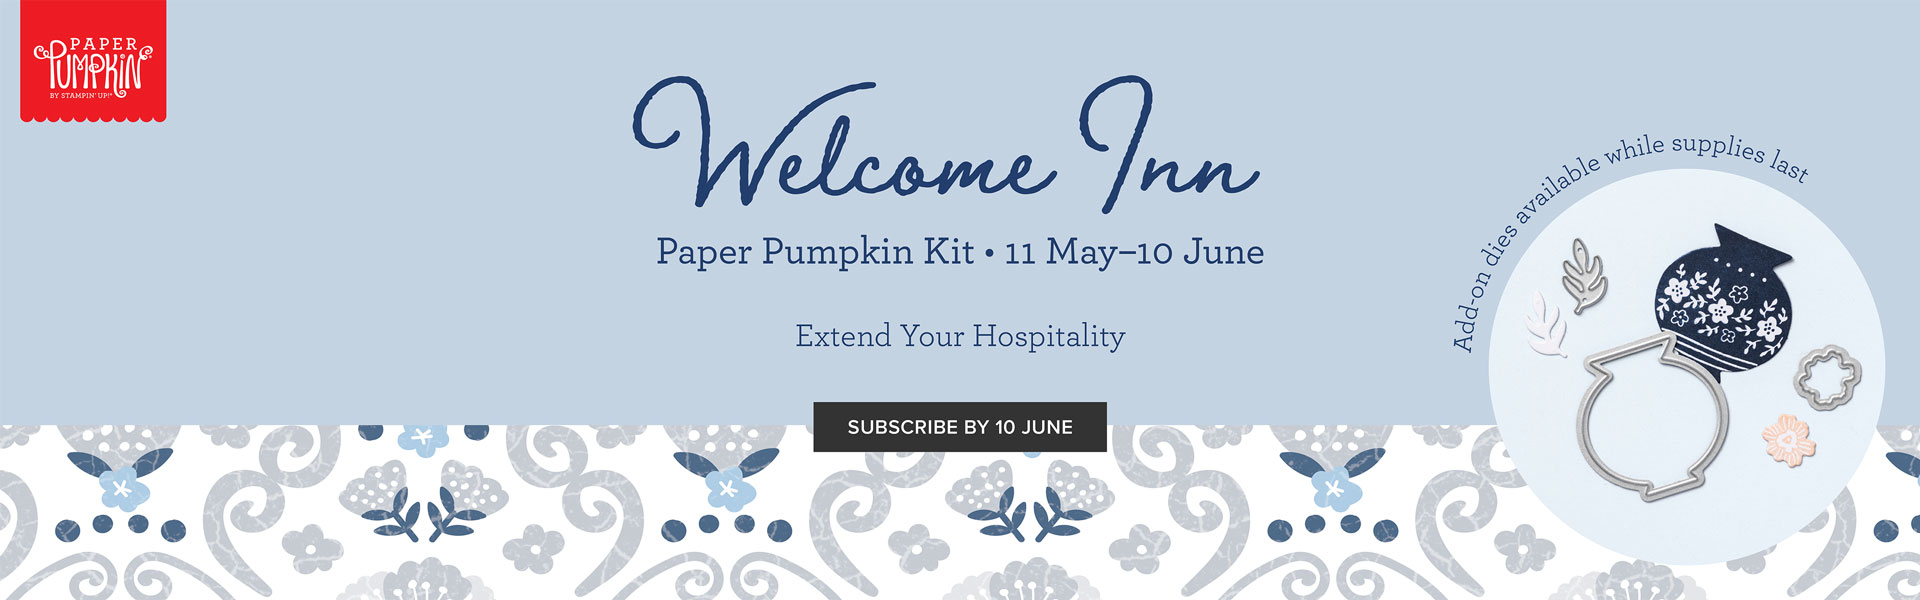
While my Paper Pumpkin fans and I await our our May kits to come, let me introduce you to the Welcome Inn kit….
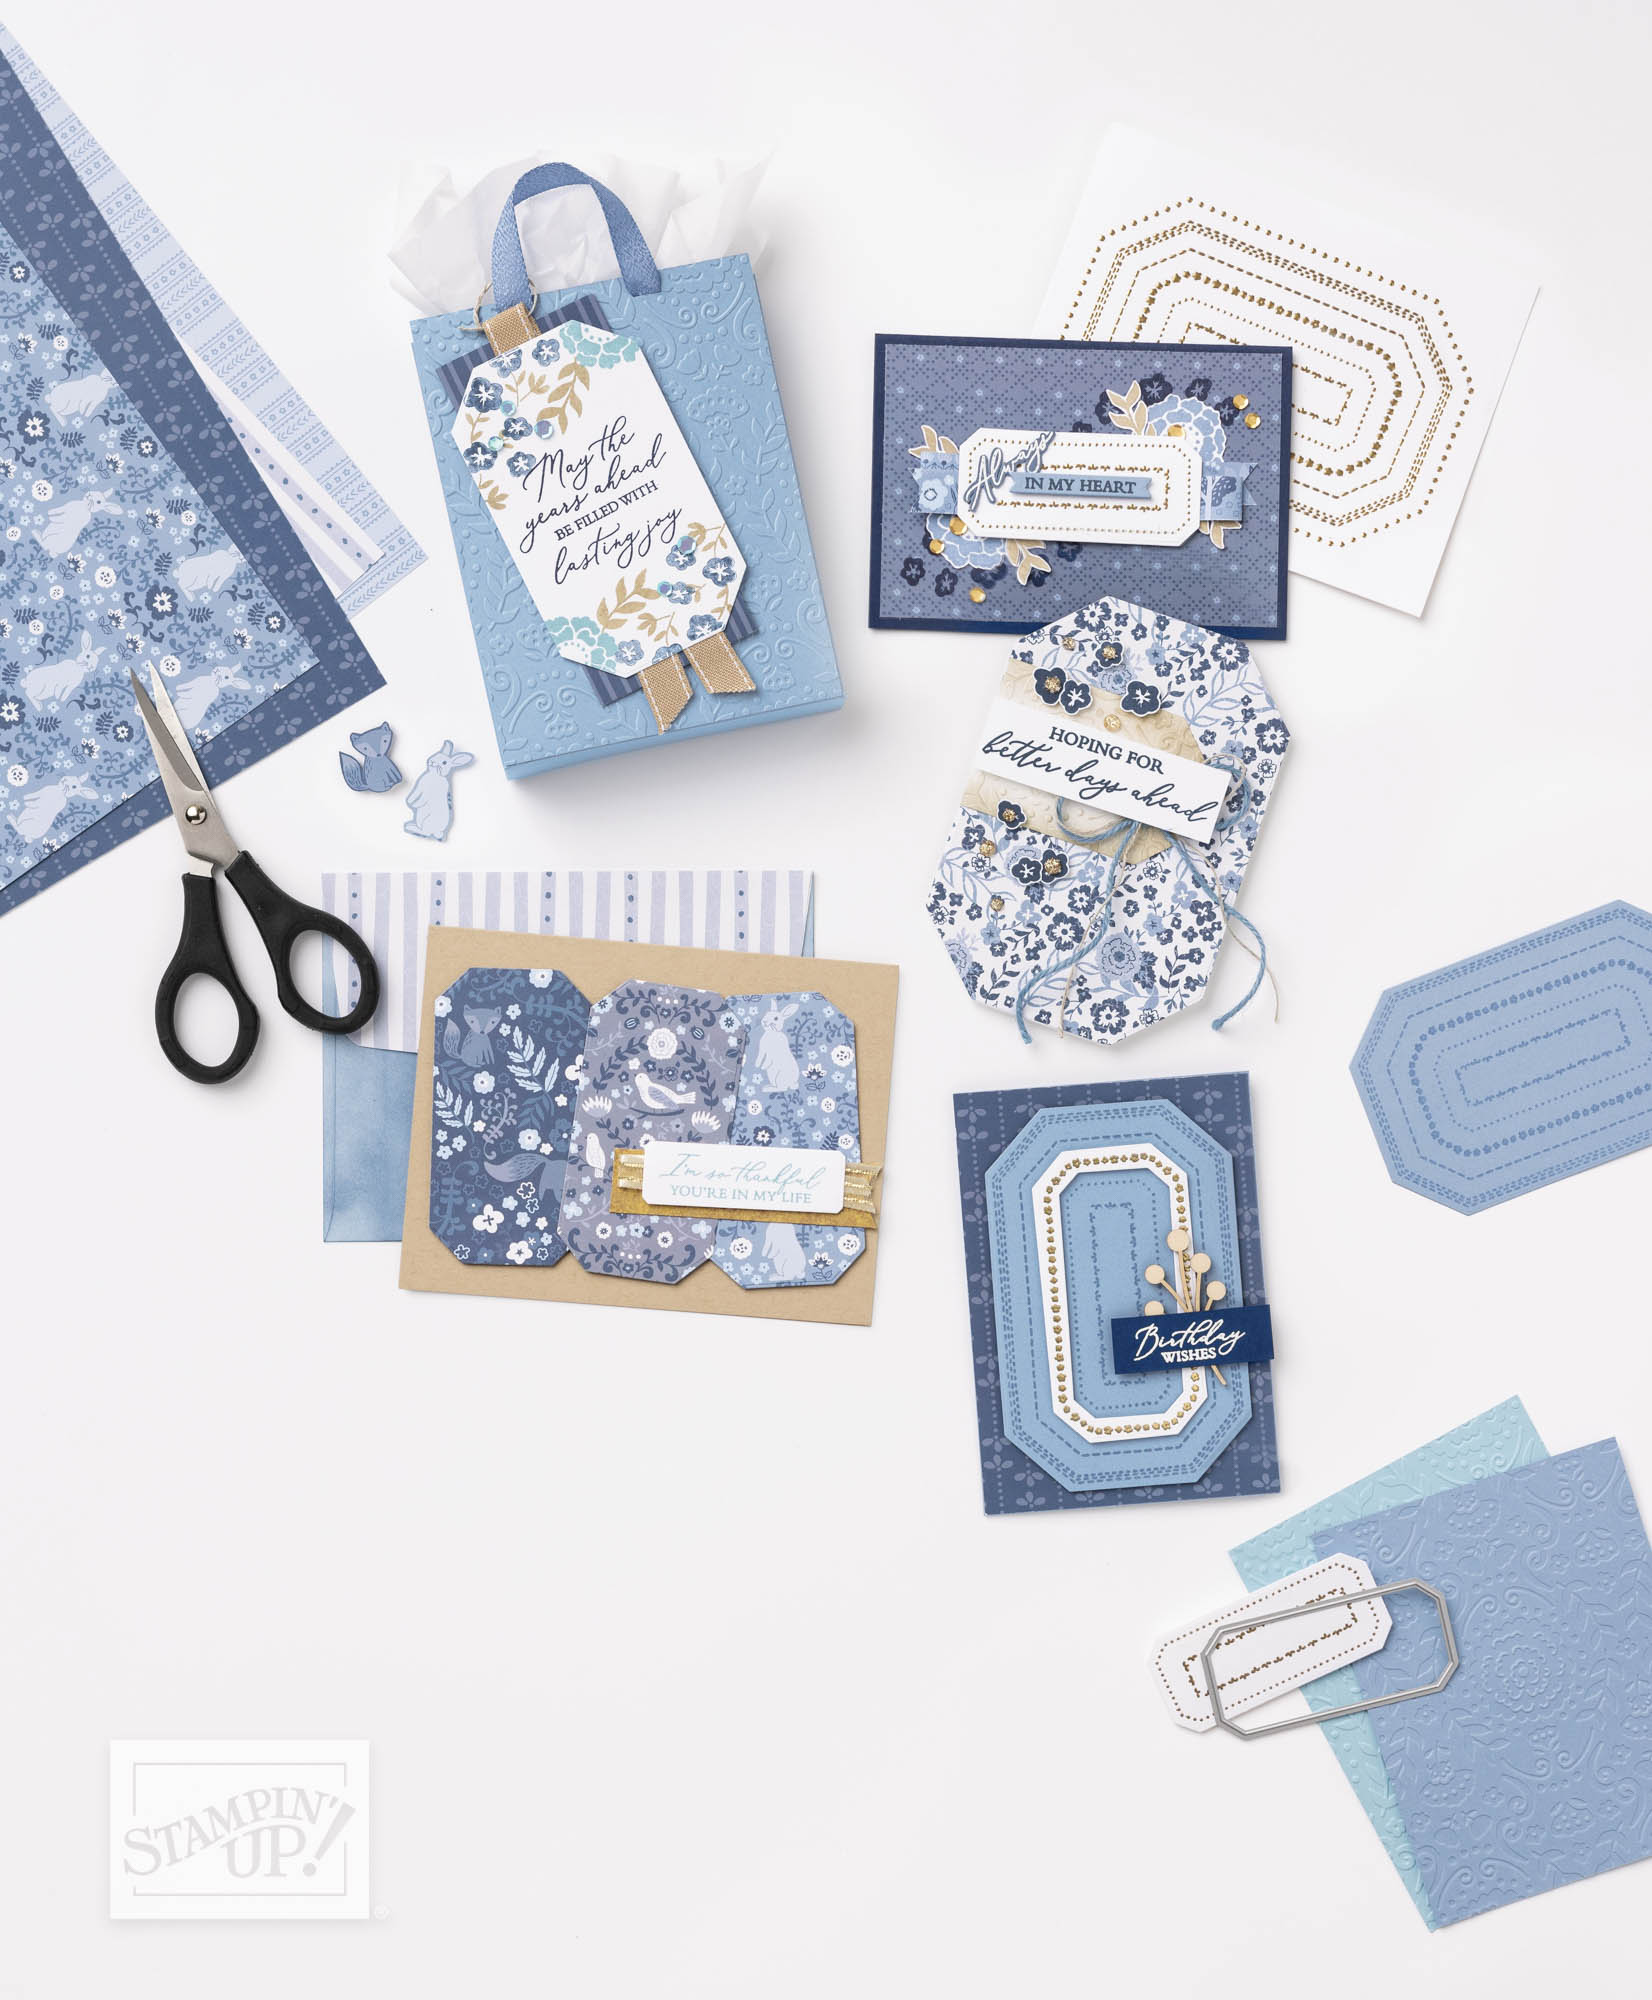
Share your hospitality with the new Welcome Inn Paper Pumpkin Kit! Subscribe by 10 June to get this elegant, sophisticated, and brand new kit with some exclusive crafting benefits!
Each kit includes nine cards, three each of three designs, with gorgeous coordinating envelopes. The floral details and beautiful colors are sure to help you invite guests and loved ones over and share your hospitality.
This kit also uniquely coordinates with the Countryside Inn Suite Collection (item number: 161474) from the 2023–2024 Annual Catalog. It’s the perfect time to get some extra product and get creative with your crafts!
Paper Pumpkin is also offering a dies add-on for the Welcome Inn Kit! (Available while supplies last). There’s so many possibilities, and you do not want to miss out!
Please note, you will need a Stampin’ Cut & Emboss Machine to use the dies add-on. You can subscribe to this months Paper Pumpkin by clicking HERE.
Looking to add a touch of rustic charm to your crafting projects? Look no further than the Countryside Inn Suite Collection from Stampin’ Up!
In this video, we’ll take a closer look at this charming suite, which includes a range of coordinating products to help you create beautiful cards, scrapbook pages, and other projects. You’ll learn about the patterned paper designs, which feature rustic woodgrain, vintage florals, and cozy plaids.
We’ll also take a closer look at the coordinating stamp set, which features a range of charming images and sentiments, perfect for a variety of occasions.
And don’t forget about the coordinating dies and embellishments! With delicate leaves, charming little birdhouses, and a variety of other elements, you’ll have everything you need to create stunning projects with a cozy countryside vibe.
Whether you’re a seasoned crafter or just starting out, the Countryside Inn Suite Collection is a must-have for anyone who loves rustic, cozy style. So grab a cup of tea and join us as we explore this charming suite from Stampin’ Up!
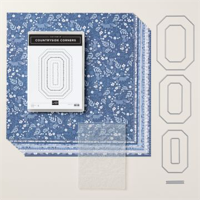
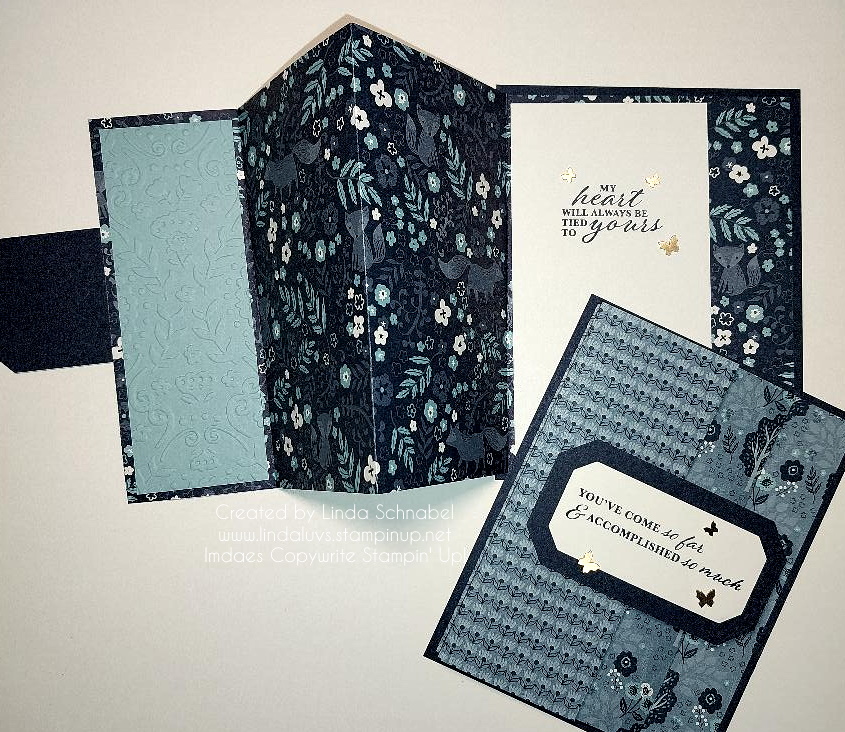
Today I’ll be sharing the Accordion Fun Fold from the replay VIDEO of last nights Facebook LIVE … You are going to love seeing all the cute swap cards from retreat and the one that inspired me to create the two cards I made for you.
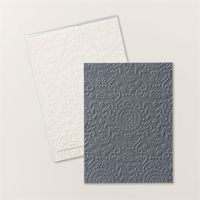
I’m using the NEW Countryside Inn Designer Paper and dies from the suite. The greetings come from the Wonderful Thoughts stamp set. Grab a cup of coffee or your favorite beverage and join me for this short video … you’ll be amazed at how easy the Accordion Fold card is to make.
Dimensions:
Night of Navy Base: 5-1/2″ x 4-1/4″
Designer Paper: 12″ x 5-1/4″ Scored at 2″ – 5″ – and 8″
Basic White (Inside) 5″ x 3-3/4″
Plus you will need a piece of Night of Navy and Basic White to Die Cut your Greeting
Balmy Blue (Inside – 1st Flap) 5″ x 1-3/4″
I hope that I with the help of my video inspires you to grab some of that beautiful designer paper you have and try out this FUN FOLD card today. I’m adding the list of ingredients below, if you like what you saw (like that amazing sentiment set) you can click on that item and shop at my store … it will be sent directly to you.
Thank you so much for stopping by and checking out my video today.
I am back with more daisies, brought to you by Stampin’ Up! and their team of artists!! If you’re one of those paper crafters who adores kraft paper, you’re going to love this month’s step-ups. What’s so great about kraft? Its special appeal may be due to its ability to impart instant, shabby chic sophistication to anything you’re creating—which is interesting!
Kraft’s humble beginnings would not have led anyone to guess that it would one day be valued for its natural, organic beauty. In fact, its toughness and coarse texture historically made it a perfect choice for grocery wrapping paper and all-around, heavy-duty packaging.
Today we’re showing off our Kraft Note Cards & Envelopes with our new Cheerful Daisies Bundle, but feel free to match up these beautiful cards with anything you love in the catalog! It’s hard to go wrong with this amazing, versatile paper.
To create the casual card (far left), stamp the flower tops in White Craft ink, the flower centers in Early Espresso, and the stems in Old Olive ink. Stamp the sentiment with White Craft ink on a small piece of Early Espresso Cardstock, sprinkle it with white embossing powder, and heat set. Position a Linen Thread bow behind the sentiment banner before adhering it to the card with Stampin’ Dimensionals.
For the middle card, layer Vellum petal die cuts over the stamped daisies. Stamp the leaves on a kraft envelope in Old Olive ink and die cut. Color the Linen Thread with a Dark Olive Blend for added pizzazz. Finish with gold sequins from our new Neutrals Adhesive-Backed Sequins.
For our most stepped-up project (far right), we decorated the lovely Kraft Note Cards & Envelopes box. Use it for storing cards or better yet—over-the-top gift packaging! We added to the pretty floral focal point by die cutting some of the daisies with a circle die cut from the Stylish Shapes Dies, then popping it up with Stampin’ Dimensionals. Stunning!
Today I have another card for you from the In the Moment stamp set; a different image and different technique. Yesterday was a more Monochromatic card where I just stamped the image in Boho Blue to match the Countryside Inn Designer paper … today, we watercolor!
This card was created by Stampin’ Up! You can use your watercolor paper, shimmery white (both now discontinued) but if you are like me, you still have a stash of these in your craft room. You may also use your Basic White which works great with the Stampin’ Blends … which is how this card was colored.
What I love about this set is the line-art images can be colored using your favorite coloring techniques. I love the speed and accuracy of the Stampin’ Blends, but I also like the watercolor look when using the water pens … and lets not forget our Watercolor pencils, as they can add a soft touch of color as well as highlights and lowlights. Just just have fun and play!!
Today I’d like to share with you another of my Annual Spring Stampin’ Retreat Cards. This card comes from our Friday Night stamp session where I highlighted the In The Moment stamp set … our theme for retreat was Friendships Grow and what better stamp set to use than one that celebrates women!
I also wanted to introduce some new product to my attendee’s, so we used the new Boho Blue In-Color and the Countryside Inn Designer Series paper! Let’s take a look ….
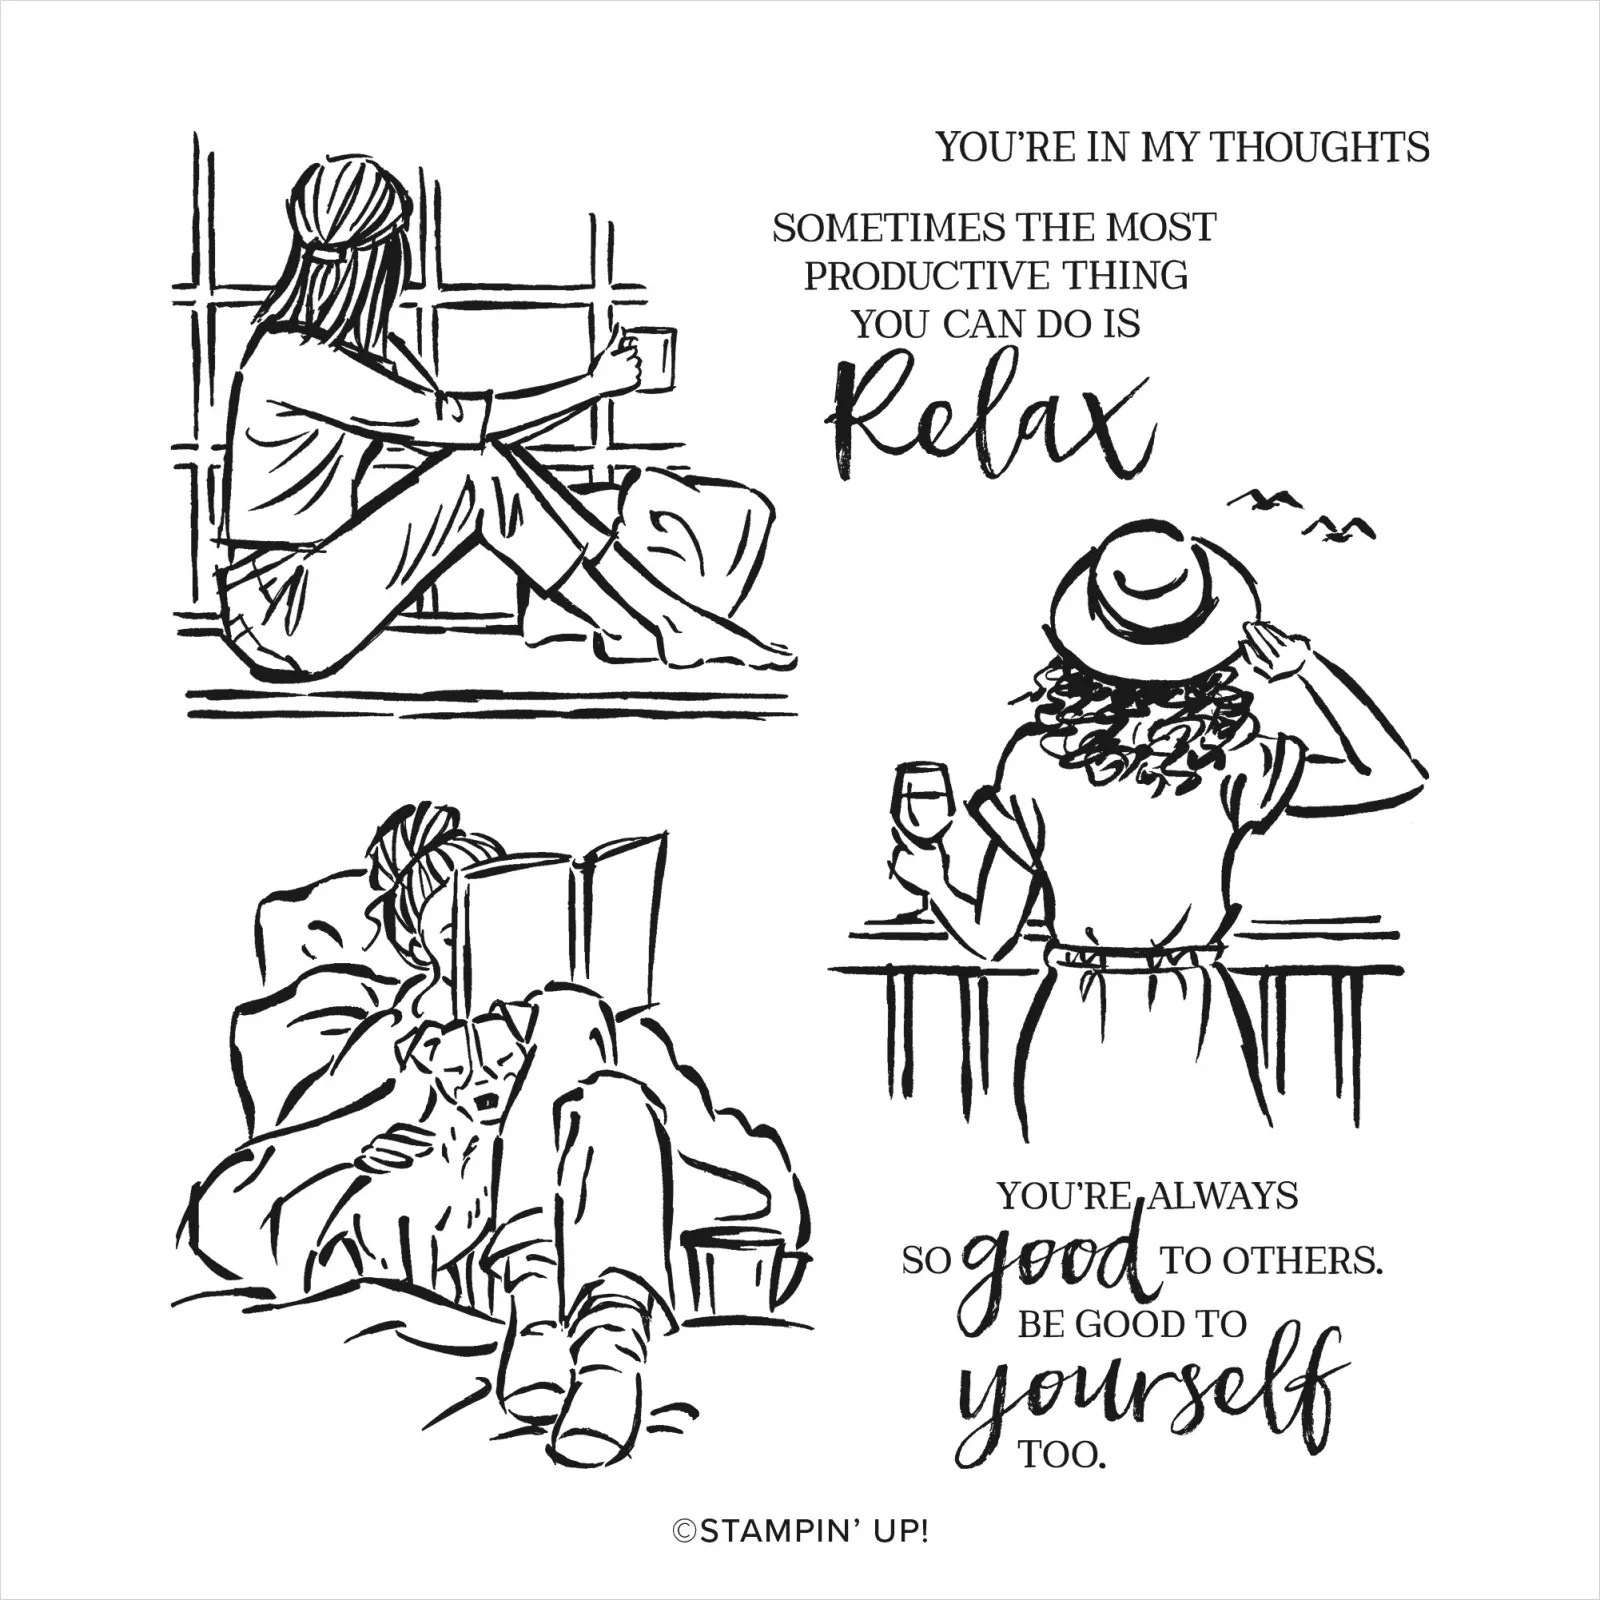
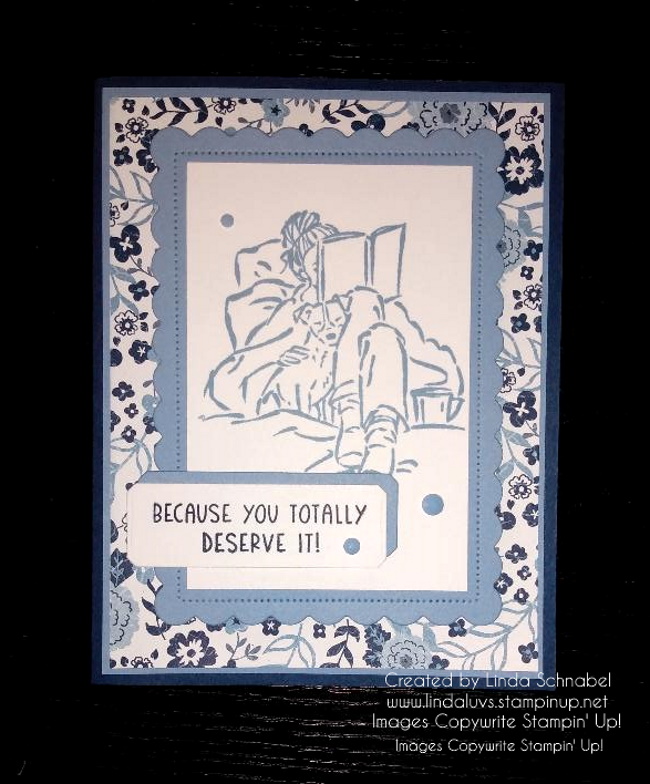
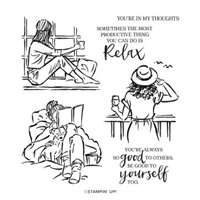
This is such a sweet way to tell your friend to sit back and relax, because they deserve it. The stamp set imagery includes three women relaxing by looking at the landscape with a lovely glass of wine or indulging in a hobby like reading with their furry friend.
The set includes three self-care themed greetings to mix and match with the imagery. The line-art images can be colored using your favorite coloring techniques.
We layered Night of Navy with the Boho Blue and popped it with the Countryside Inn Designer paper. The image was highlighted by framing it with the Scalloped Contours Dies.
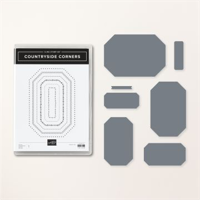
The greeting comes from the In the Moment stamp set and was die cut from one of the dies from the Countryside Corners Dies / Bundle. Then we used the new Adhesive Backed Solid Gems. I have all the products used listed below.
I want to thank you for taking time out of your Sunday to join me today.
Welcome to our Stampin’ Up! 2023-2024 Annual Catalog Introduction video! In this video, we will be taking a first look at our brand new catalog and all of the exciting products that it contains. From beautiful new stamp sets to versatile dies and punches, we have something for everyone in this catalog.
Our designer series paper, embellishments, and tools will help you take your crafting to the next level. Our catalog is filled with inspiring project ideas to help you create stunning cards, scrapbook pages, home decor, and more.
We are thrilled to share these new products with you and can’t wait to see what you create with them. Don’t forget to check out our amazing hostess rewards program, which allows you to earn free products and discounts by hosting a stamping party with your friends.
Thank you for joining us for our Stampin’ Up! 2023-2024 Annual Catalog Introduction video. We hope you enjoy this sneak peek of our exciting new products and find inspiration for your next crafting project. Happy stamping!
So excited to share the NEW Cheerful Daisy card with you that we made at my Spring Stamping Retreat. I’m also sharing the video replay of last nights Facebook LIVE and then the ingredients and dimensions so you can recreate this quick -n- cute card ….
Wasn’t that easy to make!! Here is a close up of my card
DIMENSIONS:
Card Base: Pebble Path / 8-1/2″ x 5-1/2″ Scored and folded at 4-1/4″.
Lemon Lolly / 2 pieces 5-1/4″ x 4″ … mat for designer paper (front) and white (inside) & small piece of scrap to add a pop of color behind the greeting
Designer Paper: 5″ x 3-3/4″
Basic White: 5″ x 3-3/4″ (Inside) + 4″ x 3-1/2″ (cut daisy) + 3″ x 1-1/2″ (stamp greeting) + small scrap to stamp the flowers center in Lemon Lolly
I learned something new today ….
What is the Centre of a daisy called?
A single stem arises carrying the flower head – this is not just one flower, but a composite of a number of tiny flowers which make up the yellow disc in the middle (‘disc florets‘) and the surrounding white ‘ray florets’ (which look just like petals).
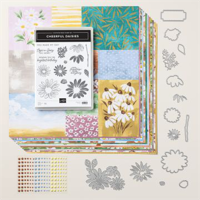
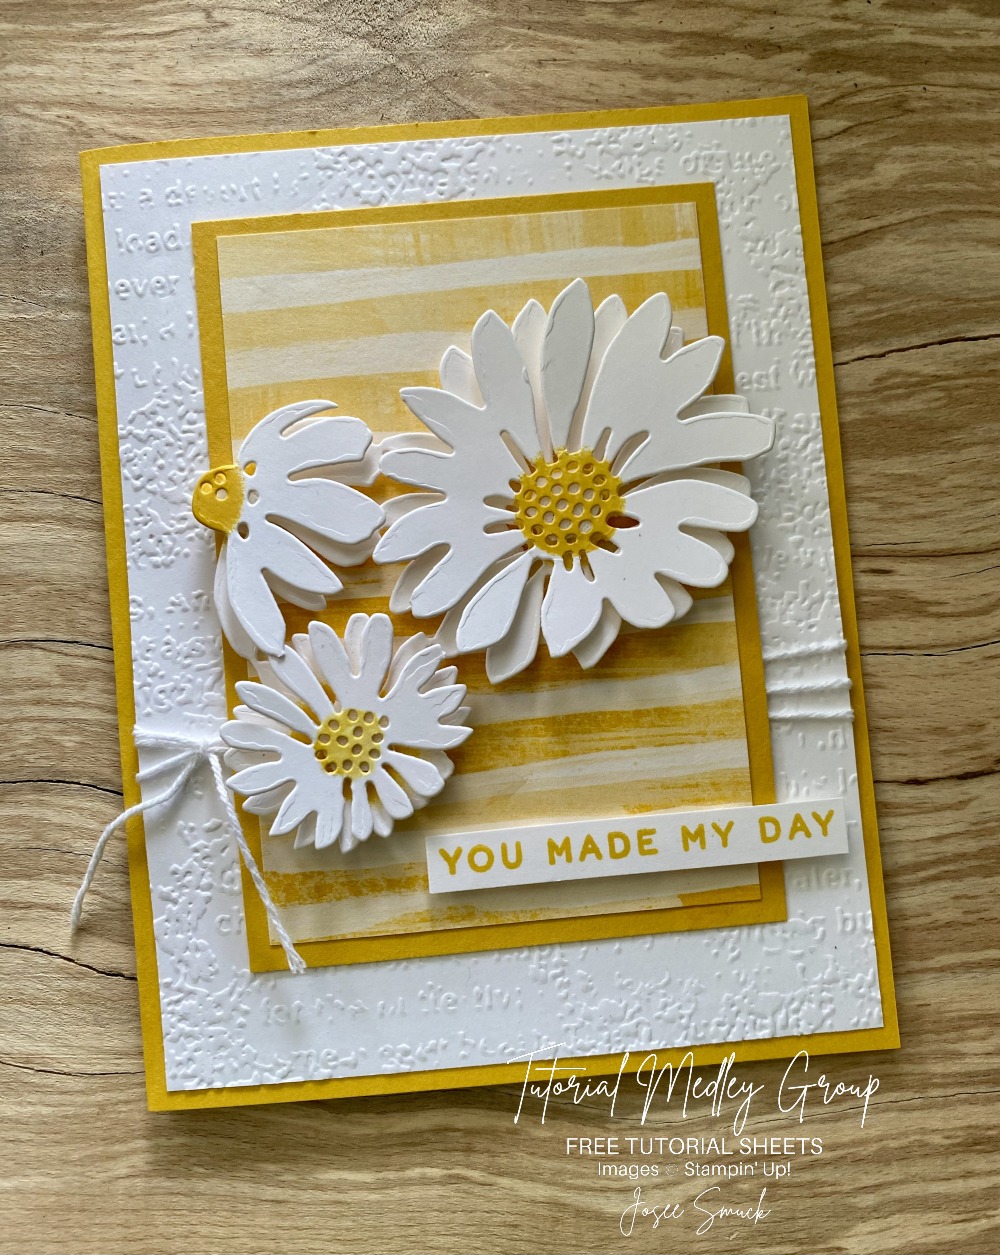
Today I’d like to share a card created by one of my design team members highlighting the new Cheerful Daisy. To kick off this new bundle, I’m sharing the dimensions and instructions for this beautiful card ….
Measurements:
Crushed Curry: 5 ½” x 8 ½” and 3 ¾” x 5”
Basic White: 4” x 5 ¼”
Fresh as a Daisy Designer Paper: 3” x 4 ¼”
Instructions:
Place the 4” x 5 ¼” Basic White cardstock in the Timeworn Type Embossing Folder and run it through the Stampin’ Cut & Emboss Machine to add texture.
Wrap the Baker’s Twine around the cardstock 3 times and adhere the ends to the back of the cardstock. Take a smaller piece of twine and tie it in a knot around the 3 pieces.
Adhere the cardstock to the card front.
Adhere the Designer Paper to the 3 ¾” x 5” Crushed Curry cardstock and adhere the layers to the card.
Cut out 2 pieces of Basic White cardstock using the triple flower die.
Color the centers using a dauber with Crushed Curry ink.
Cut off the leaves from the triple flower.
Take 1 of the triple flowers apart. Adhere the individual flowers on top of the other piece using Dimensionals. Adhere all with Dimensionals.
Stamp the greeting on the bottom of a piece of cardstock. Cut out close to the greeting. Add the greeting to the card using Dimensionals.
Thank you for stopping by today … I hope you enjoyed the card as much as I did.
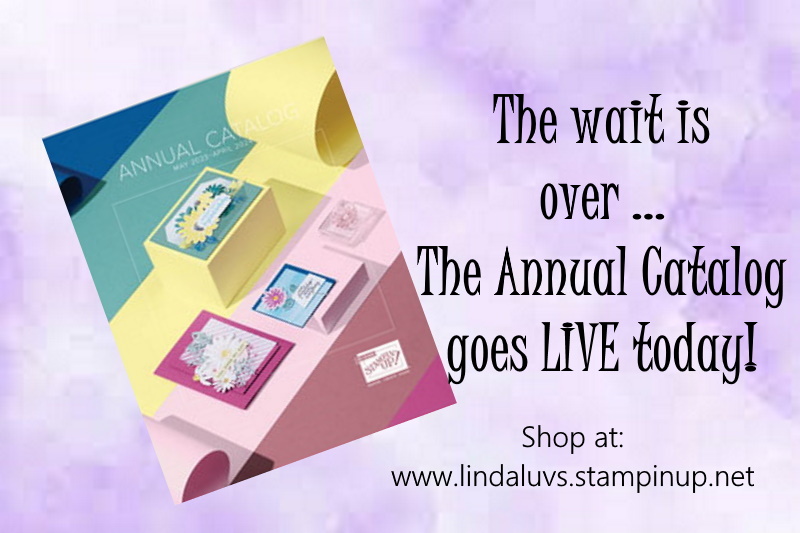
Well … it actually went LIVE yesterday! But it’s here and ready to view. You can click on the icon to the right, or contact me and request a copy for your own.
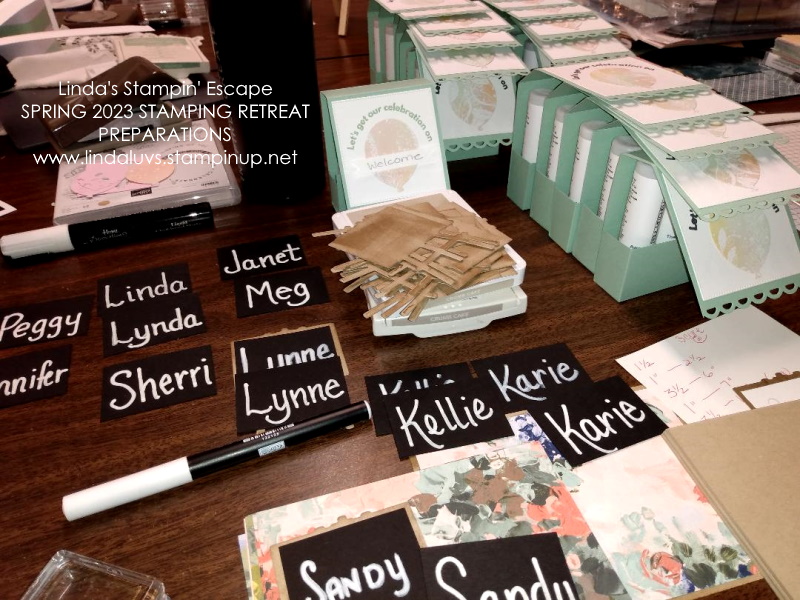
It’s been a busy few weeks getting ready for retreat and quite the challenge getting in the new stamp sets/bundles and getting the cards created for the retreat but we did it and the cards turned out lovely. I will share a few in the upcoming days however today I’ll take you back to the beginning (well, almost!)
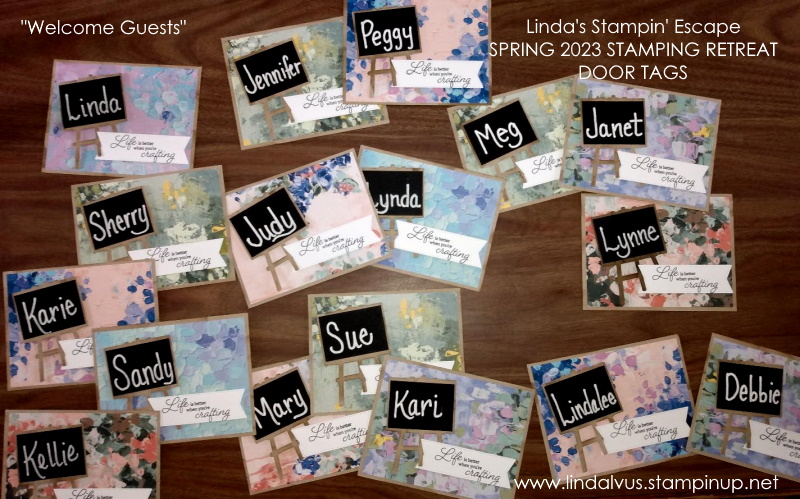
Not only do I design and cut cards for retreat but we create special gifts for our guests … here I am working on the name tags and welcome gifts.
The “Door Tags” were created with the new Creating with You bundle … I gave them a “chalk board” look with the die cut easel and the Fancy Flora Designer Series paper. It was the perfect choice!!
There is a reason I chose the Easel from the Creating with You ….
The Mantle Gifts …. each retreat we decorate the mantle with a cute little gift that highlights a product out of the catalog. For this one I used the Cheerful Basket Bundle. I’m going to miss that “crafting” stamp for sure … it retires and today is the last day to purchase it before it’s gone.
Here’s one side of the fireplace with our mantle gifts on them ….
I will be back to share more fun & shenanigans from our retreat. Just a reminder that the Annual Catalog and the Mini Catalog retire today. If you want anything out of those catalogs, make sure your purchase by the end of the day ….
Thank you so much from stopping by… I’ll be back tomorrow with more.
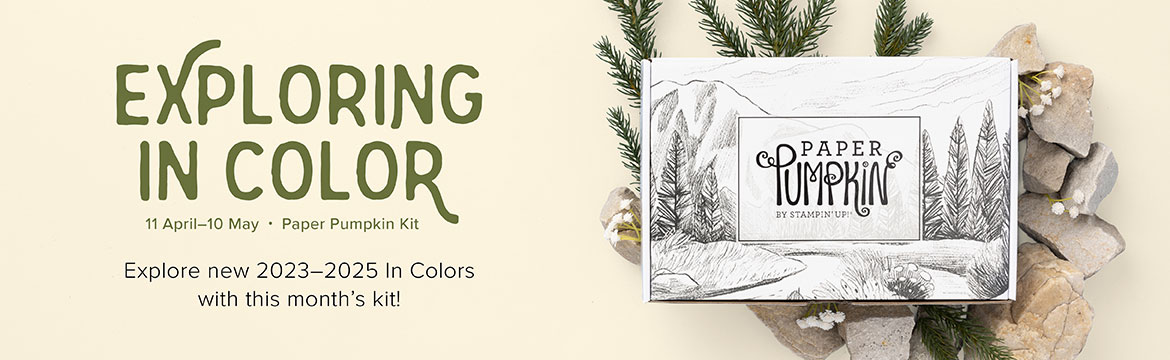
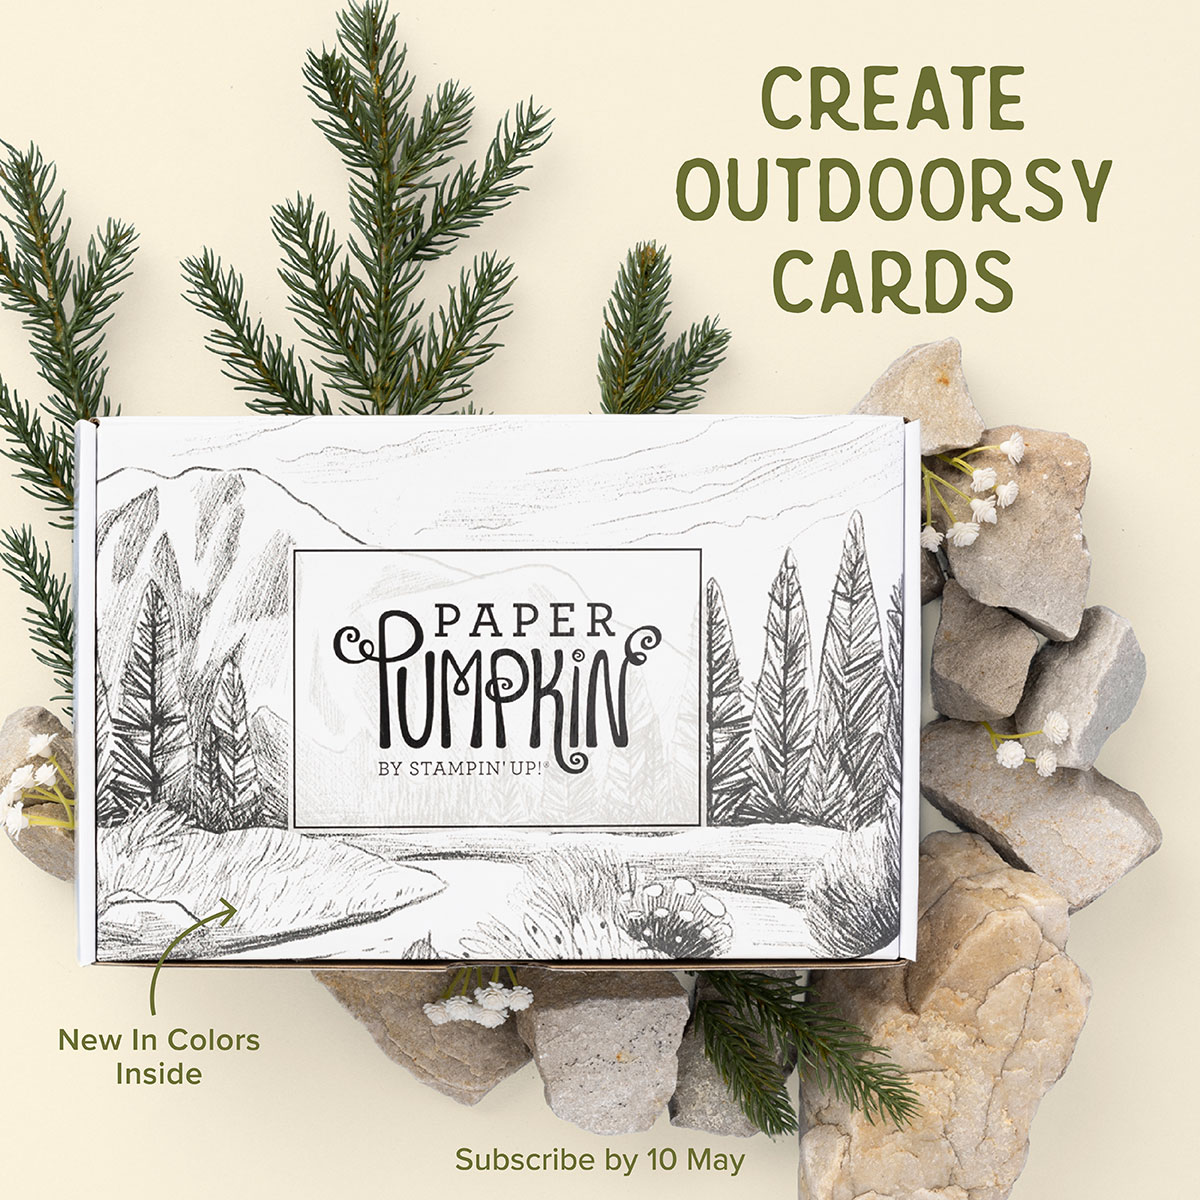
Say hello to mountain landscapes and new In Colors! This month’s kit features nine outdoors-themed cards in our new 2023–2025 In Colors plus exclusive FREE stickers. Want more? Get the cards & envelopes add-on (available 2 May while supplies last) and continue your creative adventure!
Did you say free? This kit includes a special bonus: FREE STICKERS! Look around and you’ll see stickers everywhere—on water bottles, laptops, coolers. And, of course, on paper crafting projects! It’s an on-trend extra that you”ll love.
This kit includes:
All the supplies you need to create 9 card, 3 each of 3 designs, plus 9 coordinating envelopes.
A 7-piece all-occasion stamp set that celebrates good friends and great adventures!
1 Copper Clay (new In Color!) Classic Stampin’ Spot.
Twine and die-cut accents
FREE stickers to put on your projects or anything you want—water bottles, laptops, coolers, and more!
Completed card size: 5-1/2″ x 4-1/4″ (14 x 10.8 cm)
Subscribe to the April Paper Pumpkin Kit before May 10th, 2023 by clicking here!
What is Paper Pumpkin?
Paper Pumpkin is our monthly One-Stop Box™ that offers a unique variety of paper projects for subscribers of any skill level to enjoy! These thoughtfully-themed and all-inclusive craft kits encourage you to explore your creativity, try new techniques, and discover the potential in papercrafting.
Once you subscribe, you will be sent an email verification which at that time you will need to activate your subscription … it’s easy. Then your Paper Pumpkin kits will be delivered right to your mailbox!
Thank you for checking out my blog post today to learn more about Paper Pumpkin and the amazing FREE gift offered in this kit, and during Sale-a-bration.
Message me if you have any questions.
Have a beautiful Monday ~
You can subscribe using the links above or you can click on any of the images below ….
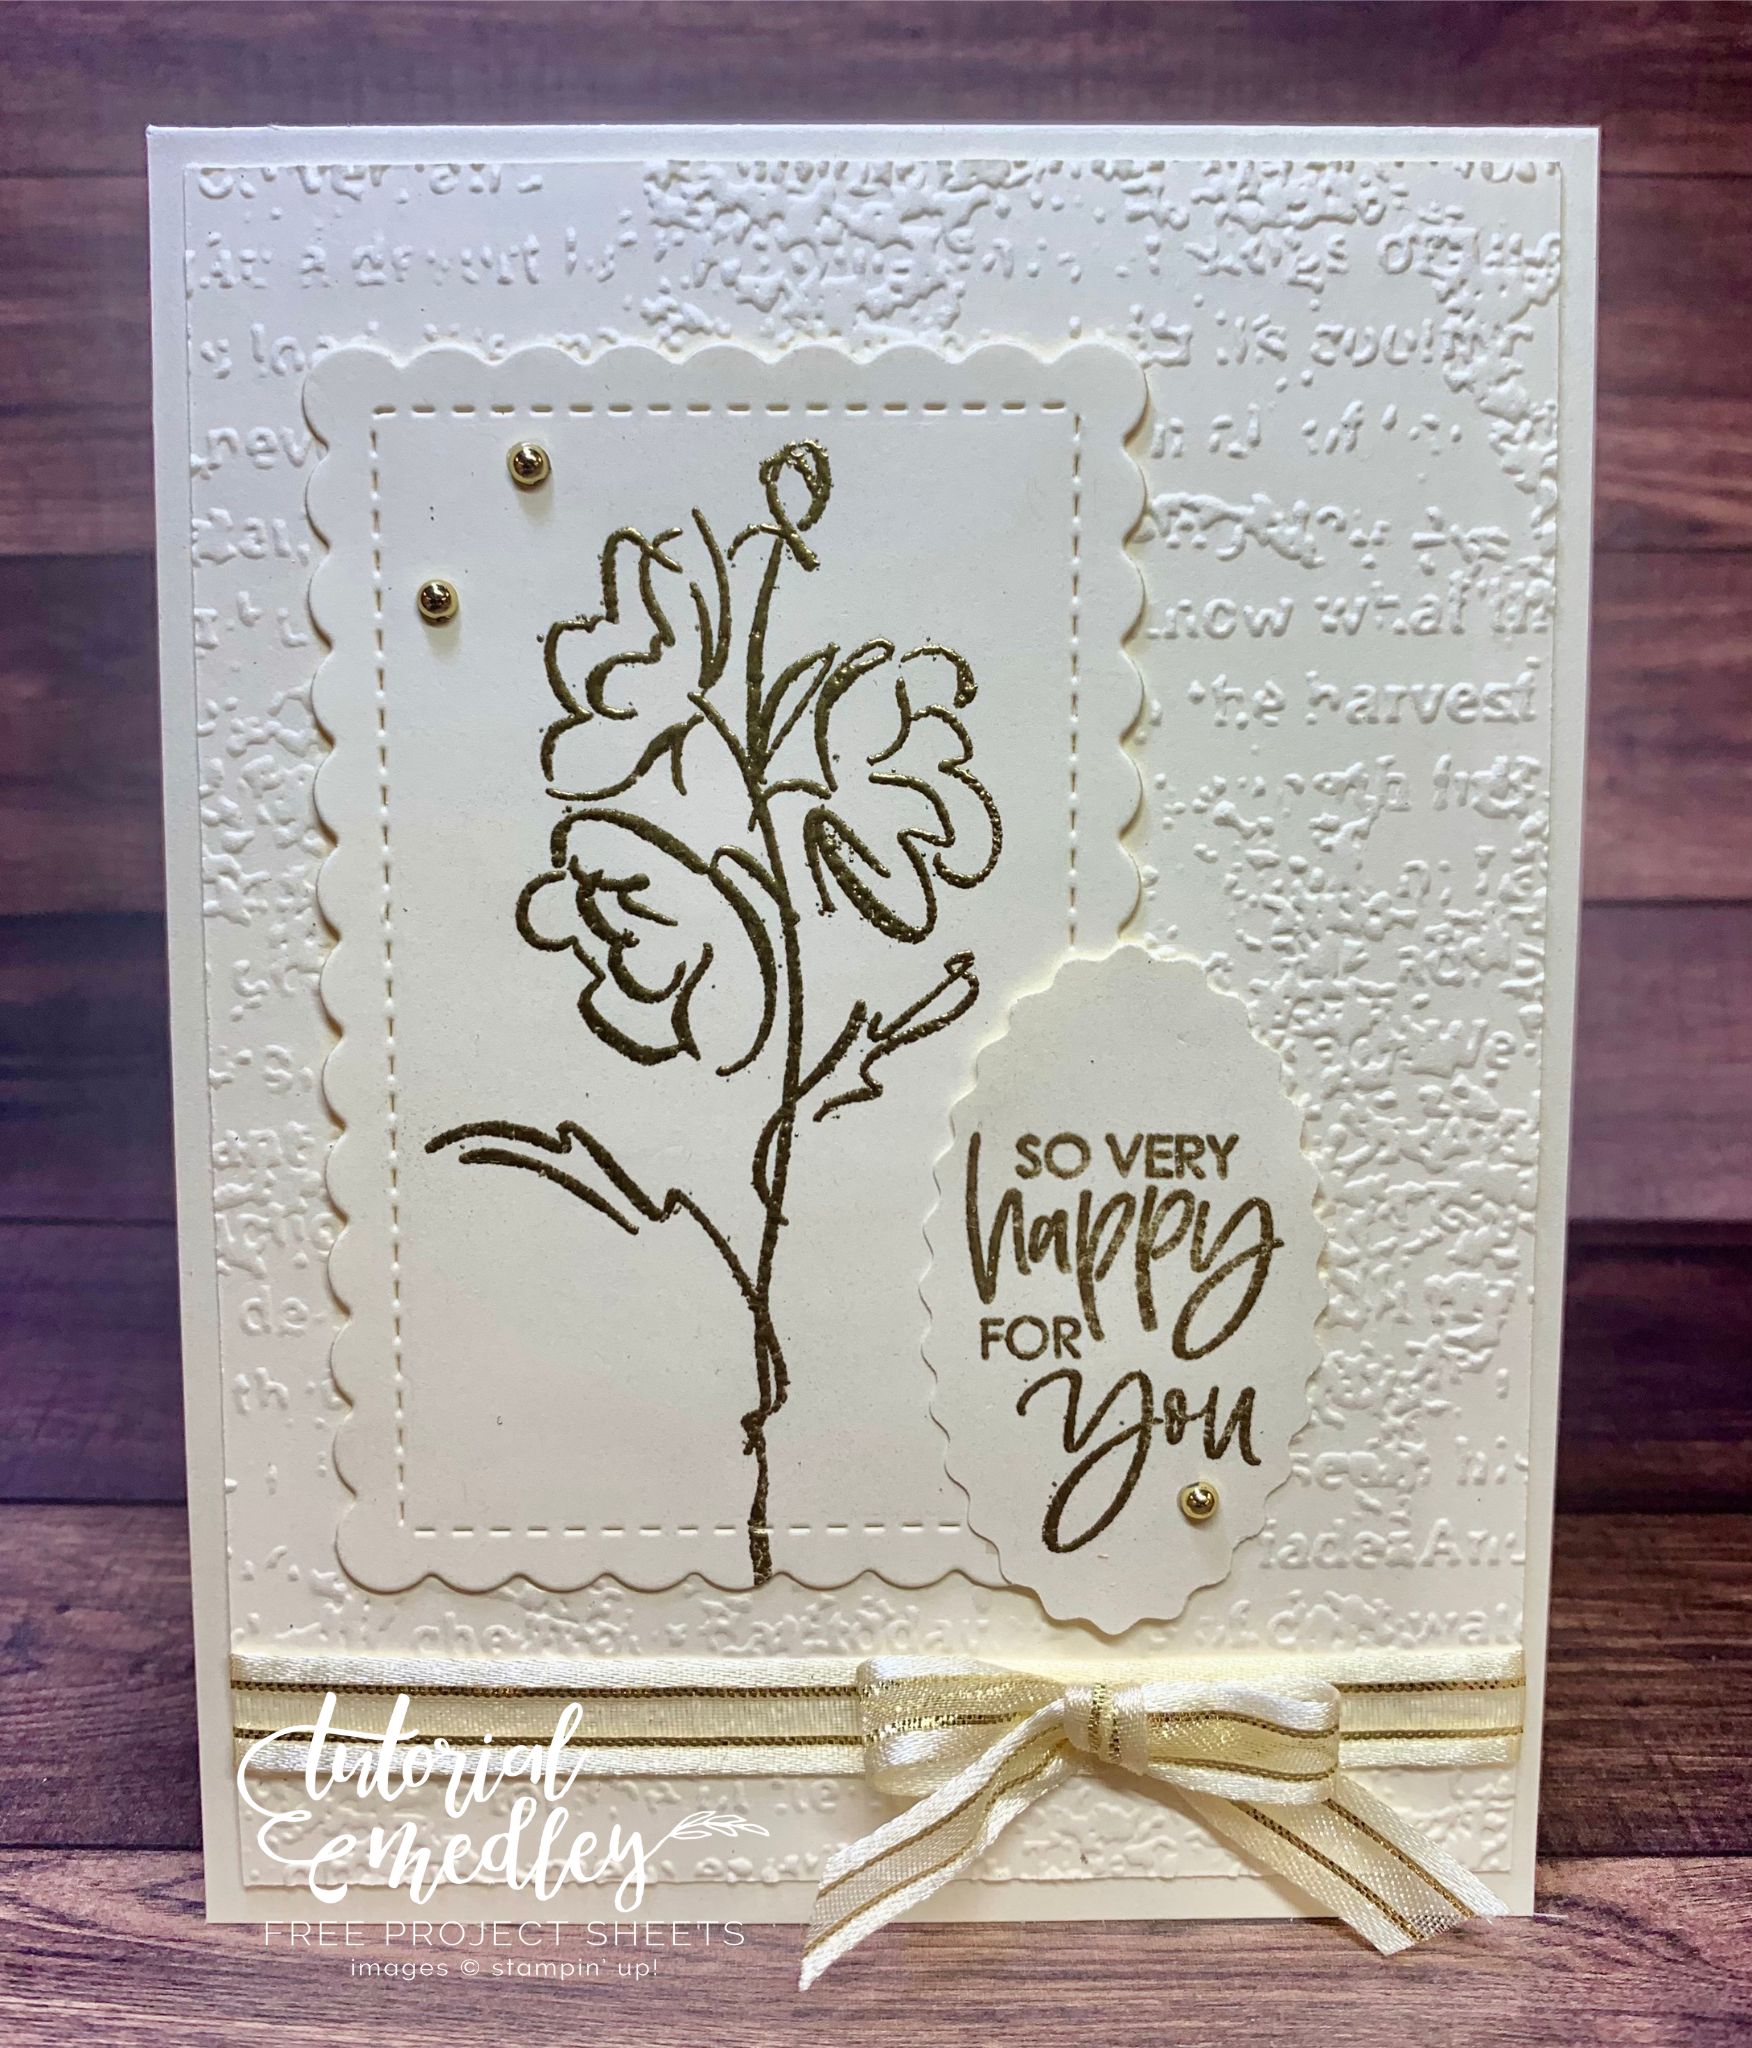
As I am busy cutting cardstock, die cutting and preparing gifts for my upcoming retreat, I thought I would share a special card with you. It comes from my fellow demonstrator and friend Lisa. I will also be sharing the dimensions and step by step instructions to make Lisa’s card.
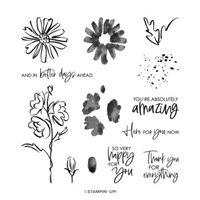
Lisa is using the Colors and Contour Stamp set with gold embossing … so elegant.
Measurements:
Card Base: Very Vanilla Thick – 1 pc. 4 1/4 x 11. Score at 5 1/2.
Cardstock #2: Very Vanilla – 4 x 5 1/4 for embossed layer, 3 x 5 for die cutting scalloped rectangle, and 4 x 4 to punch ovals.
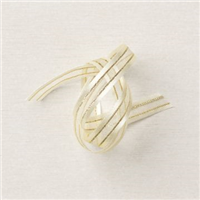
Ribbon: (2) 5 1/2 – 6 inches
Instructions :
Score Thick Very Vanilla at 5 1/2. Fold and burnish.
Emboss large Very Vanilla piece with embossing folder.
Die cut scalloped rectangle.
Stamp image in VersaMark on scalloped rectangle; stamp sentiment in VersaMark on 4 x 4 piece.
Heat emboss with gold embossing powder. Punch sentiment with scalloped oval.
Adhere these embossed pieces to large layer about 1 inch from the bottom.
Take one piece of ribbon and stretch across beneath scalloped pieces. Adhere two ends on back with adhesive.
Tie bow with other piece of ribbon and attach as shown with a glue dot.
Adhere this entire piece to card front.
Attach three gold Festive Pearls.
Finish inside as desired.
I hope you enjoyed Lisa’s beautiful card in vanilla and gold as much as I did. I appreciate you taking time out of your weekend to join me today.