For the past few days I have been sharing card samples that highlight some of the amazing products that are on our Seasonal Sale, so today I’ll be sharing a quick view of the all the items along with the sales prices …
Today is the Last Day so check those lists and get those stockings filled ❤
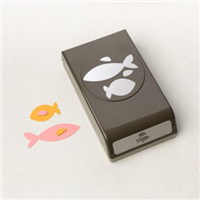
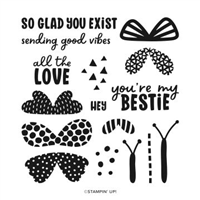
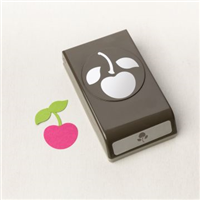
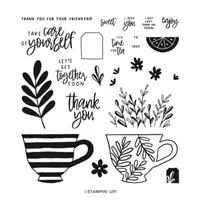
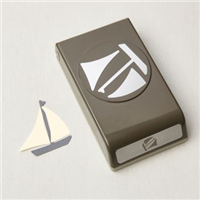
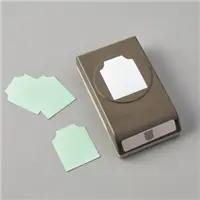
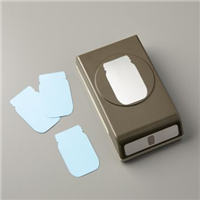
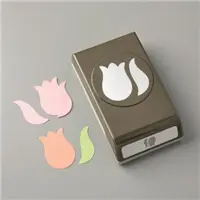
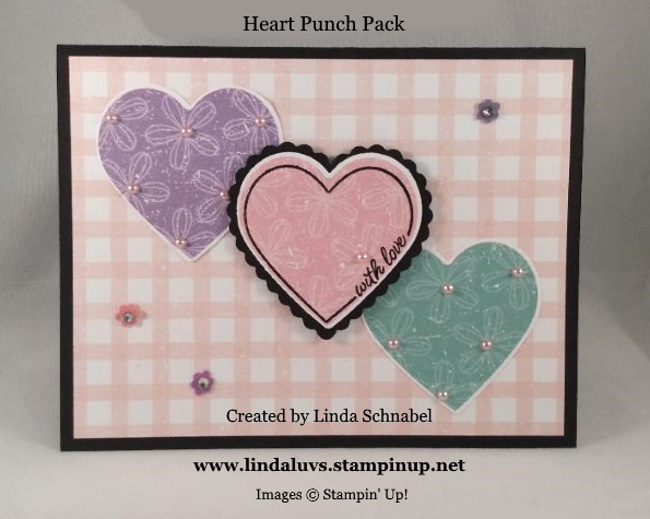
Today I want to share some of my favorite punches and the card samples created from them. Let’s get started right away with the Heart Punch Pack …
There are two hearts in this pack … your initial heart and then a scallop punch to mat or create some extra drama! Let’s take a look at another one, and another trio of hearts. I must like this layout … lol.
One more “Heart” …. Ok two more!! I embossed the background and then punched out the heart. The negative was turned into a Shaker Card and the other was matted with the scallop heart.
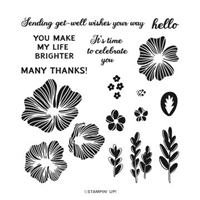
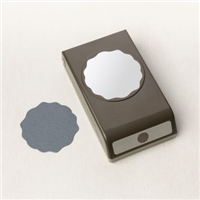
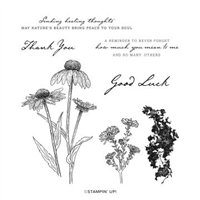
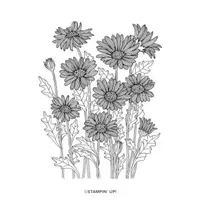
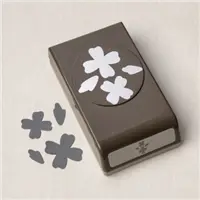
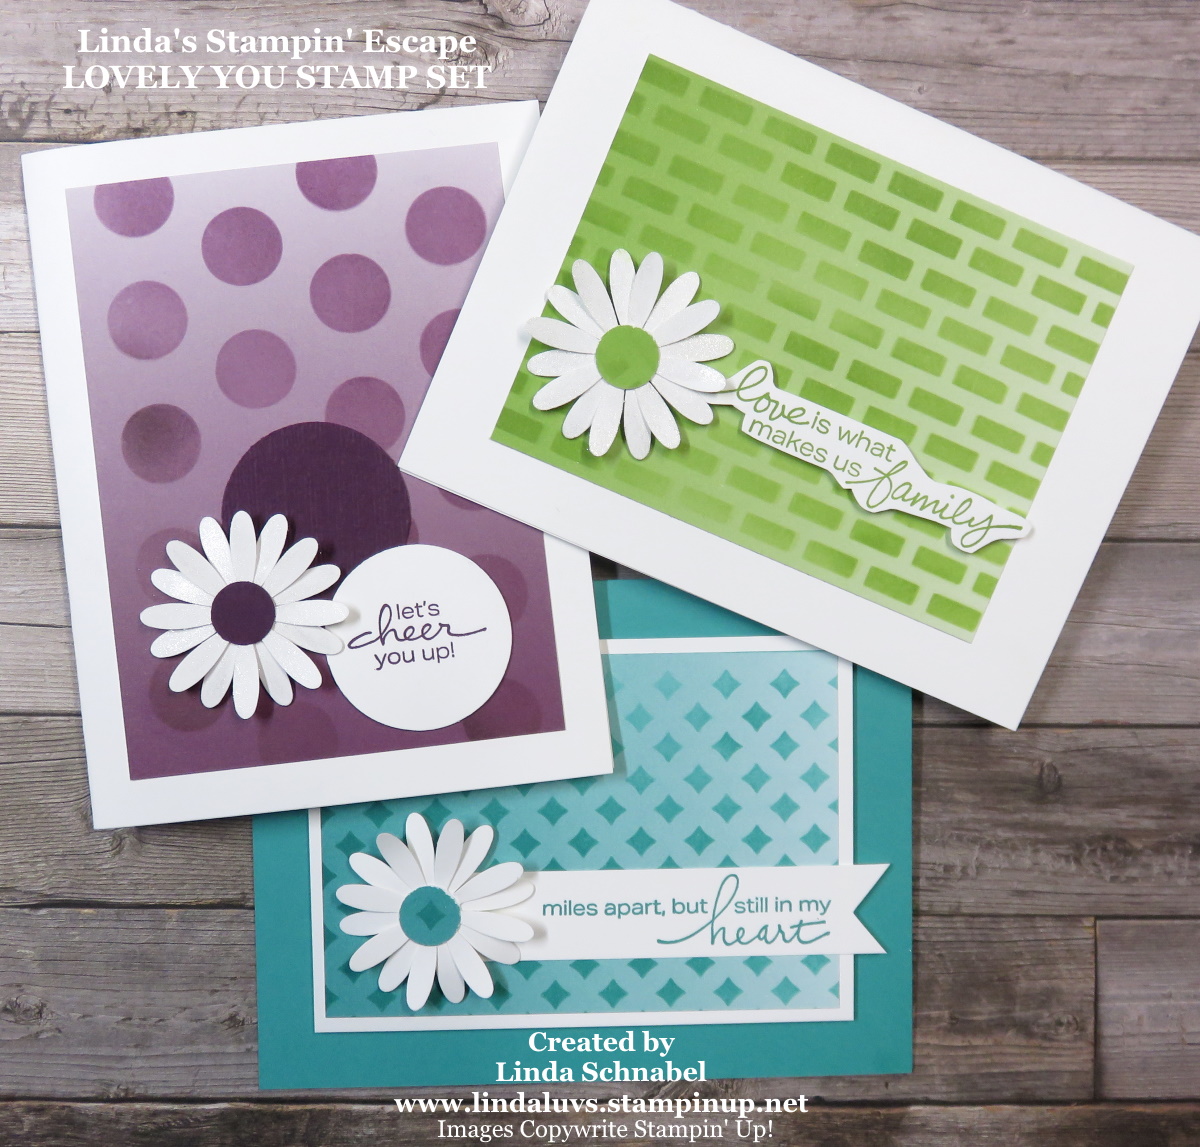
Now for one of my “go to” punches for creating quick cards is the Daisy punch. So very versatile for any occasion. Let’s take a look …
Here are a selection of cards that highlight the Daisy Punch while I used different backgrounds to create some fun cards.
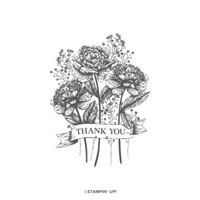
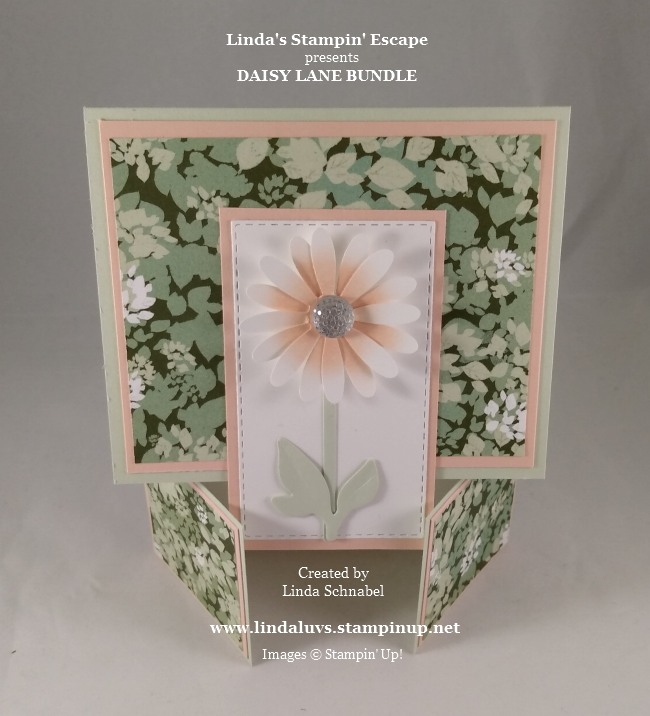
You can always cluster your daisy with other flowers to create a bouquet ….
These are just 2 of the many punches on sale right now, and fun shapes that Stampin’ Up! offers. I love the simplicity of a punch which makes cardmaking so quick and easy … just add paper!
I’m glad you stopped by today and got to check out these cute cards you can create with our punches … again, so many more to choose from.
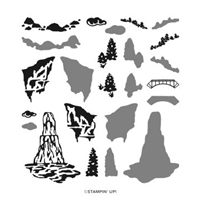
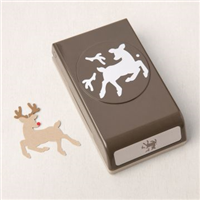
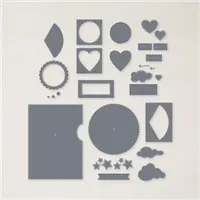
Hello Stampin’ Friends, Today I want to share a few of my favorite items that are included in the Sale right now. We only have a few days left but it’s a great value for the Gift Giving season. Today I’m sharing my favorite dies! I choose these dies for their versatility in my year round cardmaking!
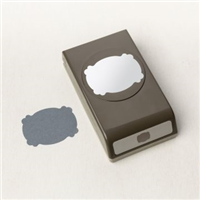
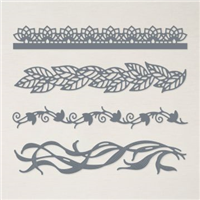
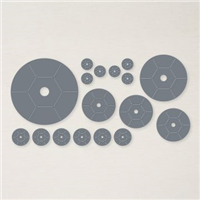
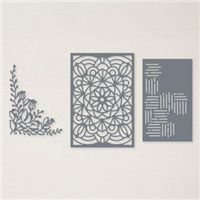
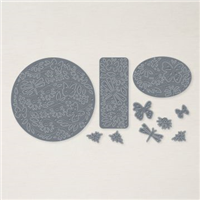
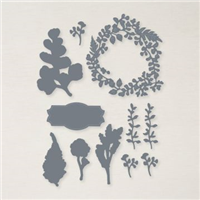
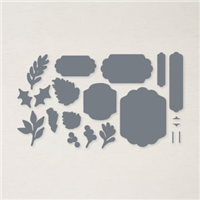
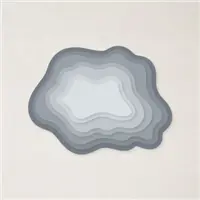
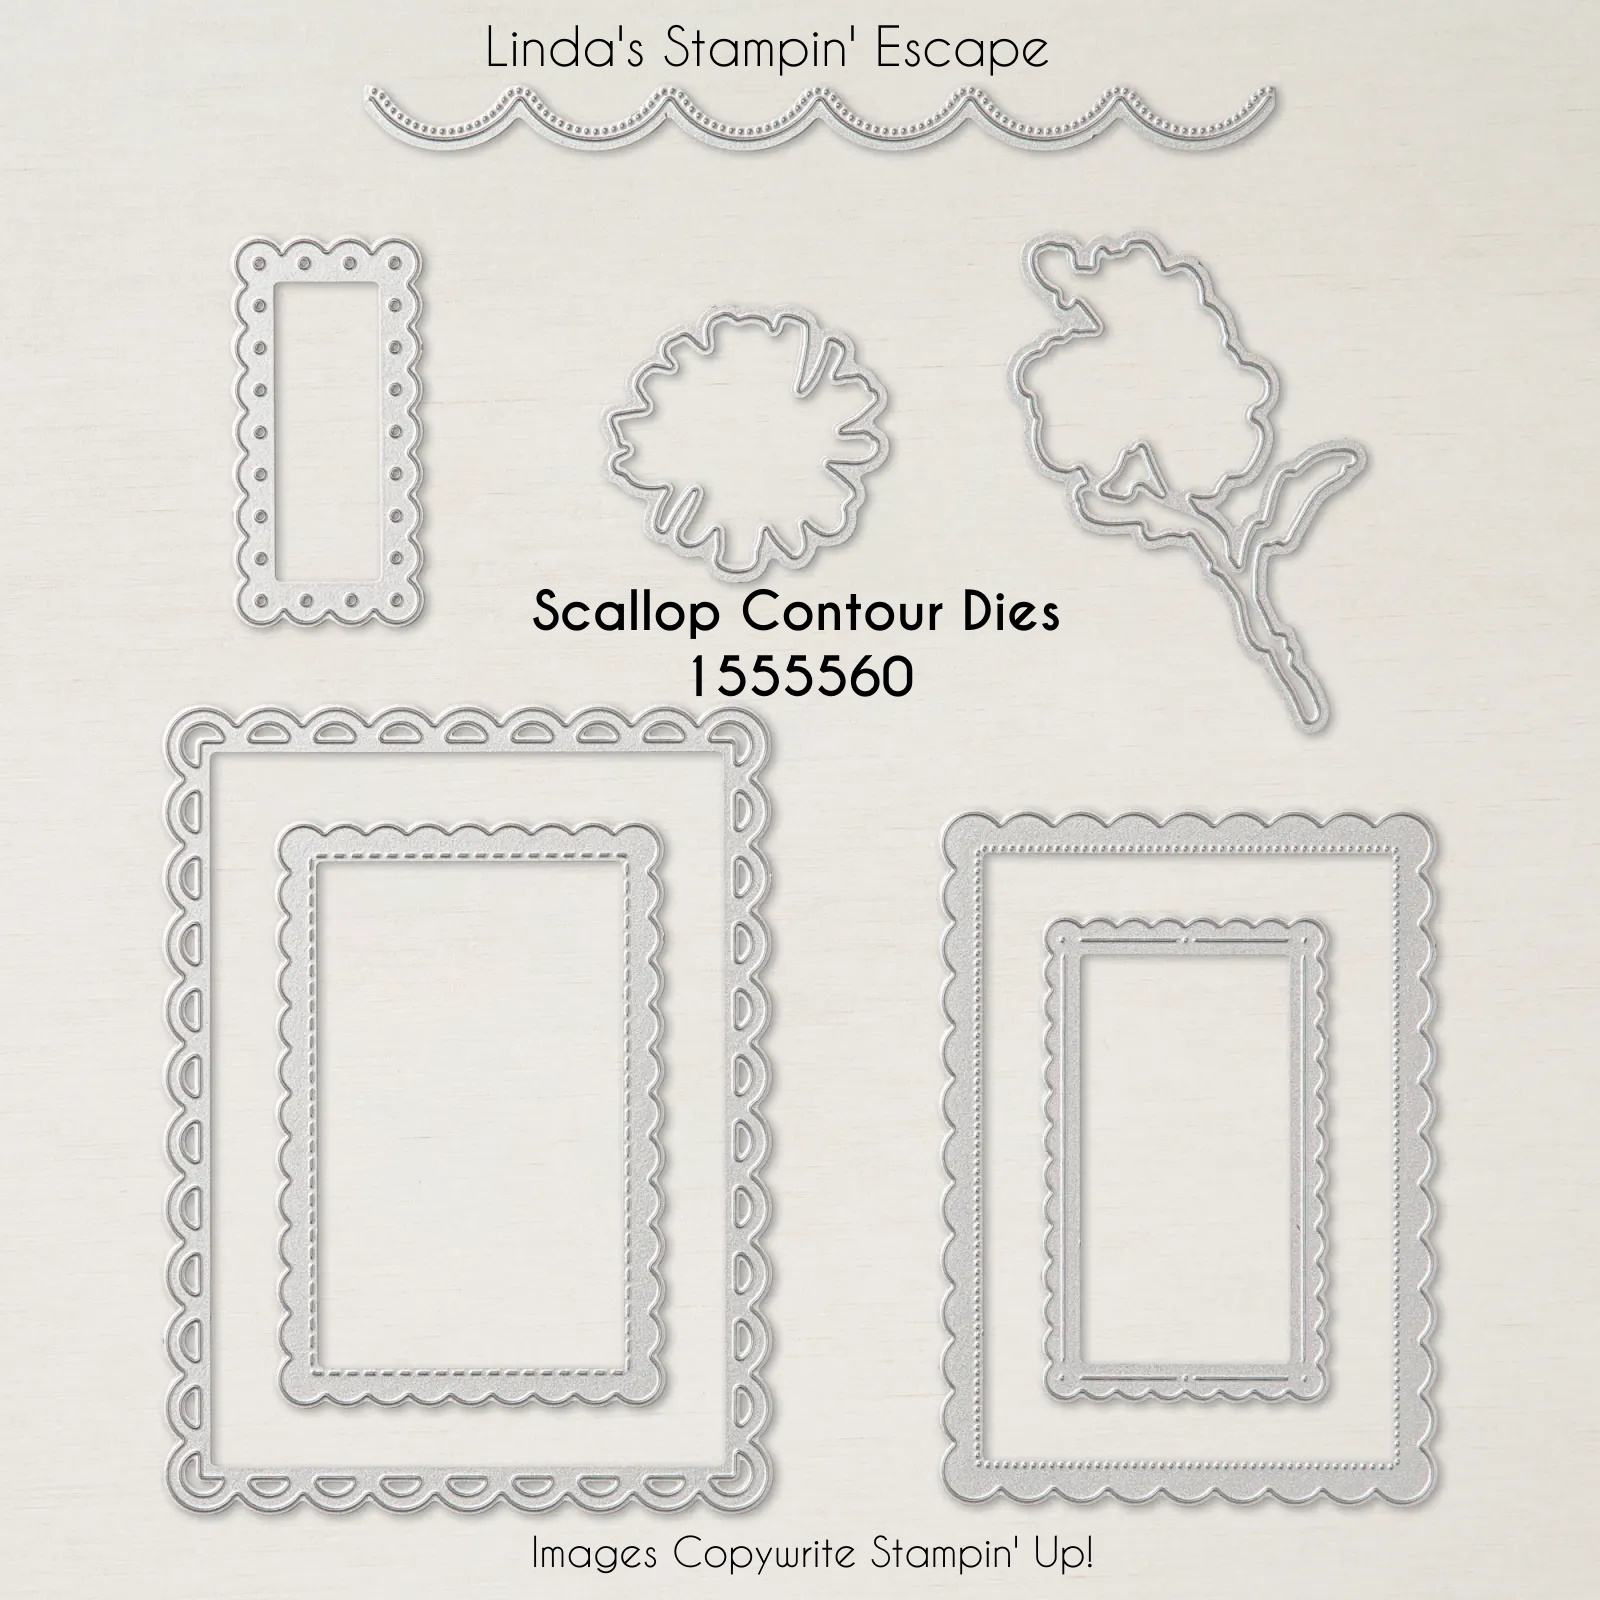
Let’s begin with the Scallop Contour Dies ….
The Scallop Contour Dies are scalloped border dies that range in size, perfect for card fronts, accent pieces and sentiments! Here are a few examples ….
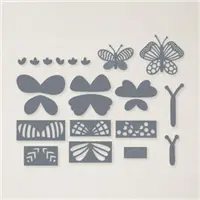
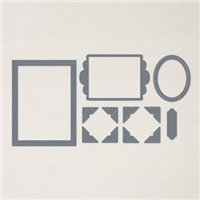
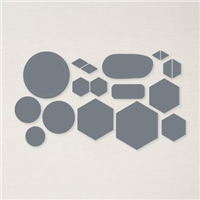
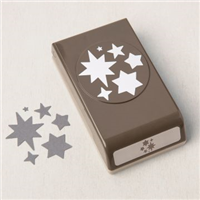
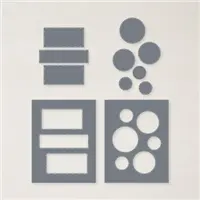
Another one of my favorite die sets is the Stylish Shapes dies …. It has circles and squares and banners – Oh my!! Perfect for any season and any occasion. They are a must have in your stamping collection.
Check out these cuties using the Stylish Shapes Dies ….
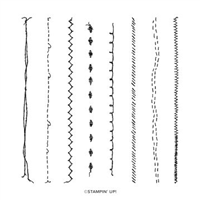
And of course you cannot forget the Layering Circle dies and the Stitched Rectangle dies. All four of these die sets will add to your cardmaking ease … for backgrounds, layering, greetings and more. They are to me …. basic supplies to any collection.
If you don’t have them, you’ll want to get them while they are 20% Off. Grab one for your friends for the holiday season.
Thanks for joining me today. I’ve put the links below for your shopping ease.
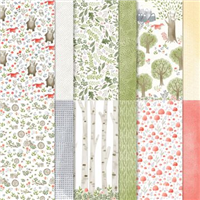
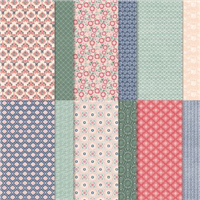
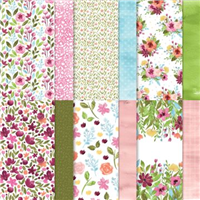
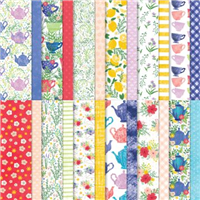
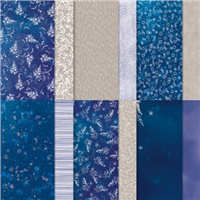
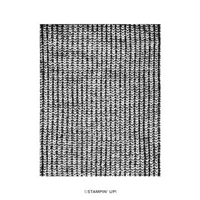
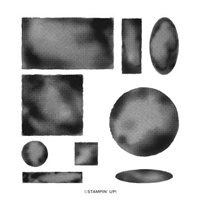
Today I’m going to share several cards today highlighting the pretty papers that are on sale beginning today ….
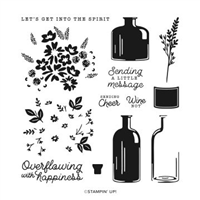
Let’s Start with AWASH IN BEAUTY ….
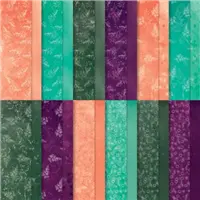
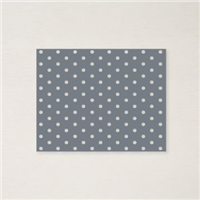
I won’t be giving dimensions or any of that today …. It’s ALL about the paper. And now I want to share one of my favorite papers in the Annual Catalog; HUES OF HAPPINESS ….
WOW …. check this out! Another from the Hues of Happiness
Well … well, well … I have more from the Hues of Happiness. I said it was my favorite in this Annual Catalog!
Are you seeing what I’m seeing? How very beautiful and versatile the Hues of Happiness paper is.
OK … Let me share another beautiful paper. The Pretty Prints ….
So our SALE begins today ….
There is so much more than Designer Paper on sale … to view CLICK HERE. It’s a full list of what is on sale. Hope you enjoyed my card samples today!
I am thrilled to share this exciting news with you … The Seasonal Sale is Coming! This is a four days only (15–18 November 2022) Sale and the timing is perfect. You can fill up those stockings at a wonderful savings.
Stampin’ Up! has select products from the 2022–2023 Annual Catalog will be on sale with the following discounts:
10% off all punches
15% of all stamps (Host stamp sets are not included in this sale)
20% off all dies
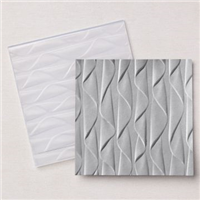
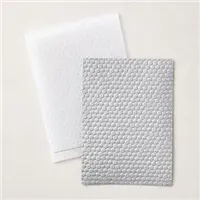
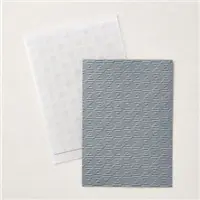
20% off all embossing folders
20% off all non-specialty Designer Series Paper
With the season of giving upon us, this is a great opportunity to buy gifts for your fellow crafting enthusiasts, or to stock up on supplies for all your upcoming handmade projects. Remember, this sale is for four days only! Don’t miss out!
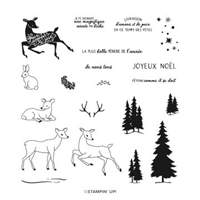
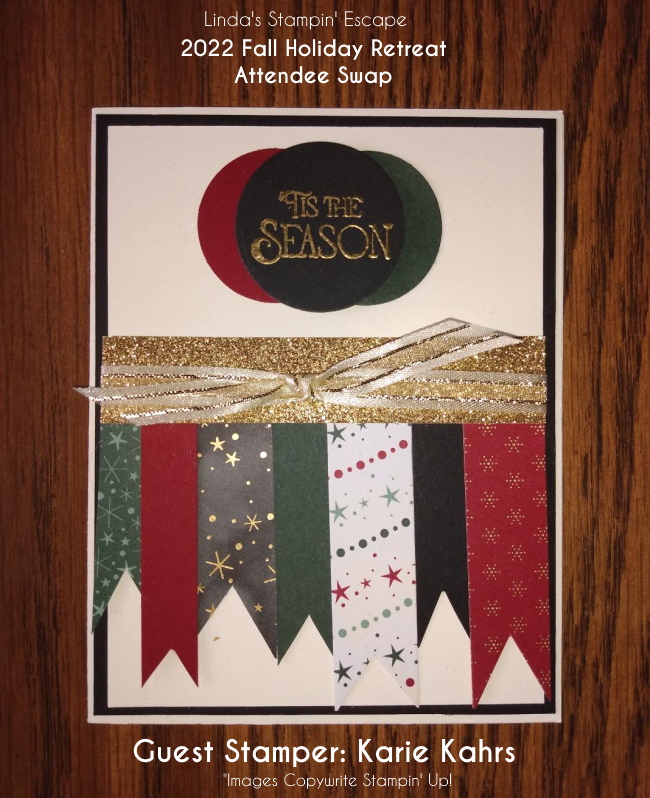
Today I have a beautiful card to share with you, and one of my favorites of the Attendee Swap. This card just goes to show that you can go from simple to stunning! This card was created for our Retreat Swap by Karie Kahrs.
Karie used the fun and festive Lights Aglow designer paper to create her banner card. I love this style of card …. it is so versatile.
Who knew that scraps could look so amazing! Banner cards can be used for any occasion and Karie’s choice of the Lights Aglow teamed up with the Glimmer Specialty paper really puts you in the holiday mood. The gold foil dots design evoke a feeling of twinkling lights, and the Cherry Cobbler and Evening Evergreen colors takes you back to days of old with its rich warm color.
With the use of the Layering Circle dies … Karie highlights the greeting “Tis the Season” that comes from the Brightest Glow stamp set. She embossed it with Gold Embossing Powder to carry that festive look throughout her card.
Thank you for taking time out of your Sunday to visit me and my blog … I appreciate it. And I hope today’s card inspired you to use up your scraps in a fun and creative way … like Karie did!!
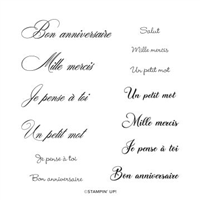
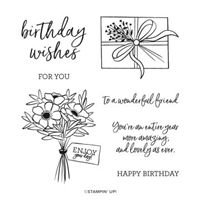
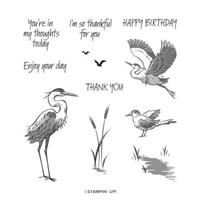
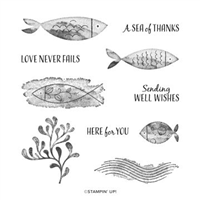
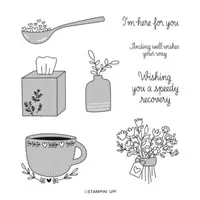
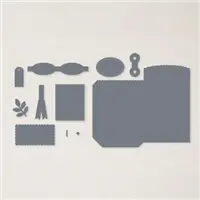
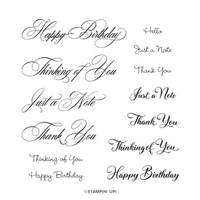
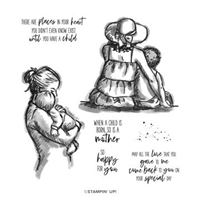
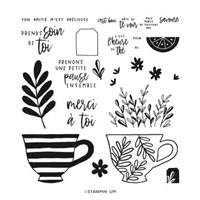
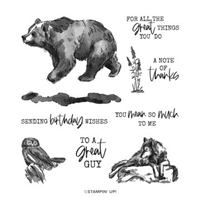
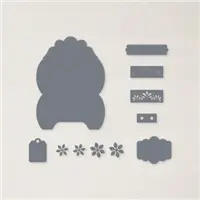
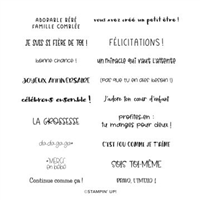
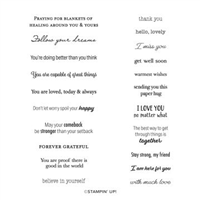
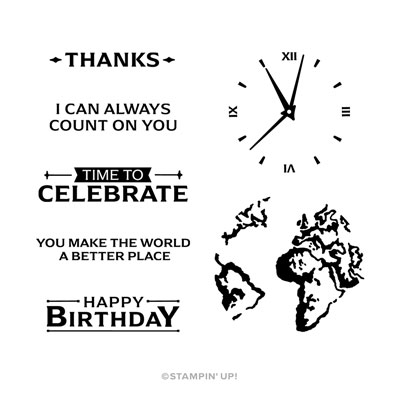
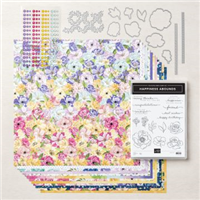
Today I’d like to share the latest and greatest kits collection. This month, we celebrate the people in your life who mean the world to you with Timeless Greetings—an all-occasion card kit you can use year-round! This unique kit features an elegant pocket watch and globe design in neutral colors, along with heartfelt sentiments that are sure to inspire lasting memories.
These cards are perfect for wishing happy birthday, saying thank you or sending a friendship note in style, so make sure to let family and friends know just how special they are!
Details
Kit contains enough supplies to create 8 cards—4 each of 2 designs—and 8 coordinating envelopes.
Includes printed card bases, printed die cuts, adhesive, embellishments, and a clear block.
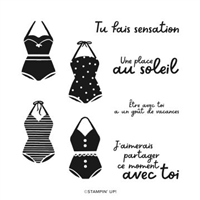
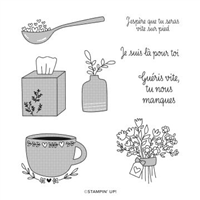
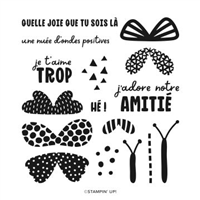
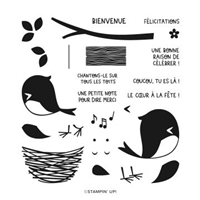
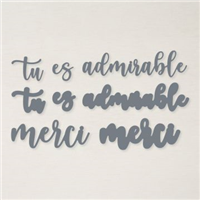
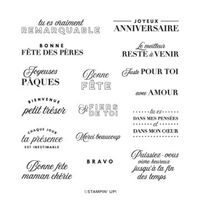
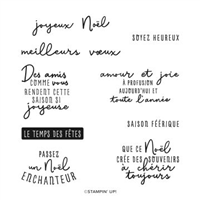
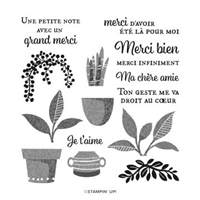
Available in English and French
Finished card size: 5-1/2″ x 4-1/4″ (14 x 10.8 cm)
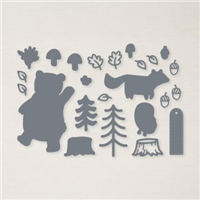
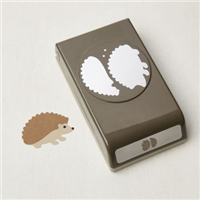
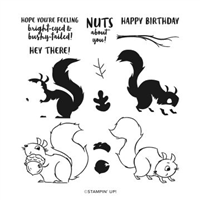
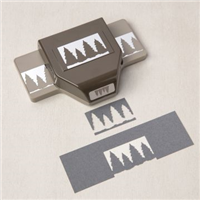
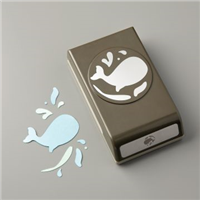
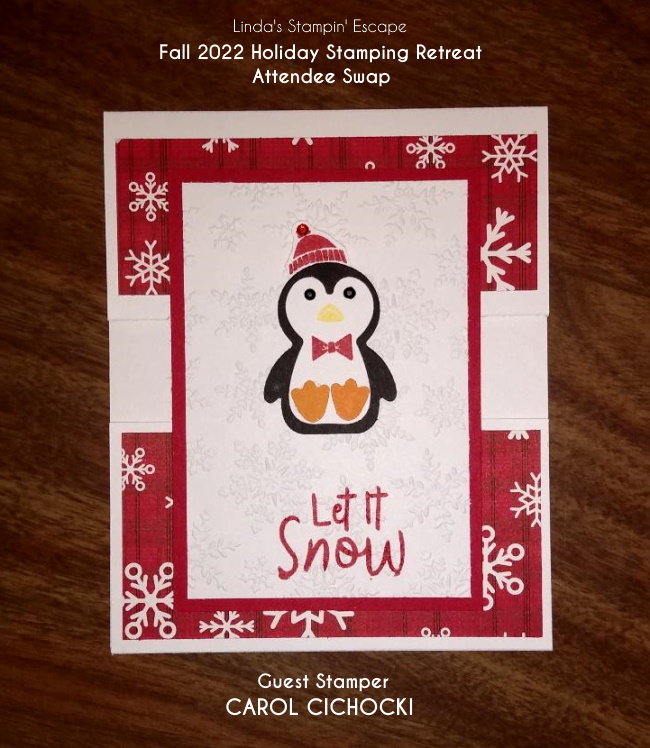
Hoping to be back on track … slowly getting better after Covid kicked my butt this week. On that note, let me share something a lot more FUN! I have another SWAP Card from my Fall Holiday Retreat.
This swap was from one of our first time retreat attendee’s Carol Cichocki …
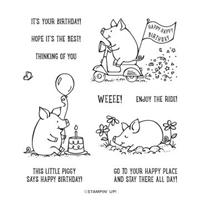
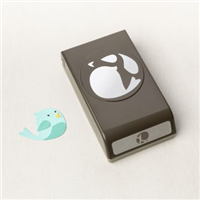
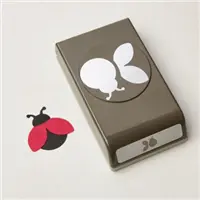
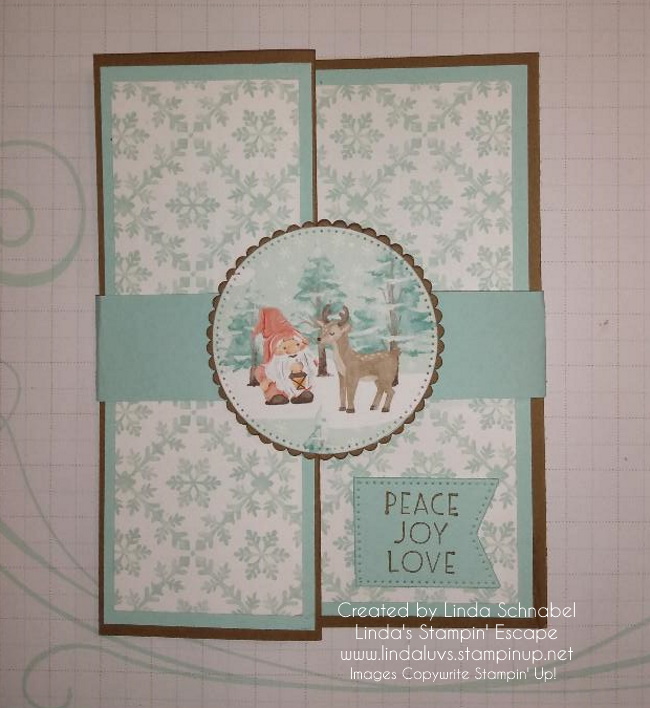
This cute holiday card features the Penguin Builder Punch and a Fun Fold! Carol used the Split Panel card / technique. It’s pretty simple. You cut your card stock base 7-1/2″ x 4-1/4″ and score it at 5-1/2″ Then you cut your bottom panel. You can cut it any size you wish, just make sure you leave enough for an opening in the middle.
The front panel can also be cut to your desired size … you can place it in the middle like Carol did, or off to either side to add a dramatic flare. This card is simple to do and fun to create.
Hope you don’t mind that I’ll be keeping these posts short and sweet for now, until I get back up on my feet again.
Surprise! On 9–10 November, all current Paper Pumpkin subscribers can save up to 50% on Paper Pumpkin past kits, refills, and add-ons 9–10 November! Customers who sign up by 10 November will even receive the November From The North Pole Paper Pumpkin Kit, you can sign up HERE.
Past kits, refills, and add-ons make perfect gifts for this upcoming holiday season. So here’s your headstart on holiday shopping now! Past kits don’t include a clear block, but they can be purchased separately.
Exciting News Coming Soon!
We’ve got something great in the works, but we don’t want to give too much away just yet. Check back on 11 November 2022, at 1:00 p.m. (MT) on my Linda’s Stampin’ Escape Facebook page for more details!
Thanks for stopping by and let me know if you have any questions.
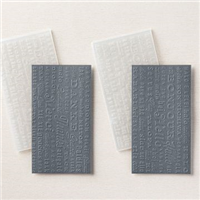
Today I’m here to share a few pictures from our Holiday Stamping Retreat. This retreat in not like the others, we have a 1930 English Tudor Home so our group is small an intimate. Our guest may come as strangers but they leave as friends … even swapping phone numbers (besides their cards) lol
We stamp on Friday Night after our sit down dinner, and when they return for dessert and the hot cocoa bar …. they find a Pillow Gift on their beds ….
This year they received the In Color Grid Paper so they can have a nice pad to stamp on, and use the Red & White Glitter paper. I gave them several ideas on how to use that!
Here are a couple of our first time Retreat Attendee’s ….
By the looks of these two, you would think they have known each other for a long time! They just met this weekend, in fact … I just met them this weekend. I think they both plan on attending the Spring Retreat!
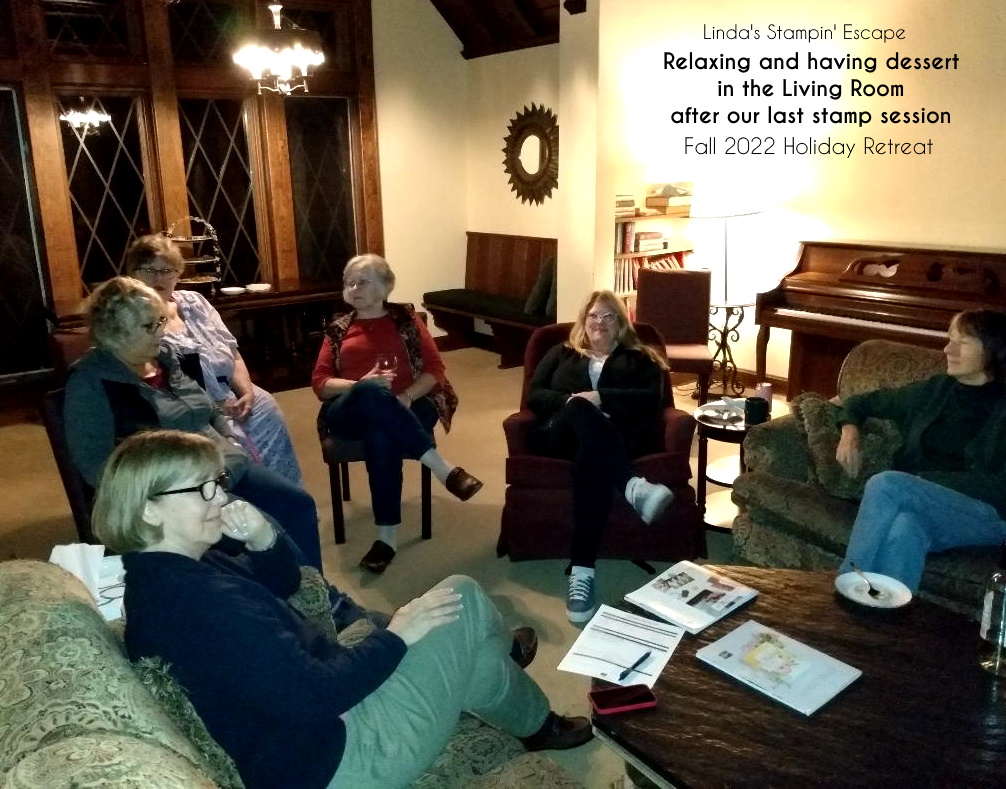
Here’s a pic of part of the gang (couldn’t get them all in this one shot) relaxing after our stamping session in the living room …
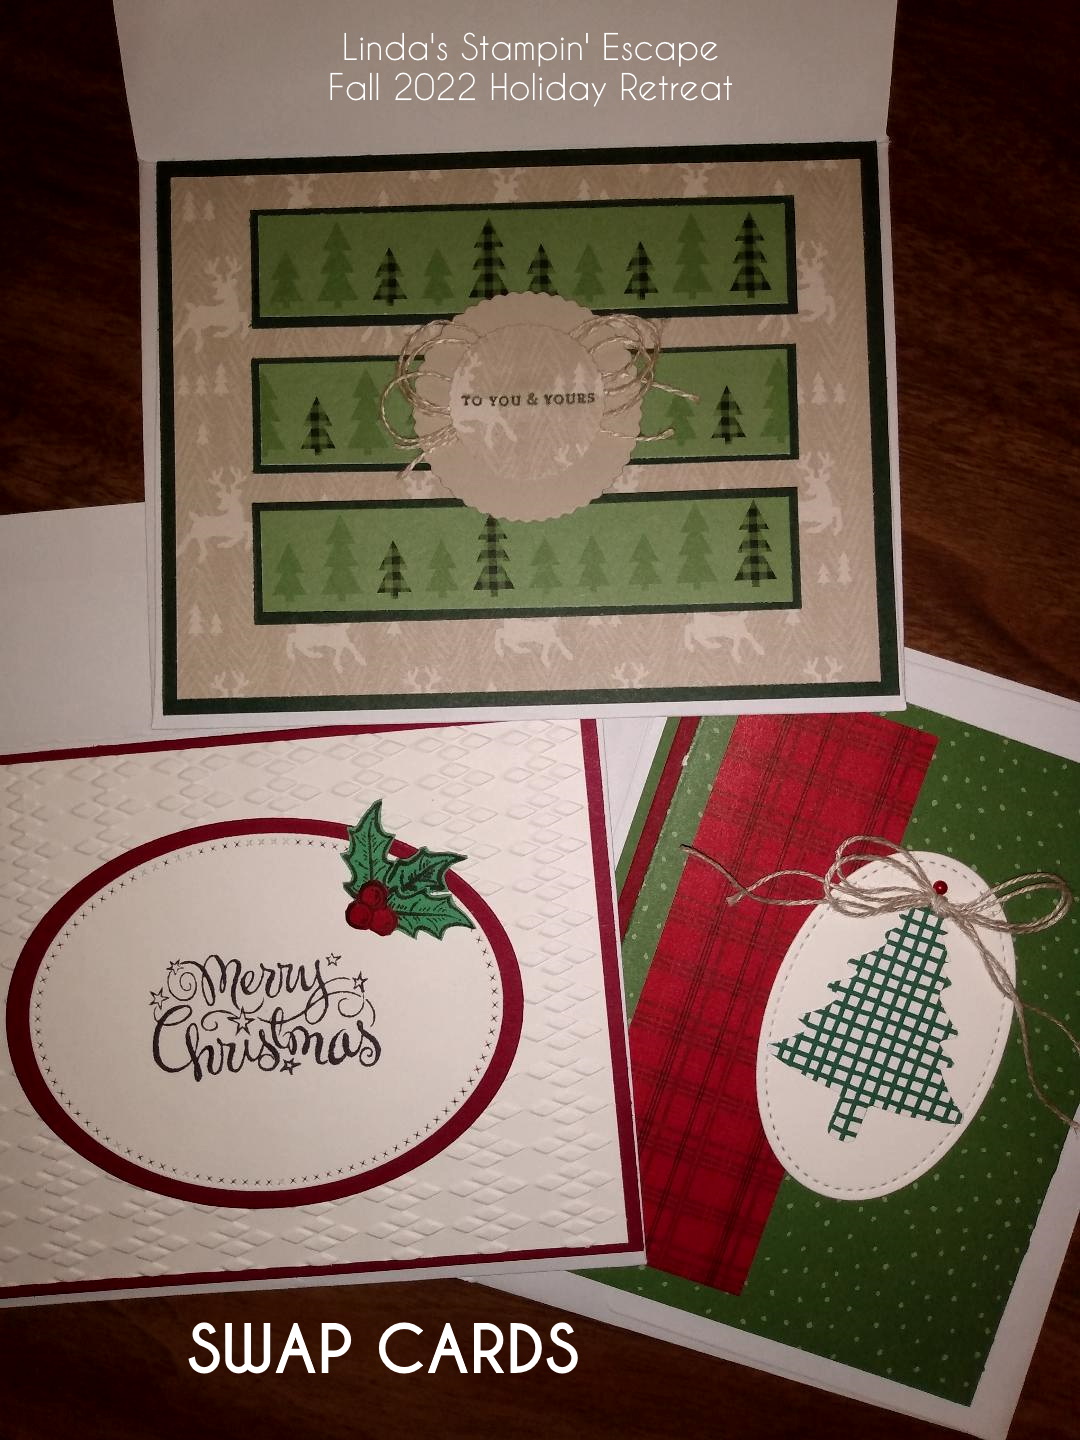
We enjoy some treats, hot cocoa and each others company! Before they retired to their rooms, we held a Swap Contest. Here are just a few of the cards.
Here are a few more of the swap cards ….
I will have plenty more to show you, including the top 3!!
Thank you for taking time out of your Sunday to check out my blog.
Today I’m heading up to meet my Stampin’ Friends for our Annual Fall Holiday Stamping Retreat. I’ve got beautiful cards planned … which includes a couple of “FUN FOLDs” and I’ll be introducing a brand new suite! I’m excited to meet our new stampers and can’t wait to welcome back some of the regulars.
Here is a look at our beautiful house and grounds ….
I’m hoping to share part of our retreat LIVE on my Facebook page … CLICK HERE to get to the page, and make sure you like and follow!
Our stamp session is full of fun, giggles, catching up, making new friends, snackin’ and of course some amazing stamping projects!
Thank you for checking out my blog today … Have a great day!
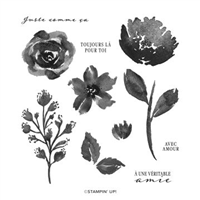
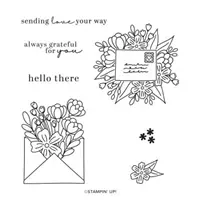
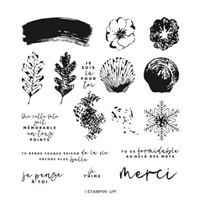
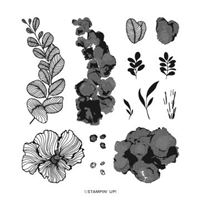
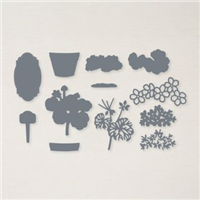
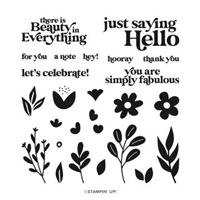
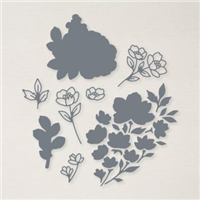
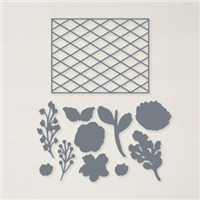
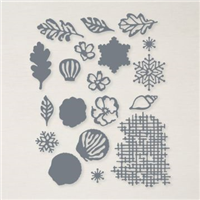
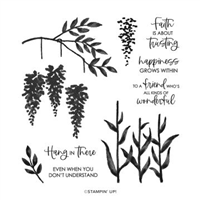
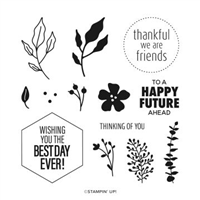
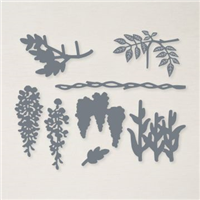
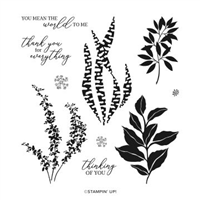
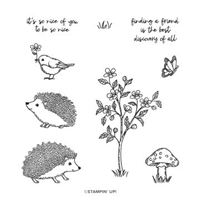
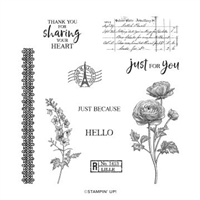
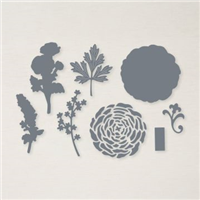
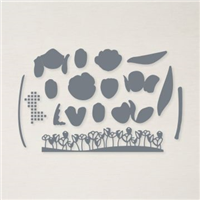
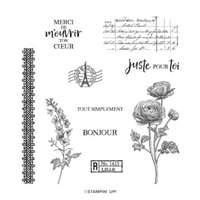
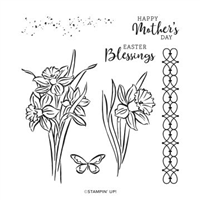
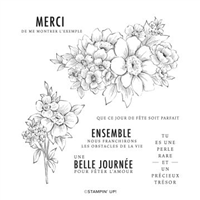
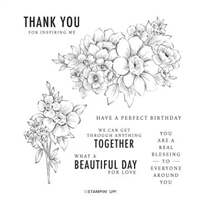
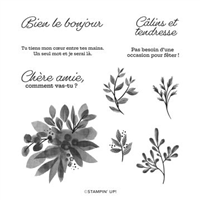
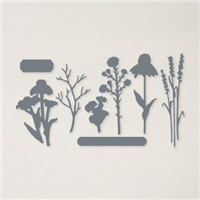
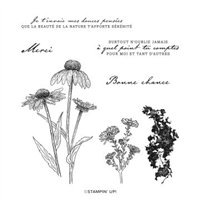
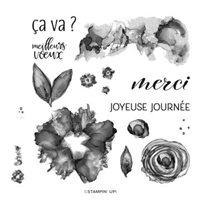
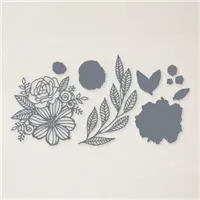
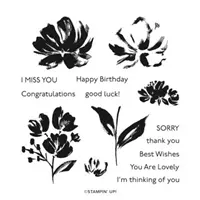
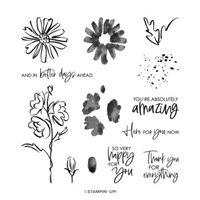
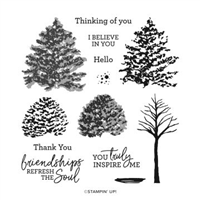
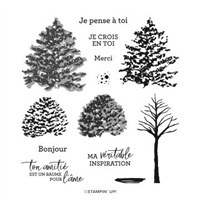
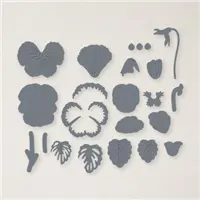
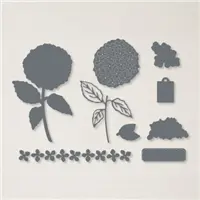
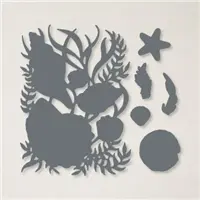
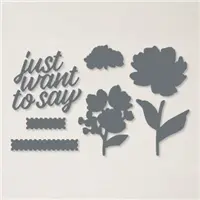
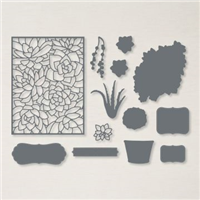
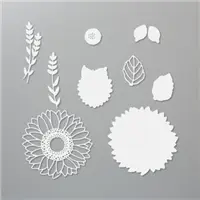
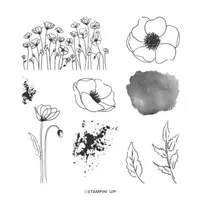
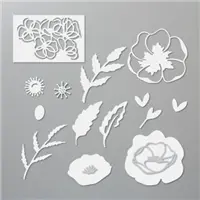
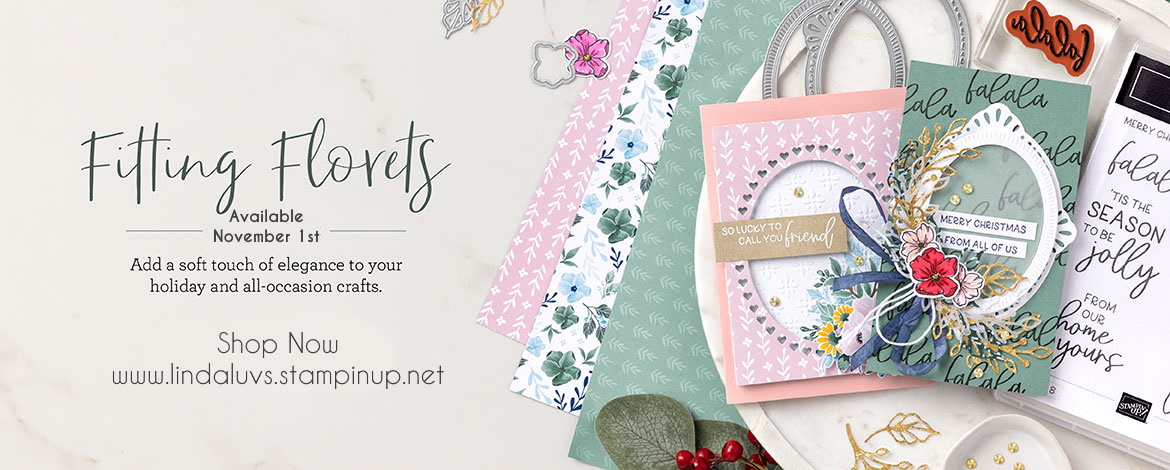
I am excited to share the Exclusive Framed Florets Collection with you today. I have a beautiful card that highlights the products and how they not only coordinate but “layer” together! I will also be sharing the video of my Facebook LIVE presentation last night.
So grab your favorite beverage and join me for my short video …
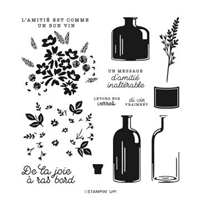
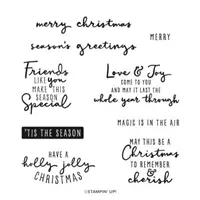
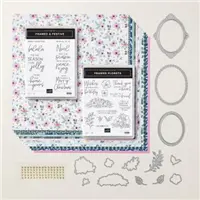
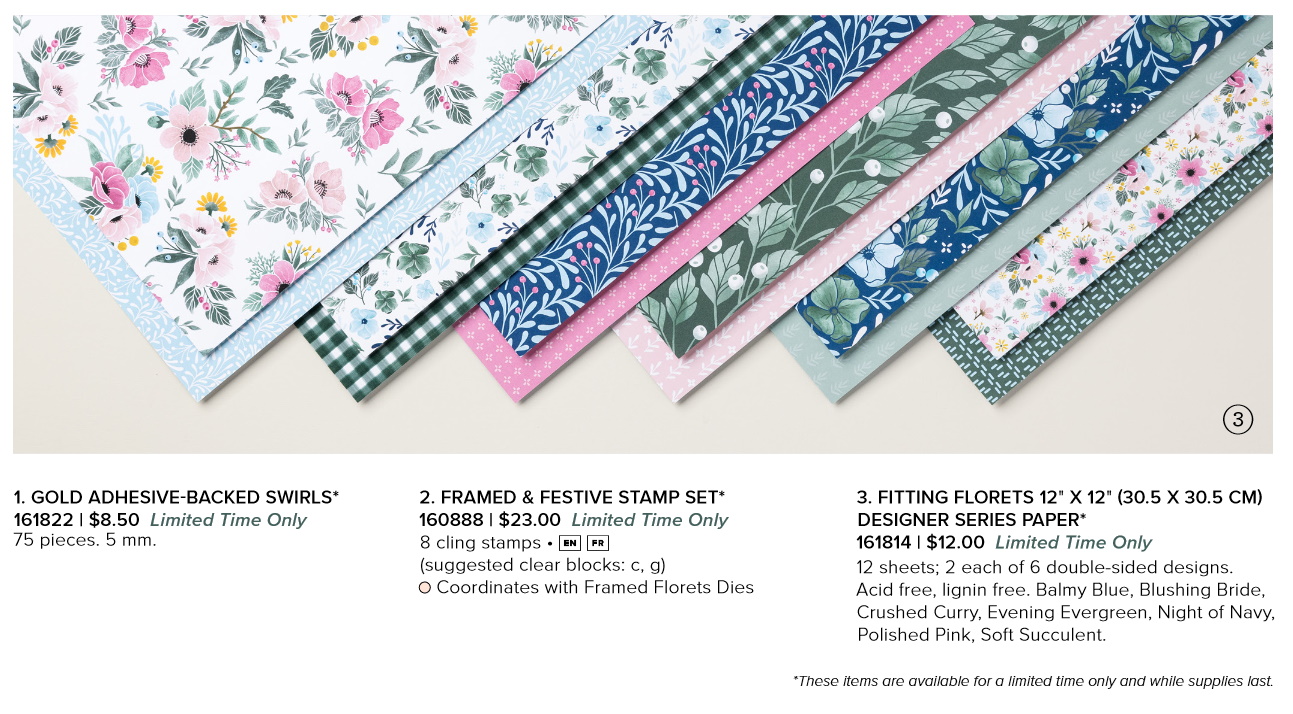
This collection of products is an extremely versatile bundle of seasonal, festive, and all-occasion designs, sentiments, and embellishments that you will love!
This promotion runs from 1 November 2022–4 January 2023 and includes a few exclusive items only available while supplies last:
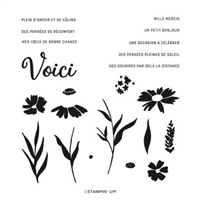
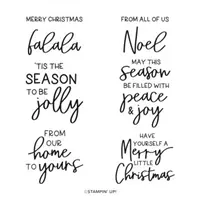
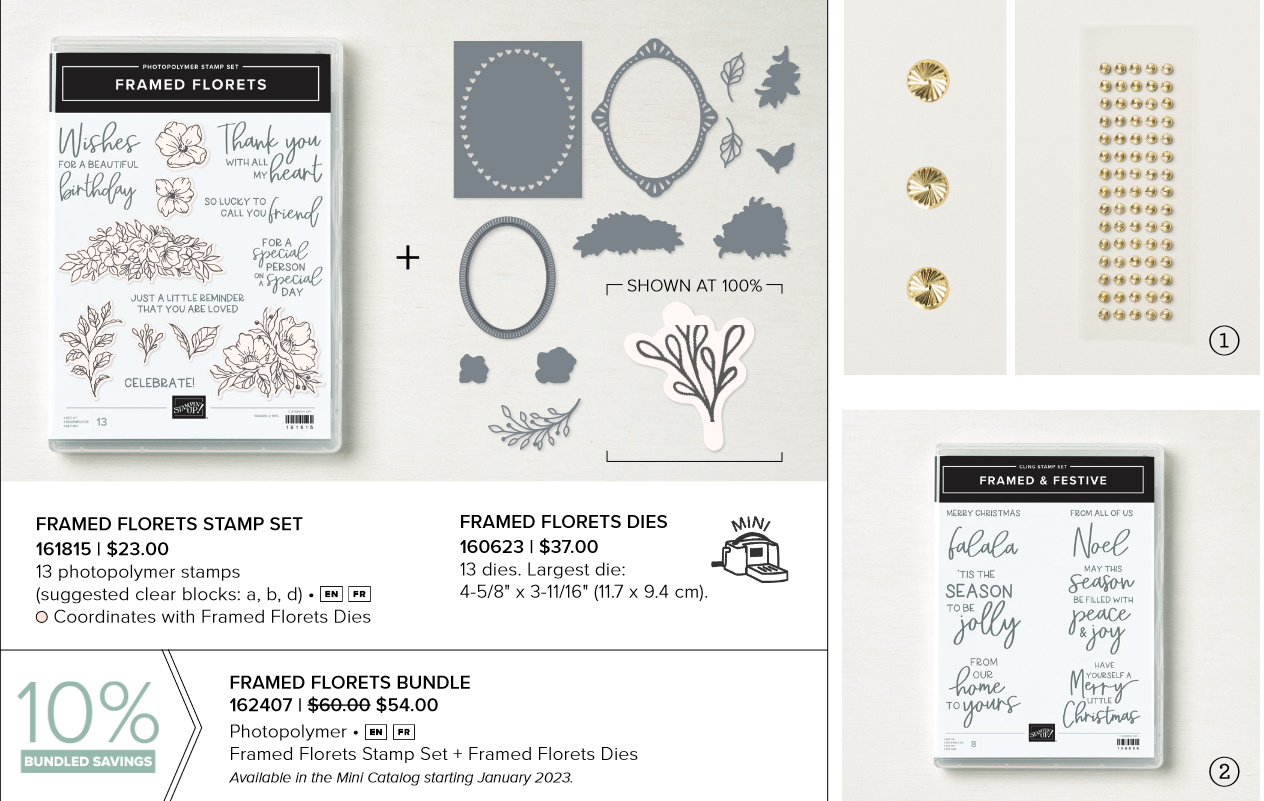
Framed & Festive Cling Stamp Set
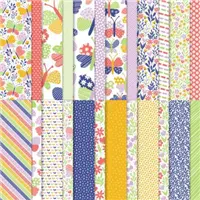
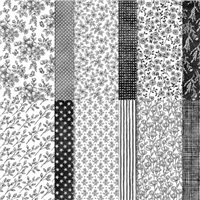
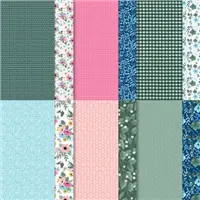
Fitting Florets 12″ x 12″ (30.5 x 30.5 cm) Designer Series Paper
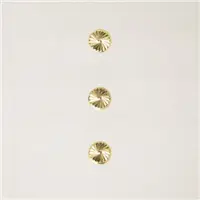
Gold Adhesive-Backed Swirls
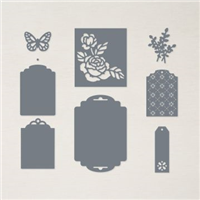
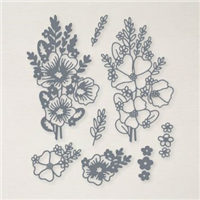
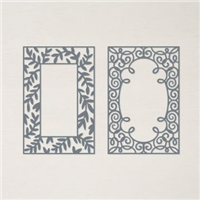
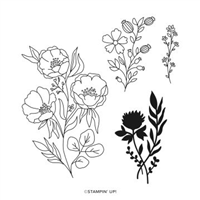
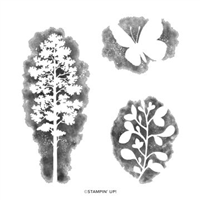
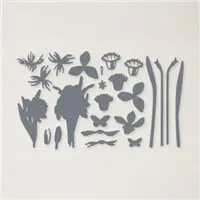
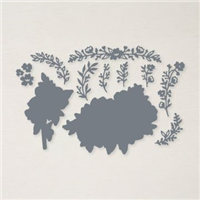
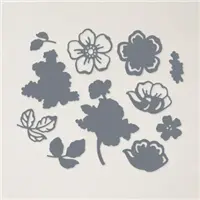
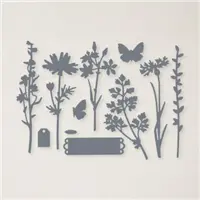
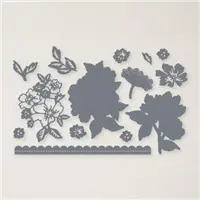
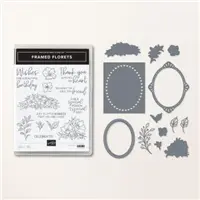
All these products have been designed to perfectly partner with the Framed Florets Bundle, which includes a Framed Florets Photopolymer Stamp Set and Framed Florets Dies.
I will post links below for your convenience.
Dimensions:
Card Base / Night of Navy = 8-1/2″ x 5-1/2″
Large Frame / Basic White = 5″ x 4″
Small Frame / Night of Navy = 4-1/4″ x 3-1/2″
Mat / Night of Navy = 5-1/4″ x 4″
Designer Paper = 5-1/8″ x 3-7/8″
I’m so happy that you joined me today. I will be sharing MORE samples from this amazing collection. In fact, if you aren’t following my blog, just click on the button in the upper right hand corner, and then you will receive an email each time I post.
Thank you and have a great day ~
Here is a list of the featured products and ingredients for my card …
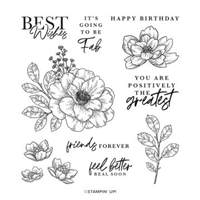
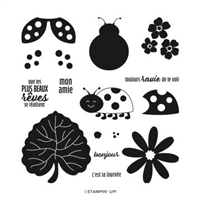
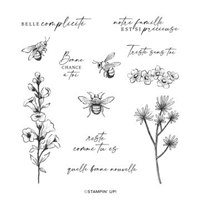
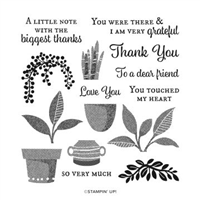
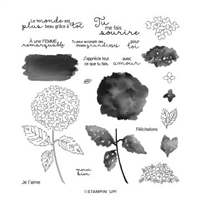
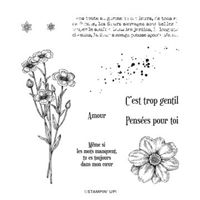
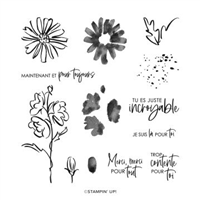
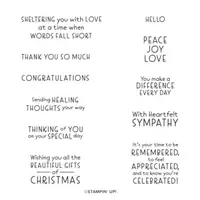
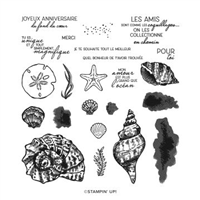
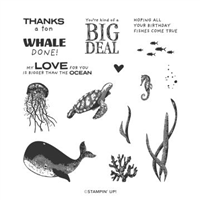
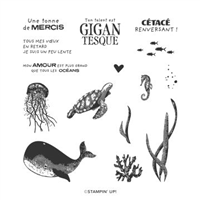
I am really excited to share this Brand NEW Suite with you …. Fitting Florets. It is a “Limited Time Offer” suite of products but was designed to be used all year long!
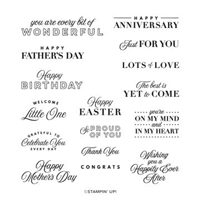
You can add just the right touch of elegance to any occasion, including Christmas and seasonal celebrations, with the sweet Fitting Florets Collection. From color schemes to sentiments and embellishments to dies, these unique products blend together so that your cards and crafts fit whatever occasion you might need. Send birthday wishes, express your gratitude, or spread Christmas cheer—with so many options to mix and match you’ll be set no matter the celebration all year!
Starting 1 November 2022, today … you can order items from the Fitting Florets Collection. All items in the collection can be ordered separately.
The following exclusive products are only available while supplies last:
Framed & Festive Cling Stamp Set (item 160888)*
Fitting Florets Designer Series Paper (item 161814)
Gold Adhesive-Backed Swirls (item 161822)
The following will be available for purchase in the Mini Catalog starting January 2023:
Framed Florets Bundle (item 162407)
Framed Florets Photopolymer Stamp Set (item 161815)*
Framed Florets Dies (item 160623)
Join me tonight on my Linda’s Stampin’ Escape Facebook page for an On-Line Class featuring this amazing new suite LIVE and in action ….
Thank you so much for checking in on me today. Hope to see you tonight!
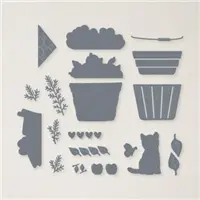
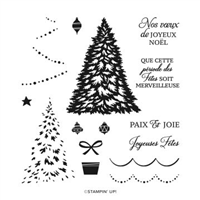
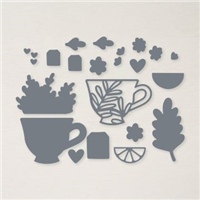
Sorry I missed you yesterday however I was busy packing up all my Holiday Retreat Card Kits, products and more for our stamp room … don’t want to forget anything!! On that note, I have a very special card for you today, created by one of the members in the design team I belong to. This card highlights the Window Wishes bundle.
This card was inspired by the sample on page 71 of the July-December Mini catalog…
Measurements:
Card Base: Thick Basic White 4 ¼ x 11, score at 5 ½.
Cardstock #2: Window with Basic White 3 x 4 ¼, scraps
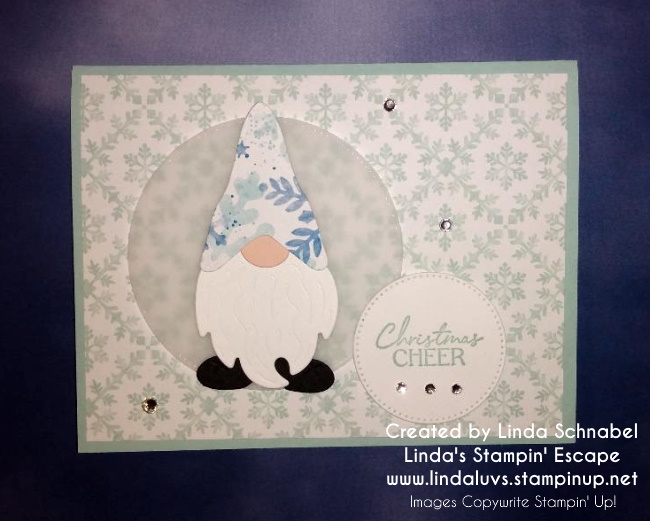
Designer Paper #1: Festive Foils 4 ¼ x 5 ½, Storybook Gnomes scrap 2 ½ x 3 ¾
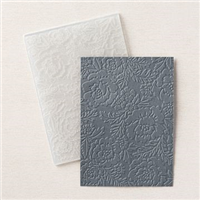
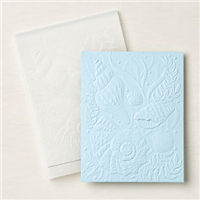
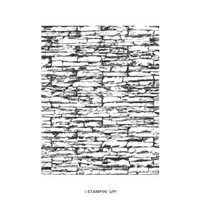
Begin by adhering the Festive Foils Designer Paper to the front of the card base. Using the Brick & Mortar embossing folder, emboss your white cardstock and then die cut it using the Window dies. Cut the Storybook Gnomes piece with the window frame in order to get the insert.
Stamp the tree in Early Espresso on the designer paper. Stamp the house in Real Red and the roof in Soft Suede ink on Basic White scraps. Cut these out with the corresponding dies and glue to the designer paper. Using the piece of white that you saved cut a strip along the bottom for the snow and add.
Stamp in Real Red the saying over the top of the window frame. Turn the frame over and the designer paper. Use scotch tape to tape the pieces together. Turn back over to the front and glue in the window insert piece.
Use 2 of the Wonderful Snowflakes to add interest to the card front. Cut the snowflakes in half. Add in places so that they will be around the window. You’ll have one of the halves left over. I taped them in place under where the window will be. Use the window to help determine placement before you adhere the window.
Add the window to the center of the card with dimensionals. Make a bow of Linen Thread. Add to the card with a glue dot.
Stamp Merry Wishes in Real Red on a Basic White scrap. Trim on each side of the saying. Make a notch at one end using Paper Snips. Cut up in the middle of the end. Now cut from each corner to the top of the middle cut. Add dimensionals to the back of the label. I used some of the side of the pack with the smaller dimensionals. Do not put any right at the very end. Put that part over the bow so all will lay straight.
Send to someone special for Christmas! Thanks for stopping by today ~
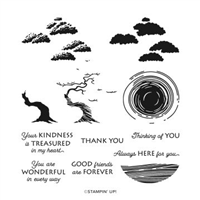
Ahhh … it’s officially the weekend and I have a beautiful card to share with you today because You Are Wonderful. Simple to make but wonderful to look at! I pulled out an old technique to help me create a little more drama on my card. Have I got your attention yet? lol Let’s take a look ….
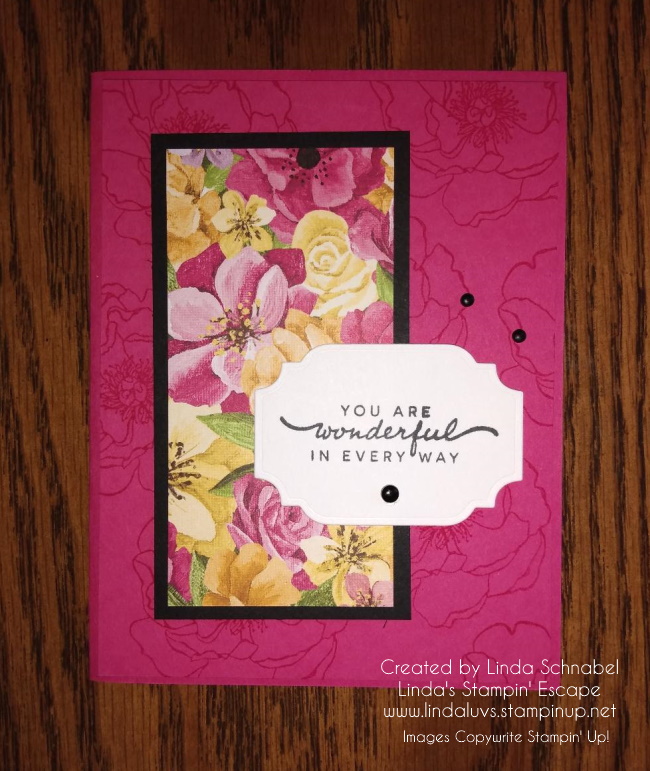
Do you recognize the old technique? Of course you do … simply stamping color on color to create your own background / design. I’m using Melon Mambo as my card base and the card front which is stamped and popped up with Stampin’ Dimensionals.
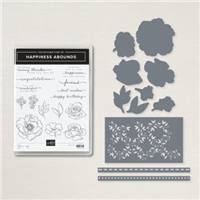
Next, I added a swatch of the beautiful Hues of Happiness Designer Series paper (2″ x 4″) and matted that with Basic Black to really make it pop on my card. The greeting comes from our Happiness Abounds Bundle and was stamped in Tuxedo Black Momento Ink.
A few Matte Black Adhesive Dots are used to embellish the card and tie it all together nicely. I absolutely love this suite, it is so versatile and the dies coordinate with the designer paper so some of the flowers can be die cut … put your scissors away! lol If this isn’t in your craft room yet … let someone know “what” YOU want for Christmas!
I want to Thank You today for stopping by today.
Enjoy your weekend.
Here is today’s supply list … you can click on any image for more information on that product or to start shopping. Thank you.