Hello Stampin’ Friends ~
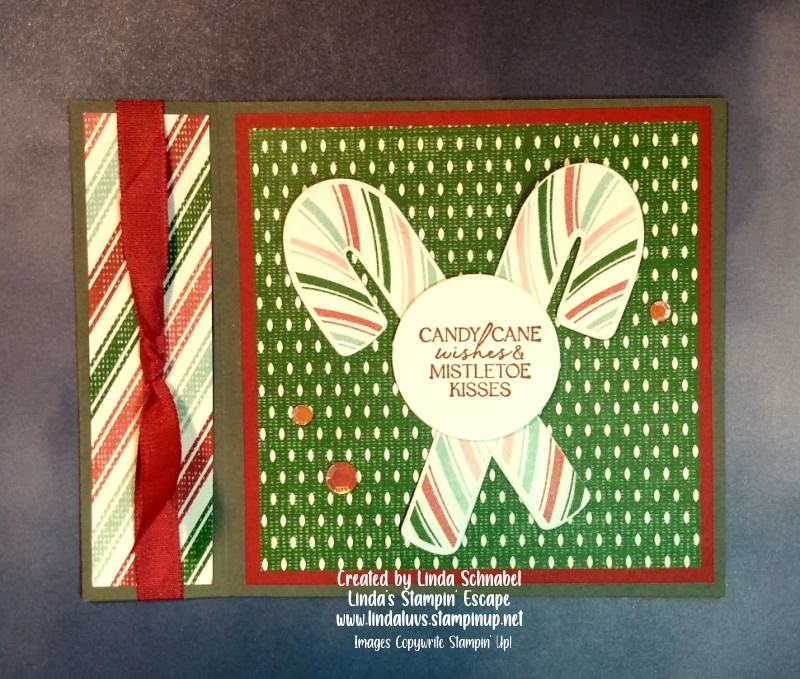
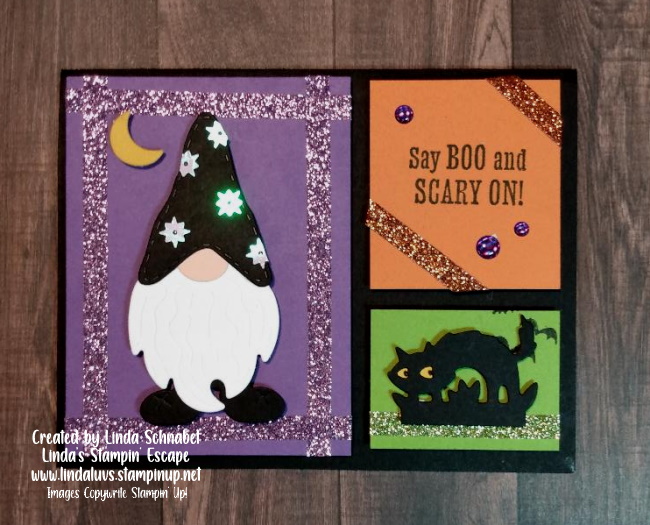
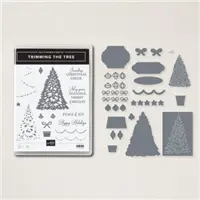
And a HAPPY Saturday to you all. Today I have a card from the amazing Merriest Moments stamp set and the Hybrid Embossing Folder. I was thrilled to see these amazing products back in the Mini Catalog this season as one of the returning favorites!! It’s surely a favorite of mine.
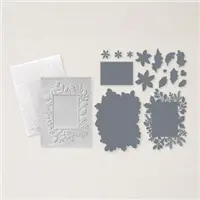
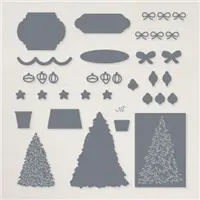
You can create unique and festive frames with the Merriest Frames Hybrid Embossing Folder. It comes with one embossing folder and one set of dies. This hybrid embossing folder will add a unique touch to your Christmas and winter cards.

The dies fit around the embossed image in the folder, allowing you to emboss and cut with one run through the machine. Or choose to use the folder and the dies separately; the choice is yours … I chose to just the the embossing folder on my card.
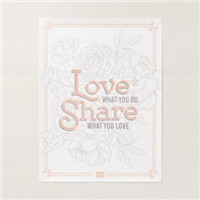
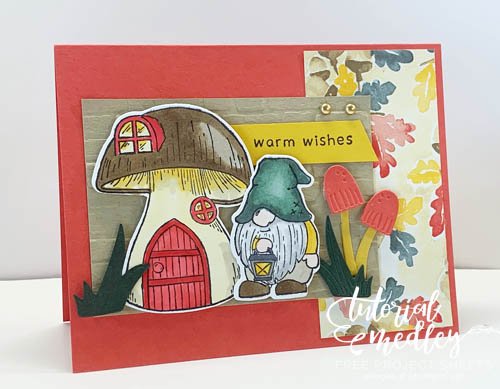
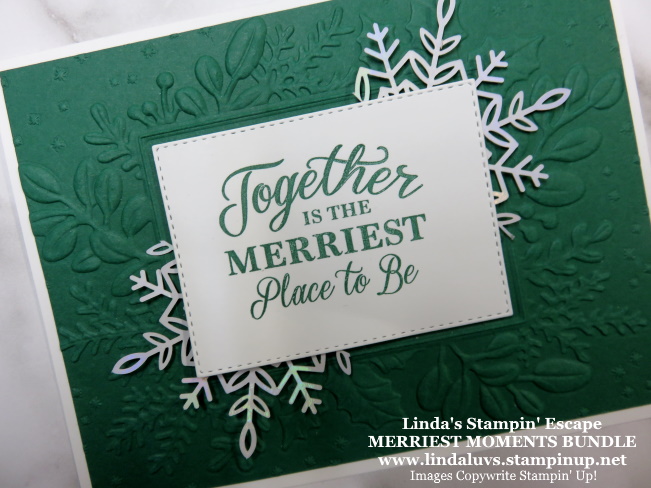
This is a simple and easy card to make. I used Basic White as my card base … the Evening Evergreen card front is 4″ x 5-1/4″ and is embossed with the Merriest Frames Hybrid Folder.

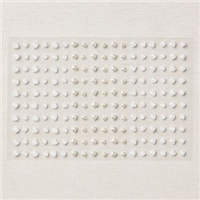
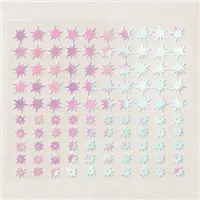
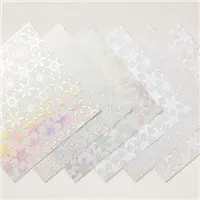
I complimented the embossed card front with the Wonderful Snowflakes in the Mini Catalog. You’ll find them on page 45 in the Mini Catalog … you get 24 Snowflakes for only $6 and you can stretch that even further by cutting them in half as I did here.
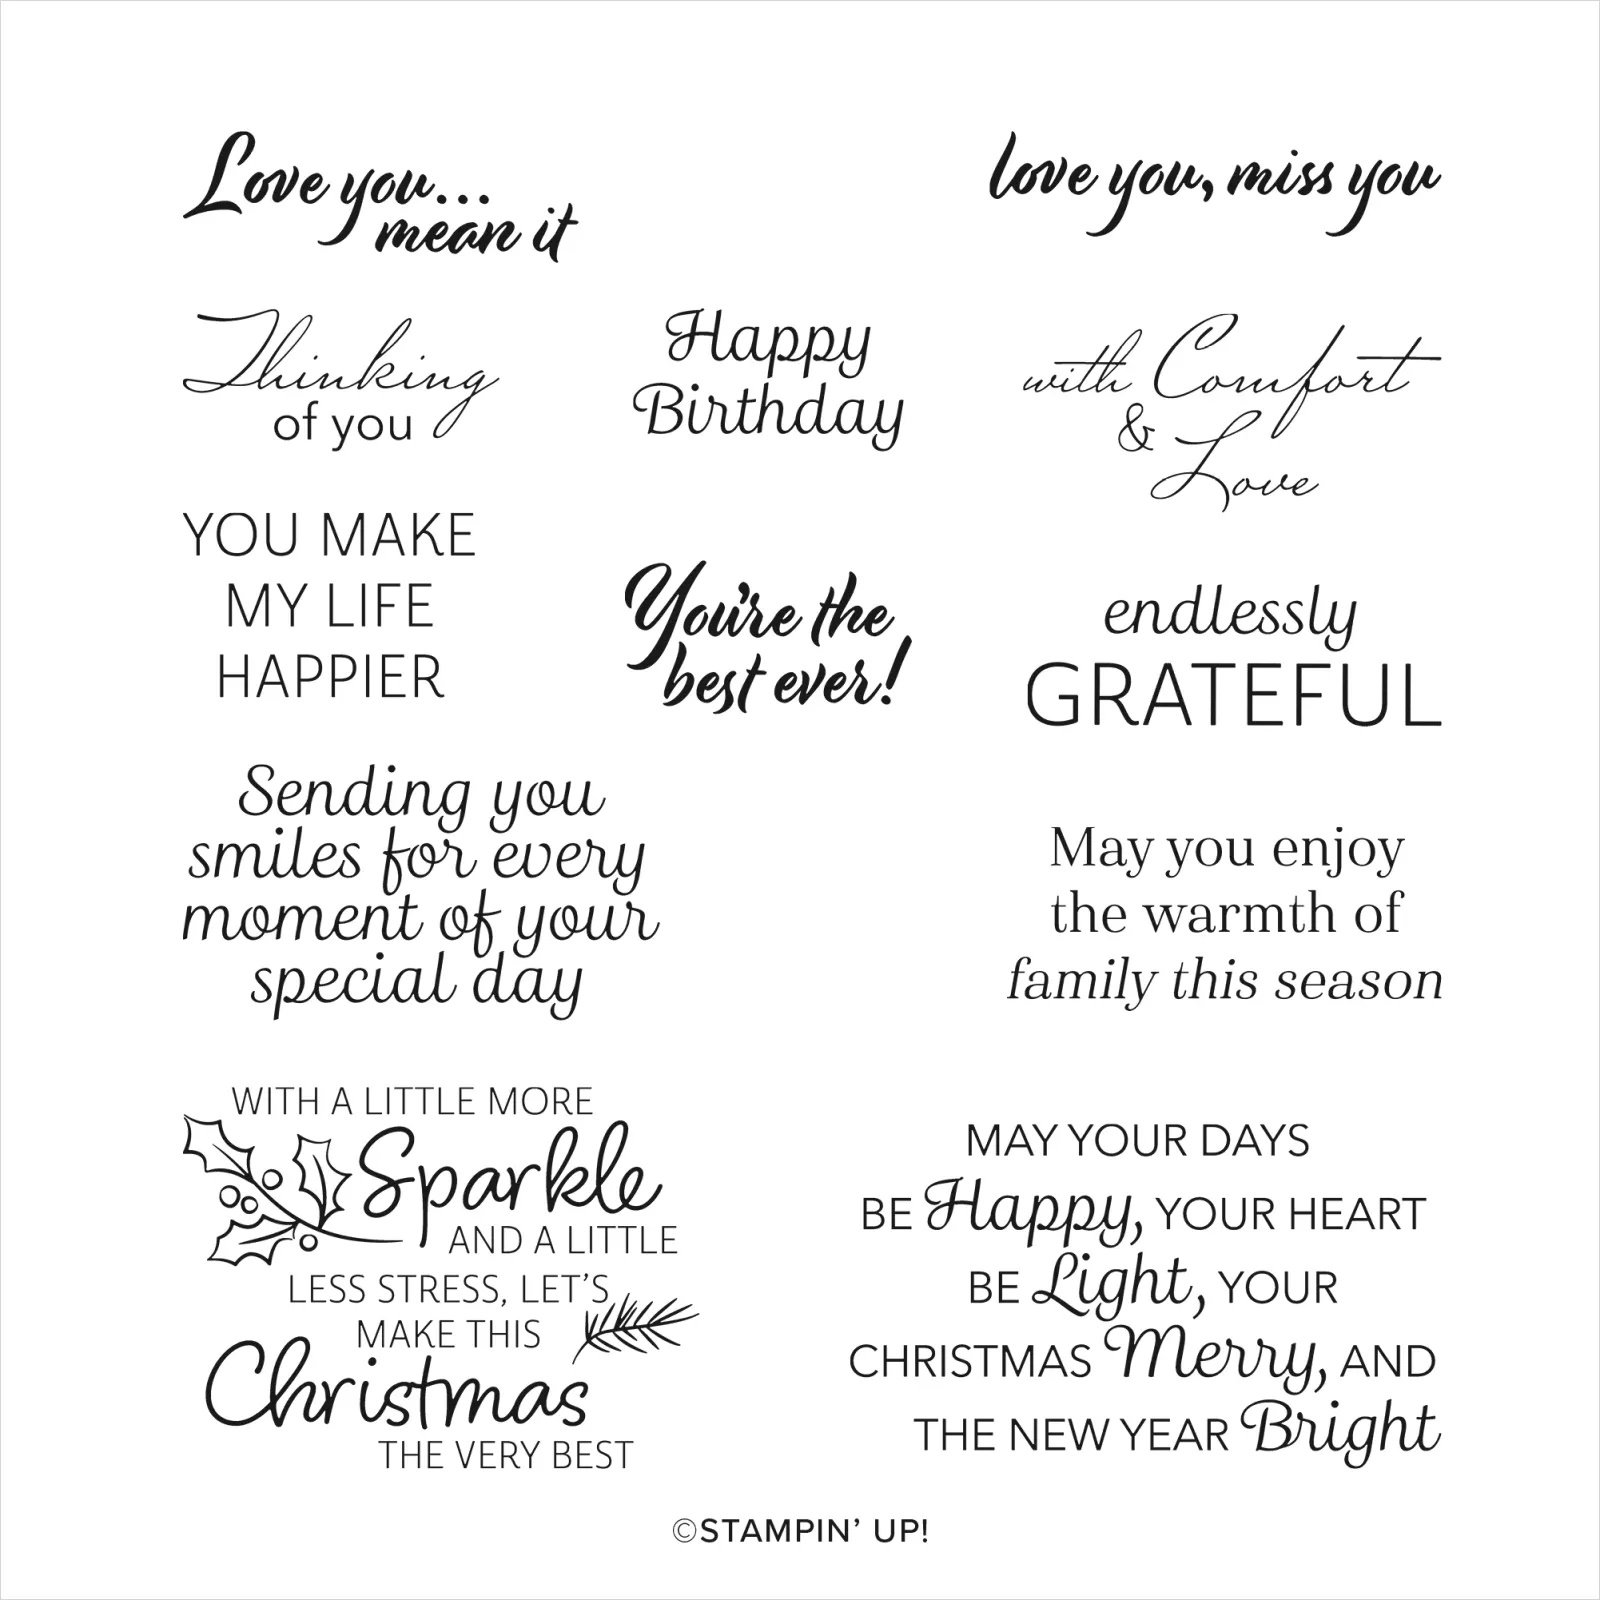
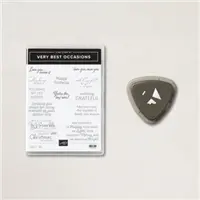
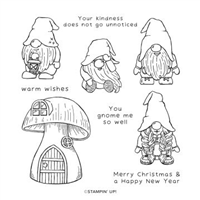
The greeting comes from the Merriest Moments Stamp set …

The greeting was stamped onto Basic White cardstock in the Evening Evergreen and die cut with the die included with our bundle … it fits perfectly in the framed space!
I told you this special team of products would be so fun to use! There are so many different ways you can use the stamps, dies and embossing folder. Be sure to keep an eye out, as I will be sharing more in the future.
Thank you for joining me today. I hope you have the “merriest” of weekends ~

TODAY’S STAMPIN’ SUPPLY LIST … If you liked the products used in today’s projects, I have links for you below. Just click on the item you would like more information on, or to begin your shopping. It will take you directly to my website. Thank you ♥