Hello Stampin’ Friends ~
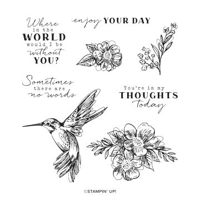
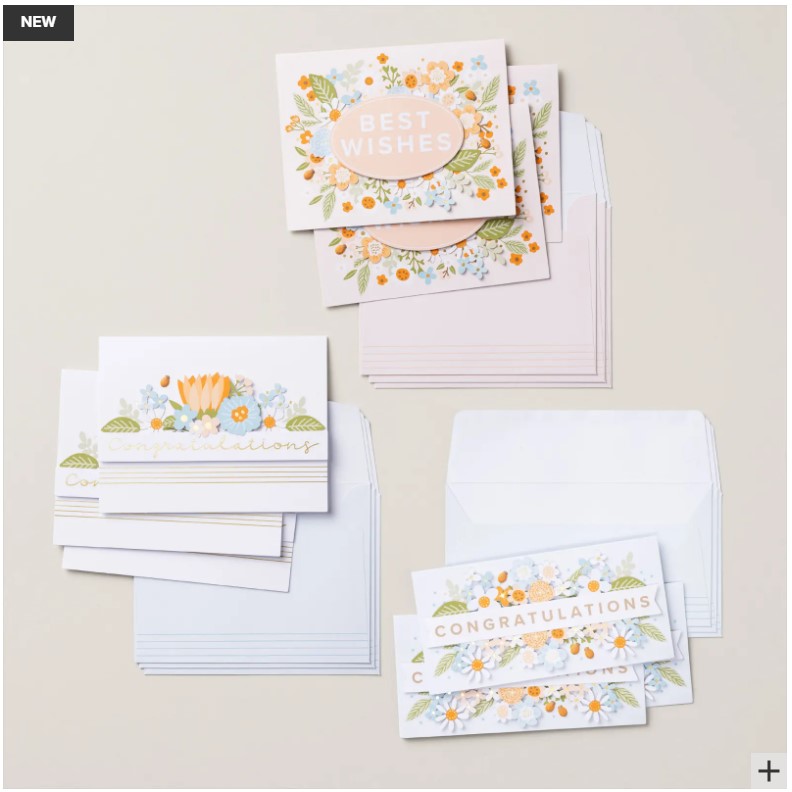
Today I’m excited to share a few fun and fabulous alternative card ideas using the April 2025 Paper Pumpkin kit – Inked Occasions. This kit is already packed with creative potential, but sometimes it’s fun to take things a step further and see how many more cards we can make from it!
Whether you’re looking to use up every last piece or you just want a fresh spin on the kit’s original designs, these quick & easy alternatives will give you a creative boost. And yes — they’re beginner-friendly, too!
🎥 Be sure to watch my video CLICK HERE to see these cards come together step-by-step!
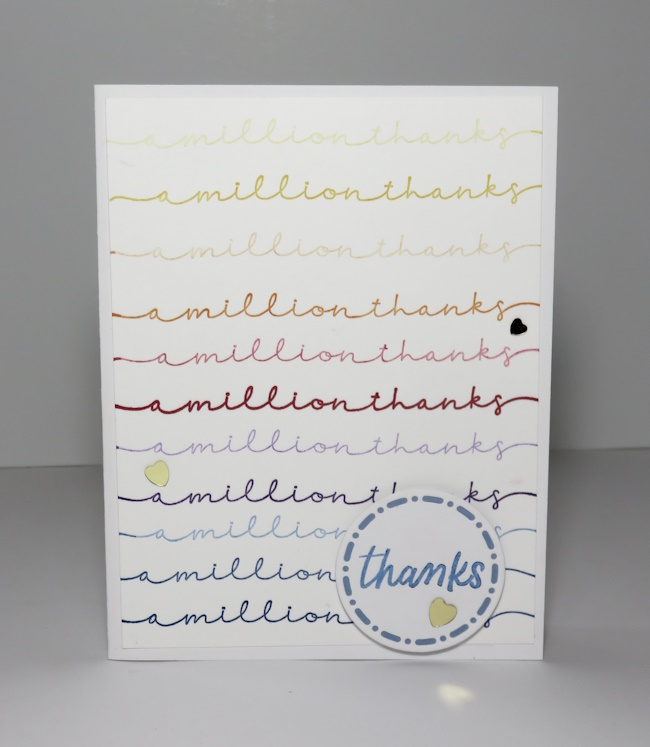
💌 Alternative Card #1: “Thinking of You”
This card uses one half of the card I cut in half and trimmed down to 4″ x 5 1/4″ and is mounted on Basic Black. I simply stamped the greeting from this month Paper Pumpkin kit and embellished with the In Color Flat Pearls that will be coming in the NEW Annual Catalog.

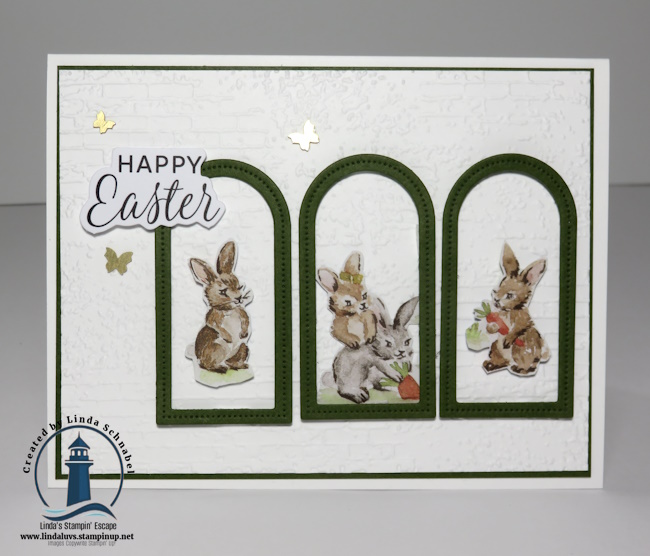
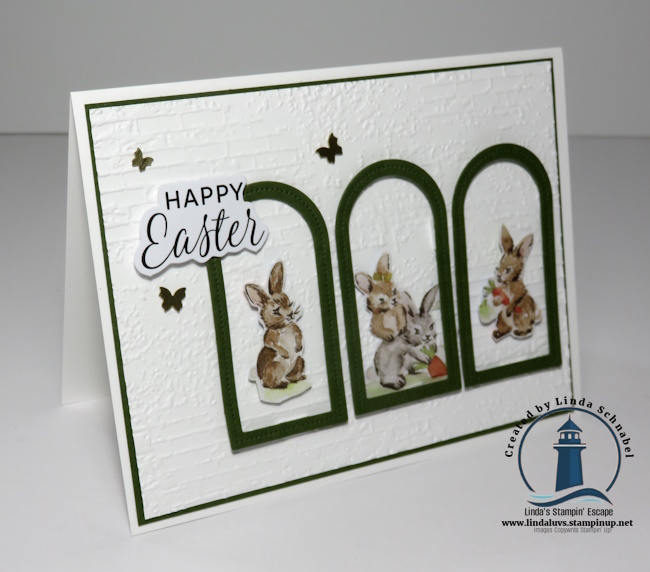
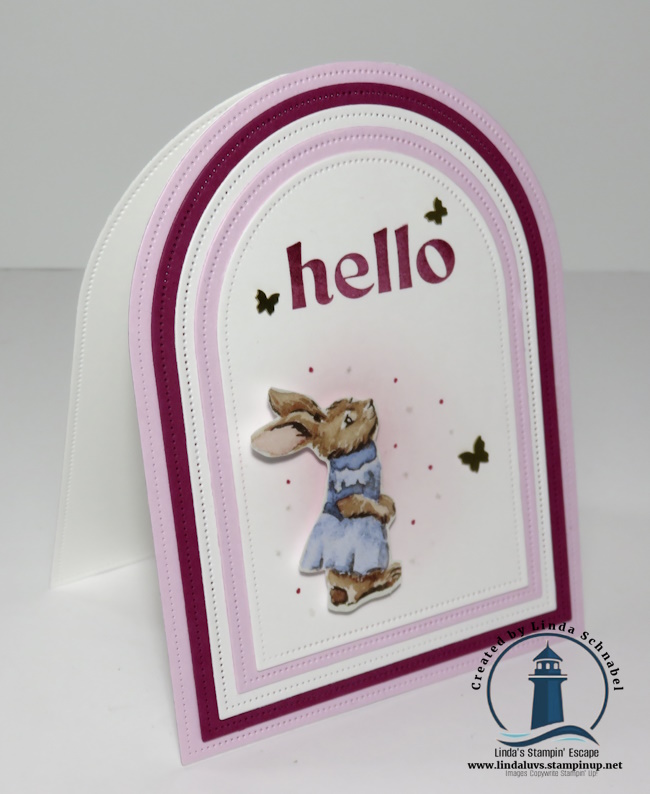
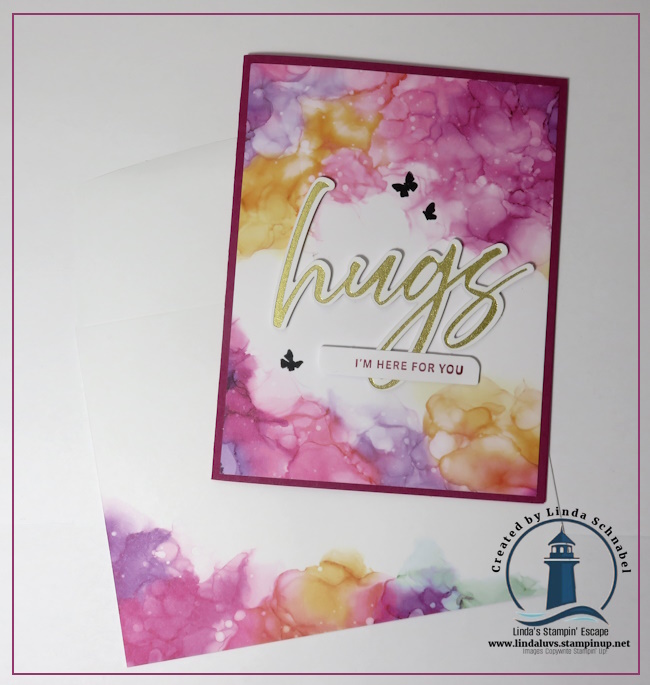
🎥 Alternative Card #2: “Hugs” Simplicity
For this card, I used the second half and pieces from the original kit designs to create a simple yet elegant notecard. A little stamping of the butterflies and a bit of layering gave this card a fresh feel — perfect for sending hugs and letting them know you’re here for them!
🎉 So Many Possibilities…
The Inked Occasions kit is one of those special ones that keeps on giving — and I hope these ideas inspire you to keep crafting and stretching your supplies.
👉 If you liked these alternatives, don’t forget to give my YouTube video a thumbs up, subscribe, and leave a comment — I love hearing what you’re creating! And if you’re not already subscribed to Paper Pumpkin, now’s a great time to join in the fun. 💕
Before I say goodbye …. just a reminder,
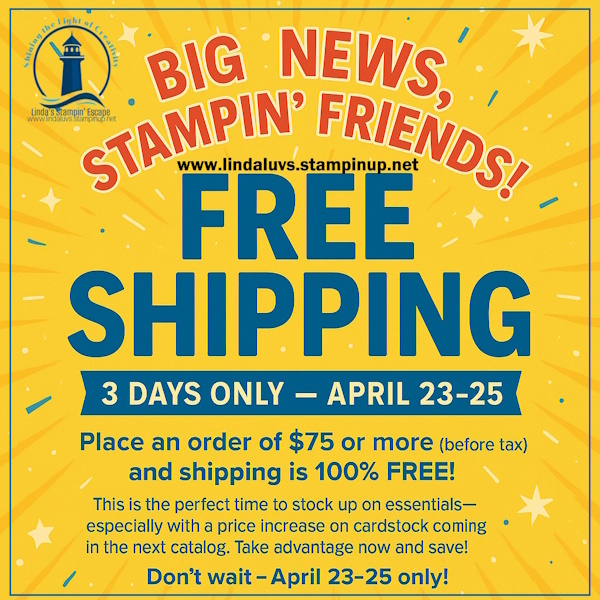
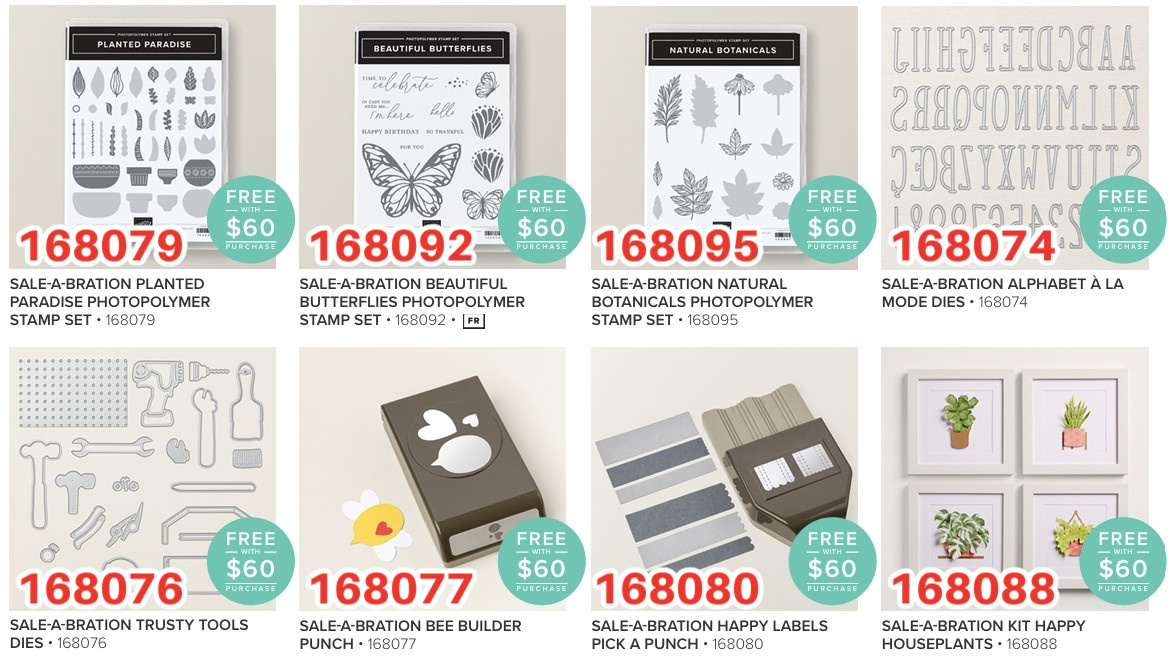
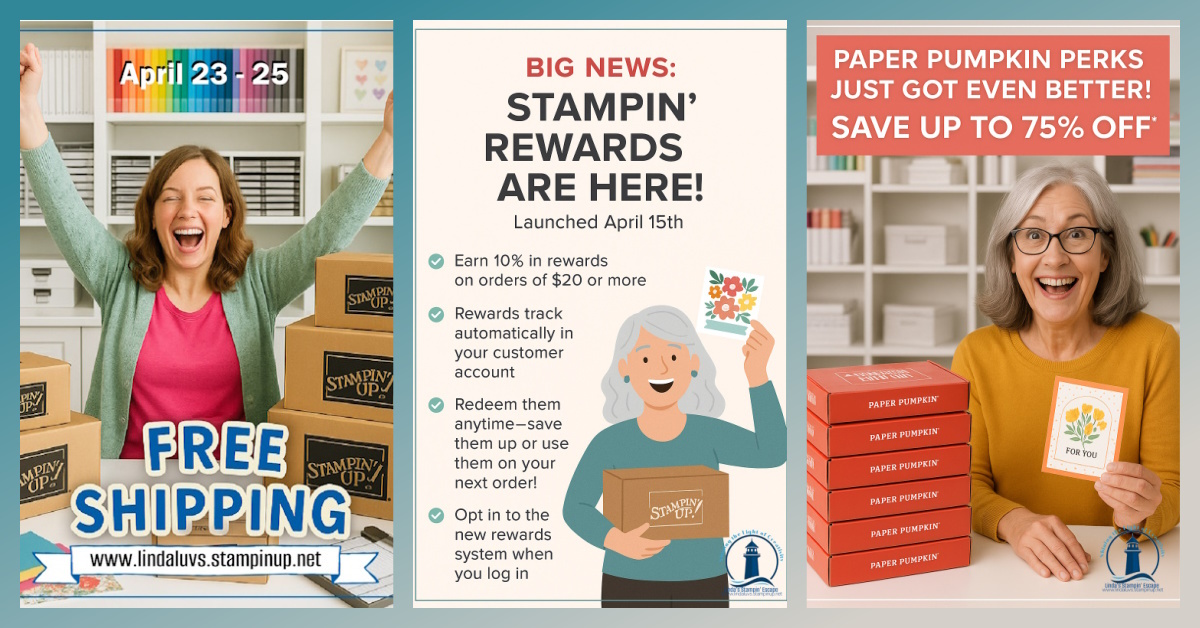
🚨 It all starts TODAY! Take advantage of FREE Shipping on orders of $75 or more and incredible savings of up to 75% off during the Paper Pumpkin promotion! This is your chance to combine these exciting offers with the Last Chance List — scoop up your favorites before they’re gone for good. And the best part? You’ll be earning NEW Rewards while you shop! 🎉
💬 Don’t wait — these deals are only here for a limited time and items will sell out fast. Stock up, save big, and get rewarded for doing what you love. Let’s make your craft room (and your heart) a little fuller today! ❤️ Let me know if you need any help!
Thank you so much and have a great day and here’s to happy crafting and big savings! 💌✨!! Linda