Simply Sunday: That’s the Tag

Hello Stampin’ Friends ~

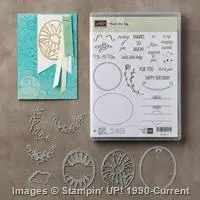
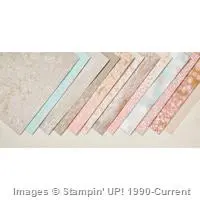
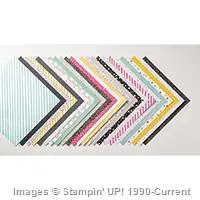
Today I have a simple and easy cards for you that delights the eyes with our beautiful “Falling in Love” Designer Series paper. The possibilities are endless when you teams this designer paper with the “That’s the Tag” Bundle!
On the first card I chose the “Falling in Love” Designer Series paper that had the delicate flower pattern. The color is Sahara Sand so I used Very Vanilla as my base and my tag.  I stamped the tag with the oval dot pattern and the thanks from the “That’s the Tag” stamp set from the bundle of the same name.

000_3951

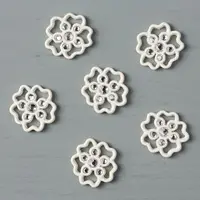
I then added the pretty little “Falling in Love” embellishments from the Falling in Love suite. I placed them to align with the pattern on the paper and to anchor the greeting. Simple!

000_3949

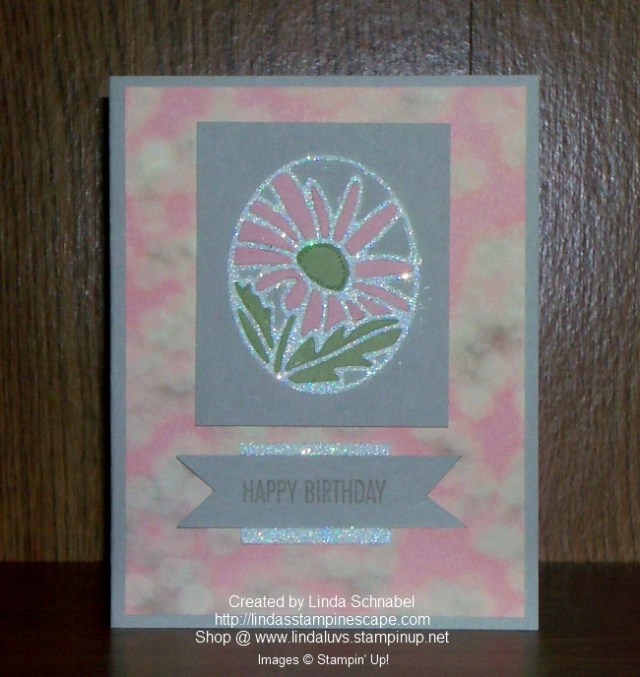
My next card, I again used the “Falling in Love” Designer Series paper but chose the “Bokeh” style paper. Bokeh, which is pronounced bow-kay or bow-keh, refers to the wonderful out-of-focus light and shapes. The color pallet on my card is Blushing Bride and Sahara Sand.

000_3954

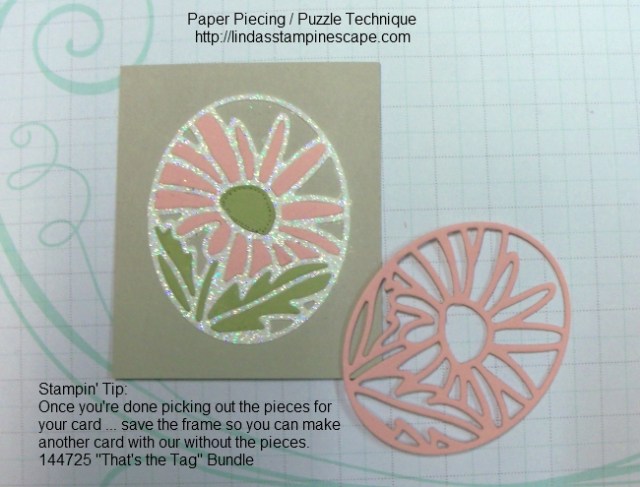
On our first card we used the simple oval tag for our greeting, on this card we stepped it up with the pretty flower die cut from the Dazzling Diamonds Glimmer paper.  Oh so pretty!

Again, the greeting comes from the bundle and I created a simple banner and then backed it with a touch of the glimmer paper to make the greeting pop.

000_3958

Simple cards to make but dramatic in texture and design. I hope you enjoyed today’s cards … I will be back with more of the items we used today.  You can see a list below.

Thank you so much for taking time out of your Sunday to visit me.

Have a wonderful day ~

blog-closing-small    jan2017-hostess-code


TODAY’S STAMPIN’ SUPPLY LIST …


Balloons, Balloons, Balloons … See what the fuss is all about!

Hello Stampin’ Friends ~

Today I’d like to share with you how Stampin’ Up! introduces our new Occasions Catalog! It gives you a fun way of seeing what these fabulous stamp sets and accessories can do … in motion! Take a look …

 Wasn’t that fun!!  How do you like the new “tool” set? Great for the much desired “man” cards!!  Now, I have another video for you to watch  …

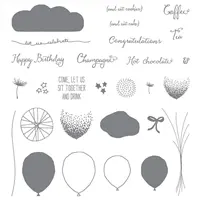
Watch Stampin’ Up! trainer, Brandi, give some tips and tricks on using the Balloon Adventure Stamp Set, Balloon Bouquet Punch, and Balloon Pop-Up Thinlits. Contact me to order yours or visit www.lindaluvs.stampinup.net to order yours today!

Thanks so much for spending part of your day with me! I hope you enjoyed the videos.

Stay warm Wisconsin … and everyone, have an awesome day!

blog-closing-small


Wonderful Birthday Wishes

Hello Stampin’ Friends ~

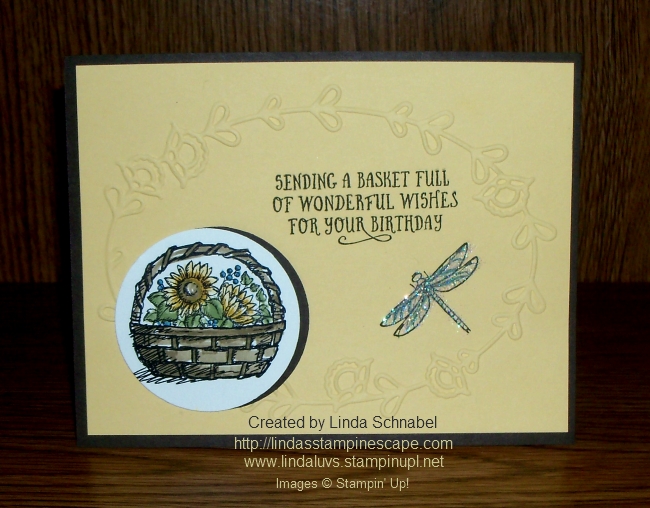
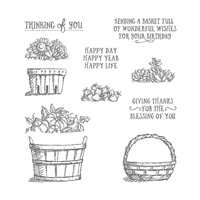
Today I’m going to share with you a sweet card to celebrate a friends birthday, and what better way than to send a “Basket of Wishes”. This is the stamp set that creates the focal point of your card.

Let’s begin with the “Pretty Paisley” textured embossing folder … this is your first step in creating this card. I love the way the oval encompasses the greeting and our dragonfly, then brings your eye right to your focal point … the basket of flowers.

000_3693

The basket and flowers were simply colored with multiple markers … you could watercolor with the Aqua Painters is you wanted a more subtle look.

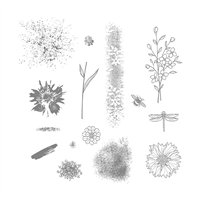
Our cute little dragonfly comes from the “Touches of Texture” stamp set found on page 141 of the Annual catalog. There are no rules that say you can’t mix and match stamp sets, in fact, Stampin’ Up! designs many of their sets to coordinate and flow with each other … Love it!

Just a quick post today to get you back to your weekend, but I appreciate that you stopped in to check out my blog. Thank you.

Have yourself a wonderful day ~

blog-closing-small         starry-purple-background-vector

TODAY’S STAMPIN’ SUPPLIES …


Time to Celebrate!

Hello Stampin’ Friends ~

I’m really excited as I pack up all the Make & Takes, Displays, Snacks and more for our Catalog Kick-Off party tonight. I’ll share pictures with you, but today you’re going to get a sneak peak at one of the special cards created for our “My Hero” stamp set board.

The My Hero stamp set is this years Ronald McDonald House Charity stamp set.  Stampin’ Up! donates $3 for each stamp set we sell, so I created 7 really cute cards to showcase how versatile this set is … two of which are Make & Takes, the other 5 will be raffled off at the end of the night!

Today’s card is the “Celebrate” card and I teamed it up with the totally fun “Festive Birthday” Designer Series Paper and Festive Impression Embossing Folder …

000_3529

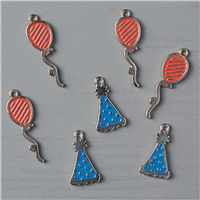
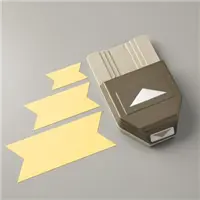
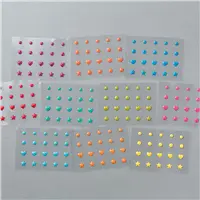
The designer paper and the Crushed Curry and Tempting Turquoise cardstock just scream … Fun! Fun! Fun! I turned them into banners using our “Triple Banner” punch, then I added the new “Enamel Shapes” to anchor the end of the banner.

This card is just waiting for the party! Are you ready?

Thanks so much for dropping in today.

Enjoy your Monday.

blog-closing-small

TODAY’S STAMPIN’ SUPPLY LIST …

000_3529


Just for You ~

Hello Stampin’ Friends ~

I’m back with a dazzling birthday card for you! Today’s card is full of fun and ready to party. It all begins with the “It’s My Party” Designer Series Paper.

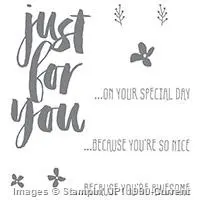
So many fun patterns to work with and when you team it up with the “It’s My Party” cardstock pack you could have endless cards … just add a stamp set! I used the Botanicals for You stamp set in the Sale-a-bration Catalog.

000_3188

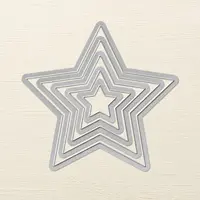
I highlighted the designer paper by adding Silver Glimmer paper as a mat. It just adds enough sparkle to really make the card shine. Speaking of shine … I added stars which I created with the Star punch and framelits.

Stampin’ Tip … To create the double layer star like you see on my card, punch the small star out of the Silver Glimmer paper and then use the smallest framelit to cut out the star. It’s much easier than trying to punch out the center of the framelit star.

000_3191

Quick and cute for today … Wanted to keep it on the simple side because I did not post my Simply Sunday this week.

I will be back tomorrow with the weekly deals. Thanks for stopping by.

Hope you have a really nice Monday ~

blog-closing-small

TODAY’S STAMPIN’ SUPPLY LIST …


A Little Something for You …

Hello Stampin’ Friends ~

Today I’m going to share with you one of the cards we made at my “Birthday Bash” class. What an awesome turnout … two great nights full of fun and fabulous stampers!! Love you ladies ❤

The class focused on the “Party Pop-Up Thinlits Dies” and different ways to use them, plus some great tips and techniques. You’ll want the “Bundle” … we used the “Party With Cake” stamp set on some of our other cards.

000_3182_0001

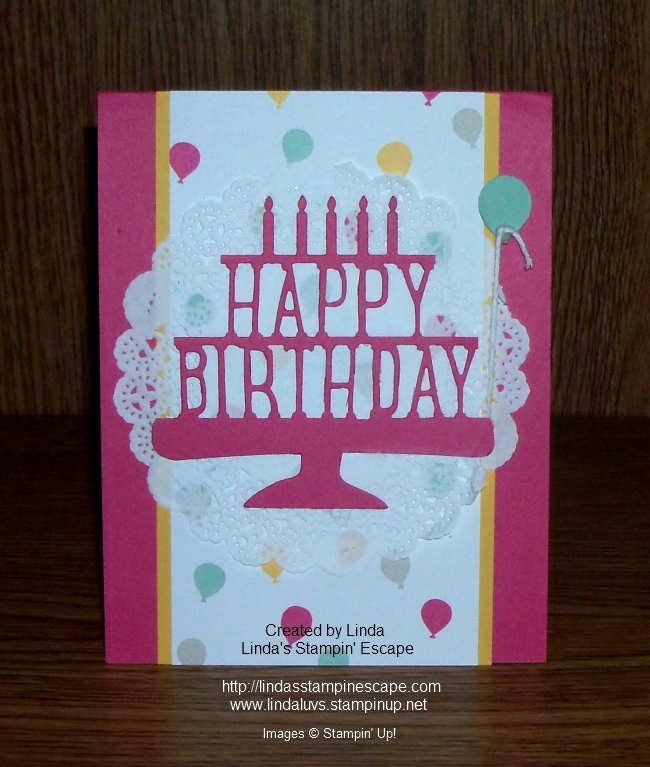
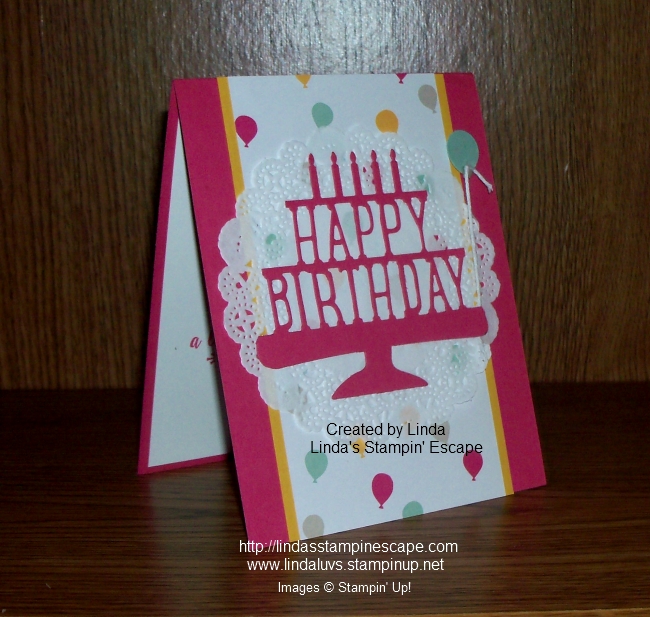
This card shows that you can use your pop up die cut as a stand alone greeting … we snipped it away from the die cut and mounted it onto a doily!

Our designer paper comes from the “It’s My Party” Designer Series Paper stack and teamed it with the “It’s My Party” Cardstock Pack.  I love the cardstock packs … it’s a great way to get the colors you need for your designer paper without breaking the bank and buying 3 full packs of cardstock!!

000_3183_0001

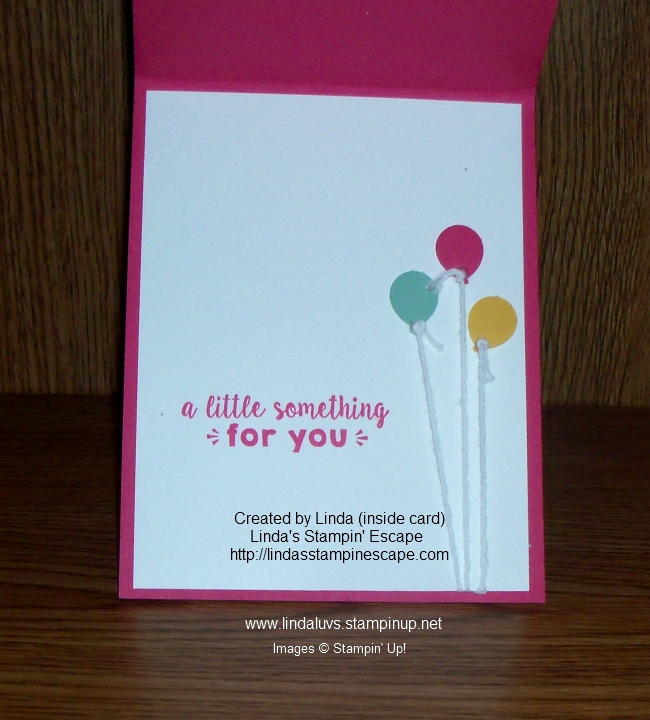
Our fun little balloon comes from the “Party Punch Pack” which is bundled with the “Party Wishes” stamp set.  Our inside saying “a little something for you” comes from this bundle too and stamped in Melon Mambo.

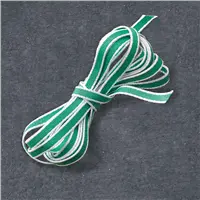
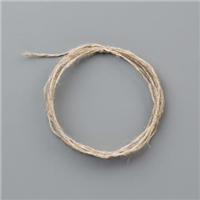
On this card you can see our balloons are tied down with the “White Bakers Twine” … my other class used the “Linen Thread”.  Either one works great.  Glue dots came in handy throughout all our cards!

000_3186

Don’t forget the Stampin’ Dimensionals … a must have to pop up your balloons.

I just love this card … quick and easy to make and it’s totally FUN 🙂

Hope you enjoyed it as much as we enjoyed making it.  Stampin’ with friends makes for the best evening… it just throws all those stresses out the window! We all know “Laughter is the best Medicine”

000_3182_0001

I would love to do a stamp party with you and your friends, or just join in one of my classes.  Check out my “Classes & Events” tab at the top of the page.

Thank you for “POP”PING in on my blog today …

Hope your day is a great one!

blog-closing-small

TODAY’S STAMPIN’ SUPPLY LIST …


Simply Sunday: It’s Your Day

Hello Stampin’ Friends ~

Today I have a cute-n-simple card for you … complete with instructions. I always tell you how I made the card, but today and yesterday I’m sharing an on-line card class with Step-by-Step instructions for you to follow.

SW_WotMQ1_Feb1616-3

INSTRUCTIONS
1. Fold a piece of Mint Macaron Cardstock (2-3/4″ x 8-1/2″)
(7 x 22 cm) in half.
2. Stamp the confetti image multiple times in Mint Macaron ink
on the front of the folded cardstock.
3. Fold the top 3/4″ (2 cm) of the cardstock down to create a tab.
4. Stamp the sentiment in Melon Mambo ink on a piece of
Whisper White Cardstock (1-1/2″ x 3-1/4″) (4 x 8 cm). Punch the
bottom of the stamped cardstock with the Banner Triple Punch.
5. Cut a separate banner from a piece of Basic Black Cardstock
(1-1/4″ x 1-1/2″) (3.5 x 4 cm) using the Triple Banner Punch.
Adhere the black banner to the back of the white banner with
a small overhang.
6. Adhere the banner to the folded section of the Mint
Macaron Cardstock.
7. Cut a small flower from a scrap of Crushed Curry Cardstock
using the Itty Bitty Accents Punch Pack, and adhere an enamel
dot to the center of the flower. Adhere the flower to the banner.
8. Tie a piece of Baker’s Twine from the combo pack around
the enclosure.
9. Stamp the greeting on a separate piece of Mint Macaron
Cardstock (2-1/2″ x 4″) (6.5 x 10 cm). Add a piece of It’s My
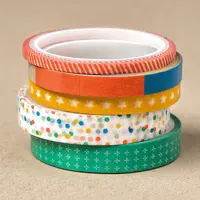
Party Designer Washi Tape to the top of the cardstock and
slip the piece into the enclosure.

TODAY’S INGREDIENT LIST …

Supply List

Hope you enjoyed the card … I also hope you enjoy your Sunday.
Thanks for stopping by ~
blog-closing-small
SW_WotMQ1_Feb1616-3

It’s Your Day!

Hello Stampin’ Friends ~

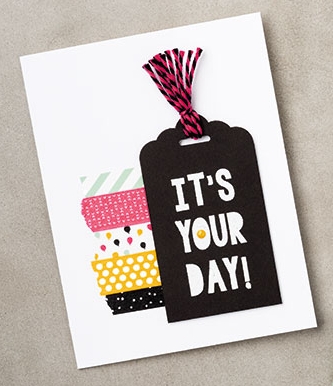
Today I have a fun card to share with you … instructions included! If your one of my stampin’ friends who can’t make it to one of my classes – I’ll bring a mini class to you!

Here is today’s card along with instructions and a list of ingredients needed to create the card!

SW_WotMQ1_Feb1616-2

INSTRUCTIONS
1. Fold a piece of Whisper White Cardstock (8-1/2″ x 5-1/2″) (22 x 14) in half
to create the card.
2. Add strips of It’s My Party Designer Washi Tape to the card front.
3. Stamp the sentiment in VersaMark ink on a piece of Basic Black Cardstock
(2″ x 3-1/2″) (5 x 9 cm). Cover the sentiment with White Stampin’ Emboss Powder,
shake off any excess powder, and heat emboss.
4. Cut the top of the stamped cardstock into a tag using the Scalloped Tag
Topper Punch.
5. Adhere an enamel dot to the tag.
6. Cut multiple pieces of Baker’s Twine from the combo pack and add them to
the top of the tag.
7. Adhere the tag to the card using Stampin’ Dimensionals.
8. Run a piece of Whisper White Cardstock (8″ x 5-1/4″) (20.5 x 13.5 cm) through the
Big Shot with the Party Pop-Up Thinlits Dies. Add pieces of It’s My Party Designer
Series Paper behind the cut out letters. Adhere the pop-up piece inside the card.
LIST OF INGREDIENTS …
Thanks for stopping by!  I’ll be back tomorrow with my “Simply Sunday” Series!
Have a wonderful weekend.
blog-closing-small

Simply Sunday: They Say It’s Your Birthday!

Hello Stampin’ Friends ~

Today I have a cute birthday card to share with you and it is much easier than it appears!

I started with the “It’s My Party” Designer Series paper. Designer paper is my “go to” stampin’ supply when I need a quick card. It takes all the guess work out of choosing color patterns … it’s done for you.

000_3052

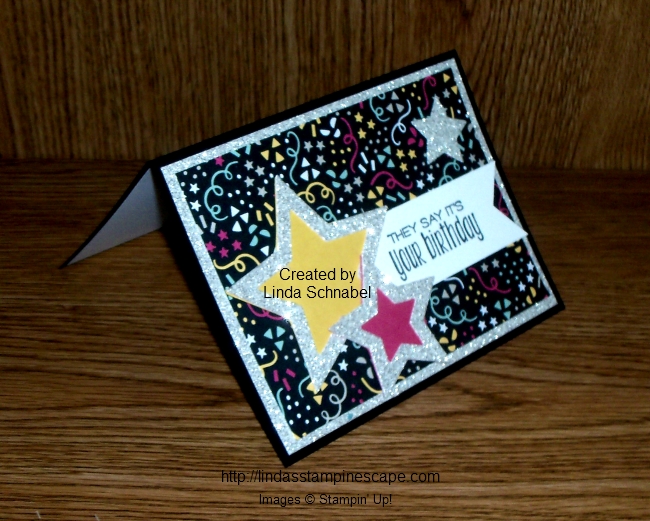
I decided I wanted to go Basic … Black that is for my card base, then Melon Mambo and Crushed Curry for my pop of color. I really wanted my card to be special so I added the Silver Glimmer paper.

I knew I wanted to highlight the stars in the designer paper so I pulled out my “Stars” framelits! The ease of this card and how I cut my 3 stars was to layer all 3 stars inside of each other! AND … I did that from the silver glimmer paper that is now the mat behind the designer paper.

Once you have your 3 stars (2 smaller ones inside the largest) layered on your paper, run them through the BigShot.  Follow up by cutting the two larger stars out in the colors you desire. I used the Crushed Curry for my largest star, then Melon Mambo for the middle size star.  Now attach the colored stars to the back of the glimmer stars … I used glue dots, they work great without making a mess.

000_3056

I come from the “Beatles” generation so when I say the “They Say It’s Your Birthday” … I just had to get the “Suite Sayings” stamp set! There are so many nice greetings for all different occasions, you’ll surely want to add it to your collection. I finished my greeting by creating a banner with the “Triple Banner” punch.

You don’t have to stick to the annual or occasions catalog when creating your cards and projects, these stamps and accessories where designed to coordinate together. I think my little birthday card came together nicely! So a “Happy Birthday” to you if today is your day!

000_3052

And don’t forget … It’s Sale-a-bration! I’m sure that a nice combination of these products will warrant a FREE Sale-a-bration item of your choice.  I’ve listed the supplies below for you to view.

Thanks much for stopping by ~

Have a fantastic day!

blog-closing-small

TODAY’S STAMPIN’ SUPPLY LIST …

000_3052

Simply Sunday: Frosted Impressions Technique

Hello Stampin’ Friends ~

I am back today with a quick and simple card that highlights a new technique that my technique clubs learned this month … Frosted Impressions Technique

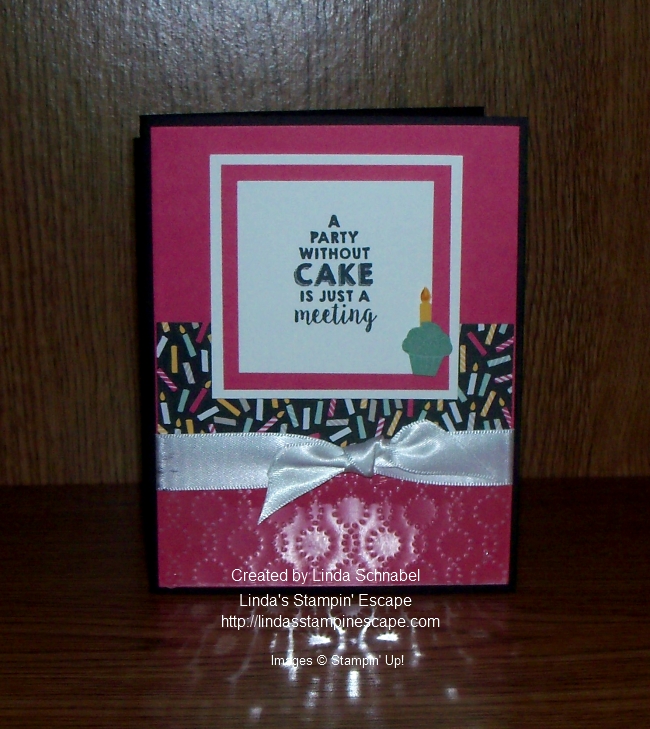
Let me start with the great new product suite: It’s My Party! I picked the “Party Wishes” and “Party Punch Pack” bundle. This cute stamp set and the coordinating punches are the focal point of the card. I also used the “It’s My Party” Designer Series Paper.

000_3029

The cute greeting “A Party Without Cake is Just a Meeting” is embellished with a cute little cupcake which coordinates so sweetly with our candle designer paper.

The bottom of the card has the “Frosted Impressions” technique made created with the “Elegant Dots” embossing folder and Window sheets! Once you run it through the Bigshot you sand the impressions to give it that “frosted” look.

We even continued the party on the inside of the card by wishing you a “Happy Birthday” … with a cute little stamped cupcake!

000_3032

Stop back tomorrow and I’ll have a Step by Step Illustration and another card sample for you!

Till then … Thanks for stopping by and have a great day!

blog-closing-small

TODAY’S STAMPIN’ SUPPLY LIST …


Birthday Balloons …

Hello Stampin’ Friends ~

Today I want to share with you a card that I have “stepped up” from the Simply Sunday card I posted …

000_2991

On Sunday’s card I stamped a single balloon, today’s card we have multiple balloons. This is done by the “Masking Technique”.

Here are the step by step instructions …

1]   Stamp image on card stock.

2]   Stamp it again on a piece of scratch paper.

3]   Cut carefully around the scratch paper image, cutting just inside the lines; this will be your mask.

4]   Place the mask on top of the card stock image.

5]   Stamp another image over a portion of the mask to create layered, interacting images.

6]   Remove the mask to see the finished look.

7]   To stamp a partial image, use tape to cover the part of the stamp you don’t want to appear, ink the stamp, remove the tape, and stamp the image.

QUICK TIP
To ensure that the mask stays in place, stamp image on a Post-It® note.

Here is my “Stepped Up” card using the Masking Technique …

000_3025

When you stamp your secondary balloons – you go over the first, your mask will cover (protect) the first balloon. Your secondary balloons will appear as if they are behind the first one!  It’s so cool and so easy to do.

Just like the first card, I used the “Party Wishes” stamp set and the “It’s My Party” Designer Series Paper Stack. I added highlights to the balloons using the “Chalk Pen” and then covered the balloons with Crystal Effects.

I used the Bow Builder punch to get the cute little edges on my birthday banner. Just because it’s a punch to create bows … don’t let that stop you from finding other ways to use it!!

Hope you enjoyed today’s card … I thank you for checking it out.

Have a wonderful day today!

blog-closing-small

Today’s Stampin’ Supply List …

000_3025

Simply Sunday: Let Us Celebrate

Hello Stampin’ Friends ~

I hope you are having a peaceful weekend (unless your hoping for a fun packed one!).  I have had the pleasure of meeting with two of my clubs this weekend so mine was good … anytime shared with friends is a good time.

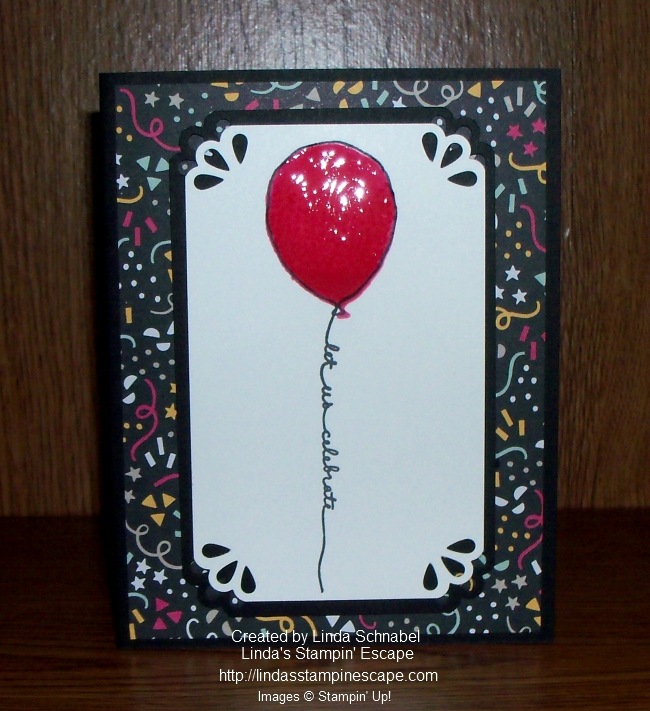
Today we are bringing it back to basics … with a focus on stamping. I am using the “Balloon Celebrations” stamp set from the Occasions Catalog. It is a two-step stamp … one in which you can use multiple stamps to layer color onto your image.

000_2991

You can see that my first stamp was the bold (solid) balloon done in Melon Mambo. Then it was stamped with the speckled (partial / detailed) stamp directly over the top – I used Melon Mambo again and stamped it twice to get a darker color. My last stamp was the line image the outside of the balloon – I chose the Black Momento pad to create more of an impact.

My greeting – the balloon string was also stamped in the Momento Ink. I punched the corners for a bit more flair and then popped it up onto the “It’s My Birthday” Designer Series paper also from the Occasions Catalog.

Only one more step to finish off my card … I added “Crystal Effects” to the balloon to make it shine! Simple, basic techniques can still make a fun, colorful card.

000_3001

The purchase of the “Balloon Celebrations” stamp set and the “It’s My Birthday” Designer Series paper Stack (48 sheets, 4 each of 12 double-sided designs) will get you a FREE Sale-a-bration Item (VIEW HERE)

Thank You for taking time out of your Sunday to stop by and visit with me. I hope you enjoyed the card and feel inspired to get back to basics and create fast and fun birthday cards!

Have an awesome day ~

blog-closing-small


TODAY’S STAMPIN’ SUPPLY LIST …


Experience the Magic …

Hello Stampin’ Friends ~

Hey, have you heard the good news? Paper Pumpkin 3-month subscriptions are on sale! Plus, you can choose a FREE Sale-A-Bration item. Win-win!

PP_SAB_2016_Header

OR … Surprise yourself every month for a year! Get a 12-month Paper Pumpkin subscription and you’ll save $2/month, get Stampin’ Rewards, and earn 4 FREE Sale-A-Bration product item! Click Here

I am absolutely blown away each month when my PAPER PUMPKIN kit arrives, and December was NO exception I couldn’t wait to put this adorable 2016 calendar project kit together!

05425ef6997859f06b085e2d9792812a

Here’s an alternative project that I came up with from my December kit ….

000_2985

(I used the the “month” stamp to create a background for my card, you can personalize a card for every month! Every occasion!  *Guy Greetings was also used to create this card)

A big benefit of being a subscriber is that you get to purchase past kit and refill kits!! If you missed a kit and it’s available, as a subscriber you can now purchase it! And if you LOVE one of the kits you received and want more … Just buy the refill!! I have done that a number of times, and used them for gifts and / or giveaways.

Here’s the August Kit (available) and an alternative project you can make for Valentines day …

000_2982

(All of the stamps used to create this card came from the August 2015 stamp set included in the Paper Pumpkin kit.  I love the script and find I use that stamp set a lot. Just one more benefit of being a Paper Pumpkin subscriber … exclusive stamp sets!)

Already A subscriber to Paper Pumpkin?   How about purchasing a subscription as a gift for a friend, spouse, child, or parent… then you’ll have a crafting buddy every month!

Never tried Paper Pumpkin? Then now is the perfect time … get a discount, grab a free Sale-A-Bration item, and get three months of papercrafting bliss!

Banner_PP_SAB_OLO_12.29.2015_USand get a FREE Sale-a-bration item too!!

Ready to Order? Click Here to begin … then set up an account

Please let me know if you have any questions about Paper Pumpkin or if you need help placing your order.

Thank you for stopping by …

Have a great day!

blog-closing-small


A Wonderful Man … Sneak Peek

Hello Stampin’ Friends,

I have returned home and created a “sneak peek” for you today! I will be introducing you to a new “Hostess” stamp set, designer paper, and one of the new In-colors! 

For those of you in my Stampin’ clubs … the catalogs are in, give me a call and we’ll set up a time for you to get yours!  All club members will receive their copy for FREE. Those of you who have purchased during the past few months with a qualifying order … you will receive yours by mail!!

Anyone else in the U.S. who follows my blog and does not have a current demonstrator, all you need to do is place a $50 order from My Stampin’ Up! On-line Store and I will send one directly you – FREE as a Thank You!

Now … on to the card!

000_2275

Let me begin by introducing you to the new “Hostess” stamp set … “Happy Birthday Everyone”.  The font is gender neutral and “any” age appropriate… how perfect!  It also contains: to an amazing women … to a good friend … to you … love … and to my darling. It comes in wood or clear mount.

I stamped the greeting in Island Indigo and Delightful Dijon (one of the new in-colors) to coordinate with the new Bohemian Designer Series paper.  I had a hard time picking out what pattern I wanted to use, so many great ones to choose from.

000_2273

A little layering of cardstock and your card is complete. I think the rich hue of the Island Indigo works so well with the warm Delightful Dijon. We are going to have a blast with the new colors this year!

Thanks for dropping by today …I hope you enjoyed today’s sneak peek.

Have a warm & wonderful day ~

blog-closing-small


Butterfly Birthday Wishes …

Hello Stampin’ Friends,

I hope you have been able to enjoy the beautiful weather we have been having (in Wisconsin) … today we are suppose to hit 70 degrees!

Spring is such a wonderful time a year …. renewal, rebirth, and return of that glorious warm sunshine. Today’s card share was inspired by spring …

000_2070

A card filled with butterflies. I used Wisteria Wonder and Dazzling Diamonds Glimmer Paper!

I cut my butterfly out of the glimmer paper that I used for my mat … it’s a great way to save money.

000_1901

I then simply placed the Whisper White embossed piece … I used the Spring Flowers folder from the Occasions Catalog. 


000_2068

A simple Happy Birthday  is all it needed and I got that from the “And Many More” stamp set … I love the whimsical font, it’s so pretty and goes beautifully with our butterflies.  I used the Word Window punch for my greeting.

I hope you enjoyed today’s card share, and I thank you for stopping by.

Have a wonderful weekend ~

blog-closing-small

TODAY’S STAMPIN’ SUPPLY LIST …

000_2070