Hello Stampin’ Friends ~
If you’re looking for Halloween projects that are just as fun as they are easy to create, you’re going to love today’s pair! It’s Day 2 of my Halloween week, and I had so much fun crafting a playful card and a coordinating treat bag topper—both made with the Spooky Sweet Suite. This suite has everything you need to bring a little magic (and mischief!) to your projects: whimsical ghosts, playful bats, bold sentiments, and patterned paper that makes every creation come alive. Whether you’re making cards for friends or treats for little ghouls and goblins, these products are perfect for adding charm without too much fright. 🕸️✨
When I sat down to design the card, I started flipping through the designer paper, and that adorable little ghost peeking out the window immediately caught my eye. I just knew it had to be the star of my project! I die-cut it with the new Branching Out Die, adding a sleek black mat behind it for contrast. Since the curtains in the window were green, I chose Granny Apple Green as my card base—it pulls everything together so beautifully. With my blending brush and coordinating ink, I softened the background to really make the die cuts pop.
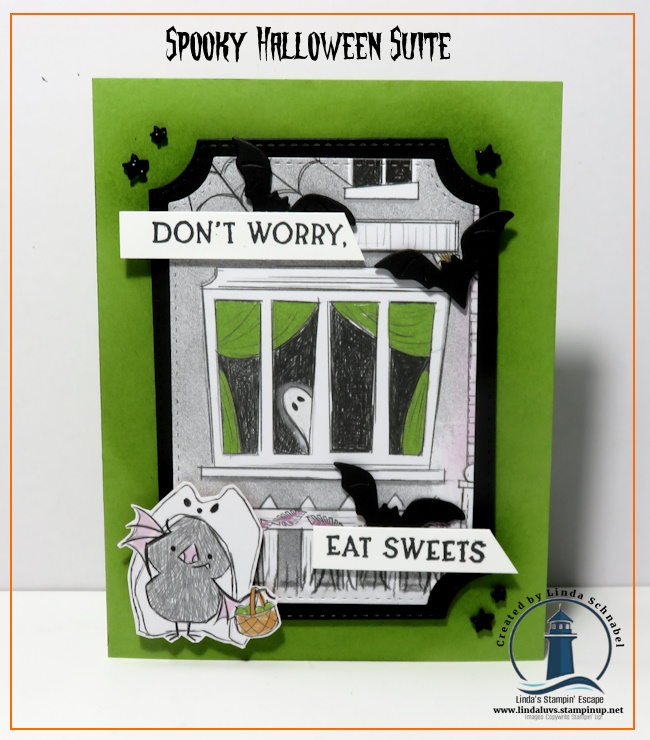
But it still needed just a little something more … and then I spotted the cutest little bat dressed as a ghost, ready for trick-or-treating. 🦇👻 How perfect is that?! The playful idea of a ghost in the window watching a bat dressed as a ghost made me smile, so I added it to the scene. To tie it together, I die-cut a few more bats from the bundle and let them flutter around my sentiment, “Don’t worry, eat sweets.” A sprinkle of Shimmer Star Foam Stickers finished the look with just the right amount of sparkle.

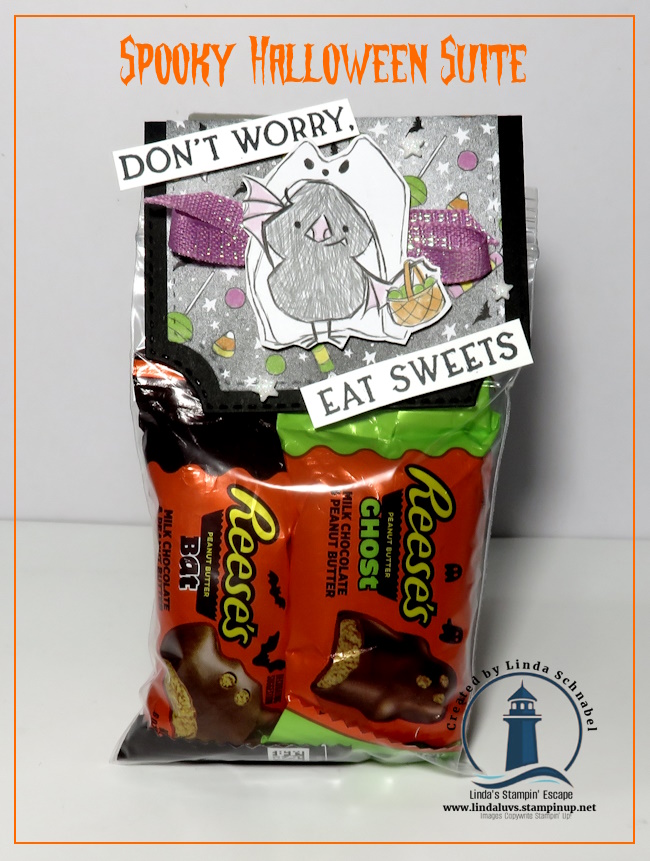
This sweet card takes the spookiness down a notch so even the youngest trick-or-treaters will adore it. And speaking of sweet … I couldn’t resist making a matching treat bag topper! Using the Branching Out Dies again, scored & folded in half and paired with the candy-patterned paper from the suite—because what’s Halloween without candy, right? 🍬 I fussy cut another one of those darling bat-ghosts, added a touch of ribbon behind it to make it pop, and finished it with the same sentiment and foam stars—this time in white for a softer contrast. Even the candy is bats & ghosts! 🦇👻
How cute are these two projects together?! I had an absolute blast creating them, and it was the perfect chance to play with the new Branching Out Dies, which really highlighted my Spooky Sweet Suite! Whether you make the card, the treat bag, or both, you’ll have Halloween projects that are fun, festive, and sure to bring smiles to everyone who sees them.
Thanks for stopping by … Happy Saturday!