Hello Stampin’ Friends ~
First, let me welcome my NEW Subscribers; welcome to our creative community! I’m excited to have you …. and excited to share today’s card with all of you!! It’s simply stunning and so simple to recreate … let’s begin!
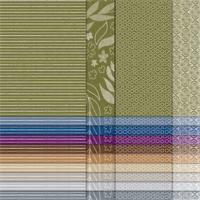
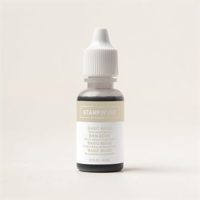
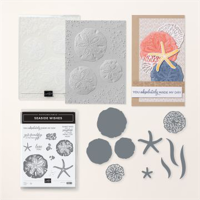
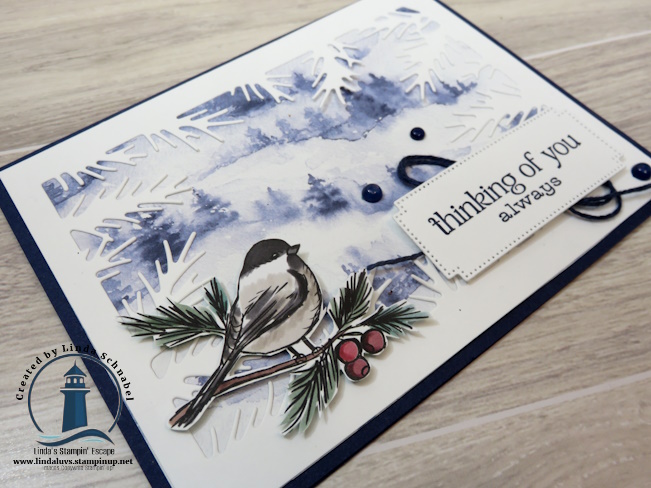
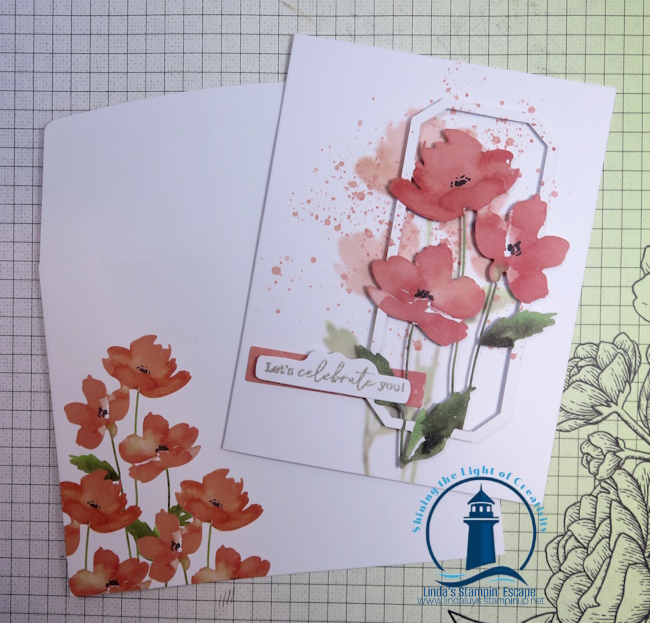
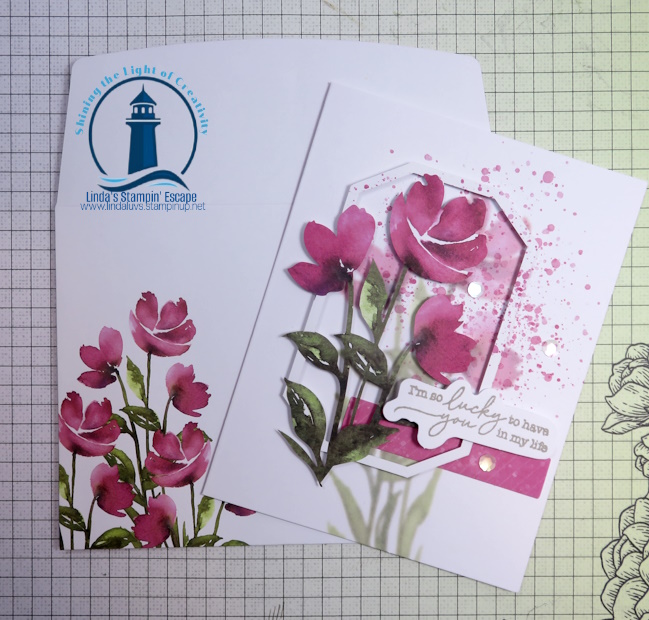
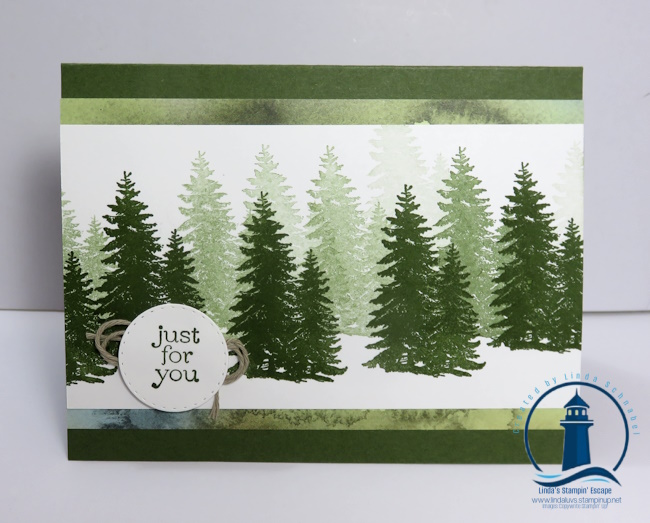
This project proves that sometimes, less is more, and simplicity can absolutely shine! Using a rich palette of Very Vanilla and Gold, this card exudes elegance and warmth—perfect for my “thank you” … the upcoming season or any occasion that calls for a touch of class.

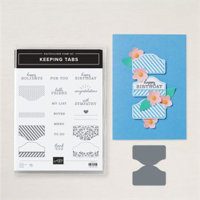
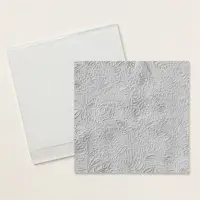
The card starts with a classic A2 card base in Very Vanilla. The magic begins with a 4” x 5-1/4” piece of Very Vanilla cardstock embossed using the Changing Leaves Hybrid Embossing Folder. This will be attached directly to the base. If you haven’t used a hybrid folder before, you’re in for a treat! It’s called “hybrid” because it embosses and cuts images with the coordinating dies—such a clever and time-saving design.
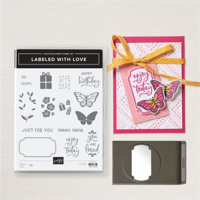
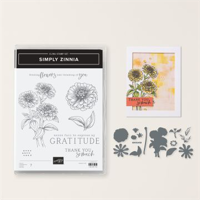
To add dimension and interest, I die-cut some delicate leaves using the coordinating dies from the bundle. These layered onto the embossed background create a look that’s both understated and elegant. For the sentiment, I turned to the Changing Leaves Stamp Set. Everything in this bundle works seamlessly together—the stamps, the dies, and the embossing folder! Using VersaMark Ink, I stamped the sentiment onto Very Vanilla cardstock and heat-embossed it with our new Gold Embossing Powder. The metallic finish adds such a stunning and cohesive touch to the design.

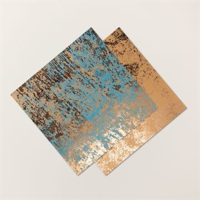
The sentiment was die cut —you guessed it— using the coordinating die from the bundle! A few of the Woven Golden leaves and gold Opal Rounds were added around it to draw the eye and provide just the right amount of embellishment. I kept the card simple to let the embossed details and gold accents shine, proving that with the right tools, you can create something truly exquisite without spending hours at your craft table.
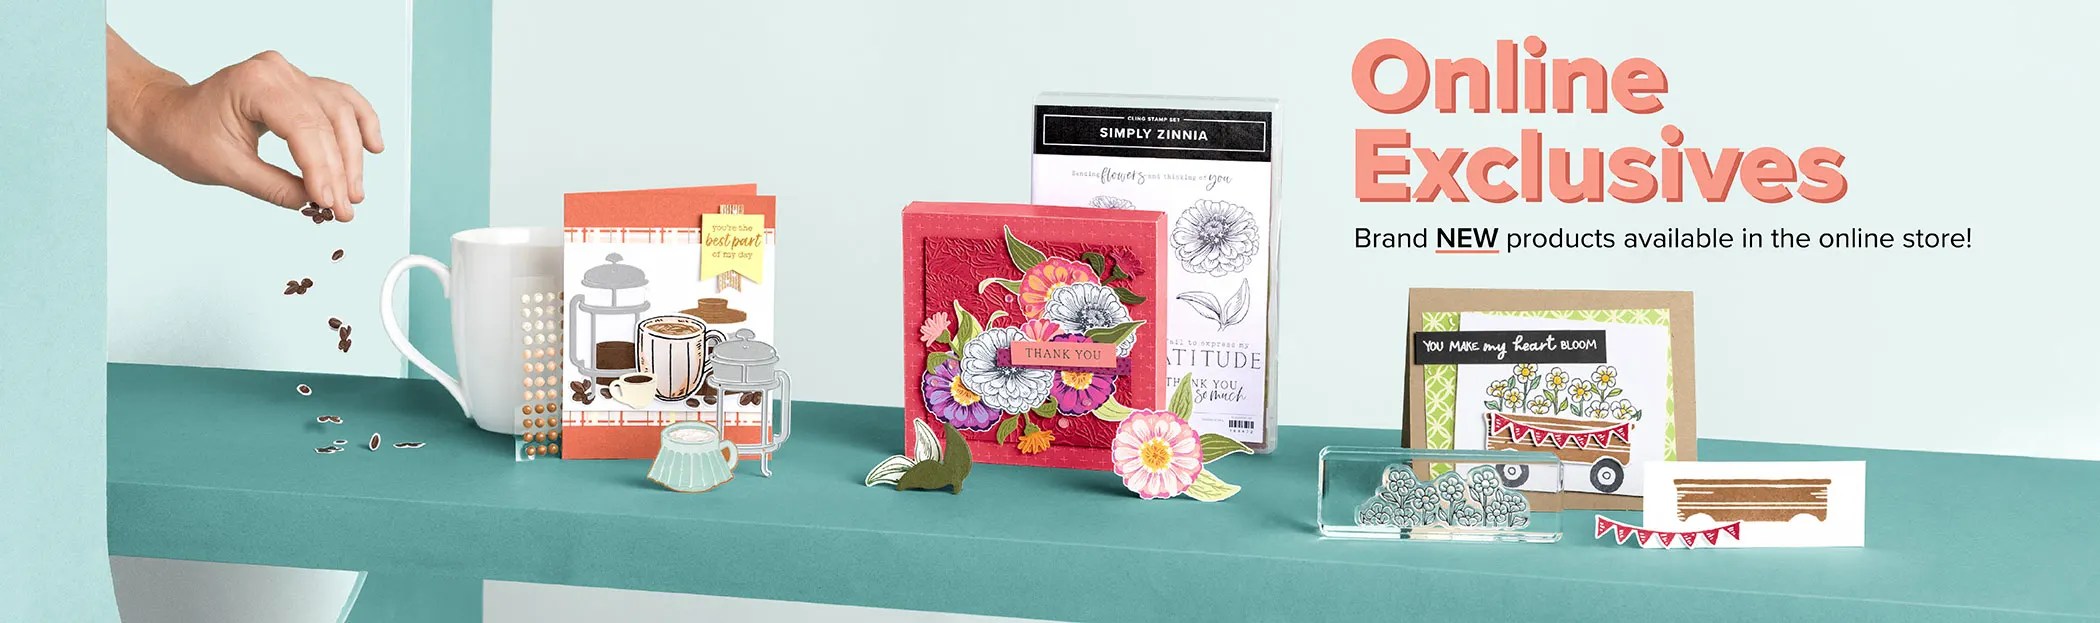
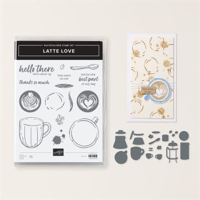
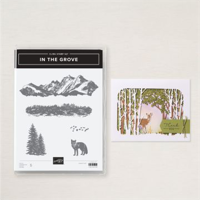
You can order the Changing Leaves Bundle directly from me—just click here to shop. And don’t forget to grab the Gold Embossing Powder while you’re at it! Remember, the “embossing folder” is included in the bundle. If you have any questions or need help placing your order, I’m always here to assist you. I’d love to see what you create with this bundle, so feel free to share your projects or tag me on social media.
Happy stamping, and remember: with the right tools, anything is possible!