Hello Stampin’ Friends ~
Looking to kickstart your creativity this year? The January 2024 Lovely Lavender Paper Pumpkin kit is the perfect solution! Packed with everything you need to create stunning handmade cards and gift tags, this kit brings relaxation and beauty together in one delightful package. With its soothing lavender hues and elegant designs, it offers a therapeutic crafting experience while helping you unleash your artistic side.

JANUARY: Lovely Lavender
Subscribe by January 10th, 2024
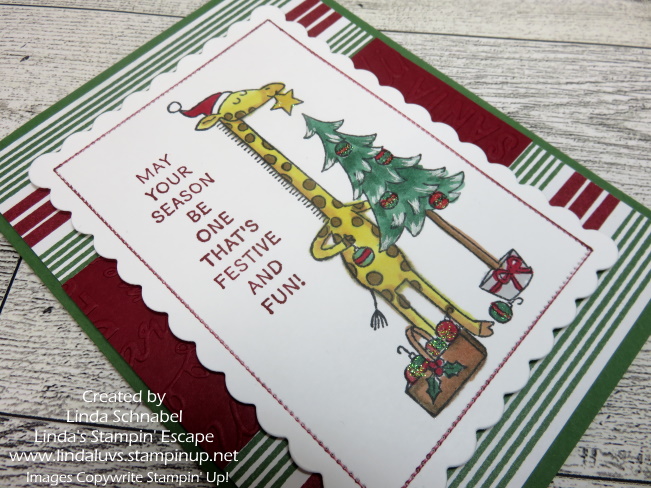
Make love-themed cards for special occasions, Valentine’s Day, anniversaries, and more!
• Makes 8 cards: 4 each of 2 designs with 8 coordinating envelopes
• 4 bonus tags that punch out from the card front
• Precut paper pieces and linen thread
• Coordinating colors: Garden Green, Pretty Peacock, Lost Lagoon, Highland Heather,
Gorgeous Grape (Classic Stampin’ Spot), Berry Burst
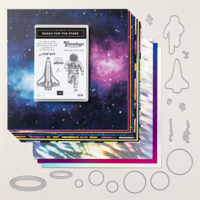
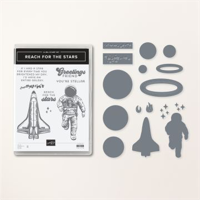
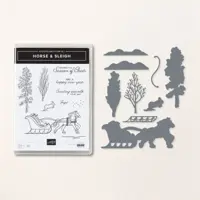
Surprise! This is an add-on product like you’ve never seen before. ![]()
![]()
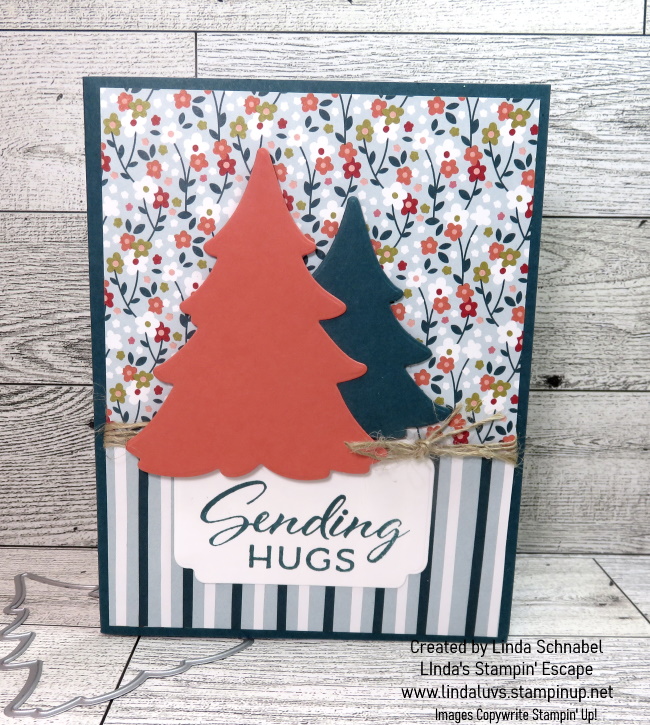
The Love of Spring Dies—exclusive to Paper Pumpkin subscribers—coordinates with not only January’s kit but February and March’s kits too! This add-on is only available while supplies last, so make sure to subscribe and shop.

Whether you’re a seasoned crafter or just starting out, this kit provides an easy and enjoyable way to express yourself creatively. Subscribe by January 10th to ensure you don’t miss out on this month’s dose of crafting bliss!
Subscribe NOW / Just Click Here
Thank you so much for stopping by today. I hope you join me later this month / or next and discover some alternative projects with this fascinating kit!
Have a great day ~

Here is another way to subscribe to Paper Pumpkin … Any of these 3 choices will earn you Sale-a-bration Rewards if you wait to purchase until January 4th!! Each $50 (before ship/hadlg) earns you rewards.