Hello Stampin’ Friends ~
I’m excited to invite you to an amazing event … My Spring Stamping Retreat!! It fills more than your craft bag, it’s a creative getaway for your heart, hands and soul.
Take a deep breath…
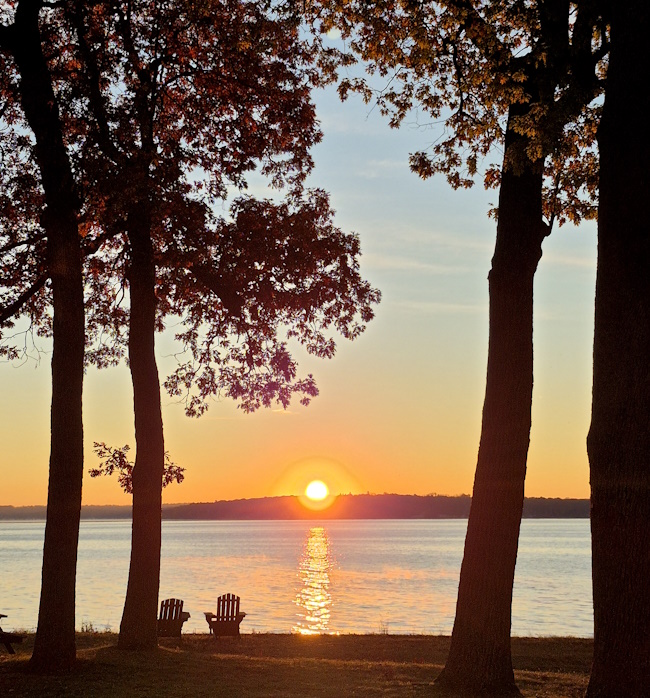
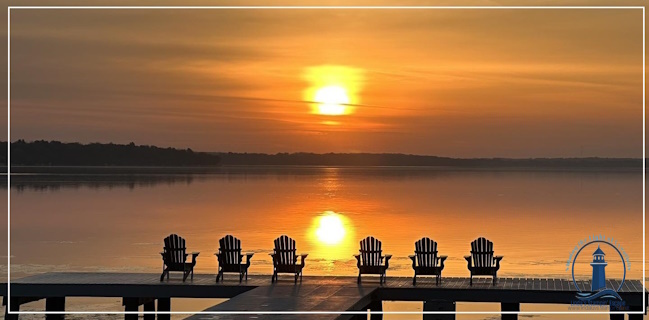
Imagine a weekend where time slows down, your shoulders relax, and creativity flows without interruption. You’ll feel the shift almost immediately, as you step into our beautiful retreat home overlooking the lake … the noise of everyday life begins to fade.
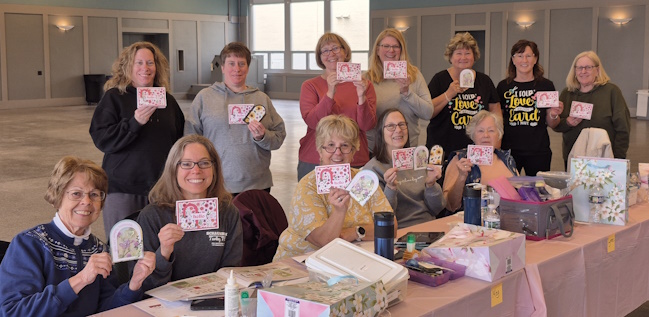
You’ll feel welcomed, seen, and cared for — because this retreat is designed for you, not a crowd. You’ll feel that sense of belonging that comes from being surrounded by people who understand your love of stamping, paper, color, and creativity. And you’ll think to yourself: “This is exactly what I needed.”
There’s something incredibly healing about stepping away from everyday life and spending time doing what you love — surrounded by people who truly get you.
That’s the heart of my Spring Stamping Retreat — a beautiful, in-person getaway where creativity flows, friendships deepen, and you finally have the space to relax, recharge, and feel like yourself again.
Every detail of this retreat is intentionally designed to help you leave feeling refreshed, inspired, and genuinely happy you said yes. And when you return home? That joy follows you — right back to your craft table. 💗 If this sounds like what your heart has been whispering for, I’d love for you to join us.
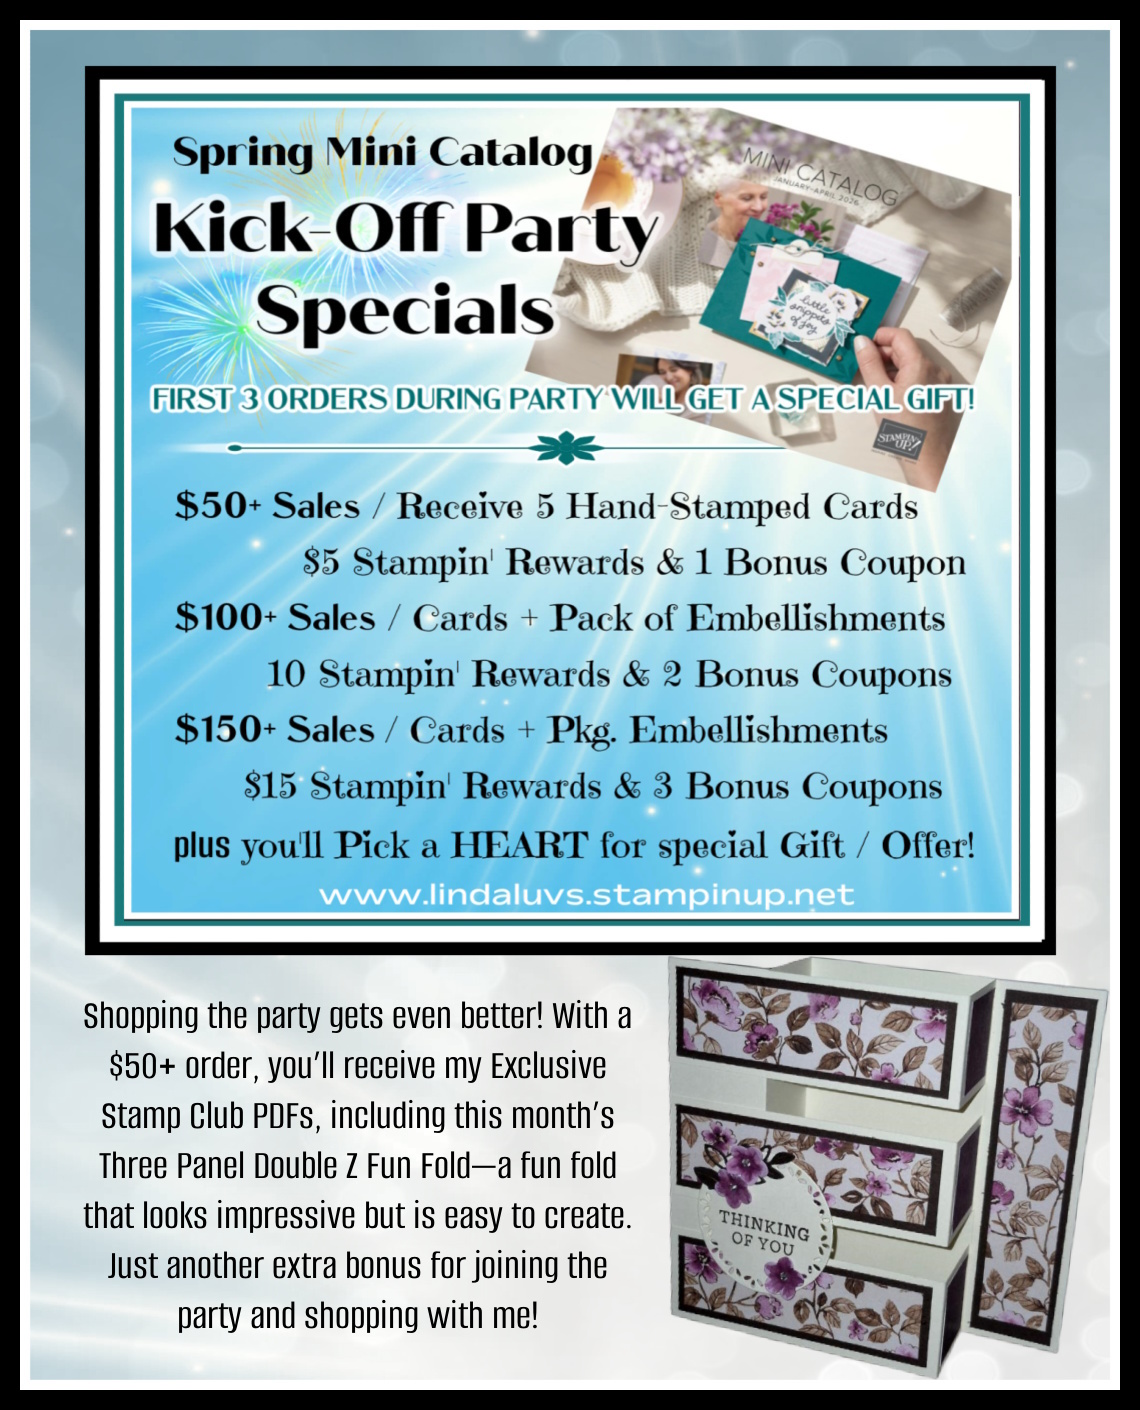
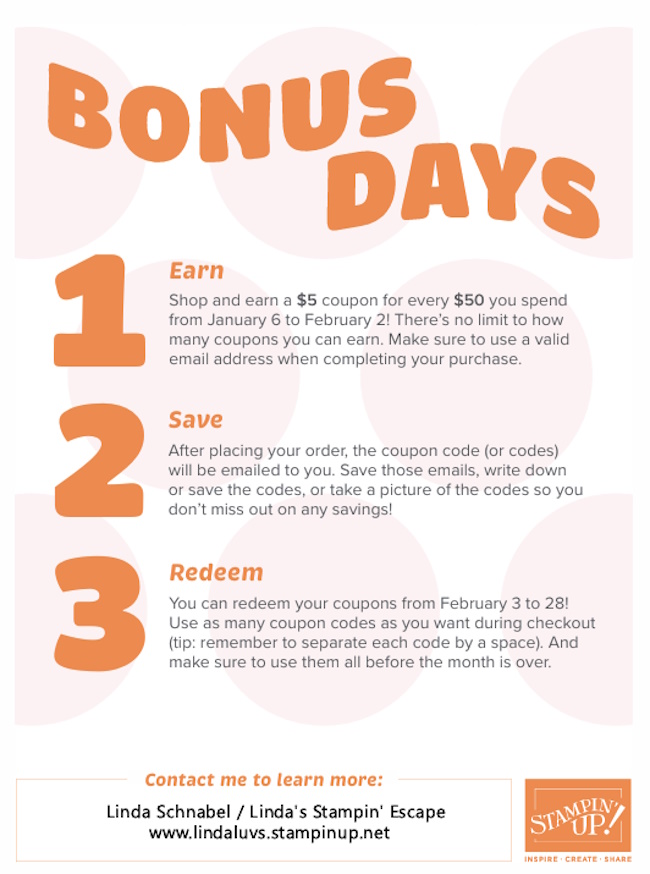
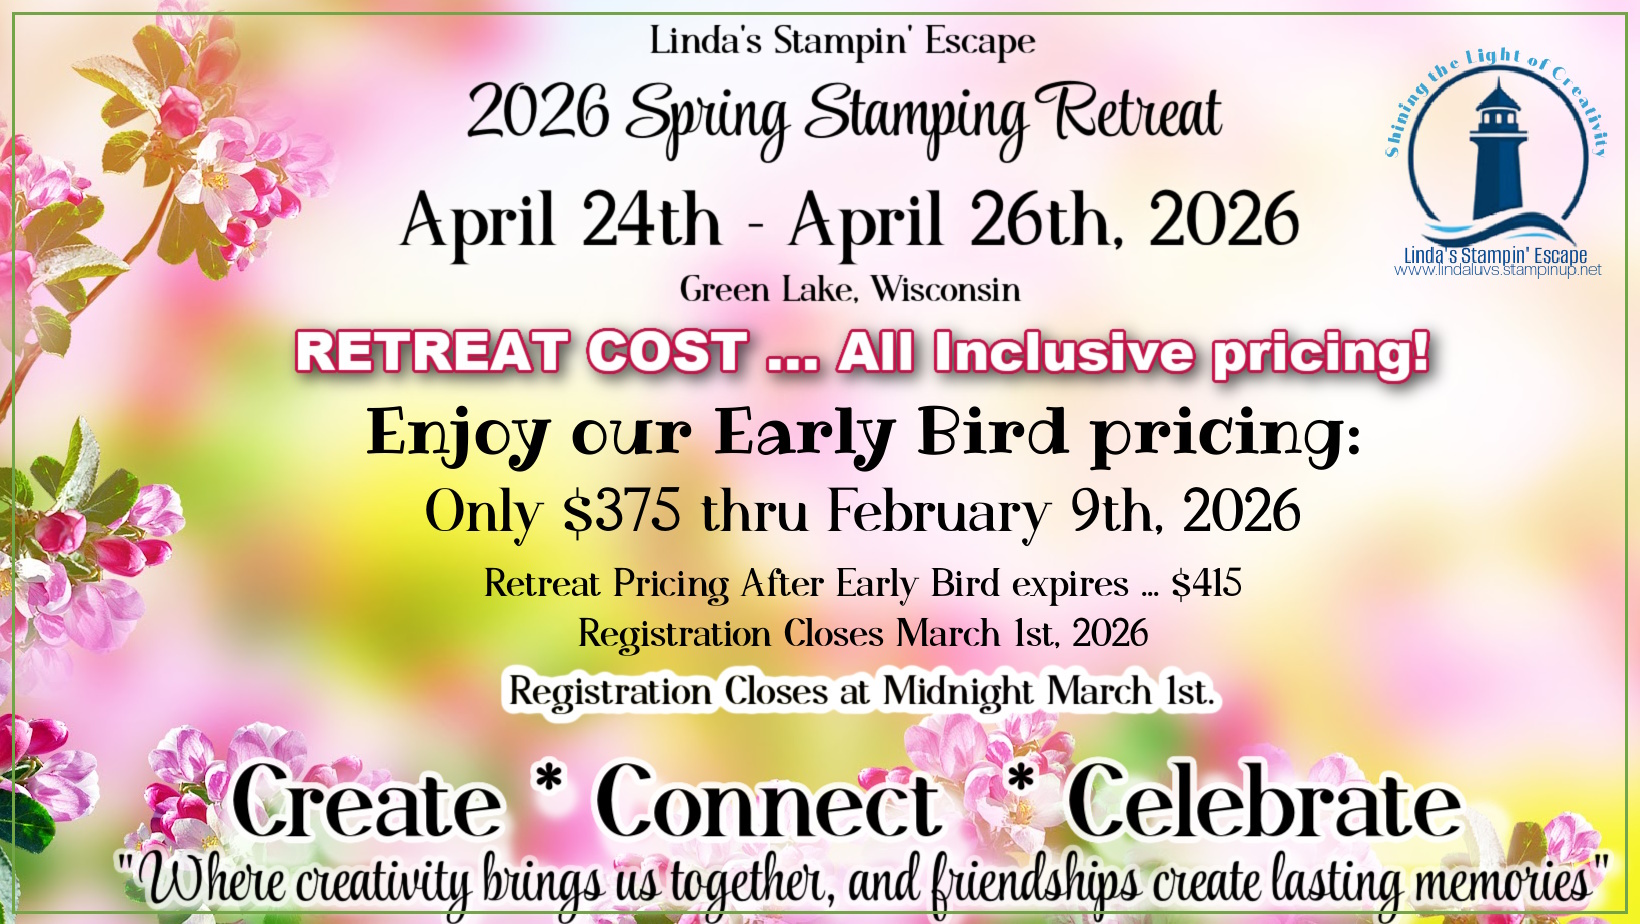
Early Bird perks are available for a limited time….
Here’s the truth — weekends like this don’t come along often. Our retreat house is intentionally intimate, the experience is thoughtfully curated, and once the spots are filled, there’s no adding more.
If you’ve been waiting for the right time to treat yourself…
If your heart has been whispering, “I need this.”
If you’re craving creativity, connection, and calm — this is your moment.
✨ Early Bird perks are available now, and they’re my way of saying thank you for saying yes early.
But more than that, this is your invitation to put yourself on the calendar.
I would absolutely love to share this retreat with you — to laugh, create, and make memories together in one of the most beautiful settings imaginable.
💗 Don’t wait until the house is full and wish you had joined us. Your spot is waiting!
CLICK HERE TO MESSAGE ME or CALL 262-334-1009

#stampingretreats #cardmakingretreat #girlsweekend #craftinggetaway