Hello my friends ~
Today I’m here to share a few pictures from our Holiday Stamping Retreat. This retreat in not like the others, we have a 1930 English Tudor Home so our group is small an intimate. Our guest may come as strangers but they leave as friends … even swapping phone numbers (besides their cards) lol
We stamp on Friday Night after our sit down dinner, and when they return for dessert and the hot cocoa bar …. they find a Pillow Gift on their beds ….

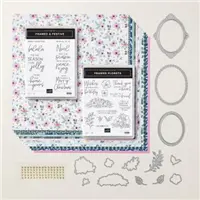
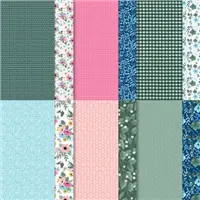
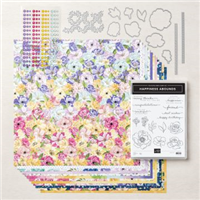
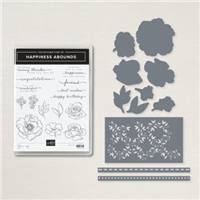
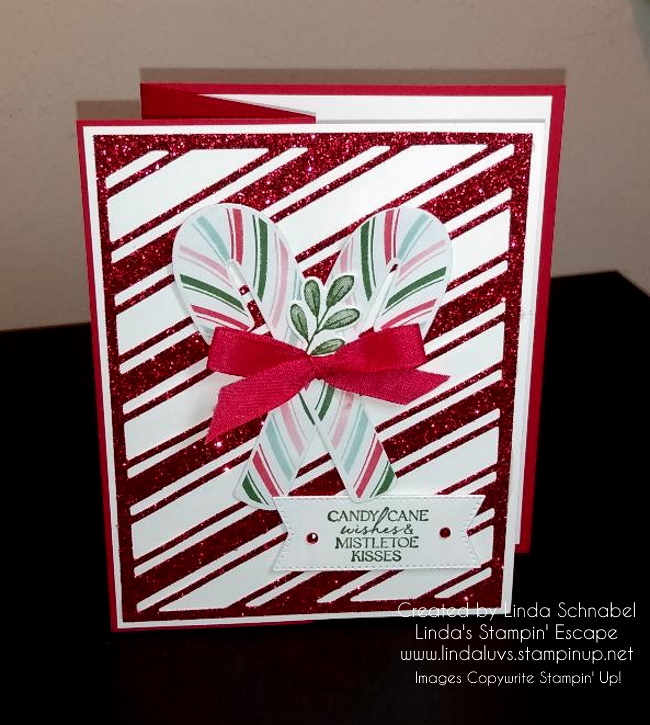
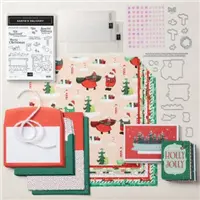
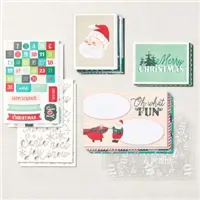
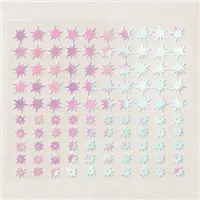
This year they received the In Color Grid Paper so they can have a nice pad to stamp on, and use the Red & White Glitter paper. I gave them several ideas on how to use that!
Here are a couple of our first time Retreat Attendee’s ….

By the looks of these two, you would think they have known each other for a long time! They just met this weekend, in fact … I just met them this weekend. I think they both plan on attending the Spring Retreat!
Here’s a pic of part of the gang (couldn’t get them all in this one shot) relaxing after our stamping session in the living room …
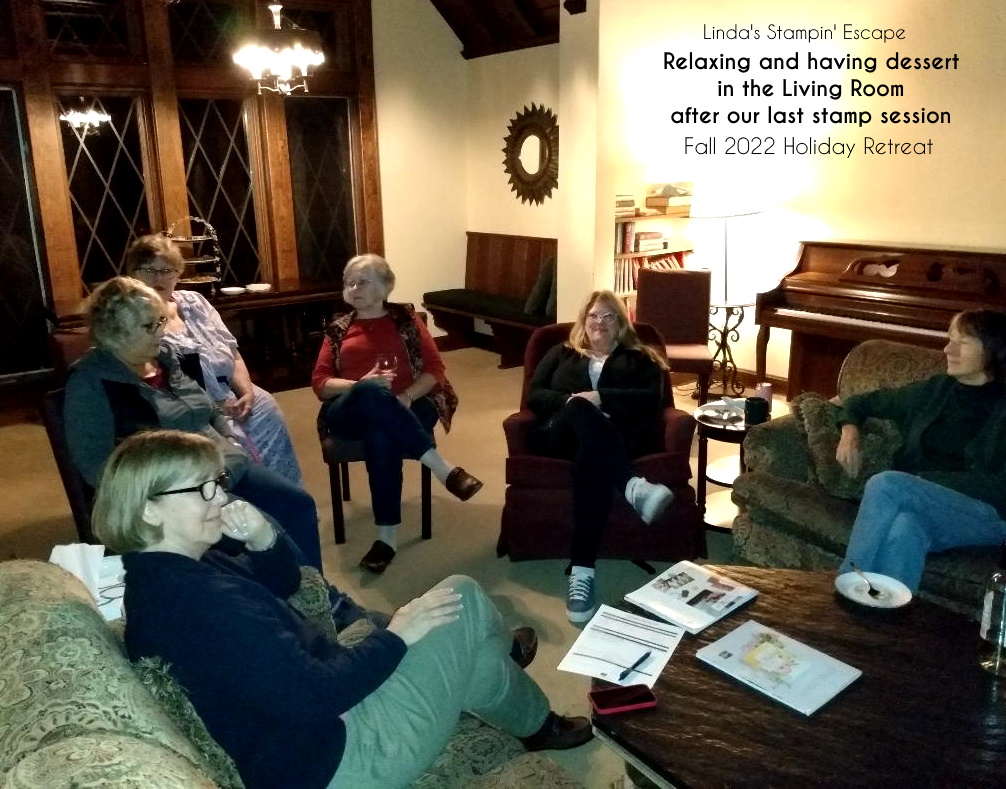
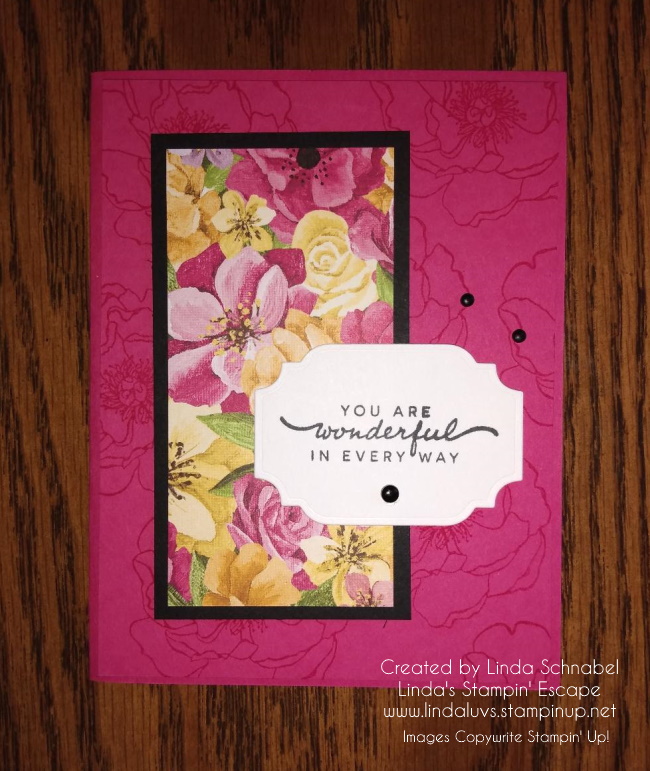
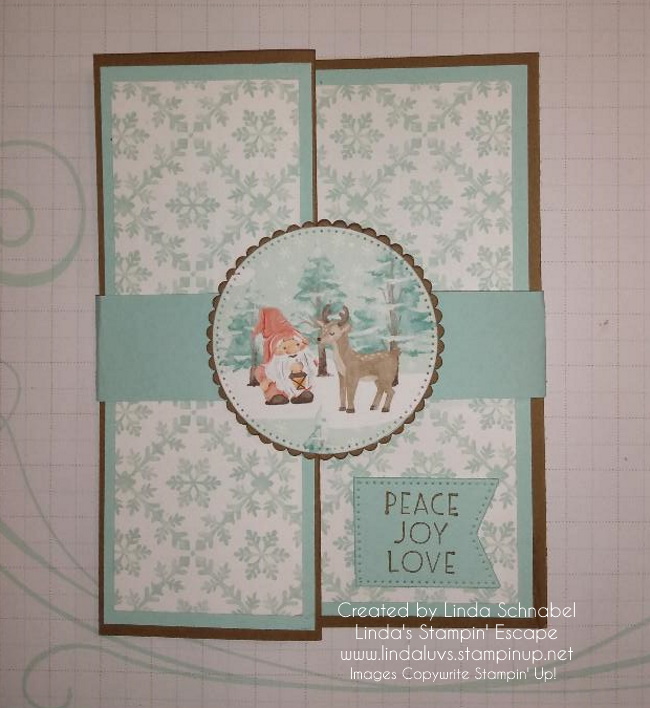
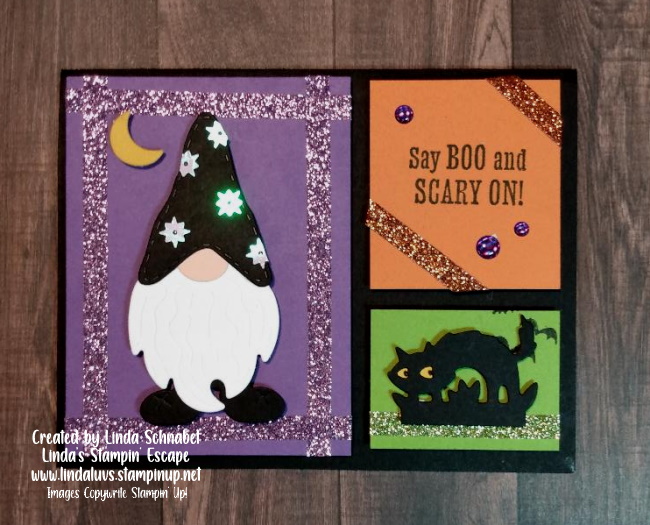
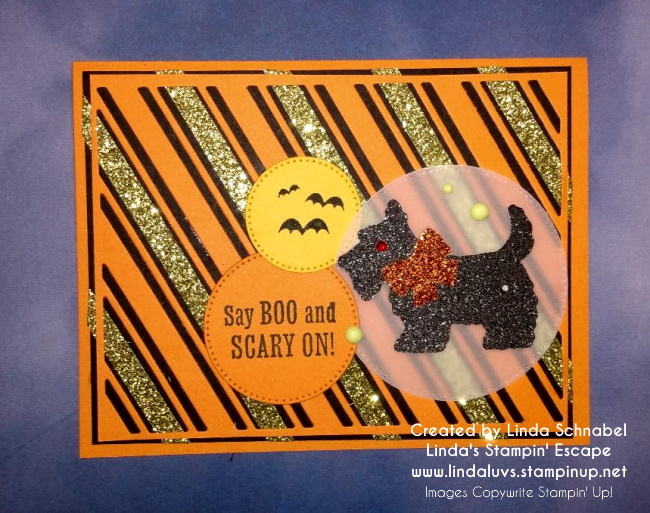
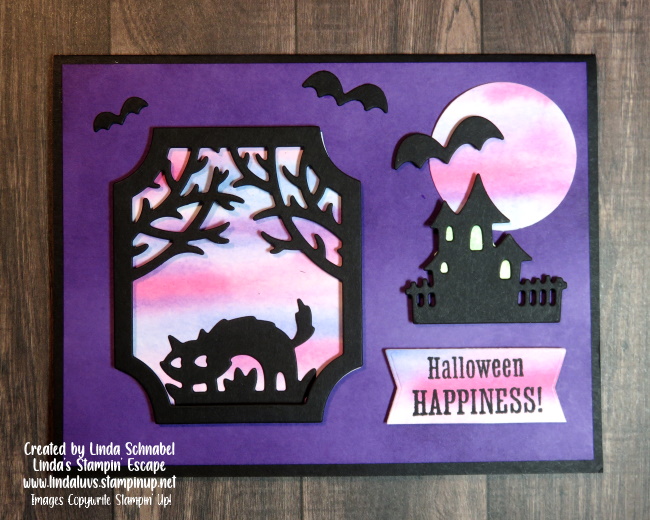
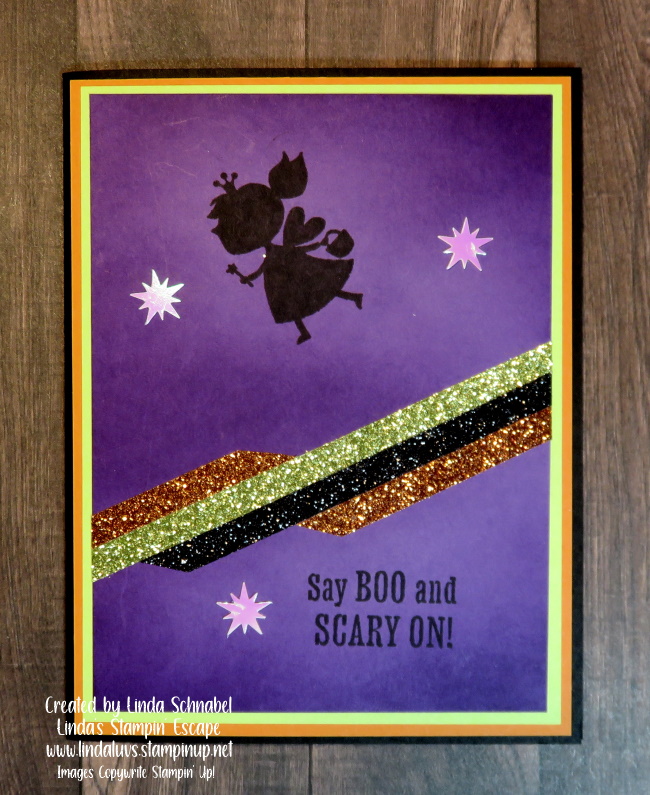
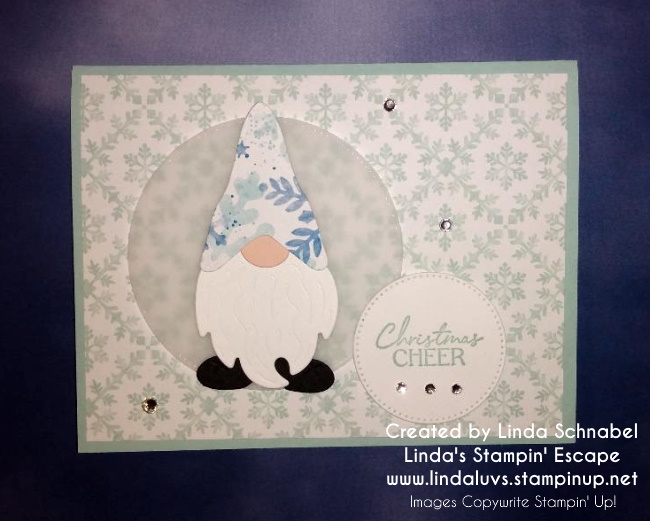
We enjoy some treats, hot cocoa and each others company! Before they retired to their rooms, we held a Swap Contest. Here are just a few of the cards.
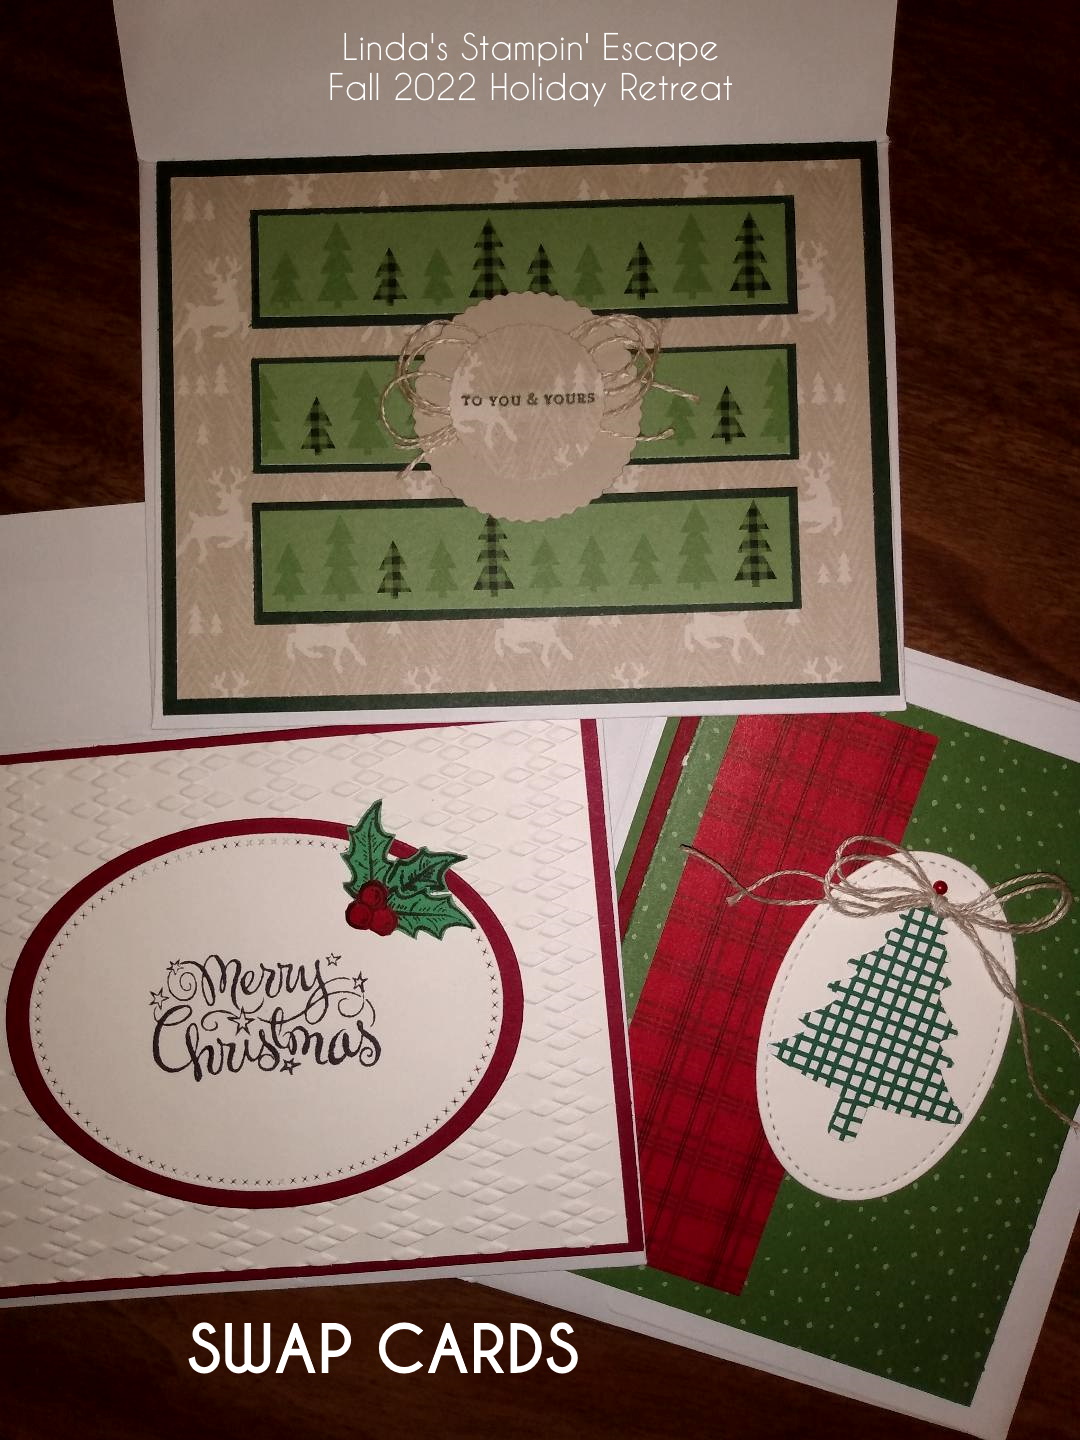
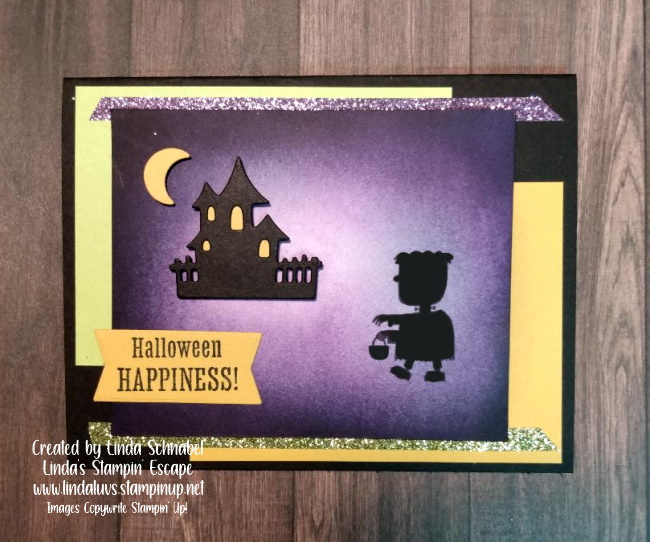
Here are a few more of the swap cards ….

I will have plenty more to show you, including the top 3!!
Thank you for taking time out of your Sunday to check out my blog.
Hope you have a beautiful day ~