Today I’m heading up to meet my Stampin’ Friends for our Annual Spring Stamping Retreat. I’ve got beautiful cards planned … which includes a “FUN FOLD” during each Stampin’ Session! I’m excited to meet our new stampers and can’t wait to welcome back some of the regulars.
Here is a look at our beautiful house and grounds ….
I’m hoping to share part of our retreat LIVE on my Facebook page … CLICK HERE to get to the page, and make sure you like and follow! We are in “another” new stamping room so I’ll try to share it with you.
Our stamp session is full of fun, giggles, catching up, making new friends, snackin’ and of course some amazing stamping projects!
Thank you for checking out my blog today … Have a great day!
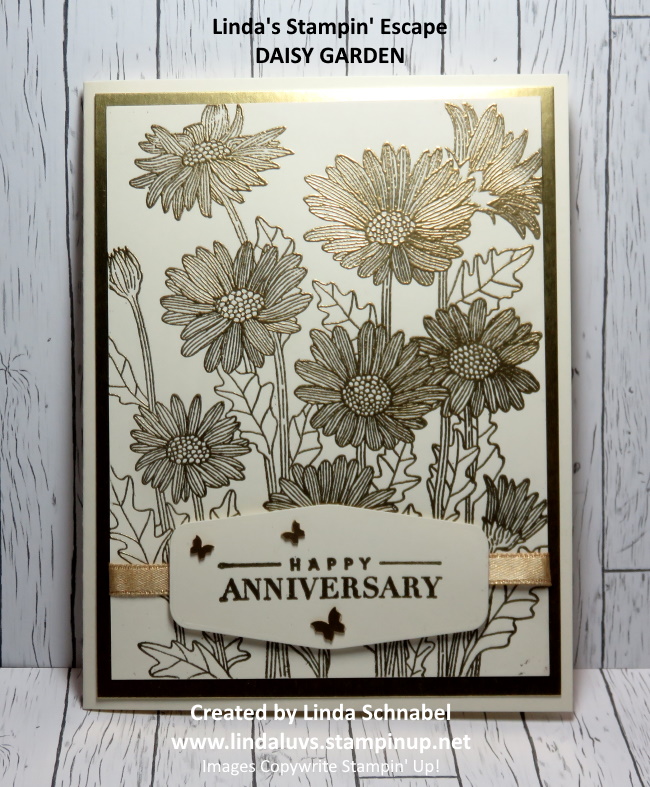
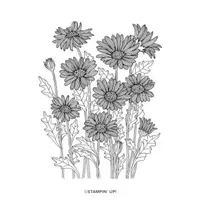
Today I have a card from the Daisy Garden stamp set, and it’s stunning in gold! I embossed the Daisy Garden in Gold on Very Vanilla cardstock. Let me just say, sometimes simplicity can be stunning …
I matted the embossed image with the Gold Foil paper (4″ x 5-1/5″) which really highlights the gold daisies. This front is attached to the Very Vanilla Base (8-1/2″ x 5-1/2″ and scored at 4-1/4″). Heat embossing is the technique that attracted me into stamping!
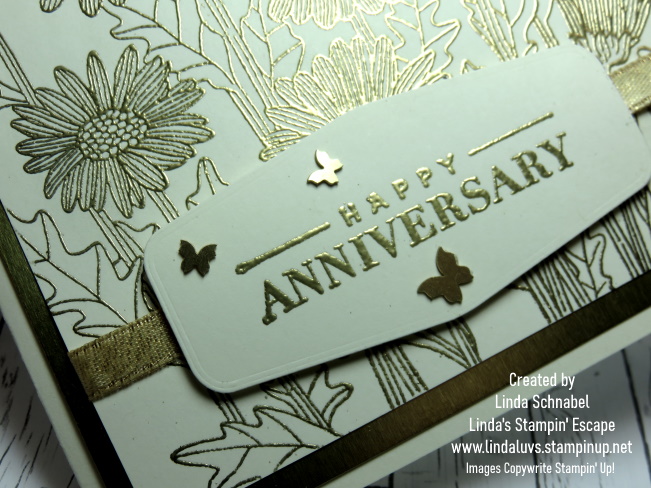
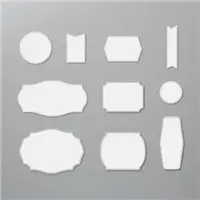
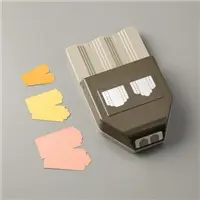
The greeting comes from the upcoming “Celebrating You” stamp set … it will be available January 4th in the Mini Catalog, as will the beautiful Brushed Brass Butterflies! I die cut the greeting with the Tasteful Labels dies …
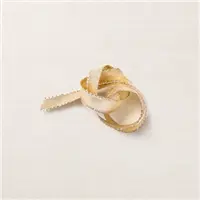
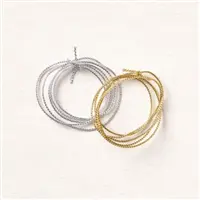
I added a strip of the beautiful Gold Shimmer Ribbon that can be found in the current Mini that expires on January 3rd. So today … you got to see something new, with something in our annual catalog. I like utilizing my stamps and accessories from both catalogs.
Thank you for joining me today. Enjoy your day ~
TODAY’S STAMPIN’ SUPPLY LIST … If you liked the products used in today’s projects, I have links for you below. Just click on the item you would like more information on, or to begin your shopping. It will take you directly to my website. Thank you ♥
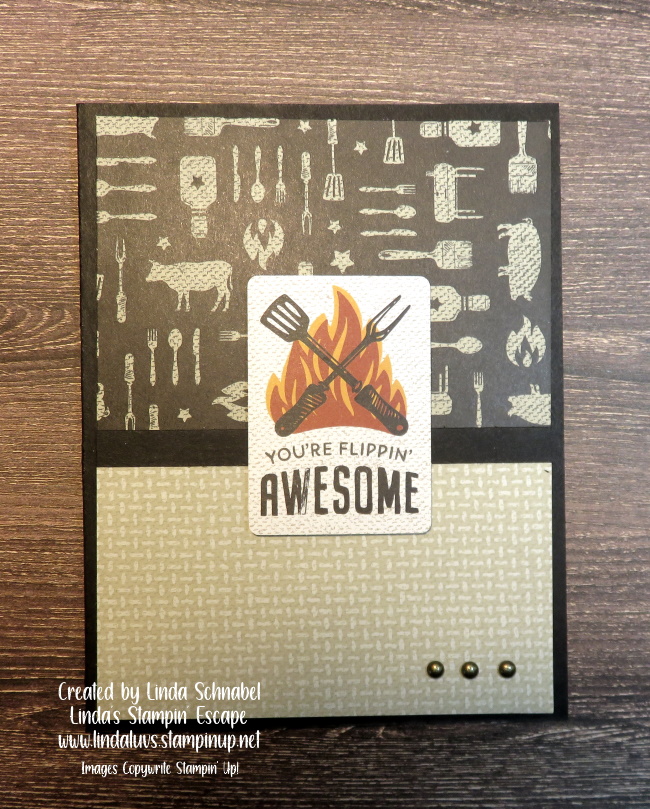
I am thrilled to share the NEW “He’s the Man” product suite with you today. This suite includes the He’s All That bundle, the He’s The Man Specialty Designer Paper and the Rustic Metallic Adhesive-Backed Dots!
I have the replay of last nights FACEBOOK LIVE that will show you the entire suite including each sheet of the handsome “He’s the Man” Specialty Designer Paper.
Let’s take a look at the video now …
We had so much fun last night creating the card together! It’s easy when the designer paper is has coordinating die cuts included … I already have another pack on order!! You will be able to order any of these products when the catalog goes LIVE on May 3rd.
Here is the card we made with the He’s the Man Specialty Designer paper with Die Cuts ….
I have a STAMPIN’ TIP to share with you … The more I moved around the die cut sheets, some of the images began to come off, so I took the clear cellophane jacket that the dies are enclosed in and tucked all my die cuts and embellishments in there so I don’t loose any.
The card was just tooooo simple to create … I need to play with the stamp set and dies next. How about a class?? Would you be interested in that … I could do an in home for sure, and virtual for those interested.
I hope you enjoyed my SNEAK PEEK into the He’s the Man Suite … can’t wait to share even more with you!
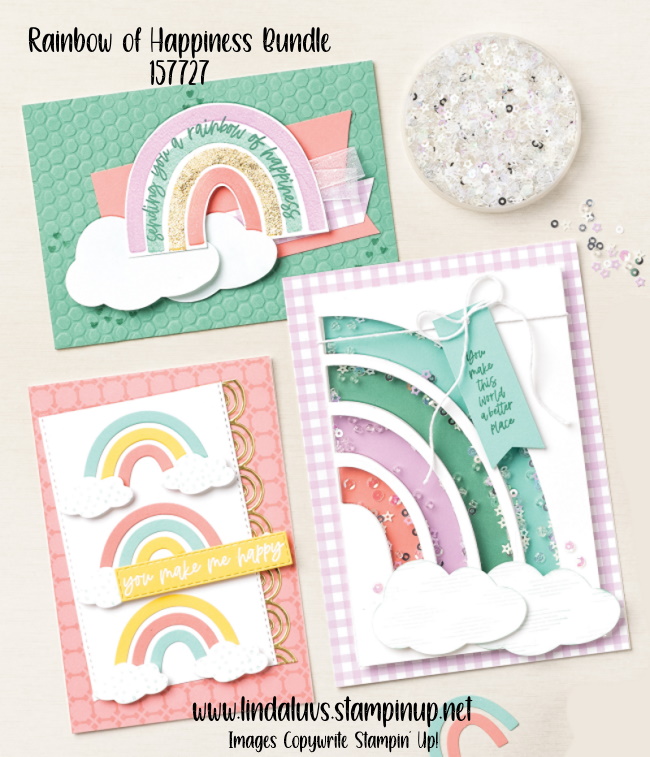
Are you one of those people who runs for the camera or grab your phone when you see a rainbow? Me too!! Who doesn’t like rainbows … they portray happiness and good luck, so doesn’t that sound like the perfect card to send someone.
Add a little sunshine and rainbows to your life with this beautiful set of products, but don’t delay … this bundle is “RETIRING” and will be gone soon.
I fell in love with all the different ways you can make cards with this bundle. Look at all they layers, fun and bling!! It’s just a bundle of smiles and happiness 🙂
Thank you for the visit today!! Hope to see you tonight for my FACEBOOK LIVE … I will be giving you a SNEAK PEEK of the “HE’S THE MAN” Product Suite.CLICK HERE TO VIEW
Hope you enjoyed your weekend … I know, I was AWOL … Missing in Action … I was taking a break and spending some time with my Great Grandsons. I haven’t seen them in almost 2 years so it was a very special time, and the weather here was great!
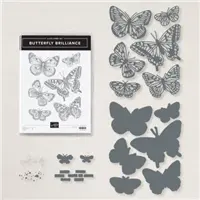
Today I have a sweet birthday card to share with you that features the Butterfly Brilliance stamp set … I am ready to see my yard filled with butterflies! This card was created by fellow demonstrator Charlet Brooks Mallett. I hope you are enjoyed the “Tutorial Week” … this will be the last (since I missed Saturday) … but I’ll be back with my own creations and some sneak peeks for you this week!
Let’s check out Charlet’s Butterfly Brilliance card ….
Measurements:
Card Base: Basic White 4.25 x 11” folded to 4.25” x 5.5”
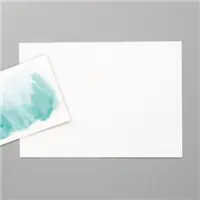
Layer #2: Fluid 100 Watercolor paper 3.25” x 4.5”
Instructions:
Cut and score card base. Fold in half.
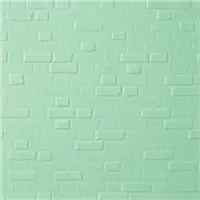
Emboss front half of card base using Brick & Mortar 3D Embossing folder.
Wet a 3.25” x 4.5” piece of Fluid 100 Watercolor paper.
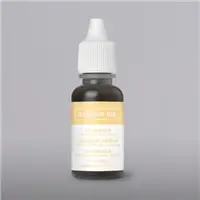
Using a water brush lay in So Saffron ink on top half of Fluid 100 paper.
Using a water brush lay in Soft Sea Foam ink on bottom half of Fluid 100 paper. Let two ink bleed/blend together. Let dry.
Stamp the butterfly background onto the dry watercolor paper using Soft Sea Foam ink.
Center and mount to card front using Stampin’ Dimensionals.
Stamp butterfly image in Tuxedo Black ink onto Basic White Cardstock. Die cut butterflies using die. Pull aside medium butterfly image. See card to see exact butterfly.
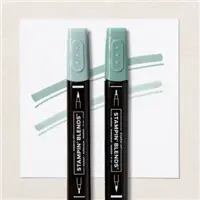
Color medium butterfly using So Saffron Stampin’ Blends.
Add Wink of Stella to So Saffron butterfly wings.
Take a 4” piece of gold elegant trim. Fold in half, unravel ends of trim and adhere to back of butterfly. See card for detail view.
Adhere assembled butterfly to card front using Stampin’ Dimensionals. Align on top of stamped butterfly that is on watercolor paper.
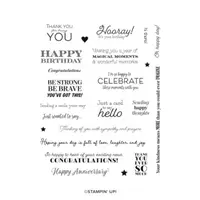
Stamp Happy Birthday on ½” x 2.5” piece of Basic White Cardstock in Tuxedo Black ink.
Tuck greeting under right butterfly wing and adhere to cardfront using Stampin’ Dimensionals.
Add three gold sequins to card front. See card for placement.
Thank you so much for coming back to join me today.
Have a wonderful day ~
TODAY’S STAMPIN’ SUPPLY LIST … If you liked the products used in today’s projects, I have links for you below. Just click on the item you would like more information on, or to begin your shopping. It will take you directly to my website. Thank you ♥
What a little cutie I have for you today … Cactus Cutie that is. This card was created by fellow demonstrator Anne Marie Hile. I hope you are enjoying “Tutorial Week” and that you get the opportunity to see other styles from some very talented demonstrators. I love being part of this creative group.
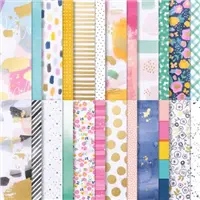
This fun designer paper comes from the Abstract Beauty Specialty Designer Series paper …. Anne’s color choices make this card so happy and fun!
Measurements:
Card Base: Night of Navy 4-1/4” x 11, scored at 5-1/2”
Cardstock #1: Magenta Madness 4” x 5-1/4”
DSP #1: Basic White 3-7/8” x 5-1/8”
Cardstock #2: Daffodil Delight 3-7/8” x 2”
Cardstock #3: Magenta Madness 2-1/4” x 5/8”
Cardstock #4: Basic White 2-3/4” x 2-3/4”, for die cut circle
Cardstock #5: Vellum 3” x 3”, for die cut circle
Scrap of Magenta Madness & Basic White Cardstock for stamping and punched images
Instructions:
Fold the Night of Navy card base in half and burnish the fold.
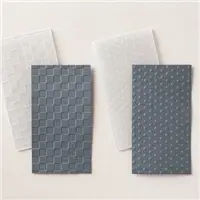
Emboss the Daffodil Delight Cardstock with the polka dot embossing folder.
Adhere the embossed Daffodil Delight Cardstock to the DSP about 3/4” from the bottom.
Adhere the DSP layer to the Magenta Madness Cardstock, then adhere to the Night of Navy card base.
Using the Layering Circles Dies, cut a 2-5/8” circle from Basic White Cardstock and a 2-7/8” circle from Vellum Cardstock. Adhere the two circles together with Stampin’ Seal (or glue) and then adhere to the card front with Stampin’ Dimensionals.
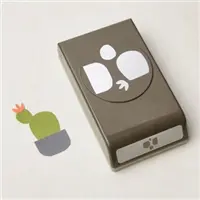
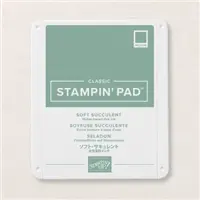
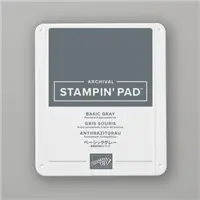
On a scrap of Basic White Cardstock, stamp the cactus in Soft Succulent ink and the pot in Basic Gray ink. Fussy-cut the cactus image, then punch out the pot with the Cactus Builder Punch and adhere to the circle with Stampin’ Dimensionals.
On a scrap of Magenta Madness Cardstock, punch out two small flowers with the Cactus Builder Punch and adhere to the card with Mini Glue Dots. Accent the flowers with Wink of Stella.
Stamp the sentiment on the strip of Magenta Madness Cardstock in Night of Navy ink and adhere to the card with Stampin’ Dimensionals.
Tie a bow using the Denim Ribbon and adhere to the card using a Mini Glue Dot.
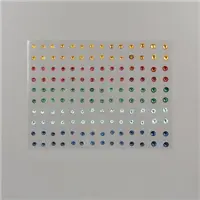
Add three navy Holiday Rhinestone Basic Jewels (one medium, two small) to the card front as shown.
The weekend is here and I hope you have a wonderful day.
Thank you for stopping by ~
TODAY’S STAMPIN’ SUPPLY LIST … If you liked the products used in today’s projects, I have links for you below. Just click on the item you would like more information on, or to begin your shopping. It will take you directly to my website. Thank you ♥
You are going to love today’s card … we’re back to “On the Horizon” and the beautiful designer paper we have all fallen in love with. This card was created by fellow demonstrator Cindy Elam.
I love how she brought her card to the next level with the golden frame, and you’ll love how easy it is to get this sophisticated look ….
Measurements:
Card Base: Soft Succulent 5-1/2″ x 8-1/2″ scored & folded at 4-1/4″
Cardstock #2: Gold Foil Sheet 4″ x 5-1/4″
Cardstock #3: Soft Succulent 1/2″ x 3″
On the Horizon Designer Paper #1: 3-1/2″ x 4-3/4″
Instructions:
Stamp trees and grass several times on Designer Paper #1 using Evening Evergreen ink. Use Water Painter to fill in and darken the grass. Stamp birds in black.
Die cut large frame from Copper Foil. Adhere DSP scene behind frame and attach both to card base with dimensionals.
Heat emboss white greeting on Cardstock #3. Use dark Soft Succulent Stampin’ Blend to trace bottom of greeting, forming a shadow. Punch ends with label punch and adhere with dimensionals.
Was I right … did you love this card?! When you got through the step by step directions and discover how easy it is to make this card, you will just grab your paper and start creating.
Thank you for joining me today.
Have a wonderful day ~
TODAY’S STAMPIN’ SUPPLY LIST … If you liked the products used in today’s projects, I have links for you below. Just click on the item you would like more information on, or to begin your shopping. It will take you directly to my website. Thank you ♥
I am thrilled to share the NEW Hues of Happiness product suite with you today. This suite includes the Happiness Abounds bundle, the Hues of Happiness Designer Paper and the Glossy Dots Assortment!
I have the replay of last nights FACEBOOK LIVE that will show you the entire suite including each sheet of the stunning Hues of Happiness Designer Paper.
Let’s take a look at the video now …
We had so much fun last night creating the cards together! It’s easy when the designer paper is so pretty… I already have another pack on order!! You will be able to order any of these products when the catalog goes LIVE on May 3rd.
Here is the first card we made with the Gorgeous Grape card base ….
Our next card has the Mossy Meadow card base. My stampin’ friends enjoyed the punch tip that I shared in the video and used on this card …
It is so easy to create quick cards when you are working with stunning designer paper like the Hues of Happiness … and this is only part of the pretty paper. I used scraps to stamp my greetings on and one punch to create the layered look on the second card.
I hope you enjoyed my SNEAK PEEK into the Hues of Happiness Suite … can’t wait to share even more with you!
SPECIAL ANNOUNCEMENT … In the video I shared that Stampin’ Up! is offering FREE Shipping this Thursday, April 21st … I have a gift for each of you who place an order with the HOST CODE listed below and get your name in a drawing for a NEW item out of the catalog!! Please let me know if you need any help. Thank you ❤
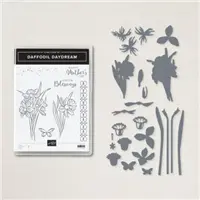
Yesterday I shared the Kite Delight so I thought it was only fitting to continue the delight with the Daffodil Delight Bundle, and just in time for Mother’s Day. I’m inviting you to join me for “Card Tutorial” week!
Each day I will feature a new card along with the dimensions, and a step by step tutorial of each card. I will also share a list of supplies in case something catches your fancy and you would like to add that item to your stamp room.
Measurements:
Card Base: Balmy Blue 4.25 x 11” folded to 4.25” x 5.5”
Layer #2: Striped Balmy Blue DSP Pattern 4” x 5.25”
Layer #3: Balmy Blue 1.5” x 5.5”
Layer #4: Vellum 2”x 5.5”
Instructions:
Cut and score card base. Fold in half.
Cut striped Balmy Blue DSP pattern to 4” x 5.25”. Mount to card front.
Cut a piece of Balmy Blue cardstock to 1.5” x 5.5”. Mount to card front 1” from left side. See card for placement.
Cut a piece of Vellum to 2”x 5.5”. Center and layer on top of Balmy Blue piece.
Die cut Pear Pizazz cardstock using long stem and leaf die.
Die cut Daffodil base flower layers in Daffodil Delight.
Die cut Daffodil top flower layers in Crushed Curry.
Assemble Daffodil flower. Pop the center of the flower using Dimensionals.
Add assembled flower to stem using adhesive.
Tie a bow around stem using linen thread.
Adhere assembled daffodil and stem onto vellum. See photo of card for placement.
Stamp “Happy Mother’s Day” onto a 2.5” x 1” piece of Basic White cardstock. Flag the right end using scissors.
Stamp two butterfly images in Tuxedo Black ink onto basic white card stock. Color using Calypso Coral Stampin’ Blends. Cut the two butterflies out using the butterfly die. Adhere to card from using adhesive.
Add three clear Polished Dots to card front. See card for placement.
I love the soft colors … the blue and yellow truly compliment each other.
Thank you for taking time out to visit my blog … Please feel free to join me tonight for my FACEBOOK LIVE at 6:30 pm.
Have a great day ~
TODAY’S STAMPIN’ SUPPLY LIST … If you liked the products used in today’s projects, I have links for you below. Just click on the item you would like more information on, or to begin your shopping. It will take you directly to my website. Thank you ♥
I hope you had a beautiful Easter! Today I’d like to share a cute card and tutorial in hopes that Spring shows up and we can actually fly kites again! This card was created by fellow demonstrator Anne Marie Hile.
Measurements:
Card Base: Pool Party 4-1/4” x 11, scored at 5-1/2”
Cardstock #1: Daffodil Delight 4” x 5-1/4”
Cardstock #2: Basic White 3-3/4” x 5”
Cardstock #3: Basic White 3-1/4” x 4-1/2”
DSP #1: 3-3/4” x 1”
Cardstock #4: 3-1/2” x 1/2”
Scrap of Daffodil Delight & Basic White Cardstock for stamped kites
Instructions:
Fold the Pool Party card base in half and burnish the fold.
On the piece of Basic White Cardstock, stamp the kite strings and three clouds in Momento ink as shown.
Color the bows on the kite strings with Pool Party Dark & Daffodil Delight Dark Stampin’ Blends, then accent the shadows on the clouds with Pool Party Light Stampin’ Blends. Accent the clouds with Wink of Stella.
Adhere the DSP to the Basic White Cardstock, about 1/8” from the bottom.
Adhere the Basic White Cardstock layer to the Daffodil Delight Cardstock, then adhere to the Pool Party card base.
On a scrap of Daffodil Delight Cardstock, stamp the kite in Daffodil Delight ink, cut out the image and adhere to the card with Stampin’ Dimensionals.
On a scrap of Basic White Cardstock, stamp the kite in Momento ink, color the image with Stampin’ Blends (Daffodil Delight Dark and Pool Party Dark), then cut out the image and adhere to the card with Stampin’ Dimensionals. Accent the centers of the flowers with Wink of Stella.
Stamp the sentiment on the strip of Daffodil Delight Cardstock in Momento ink. Banner punch both ends of the sentiment strip using the Banners Pink a Punch and adhere to the card with Stampin’ Dimensionals.
Tie a bow using the silver Simply Elegant Trim and adhere to the card using a Mini Glue Dot.
Add three Bumblebee In Color Jewels (two medium, one small) to the card front as shown.
So … Let’ hope this little cutie will bring out the sunshine and warmth! I’m ready for spring.
Thank you for joining me today…
Have a great day ~
TODAY’S STAMPIN’ SUPPLY LIST … If you liked the products used in today’s projects, I have links for you below. Just click on the item you would like more information on, or to begin your shopping. It will take you directly to my website. Thank you ♥
Let me begin by wishing you a blessed Easter Sunday … I hope you have the chance to spend it with loved ones. Besides preparing the meals … memories are the best things to make. Enjoy your day.
I do have a beautiful card to share with you that has a bit of the old and a peek at the new! I’ve shared several cards using the Flowing Flowers stamp set before and it’s so pretty, but it is the greetings that really caught my eye …
Measurements:
Card Base: Coastal Cabana 8-1/2″ x 5-1/2″, scored & folded at 4-1/4″
Cardstock #2: Basic White 5-1/4” x 4” (mat for DSP) 3-1/4” x 2-1/4” for stamped image, and scrap for greeting.
Cardstock #3: Coastal Cabana 3-3/8” x 2-3/8”
Cardstock #4: Bermuda Bay Scrap piece to die cut scallop mat
Designer Paper: Leafy Pattern (Pretty Prints DSP) “3-7/8” x 5-1/8”
Instructions:
Adhere Pretty Prints Designer Paper to Basic White mat and secure to card base.
Stamp floral image in Bermuda Bay on 3-1/4” x 2-1/4” White Cardstock
Add Wink of Stella to your stamped flower
Take stamped image and secure to Cardstock #3: Coastal Cabana.
On Basic White scrap; stamp greeting with Bermuda Bay ink and die cut with Layering Circle Die
Die cut a scallop from a piece of scrap Bermuda Bay as a mat for your greeting.
Attach the assembled greeting onto the left hand corner of your floral assembly.
Use Stampin’ Dimensionals to pop up and secure your greeting/flower onto card front.
Attach three Bermuda Bay Rhinestones from the Rhinestone Waves Basic Jewels.
So … have you found the “NEW” item? It is the stunning Pretty Prints Designer Series paper. Although it is not available until May 3rd … I wanted to give you a peek at something in the new catalog.
Thank you for hanging out with me …
Have a great Sunday ~
TODAY’S STAMPIN’ SUPPLY LIST … If you liked the products used in today’s projects, I have links for you below. Just click on the item you would like more information on, or to begin your shopping. It will take you directly to my website. Thank you ♥
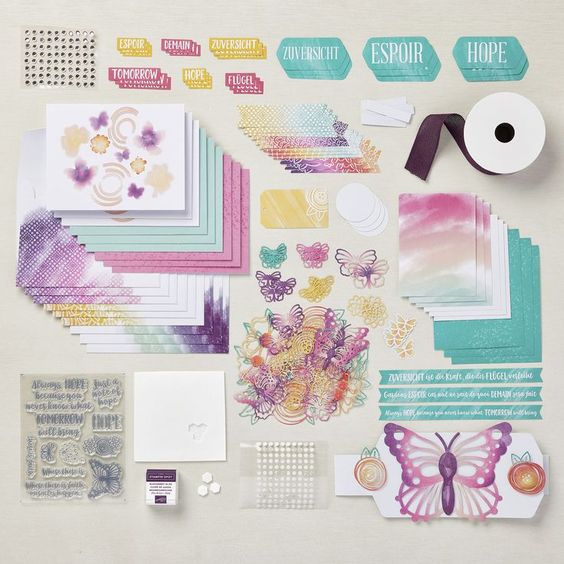
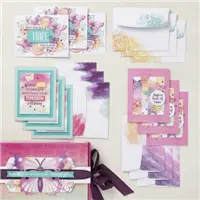
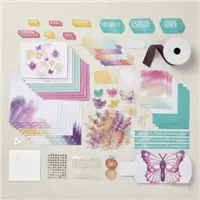
Yesterday I shared the “SHARE HOPE” Paper Pumpkin special Kit you can purchase at a discount and … you do not have to be a subscriber to get your hand on this. I do want to share the “contents” of the kit which includes the stamp set, card bases, embellishments and more!
Then I’m going to share a cute alternative that you can make with this kit, because at this price … you’ll want to snag up a refill too!
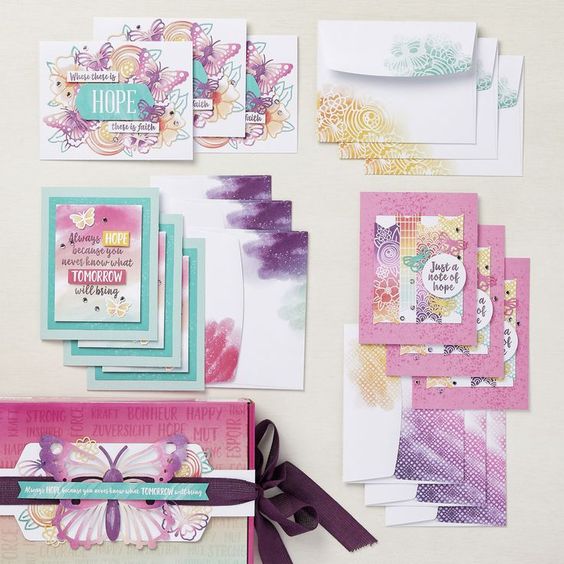
This kit is packed to the brim with bright and cheery elements! There is enough here to create 9 cards as well as decorate a Hope Box of your own! Full instructions are included in your kit.
Here is what the cards look like completed per instructions …
Now … Check out this little cutie and so easy to make ~
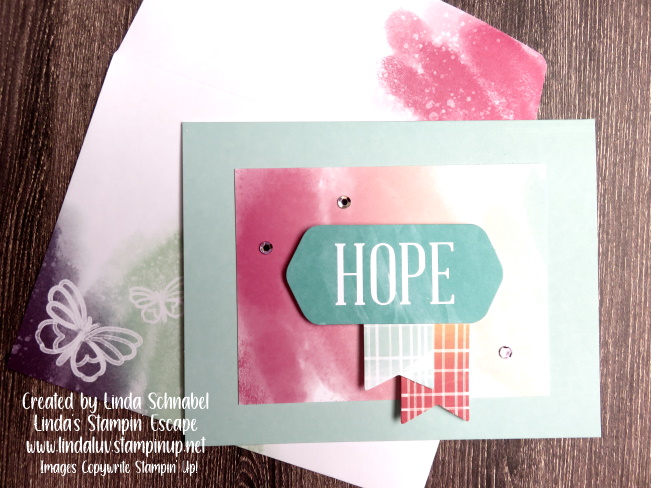
I used only ingredients from the kit. I started with the card base and added the pretty pre-printed piece. Added the “HOPE” and cut one of the banners in half to create the cute little flags. Did I mention your kit includes matching envelopes in three different styles! Love it.
I have LINKS to the full kit and refill for you below… just click on the photo and it will take you directly to the product in my online store. Grab a refill so you can create with family or friends!
Thank you and have a great day.
Click on the photo below to take you to this product in my stampin’ store ….
April has been designated as the National Month of Hope in the United States to help spread hope around the world. We’re celebrating the National Month of Hope with our Share Hope Offer, which runs from mid-April to Mid-June! The Paper Pumpkin Hope Box will be available to you and your customers to purchase at a discounted price between 12 April and 14 June 2022. Even non-subscribers can get in on this limited-time offer.
It’s the perfect way to reach out to those who need a ray of sunshine and some kindness! Share hope by making and giving hope cards or by donating a Hope Box to someone in need, or to a hope-related organization that’s dear to your heart.
Join me back here tomorrow and I will share my cards with you. I have included the links to the boxes below. Remember … you do not have to be a Paper Pumpkin Subscriber to get this kit.
I am thrilled to share the fabulous NEW In-Colors with you today. The new 2022-2024 In-Colors are fun and will coordinate not only with each other but will coordinate beautifully with our core colors as well. I demonstrated a simple layouts in my video (a replay of last nights Facebook LIVE) that is perfect for those of you who make multiple cards at a time … very quick & easy.
Let’s take a look at the video now …
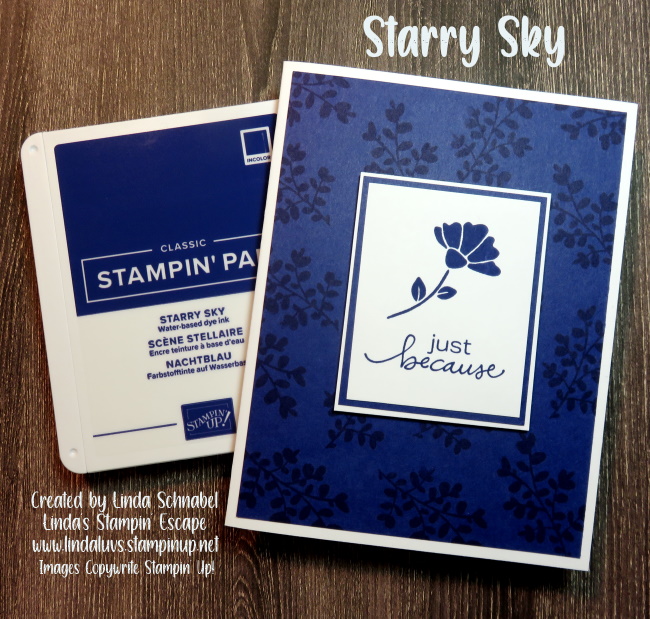
Here is the card that I demonstrated in the video … I believe this is my very favorite but the others are pretty awesome! I’m having a hard time picking a favorite in this group.
Let me introduce you to Starry Sky ….
How It’s Made
Cut a 4-1/4 x 8-1/2″ piece of Basic White cardstock for the card base. Score at 4-1/4. Crease fold and set aside for assembly.
Cut a 2 x 2-1/2″ piece of Basic White to stamp image onto and a 2-1/4″ x 2-3/4″ for a double mat.
Cut a 2-1/8″ x 2-5/8″ piece of the In-Color as the mat behind the stamped image, and a 4″ x 5-1/4″ to be stamped and layered onto the card base.
The stamped image will be layered and popped up onto your card front.
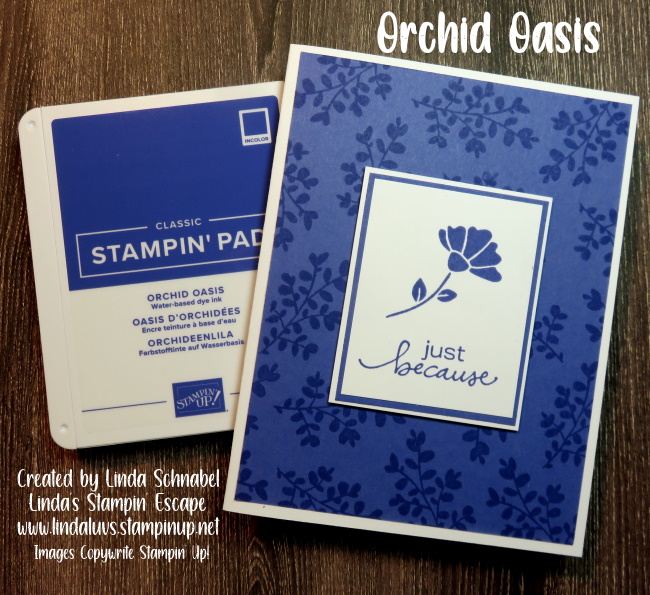
The next card is the beautiful Orchid Oasis …
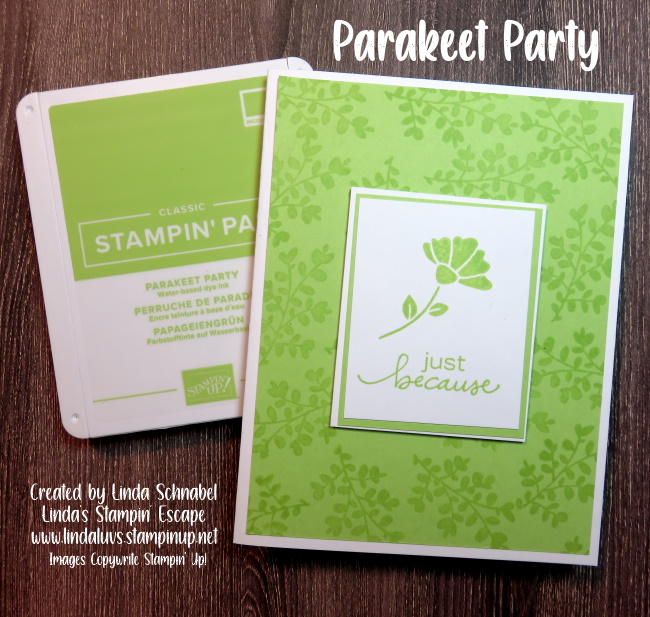
Here is the bright and bold Parakeet Party … this color is anything but shy!
If you have a taste for the shades of red you will fall in love with Sweet Sorbet. The color reminds me of watermelon but it sure is a tasty shade of fun.
The last of this years In-Colors but most definitely not the least is the beautiful Tahitian Tide just waiting to take you someplace warm and sunny. The color reminds me of our old Tempting Turquoise which we loved and missed … this will easily fit the bill.
I hope you enjoyed my showcase into the fun and playful new In-Colors … can’t wait to share even more with you!
TODAY’S STAMPIN’ SUPPLY LIST … If you liked the products used in today’s projects, I have links for you below. Just click on the item you would like more information on, or to begin your shopping. It will take you directly to my website. Thank you ❤
Get ready to celebrate with the NEW 2022–2024 In Colors! This month’s kit is bursting with color and gold foil accents to really make your cards shine.
Each kit contains enough supplies to create 10 cards—2 each of 5 amazing designs—plus 10 coordinating envelopes and 10 coordinating gift card holders! That means you can send your friends, family, or coworkers congratulatory words alongside a well-earned gift card to really show your appreciation for them.
But that’s not all! This kit has a surprising bonus—a chance to win a GOLDEN Voucher! A golden voucher worth $25 USD | $34 CAD in Stampin’ Up! products will be randomly added to 200 Paper Pumpkin boxes. That means every May Paper Pumpkin subscriber will have a chance to win! The lucky subscribers will open their May 2022 Paper Pumpkin Box and find a golden voucher inside.
Are you ready to subscribe? Check it out HERE or pick one of the subscriptions below.
Thank you for joining me today. Hope your day is a great one.