Hello Stampin’ Friends ~
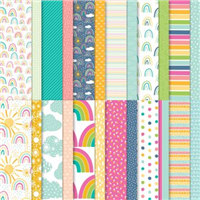
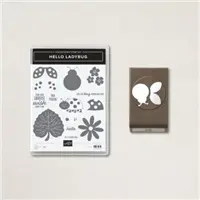
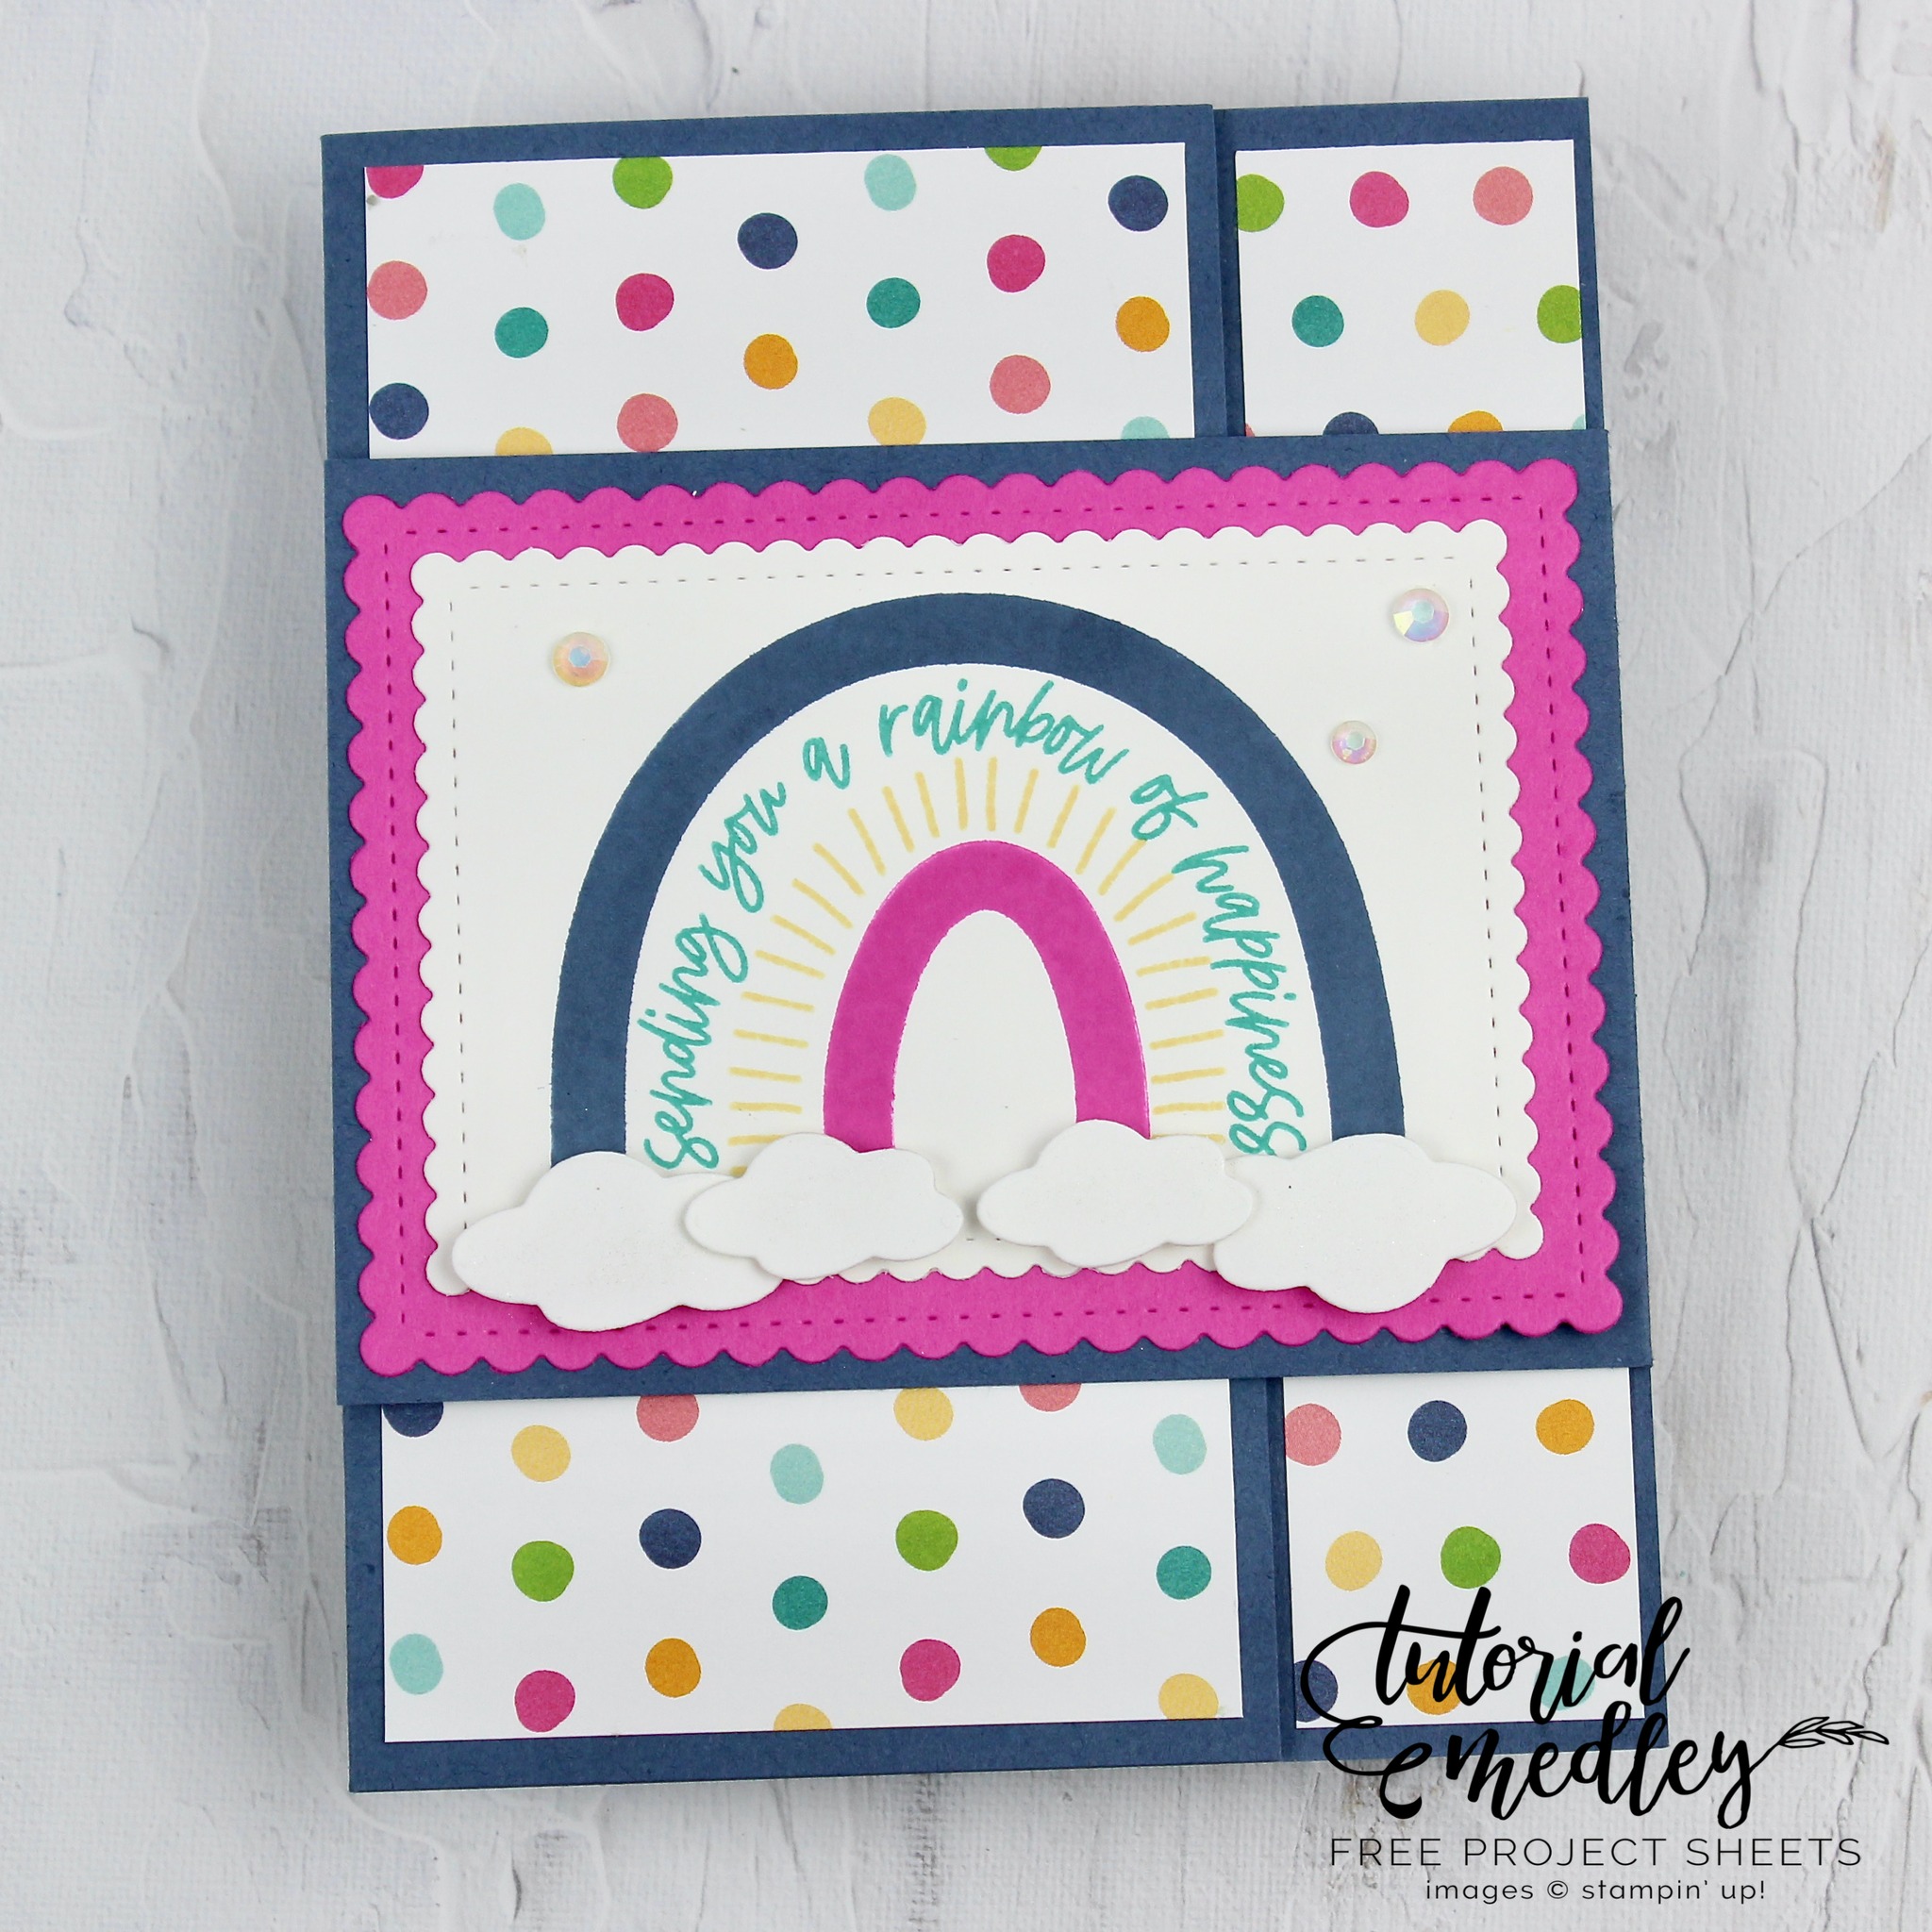
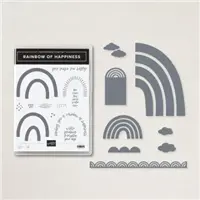
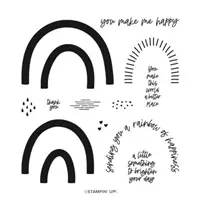
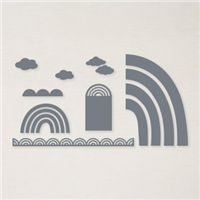
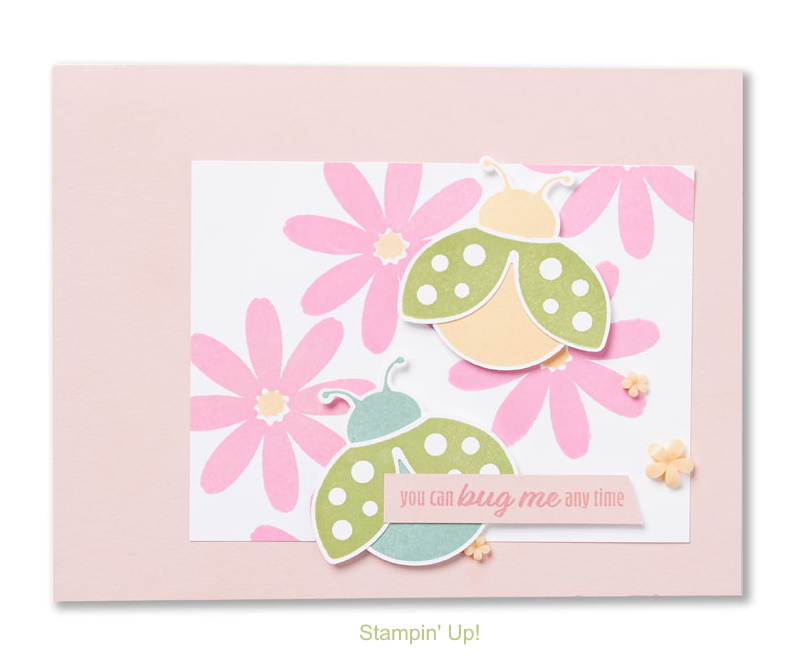
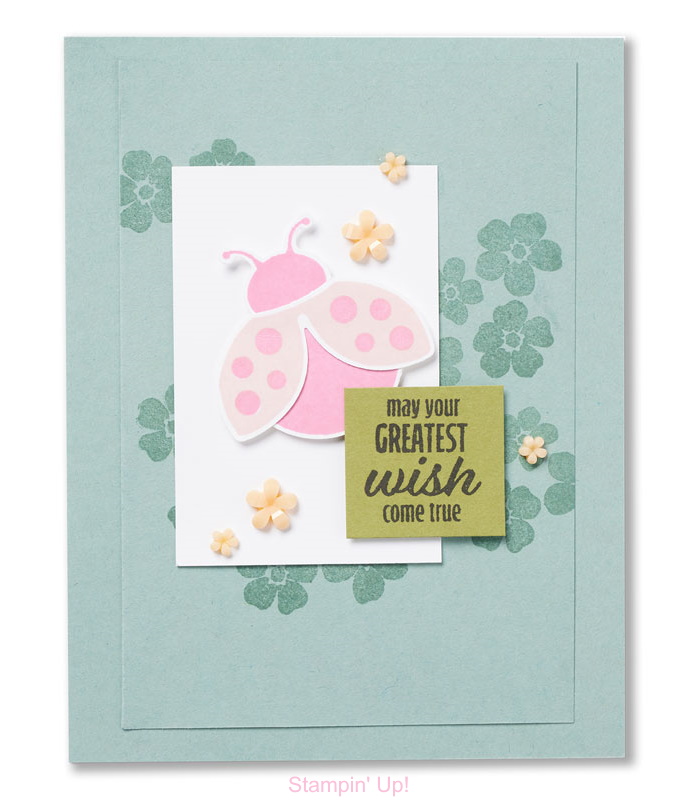
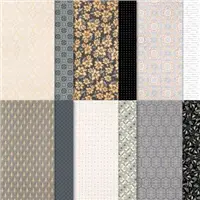
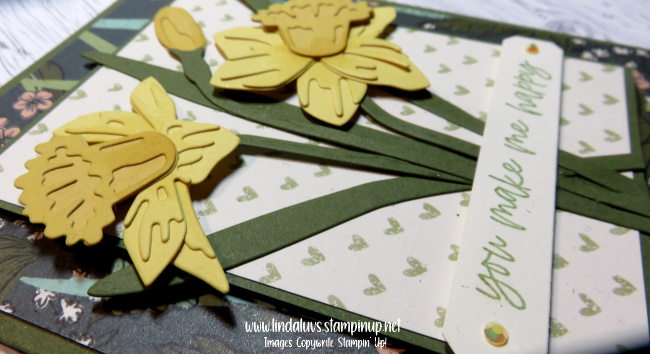
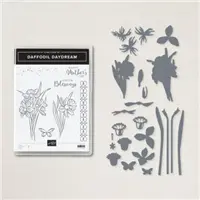
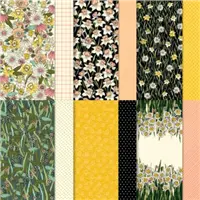
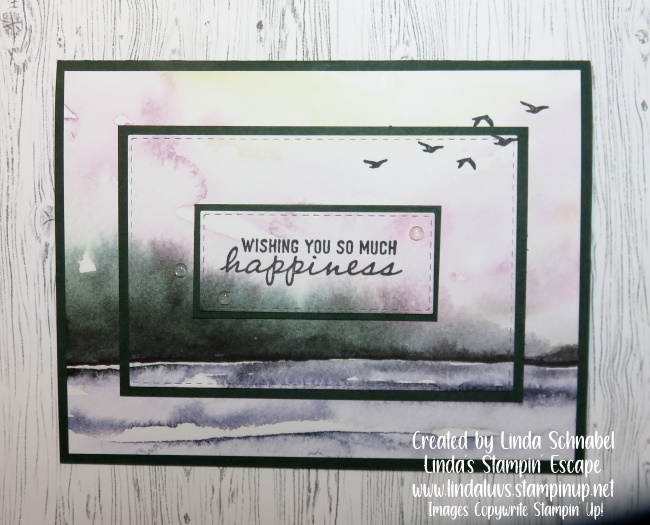
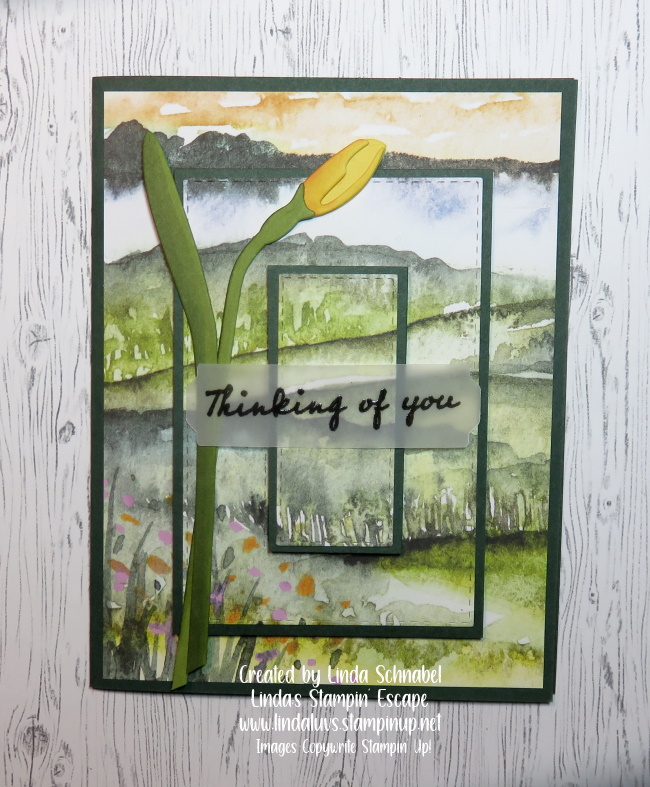
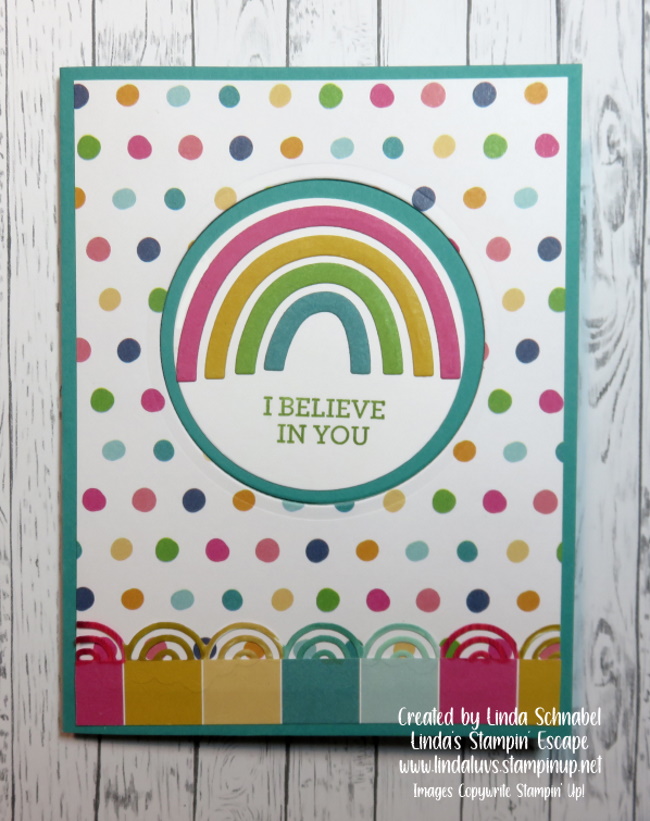
I’m excited to share today’s card with you!! It is a fun fold card that I first shared at my Holiday Stampin’ Retreat … so I updated it with the Rainbows of Happiness bundle and the Sunshine & Rainbows Designer paper that you will find in the Sale-a-bration Catalog.
I also will share the video created from last nights Facebook LIVE ….
Measurements:
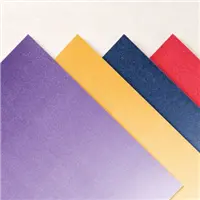
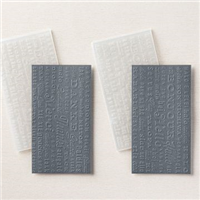
- Bermuda Bay Cardbase: 8-1/2″ x 5-1/2″ … Score & Fold at 4-1/4″
- Sunshine & Rainbows Designer Paper for Front: 5-1/4″ x 4″
- Use Circle Dies to Die Cut the “Window” in Front of your card
- Basic White Inside Cardstock: 5-1/4″ x8″ … Score at 4″ and 6″
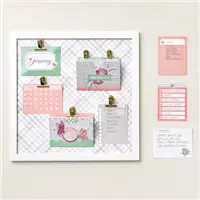
This card is so cute and easy to make … Just think of all the different stamp sets/bundles you could use … you saw 2 additional fun folds in the video!!
This is the “side fold” card and when they open it … it’s a “fun” surprise on the inside. Remember to attach the inside layer with the score lines to your right so you can fold them into the card.

And ONLY apply adhesive on the one section of the flap … that is why I close my card, it makes it so easy to remember exactly where to put the adhesive to attach your circle. Have a blast making this Fun Fold card!!
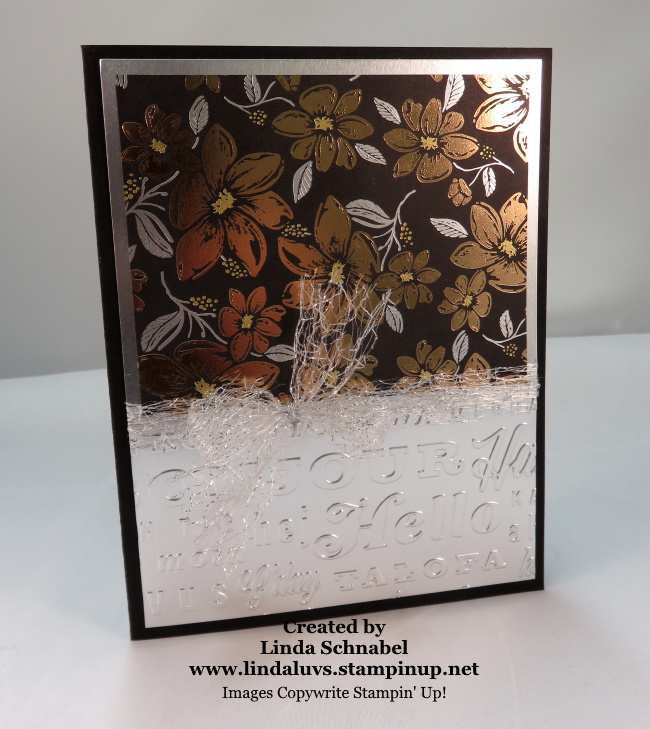
I’ll share the “Friendly Hello” Top Fold Card with you tomorrow.
Have a wonderful day and thank you for stopping by.

TODAY’S STAMPIN’ SUPPLY LIST … If you liked the products used in today’s projects, I have links for you below. Just click on the item you would like more information on, or to begin your shopping. It will take you directly to my website. Thank you ❤