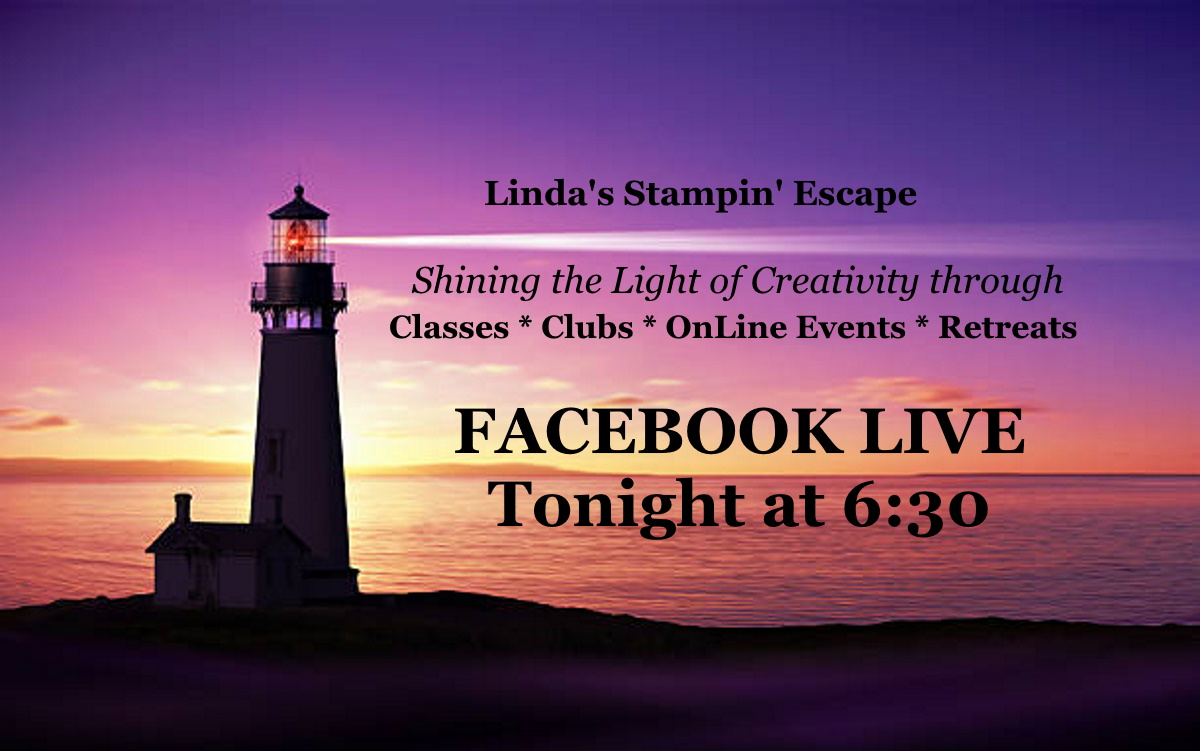
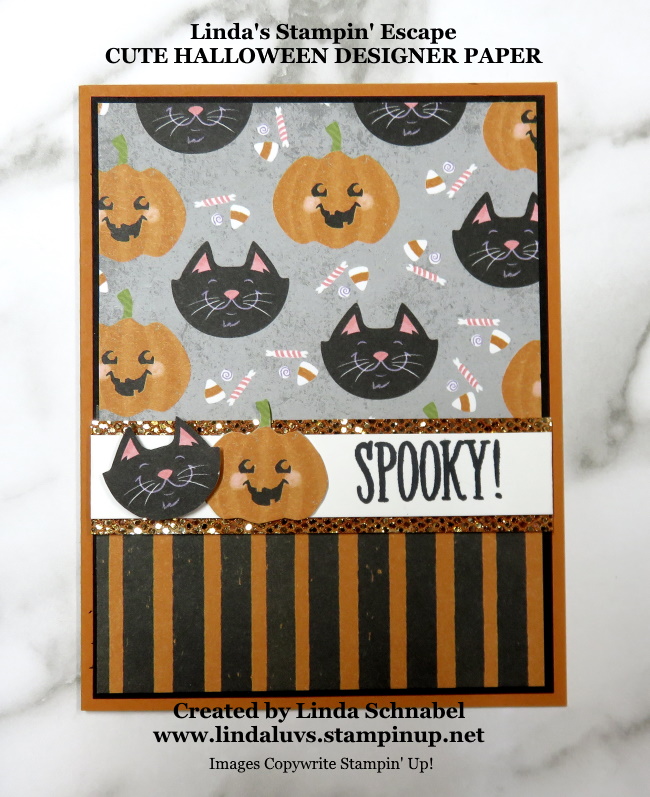
Hello Stampin’ Friends ~
When you picture a peaceful Christmas, what comes to mind? Do you see snow outside your window, softly swirling through the sky? A tree trimmed with tinsel, a fire crackling nearby? Maybe you’re dreaming of decorating a holly jolly gingerbread house. Can you catch a whiff of Christmas cookies wafting through the air?
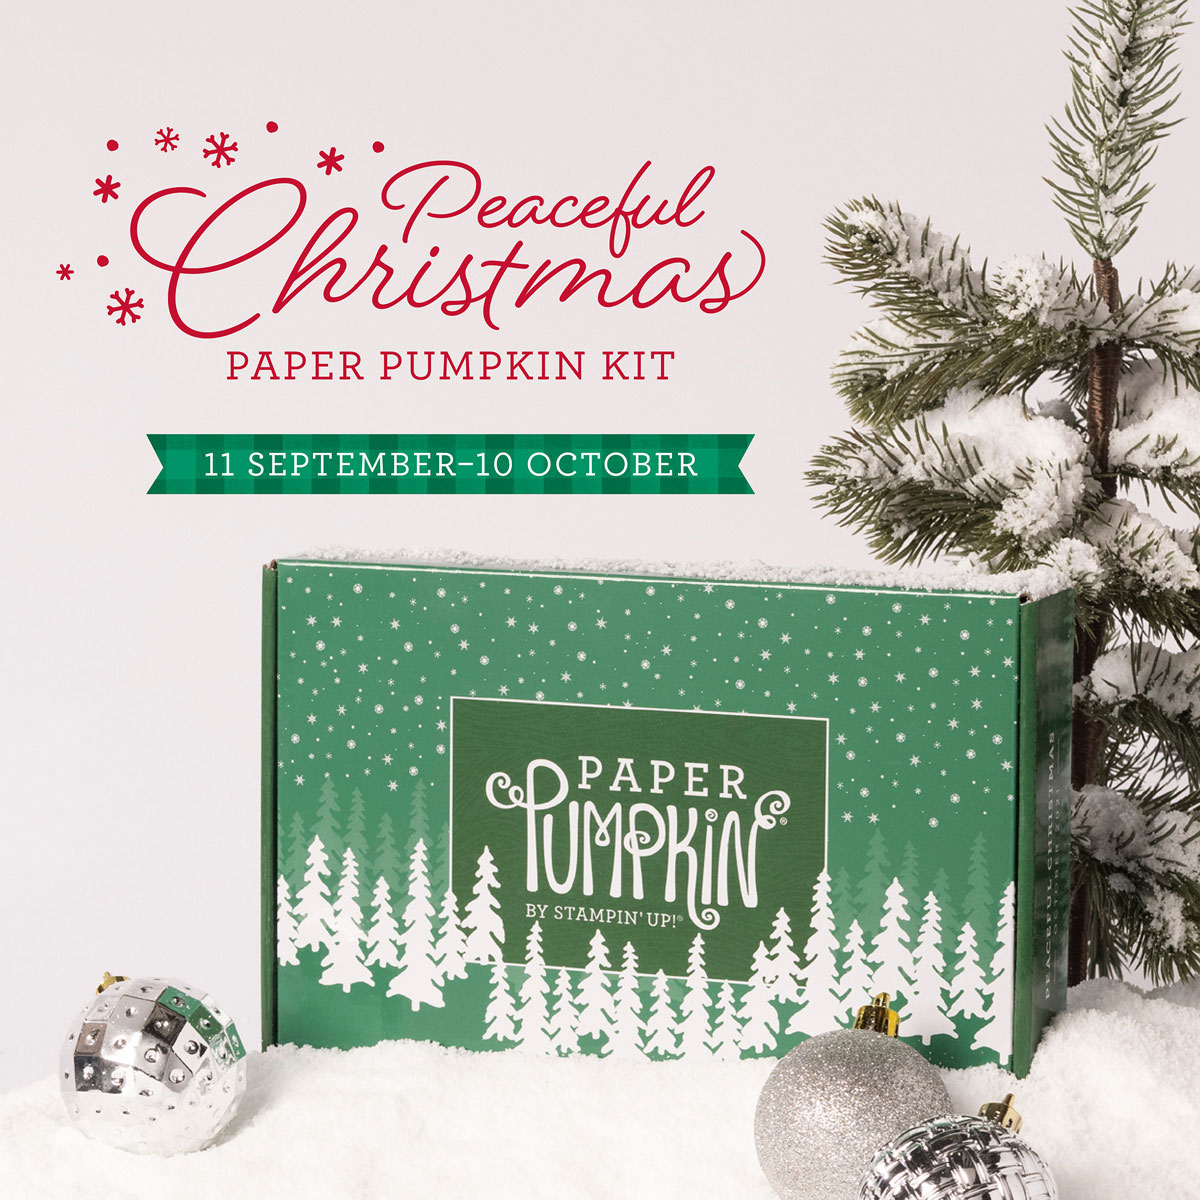
Whatever it is you think about when Christmas comes to town, picture a peaceful Christmas with the Peaceful Christmas Paper Pumpkin Kit! This glimmering and gleaming kit is your creative kickstart to Christmas cardmaking. With sprinkles of snow, shimmering silver skies, and heartwarming holiday wishes, you’ll have enough elements and embellishments to create 10 Christmas cards and coordinating envelopes.
Speaking of coordination, make even more Christmas magic with Peaceful Place products! Our stunning Peaceful Place Suite Collection (item 156277) pairs perfectly with the kit’s components. Brew a cup of cocoa, snuggle up with a soft blanket, and prepare for a cozy craft night in!
About the Kit
Name Peaceful Christmas
Details
- The kit contains enough elements to create 10 Christmas cards—5 each of 2 designs—and coordinating envelopes. This all-inclusive kit includes printed card bases, die-cut paper pieces, embellishments, adhesive, and more!
- October’s kit arrives in a cute collectible box covered with enchanting evergreen trees. Use this special, limited-edition box to store your holiday handicrafts, or transform it into a well-wrapped package for a present!
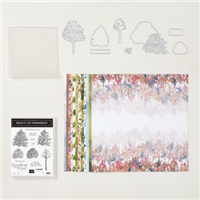
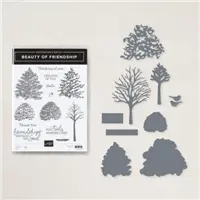
- The kit’s contents pair perfectly with the Peaceful Place Suite Collection (item 156277). To continue your Christmas crafting, combine the kit’s components with the suite’s patterned paper, shimmery sequins, and more!
- Card size: 4-1/4″ x 5-1/2″ (10.8 x 14 cm)
- Envelope size: 4-1/2″ x 5-3/4″ (11.4 x 14.6 cm)
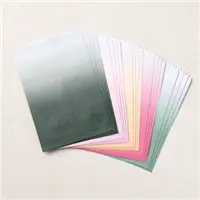
- Coordinating colors: Basic Gray, Real Red, Shaded Spruce, silver foil
You can CLICK HERE to subscribe to the monthly kit or you can pre-purchase from the choices listed below.
Thank you for the visit today. Let me know if you have any questions about our Paper Pumpkin kits … I’d be happy to help you.
Have a wonderful day ~

TODAY’S STAMPIN’ SUPPLY LIST … If you liked the products used in today’s projects, I have links for you below. Just click on the item you would like more information on, or to begin your shopping. It will take you directly to my website. Thank you ♥


")
")
")
")
")
")
")
")
")
")

")