I hope you had a wonderful Thanksgiving! I spent the afternoon at my nieces house with family … full of good food and conversation.
Today I’d like to share a SNEAK PEEK into the New 2022 Mini and Sale-a-bration Catalogs via a video. I presented LIVE on my Facebook page so if you missed it, or would like to view it again … Grab your cup of coffee and join me!
Thank you for joining me today… Which catalog item was your favorite? Oh … I can’t wait to show you more when my next batch of goodies arrive in early December.
Today I’d like to share a beautiful card I received from my sister Rita and to wish you a Wonderful Thanksgiving weekend.
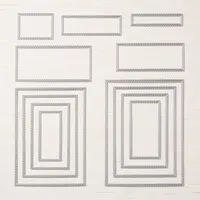
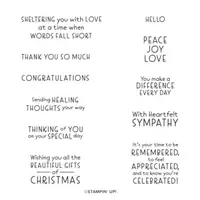
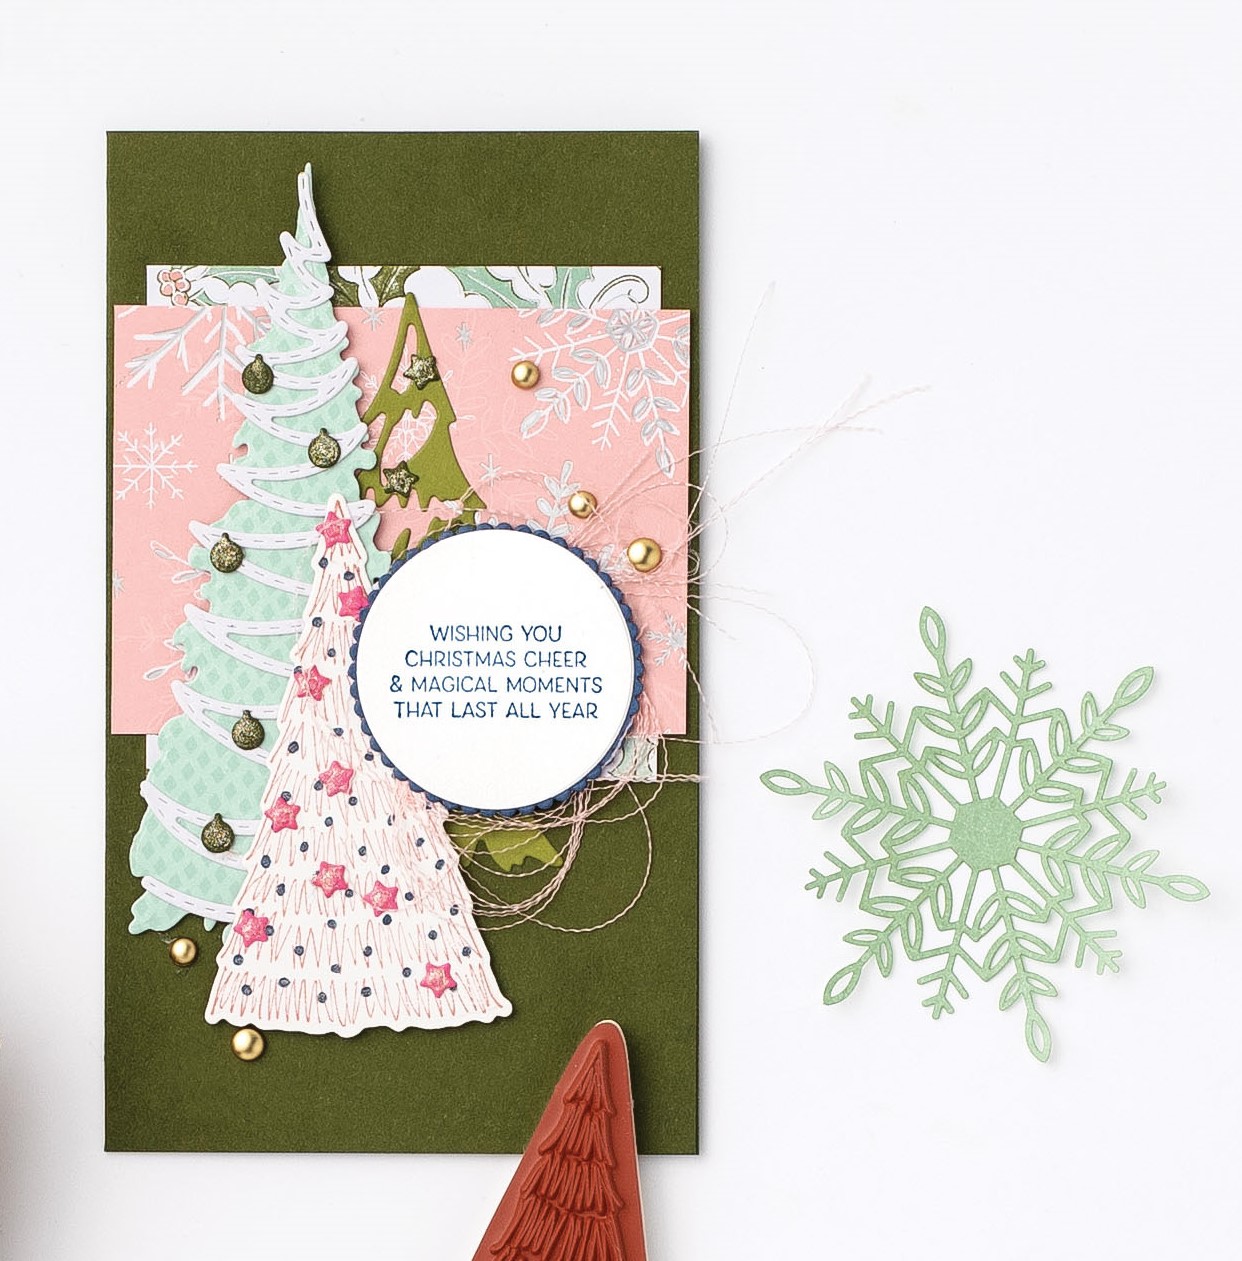
Rita used the Simply Elegant designer paper for her slim line card. She also used; very vanilla and basic gray card-stock, rectangle stitched dyes, seasonal layers thinlets, holiday rhinestone basic jewels, and curvy verses stamp set.
There is nothing better than receiving a beautiful card in the mail, unless you are the one creating and sending it… you know it’s going to make someone’s day. I think many of us will be working on cards soon (unless you’re sending them out this weekend)!
I would love to wish all of you a very safe and wonderful Thanksgiving. Enjoy time with your friends and family.
Thank you so very much for stopping by to share a moment with me on this Thanksgiving day.
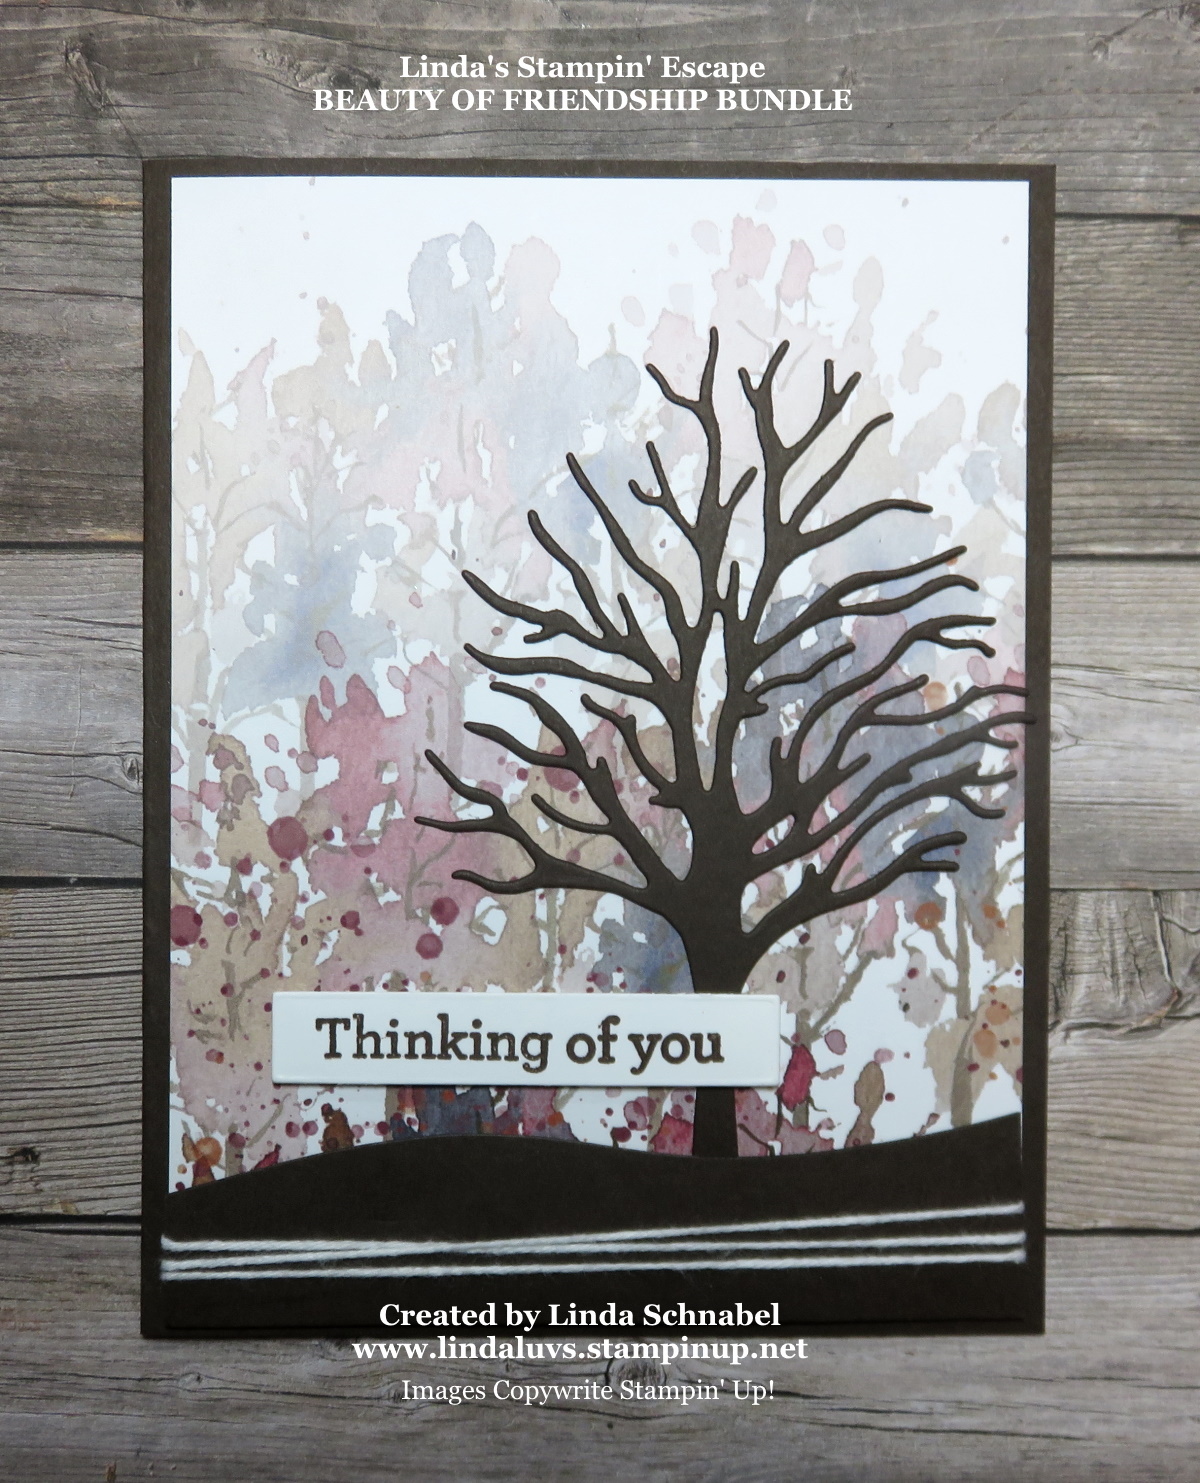
Today, we’re going back to nature with the Beauty of Friendship bundle. This is one of my favorites because it is so versatile for any occasion, male or female … the possibilities are endless!
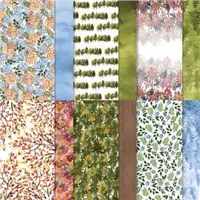
The beautiful color pallet and thick borders just seem to be a bit more masculine than what I’ve been sharing lately. I simply followed the colors in the beautiful Beauty of the Earth Designer Series paper. Let me share some information with you …
Card Dimensions ….
Night of Navy Card base is cut 4 1/4″ x 11″ and scored at 5 1/2″.
Beauty of the Earth Designer Paper is cut 5 1/4″ x 4″.
Night of Navy for the die cut frame
Early Espresso for the die cut tree
I used the 3rd and 5th dies from the Stitched Rectangle dies (I count from the center of the dies to the outside. Align them carefully by centering the smaller one inside the larger die, this will ensure your frame has equal sides.
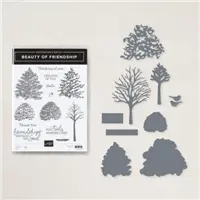
While you are die cutting, use the small tree from the Beauty of Friendship bundle. The tree will be attached to the frame with our Glue Dots …
I used a greeting from the Inspired Thoughts stamp set. Because the “Thinking of You” stamp has more to the greeting, I used my Stampin’ Write Marker to color only the part of the verse I wanted and then die cut it with the rectangle die included in the Beauty of Friendship bundle.
I used glue dots to attach the greeting over the tree and slightly touching the frame. Then I used the Foam Adhesive Strips to the entire frame and attached it to the front of my card.
I really like the way the frame highlights this beautiful paper, yet allows the tree and greeting to stand out as well. I guess I would end up saying this could be a gender neutral card!!
Thank you for checking out my blog post today. Hope your day is a good one.
TODAY’S STAMPIN’ SUPPLY LIST … If you liked the products used in todays projects, I have links for you below. Just click on the item you would like more information on, or to begin your shopping. It will take you directly to my website. Thank you ♥
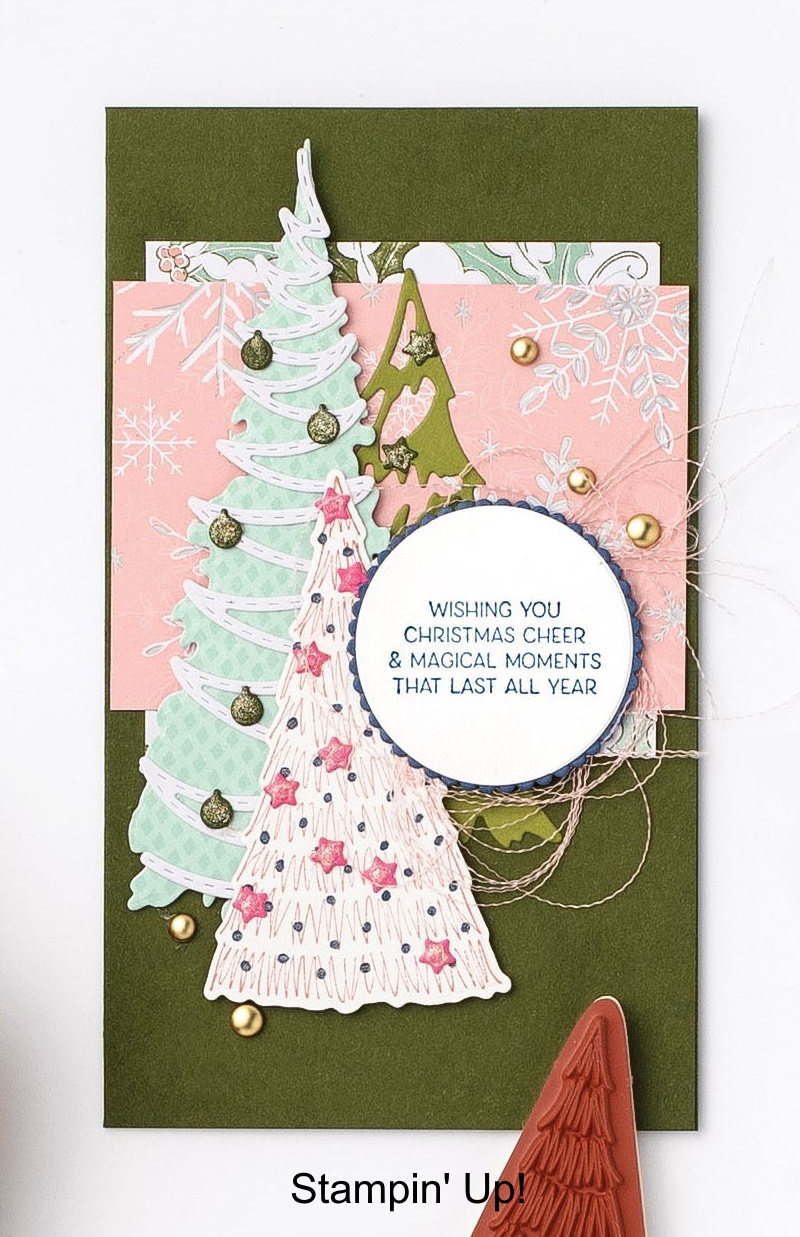
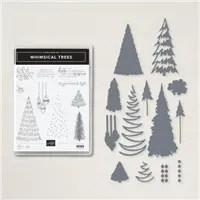
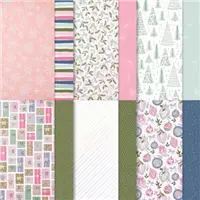
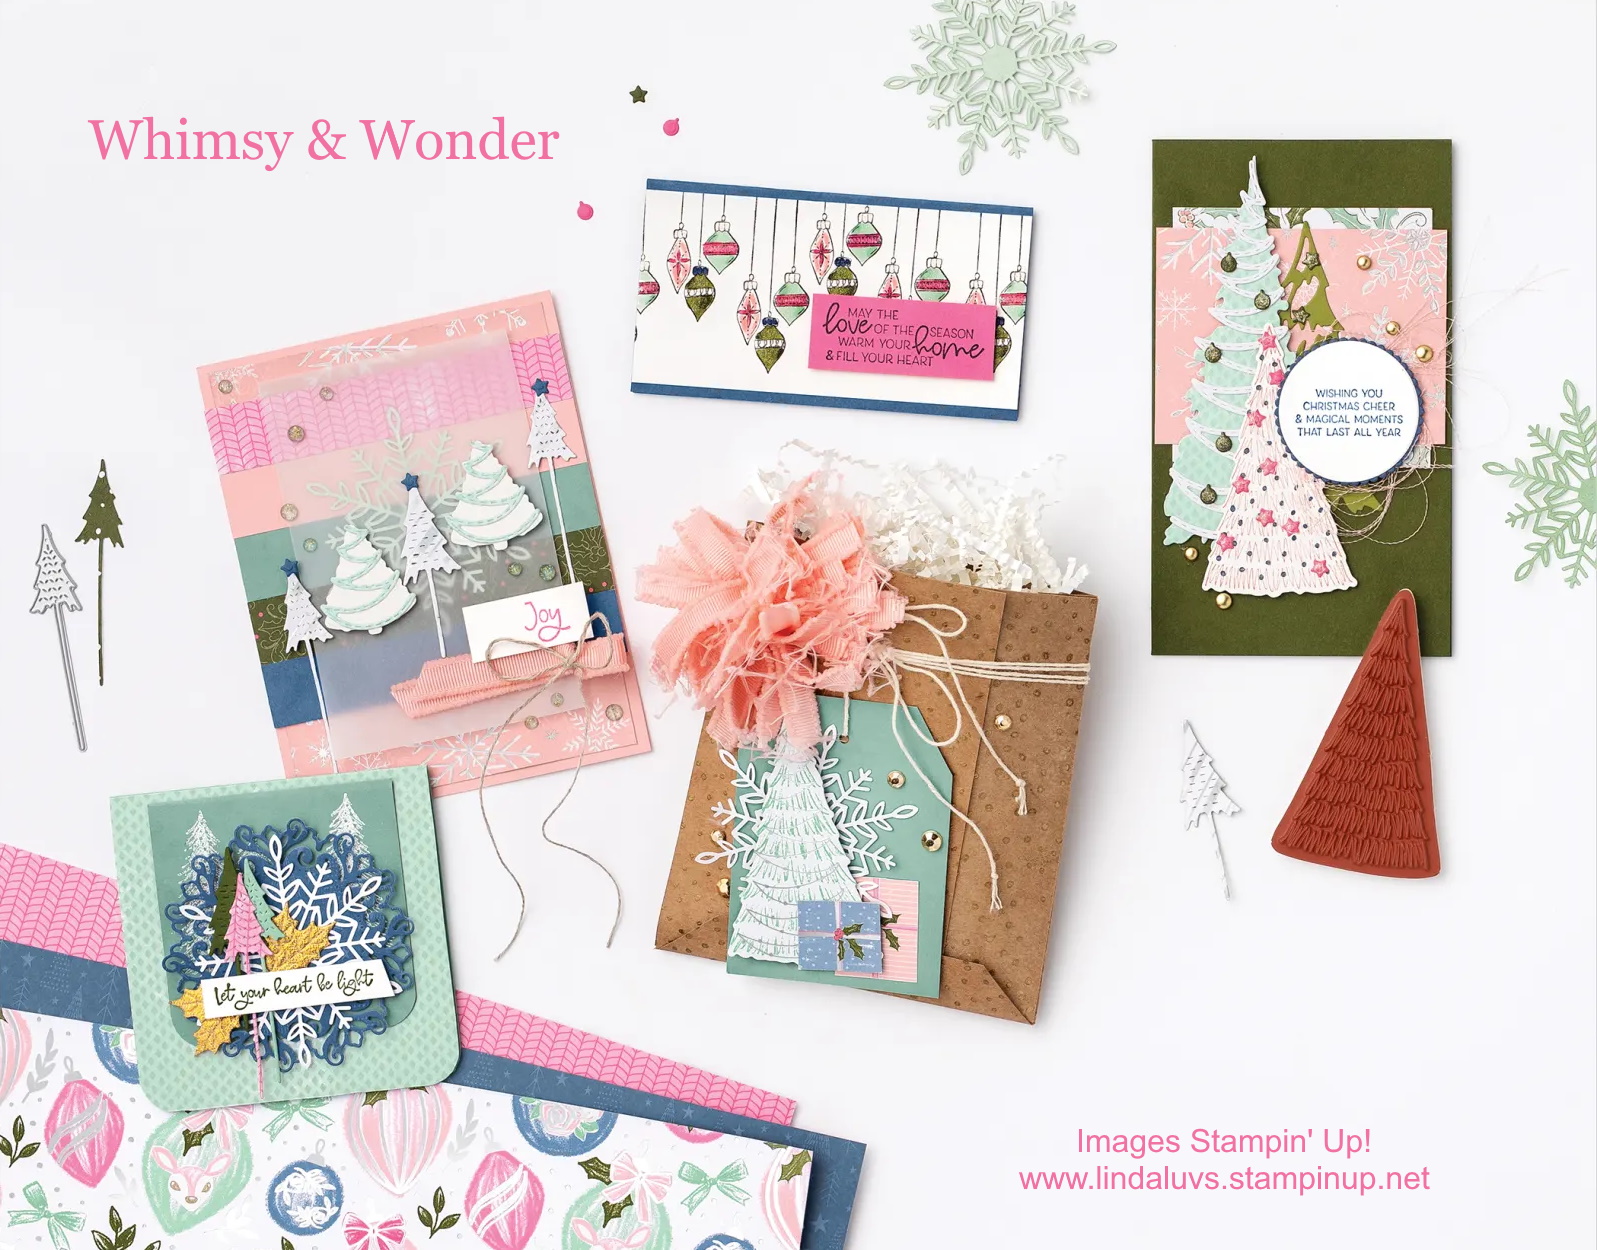
Add a bit of quirky charm to your holidays this year with the Whimsy & Wonder Suite! The non-traditional colors in this suite add to the whimsical fun. The iridescent accents of the Whimsy and Wonder 12″ x 12″ Specialty Designer Series Paper and the coordinating iridescent Wonderful Snowflakes add a magical shimmer to your projects. The wonder of it all is that with the switch of colors you can also create an elegant and traditionally look with these stamps and dies.
Let’s create some Christmas cheer with this unique slim card! Ribbon, Metallic Adhesive Dots, Velvet Paper and Wink of Stella add that extra bit of texture and sparkle that really make this card shine!
INSTRUCTIONS:
1) Cut Mossy Meadow cardstock to 7″ x 6″. Score at 3-1/2″ along the 7″ side. Fold to create a slim 3-1/2″ x 6″ card. Cut Basic White cardstock to 3-1/4″ x 5-3/4″ and adhere inside card for a writing area.
2) Cut Whimsy & Wonder Specialty Designer Series Paper to 3″ x 3″ (holly leaf pattern) and 3-3/8″ x 2-1/2″ (Blushing Bide with iridescent snowflakes). Adhere layers to card with Stampin’ SEAL.
3) Stamp sketch tree image on scrap Snowy White Velvet Sheets with Blushing Bride ink. Stamp greeting on Shimmery White cardstock with Misty Moonlight ink. Allow ink to dry.
4) Cut 2″ x 4″ scraps of Mossy Meadow and Polished Pink cardstock. Paint each with the Wink of Stella Glitter Brush and set aside to dry.
5) Die cut greeting with Layering Circles Die that is about 1-5/8″ and die cut scrap Misty Moonlight cardstock with the scallop Layering Circle Die that is slightly larger.
6) Die cut the stamped tree with coordinating die, Old Olive with the open tree die, and Mint Macaron diamond patterned Whimsy & Wonder Specialty Design Series Paper with the tallest tree die.
7) Die cut the zig-zag garland from Shimmery White cardstock. Die cut the tiny ornaments and stars from the Wink of Stella painted Mossy Meadow and Polished Pink cardstock.
8) Layer Old Olive tree onto card front and adhere with Stampin’ Seal. Use Multipurpose Liquid Glue to adhere the zig-zag garland to the largest tree. Adhere to card front with Stampin’ SEAL. Add Velvet stamped tree with Stampin’ Dimensionals.
9) Add a couple strips of Stampin’ SEAL to the card front under where the circle greeting will go. Cut a 8″ piece of the Blushing Bride 3/8″ Frayed Grosgrain Ribbon. Cut one end straight across. Pull threads to unravel the entire ribbon. The long threads that make the length of the ribbon will remain. Wrap the threads loosely around several fingers and press into the Stampin’ SEAL. Don’t worry about being perfect, a bit random and unraveled lo makes this look the best!
10) Layer circles with Stampin’ SEAL and adhere to card with Stampin’ Dimensionals.
11) Use Multipurpose Liquid Glue to adhere stars and ornaments to trees. Add several of the gold Brushed Metallic Adessive Dots around the card.
OPTIONAL: Create a coordinating envelope using a 7-1/2″ x 7-1/2″ piece of Whimsy & Wonder Specialty Designer Series Paper. Place the card diagonally on the center of the paper. Fold in the side edges (3-1/2″ edges of card). Fold up the bottom long edge and use Stampin’ SEAL or Stampin’ SEAL+ to adhere the bottom flap to the side flaps (don’t adhere to the card!). Add Stampin’ SEAL to the edge of the remaining flap and seal closed. Add adhesive labels for adding an address if mailing.
MAIN SHOT
TIPS: Use the putty end of the Take Your Pick Tool (#144107) to pick up and hold small die cut pieces (like the stars and ornaments) while you add a bit of Multipurpose Liquid Glue and then to place them on your project.
Don’t you just love the Whimsy & Wonder suite?! The designer paper is one of my favorites in the Holiday Mini catalog.
Enjoy the tutorial and have a beautiful day ~
TODAY’S STAMPIN’ SUPPLY LIST … If you liked the products used in todays projects, I have links for you below. Just click on the item you would like more information on, or to begin your shopping. It will take you directly to my website. Thank you ♥
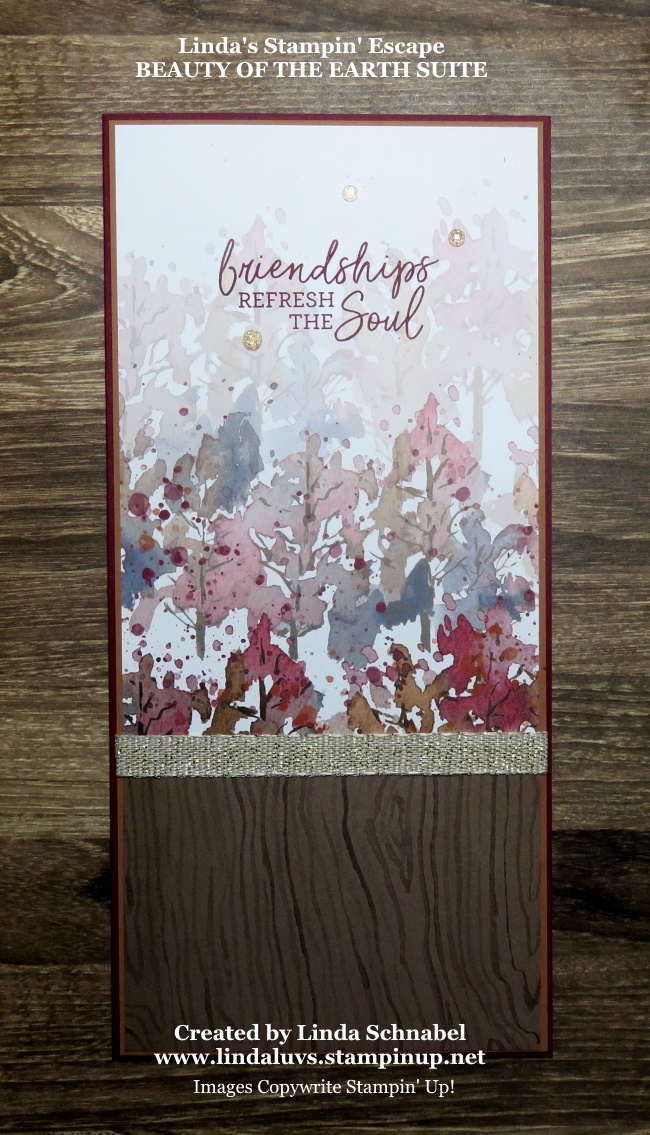
I have a treat for you today … a simple yet beautiful Slim Line card and a parade of other cards that were created from the amazing Beauty of the Earth Suite. I will also be sharing some fun techniques on these cards so, grab a cup of coffee and sit back with me while we go through these creative gems!
First up is my Slimline cards, this card fits in a business size envelope … I’m using two different patterns from the Beauty of the Earth Designer paper and joined them together with the pretty Gold Fine Art Ribbon; it has a touch of sparkle, so I had to add the Genial Gems to keep the sparkle going.
The greeting comes from the Beauty of Friendship stamp set / bundle. I chose the Cinnamon Cider as a mat and Merry Merlot as my card base … they pull those colors out of the designer paper. I find this suite / bundle very gender neutral … who wouldn’t love these cards!
My second card I’m using the same pattern of the Beauty of the Earth Designer Series paper and the Beautiful Trees dies. Another simple card when using your Stampin’ Cut & Emboss machine. The greeting comes from the Beauty of Friendship stamp set included in the bundle.
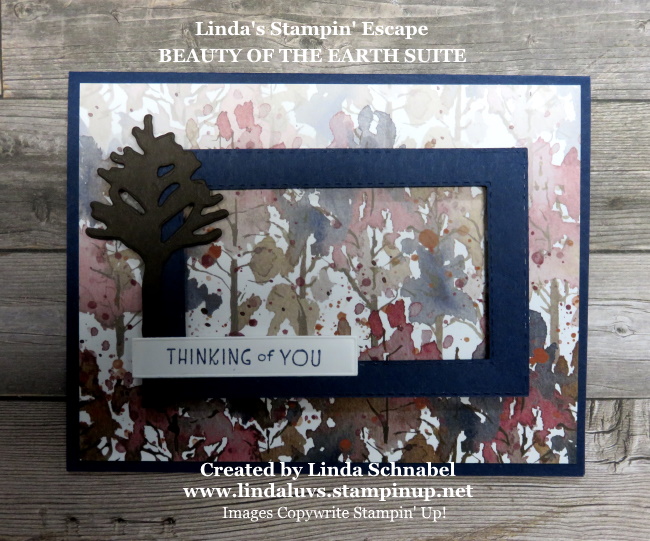
Ready to see another card using the same paper? The amazing thing is that each one looks sooo different! I used a landscape layout verses the portrait as I did on the first two cards and created this unique card. I also used Night of Navy on this card to pull out the blue in the designer paper.
I created the frame with the Stitched Rectangle Dies … I love this look, it’s new and fresh and highlights the designer paper. I added the tree and greeting from the bundle …
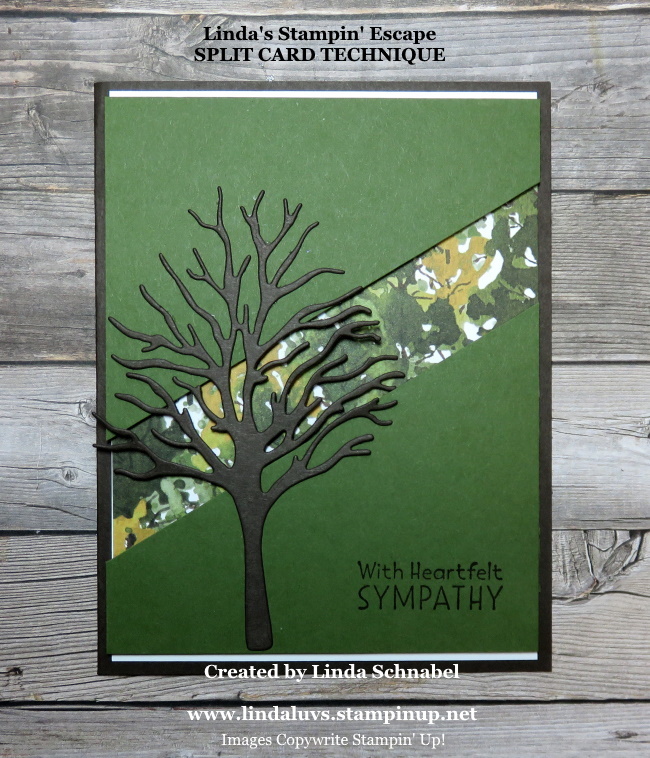
Now lets change things up a little by using a different pattern from our Beauty of the Earth Designer paper and a fun technique … the “Split Card Technique”. I’m using Old Olive and Early Espresso to coordinate with my designer paper. You can watch the video to see how to create this card yourself by CLICKING HERE!
Yesterday I shared the next card with you … the card base is Early Espresso and so is the tree itself, it made the Misty Moonlight designer paper from the Beauty of the Earth Designer paper really pop, and when I added the leaves to the trees … WOW! The leaves on the bottom are just another die cut of the top … just cut up into smaller pieces to lay upon the ground. So pretty!
The last card I have to share with you, used the same watercolor background paper but I’m changing up the seasons. Once the leaves are gone … well, winter comes next, and it makes for the perfect Christmas card …
I just love this card and I used the Chalk pen and Wink of Stella to add snow to my tree! How fun is that! I just wanted to show you that this is not just another tree set, but a bundle / or suite that can be used for any season … or any reason!!
Thank you for joining me this Sunday for my card parade, I hope you enjoyed the many styles of cards. Please let me know if you have any questions.
Stop back tomorrow as I have another card that you’ll enjoy!!
TODAY’S STAMPIN’ SUPPLY LIST … If you liked the products used in todays projects, I have links for you below. Just click on the item you would like more information on, or to begin your shopping. It will take you directly to my website.Thank you ♥
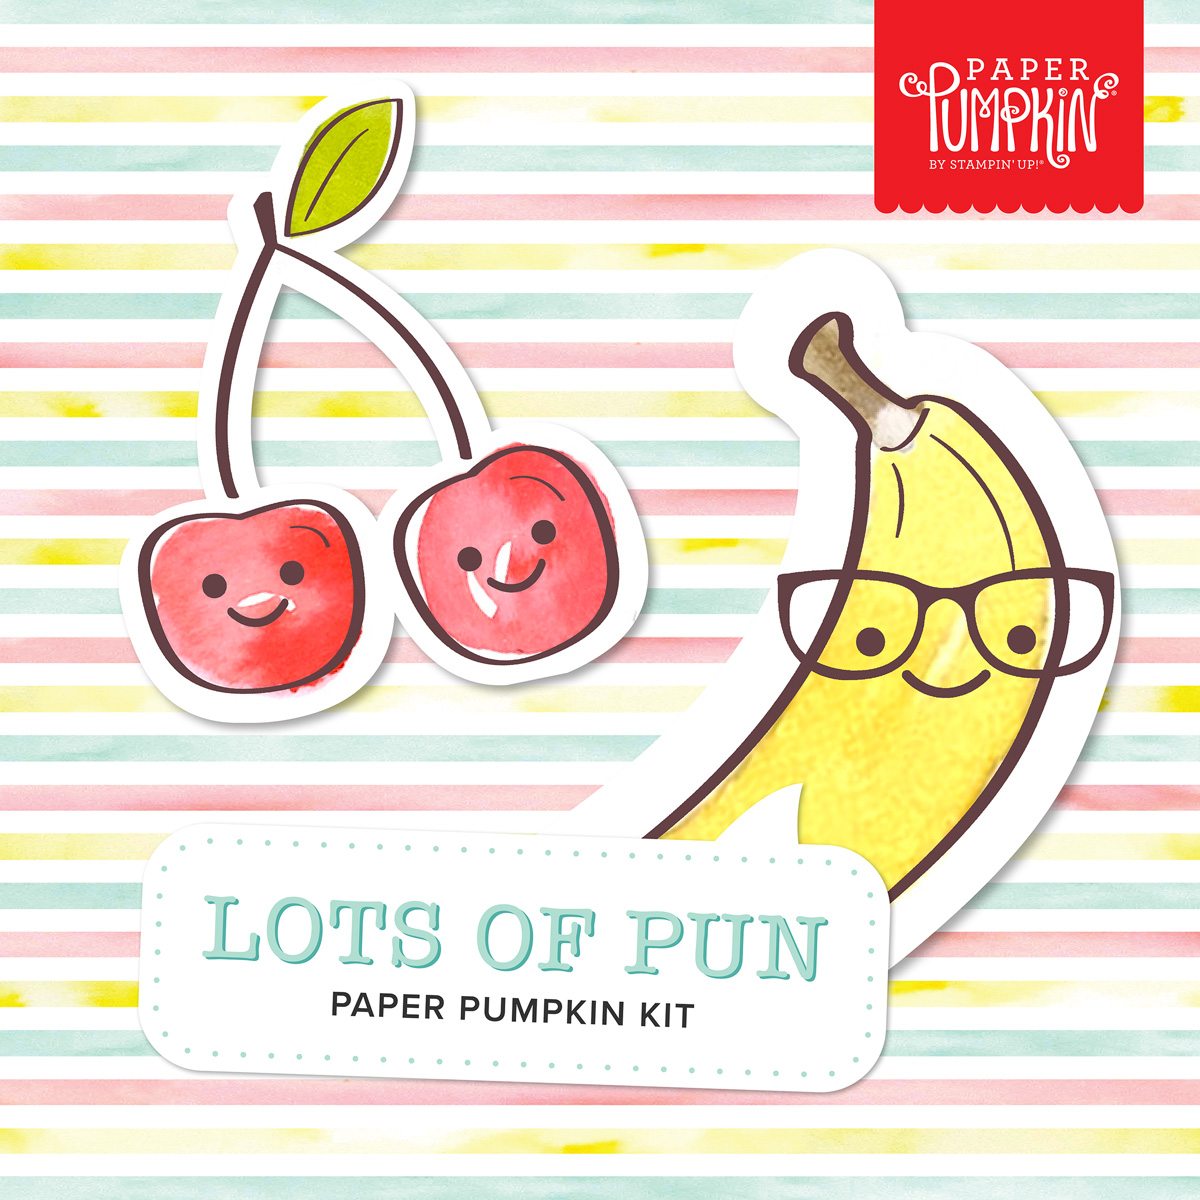
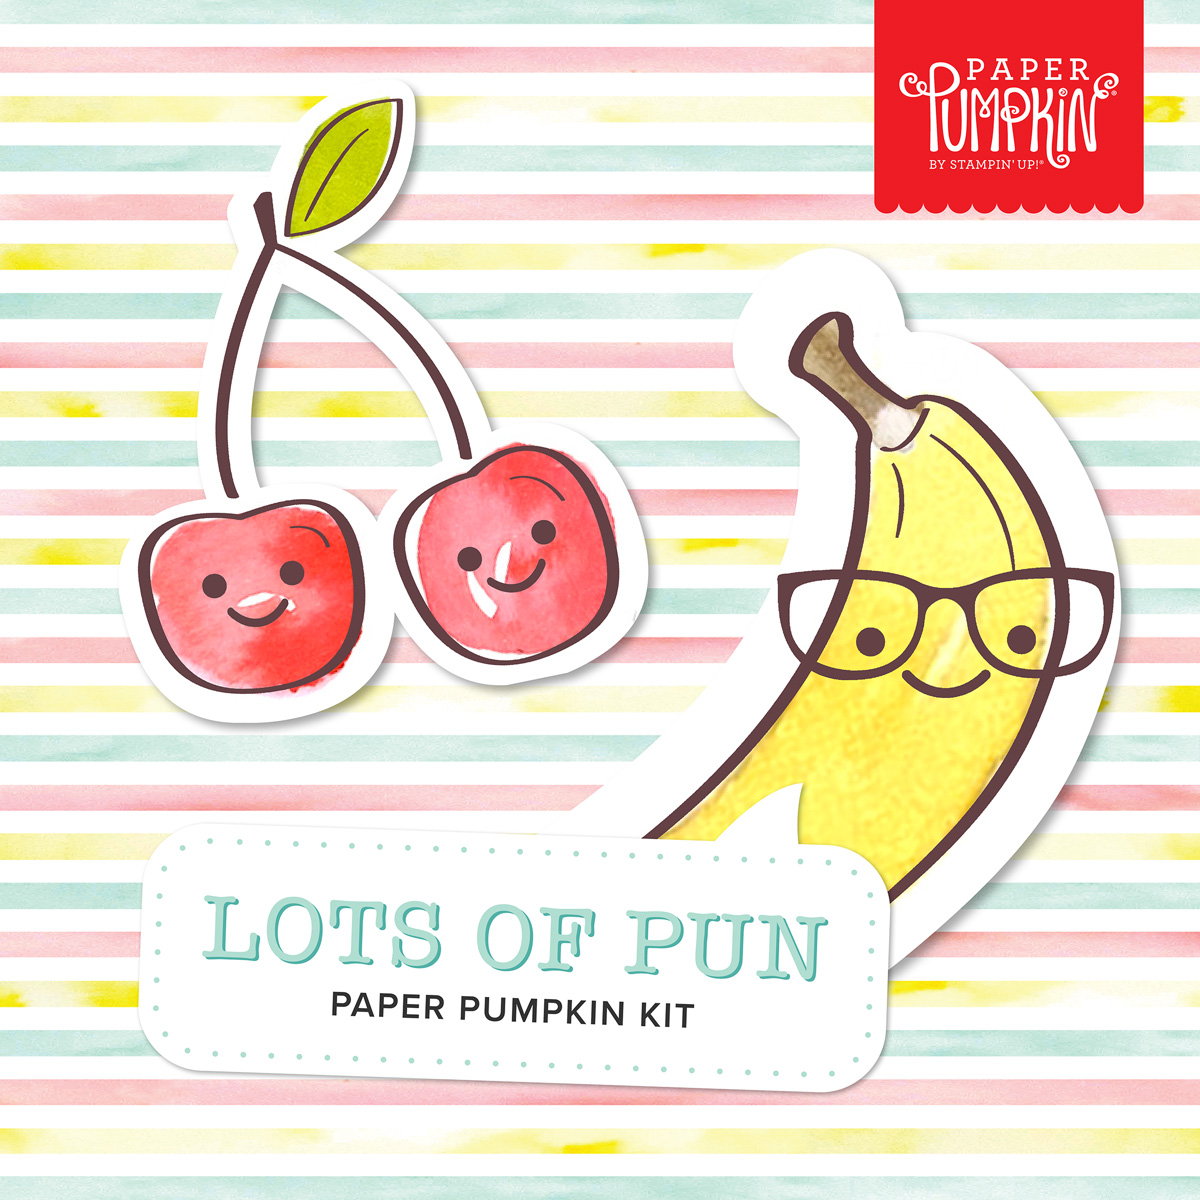
What’s not to “loaf” about a punny joke? It never hurts to have a little laughter, light-heartedness, and humor sprinkled into your schedule. If you’re a fan of fun, get a kick out of clever crafts, and can’t keep it together when you hear a classic knee-slapper, you’ll go bananas over this month’s cute ‘n’ quirky kit!
The Lots of Pun Paper Pumpkin Kit includes enough egg-citing elements to create nine cards and coordinating envelopes. From giddy gingham to splatters and stripes, this playful Paper Pumpkin kit features a fun and fresh look with one-of-a-kind patterns and designs! Egg-cellent for any occasion, reason, or season throughout the year, the kit’s pun-packed stamp set provides completely customizable characters for a very versatile crafting experience. Pair each stamp with its matching die-cut snack, then mix up the faces and accessories for an absolutely adorable accent!
Pick up your friends and family with pun-filled projects. December’s delightful kit is sure to make ‘em smile!
About the Kit
Name: Lots of Pun
Details
The kit contains enough elements to create 9 cards—3 each of 3 designs—and 9 coordinating envelopes. This all-inclusive kit includes printed card bases, die-cut paper pieces, embellishments, adhesive, and more!
The Lots of Pun Stamp Set is a builder stamp set! This means the included images can be mixed and matched to build a variety of unique characters with different looks and features.
Card size: 4-1/4″ x 5-1/2″ (10.8 x 14 cm)
Envelope size: 4-1/2″ x 5-3/4″ (11.4 x 14.6 cm)
Coordinating colors: Crumb Cake, Daffodil Delight, Early Espresso, Granny Apple Green, Pool Party, Poppy Parade
Includes a Classic Stampin’ Spot
You can CLICK HERE to subscribe to the monthly kit or you can pre-purchase from the choices listed below.
Thank you for the visit today. Let me know if you have any questions about our Paper Pumpkin kits … I’d be happy to help you.
Have a wonderful day ~
TODAY’S STAMPIN’ SUPPLY LIST … If you liked the products used in today’s projects, I have links for you below. Just click on the item you would like more information on, or to begin your shopping. It will take you directly to my website. Thank you ♥
Instead of a “Black Friday” Sale, Stampin’ Up! is doing a “Seasonal Sale” and sorry to say … but it ends today!!
You can enjoy 10% off card stock 15% off ink pads (excluding ink pad bundles & specialty ink pads) 20% off dies (Annual Catalog only) Who doesn’t need to restock after making Christmas cards … or if you are like me, you need to replenish to “make” your Christmas cards. Either way, now is a great time to pick up the basics and enjoy a savings … it’s like picking up milk at the grocery store ON SALE!
AND That’s Not all … Join Stampin’ Up! for Only $75 during the month of November. Choose any products totaling up to $125 (the sale prices can be used toward your order) Plus you’ll receive a complimentary Paper Pumpkin kit, catalogs to share, FREE Shipping and you’ll become a member on my Stars by Design Team!!
Let me know if you have any questions about the Sale or Joining my Team. You can contact me at lindaluvs2stamp@aol, message me below, or you can contact me through Facebook Messenger.
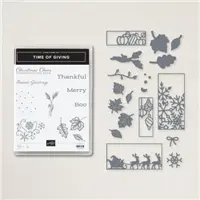
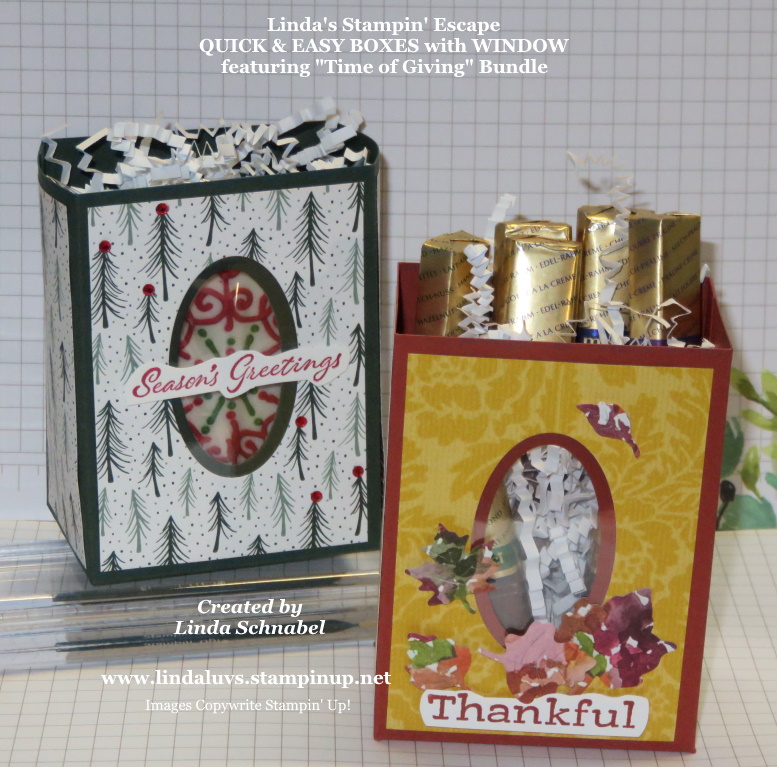
Today I’ll be sharing my Facebook LIVE replay for you. I created two cute little Gift Boxes featuring the Time of Giving Bundle … You’ll be surprised at how easy this is to make! Formally know as the 2-4-6-8 Boxes … I’ve done a little adjusting to make the box a little bigger so it could hold more goodies!!
And what would you put into these little cuties? Well … candy works great, or cookies!! But you could also put in little toys for a child, or how about a get well kit with hand sanitizer, tissues, maybe some tea … you could have so much fun with this.
Speaking of tea … grab a cup or some coffee and join me for the replay of my LIVE last night.
I have the dimensions for you so you can make some of these little cuties yourself! Let’s begin ….
Start with an 11″ x 5-1/2″ piece of cardstock (on sale thru Nov.18th, 2021)
On the 11″ lenght; Score at 2″ … 5″ … 7″ and 10″. Cut 1/2″ off end if prefered.
Turn cardstock 90 degrees and on the 5-1/2″ length; score at 1-1/2″.
Cut on score lines as shown in the video
Designer Series Paper: 2 pieces: 1-3/4″ x 3-3/4″ and 2 pieces: 2-3/4/” x 3-3/4″
Attach the designer paper onto box … except the front piece which you will cut to create window.
Use the smaller of the two dies and cut through both the designer paper and cardstock. Make sure it is aligned.
Remover designer paper and cut with larger of the two dies.
Attach window sheet … either onto inside of box or between the box and designer paper
Glue side flap (1/2″) and then bottom flaps as shown in video.
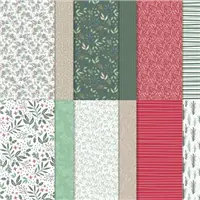
The first box was created with Shaded Spruce cardstock and the Tidings of Christmas Designer paper. The greeting comes from the Time of Giving Bundle and is stamped in Real Red … the box is embellished with the Red Rhinestones.
I used the Layering Oval dies to create window on both of the boxes …
The second box was created with Cajun Craze cardstock and the Pattern Party Designer Series paper from our exclusive Hostess Rewards. Greeting comes from the Time of Giving Bundle and is stamped with Cajun Craze!
I embellished this box using the die cut leaves from the bundle and the stunning Beauty of the Earth Designer Series paper. They are even cuter close up.
I hope I have inspired you to try these little cuties … it really is so simple to make, and you can fill it with anything you wish. A perfect gift for a friend, a co-worker, a child, someone who’s sick or anyone who you want to Thank you too.
I have listed the ingredients below for your shopping convenience…. just click on any item to begin. Let me know if you have any questions.
Thank you so much for joining me today!
TODAY’S STAMPIN’ SUPPLY LIST … If you liked the products used in today’s projects, I have links for you below. Just click on the item you would like more information on, or to begin your shopping. It will take you directly to my website. Thank you ♥
Instead of a “Black Friday” Sale, Stampin’ Up! is doing a “Seasonal Sale” and it begins tomorrow, Tuesday November 16!!! You can get these sale prices on Tuesday, Wednesday & Thursday!!!! 10% off card stock 15% off ink pads (excluding ink pad bundles & 3rd party ink pads) 20% off dies (Annual Catalog only)
AND That’s Not all … Join Stampin’ Up! for Only $75 during the month of November. Choose any products totaling up to $125 (the sale prices can be used toward your order) Plus you’ll receive a complimentary Paper Pumpkin kit, catalogs to share, FREE Shipping and you’ll become a member on my Stars by Design Team!!
I invite you to join me tonight at 6:30 pm (central time) CLICK HERE to get to my page …
Let me know if you have any questions about the Sale, Joining my Team, or my Facebook Lives. You can contact me at lindaluvs2stamp@aol, message me below, or you can contact me through Facebook Messenger.
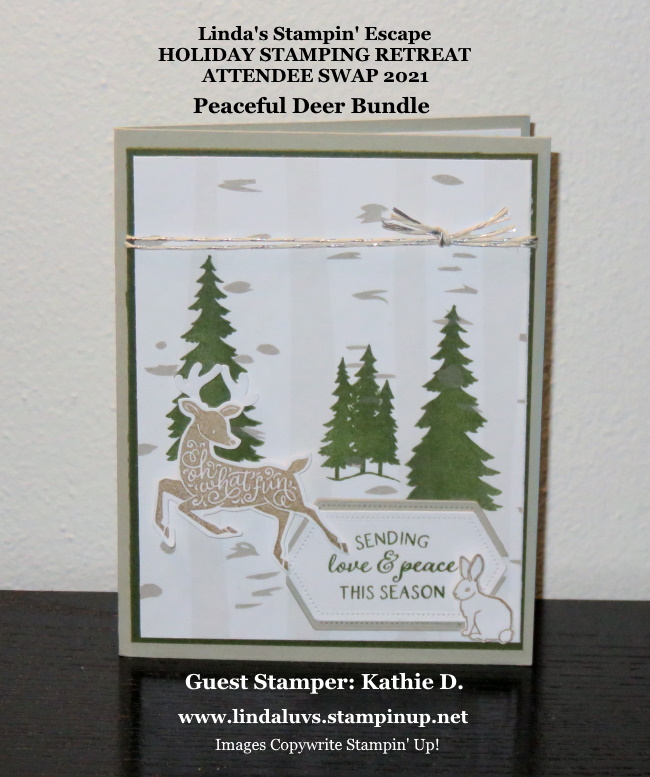
I want to share some of the amazing “Swap Cards” that were presented at my Holiday Stamping Retreat last weekend. The swap is held for our attendee’s just for fun (and a $30 Gift Certificate) to the winner. These ladies never fail to impress … love to see the different styles, and everyone goes home with even more cards!!
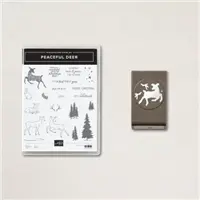
Our first Guest Stamper is Kathie D. who highlights the Peaceful Deer Bundle. Kathie did a beautiful job showcasing the both the stamp set and the punch.
Let’s begin with the designer paper which was FREE during our Sale-a-bration period. I love the Kathie stamped directly onto the designer paper … it gives the card visual depth.
Creating more depth and texture were the stamped and punched images … even the greeting which was die cut, has the stitched look for additional texture. Let’s not forget the pop of color from not only the tree’s but the mat behind the designer paper.
Kathie’s card not only makes a beautiful Christmas card but would make a perfect Birthday card as well.
Thank you for stopping by my blog today.
Enjoy your Monday ~
TODAY’S STAMPIN’ SUPPLY LIST … If you liked the products used in today’s projects, I have links for you below. Just click on the item you would like more information on, or to begin your shopping. It will take you directly to my website. Thank you ♥
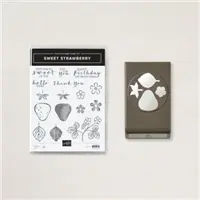
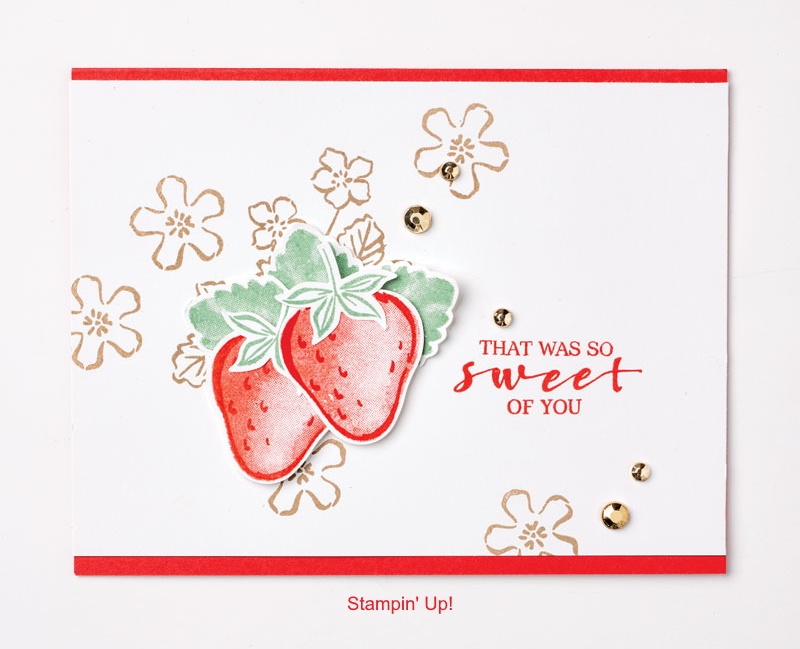
Today I have another cute card from Stampin’ Up! using the Sweet Strawberry Bundle …. I know we are getting our first snowfall, but I think there is something about Strawberries that make them timeless.
You will notice that we are using the “same” supplies as we did yesterday so you can create different looks with your same investment!
Here are the step by step instructions for the card …
1. Create tone on tone background on Poppy Parade card base (8-1/2” x 5-1/2”; 21 x 14.9 cm) by stamping the strawberry outline image in Poppy Parade ink. Randomly fill in some of the strawberries using the two-step stamp image.
2. On the 2″ x 6″ (5.1 x 15.2 cm) Basic White Cardstock, two-step stamp one strawberry in Crumb Cake ink and two strawberries in Poppy Parade ink. Stamp the outline in full saturation of ink and stamp off the filler image to create shading.
3. Stamp the stem images in Mint Macaron ink on the 2-3/4″ x 2″ (7 x 5.1 cm) Basic White Cardstock. Stamp three stems.
4. Punch out the berry and stem images using the Strawberry Builder Punch.
5. Stamp the greeting in Crumb Cake ink on the 2-1/2″ x 3-1/2″ (5.7 x 8.9 cm) Basic White Cardstock. Adhere to your card base.
6. Adhere the strawberries to the card base using Stampin’ Dimensionals, arranging them to overlap slightly. Adhere the stems to the strawberries.
7. Add Gilded Gems
How cute and simple is this card. So easy to recreate and you are using the same supplies as you did on the card showcased yesterday. Both cards are great to send to your friends.
Thank you for joining me on this Sunday.
Have a good day ~
TODAY’S STAMPIN’ SUPPLY LIST … If you liked the products used in today’s projects, I have links for you below. Just click on the item you would like more information on, or to begin your shopping. It will take you directly to my website. Thank you ♥
Today I have a cute card for Stampin’ Up! from the Sweet Strawberry Bundle ….
Here are the step by step instructions for the card …
1. Stamp the large flower and stem image and the medium flower outline in Crumb Cake ink on the 5-1/2″ x 4″ (14 cm x 10.2 cm) Basic White Cardstock. Stamp the greeting in Poppy Parade ink. Adhere the stamped cardstock to the card base.
2. Stamp the filler leaf image in Mint Macaron ink three times on the 2″ x 4″ (5.1 x 10.2 cm) Basic White Cardstock. Punch out using the Strawberry Builder Punch and adhere to the card base.
3. Two-step stamp two strawberry images using Poppy Parade ink on the second piece of 2″ x 4″ (5.1 x 10.2 cm) Basic White Cardstock. Stamp the outline in full saturation of ink and stamp off the filler image to create shading.
4. Stamp the stem image on the 2-3/4″ x 2″ (7 x 5.1 cm) Basic White Cardstock to create two stems.
5. Punch out the strawberries and stems using the Strawberry Builder Punch.
6. Adhere the strawberries to the card base using Stampin’ Dimensionals, overlapping slightly. Adhere the stems to the strawberries.
7. Add Glided Gems.
Such a sweet card to give someone who has been done something sweet for you. If you liked the project and would like to purchase the items used to make it, I have listed them below.
Thank you for stopping by today.
Have a good one ~
TODAY’S STAMPIN’ SUPPLY LIST … If you liked the products used in today’s projects, I have links for you below. Just click on the item you would like more information on, or to begin your shopping. It will take you directly to my website. Thank you ♥
Today I’ll be sharing my Facebook LIVE replay for you. We created a cute little Gift Basket from the Pillow Box Die … You’ll be surprised at how easy this is to make!
I have the dimensions for the inner box in the video but I thought I would share them again. Start with a 7-1/4″ x 5-1/2″ piece of cardstock and score at 2″ on all for sides. Then you will cut on the score lines on the 7-1/4″ length sides (ref. Video) You should have also seen the cute little baskets I made for the Mantle Gifts for my Holiday Stampin’ Retreat!
The ladies watching LIVE had plenty of ideas they could use these for … Baby Showers, Wedding Showers, Birthday Parties, on the table for the Holiday’s … a teachers Gift or a cute little gift for a co-worker. The possibilities are endless, and that cute little basket is priceless!
I have listed the ingredients below for your shopping convenience. Let me know if you have any questions.
Thank you so much for joining me today!
TODAY’S STAMPIN’ SUPPLY LIST … If you liked the products used in today’s projects, I have links for you below. Just click on the item you would like more information on, or to begin your shopping. It will take you directly to my website. Thank you ♥
Have you heard the news? The rumors are true! Black Friday is coming early … The Seasonal Sale is starting soon….
If you have your heart set on a handful of supplies, there’s no better time to buy! Between 16th and 18th of November, you can stock up and save 10% on cardstock, 15% on ink pads, and 20% on dies. Flip through the 2021–2022 Annual Catalog to find your favorites and prepare for another year of top-tier projects!
Fold, snip, layer, and stamp! During the Seasonal Sale, you can stock up and save 10% on cardstock, 15% on ink pads, and 20% on dies. Build up your collection of crafting basics—with a steal of a deal on papercrafting products!Sale starts next week but I wanted to make sure you know, I’ll be sure to give you a reminder next week too!
Thank you for checking out my blog today. I’ll be back tomorrow using some of that cardstock, ink and dies!!
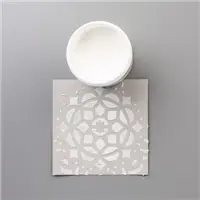
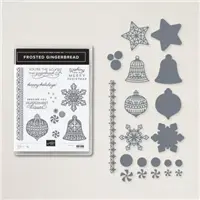
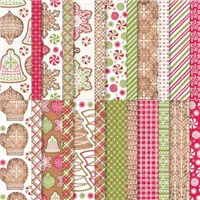
We had a discussion at my Stampin’ Retreat this past weekend about Embossing Paste so I’m excited to share the cards from one of my Facebook LIVEs … I shared how you can enhance your designer papers using Embossing Paste and the Adorning Designs Decorative Masks. I figured the masks were in the Gingerbread & Peppermint suite for a reason … so that is where I started!
I also wanted to show you that some of the masks line up pretty nice with some of our other designer papers. Here I used the Peaceful Deer bundle and the Peaceful Prints Designer paper from the Sale-a-bration Catalog (no longer available).
Now join me and watch the video as I show you how easy it is to create these cards! Then I will be sharing the card where I used the Beauty of the Earth Designer Paper!!
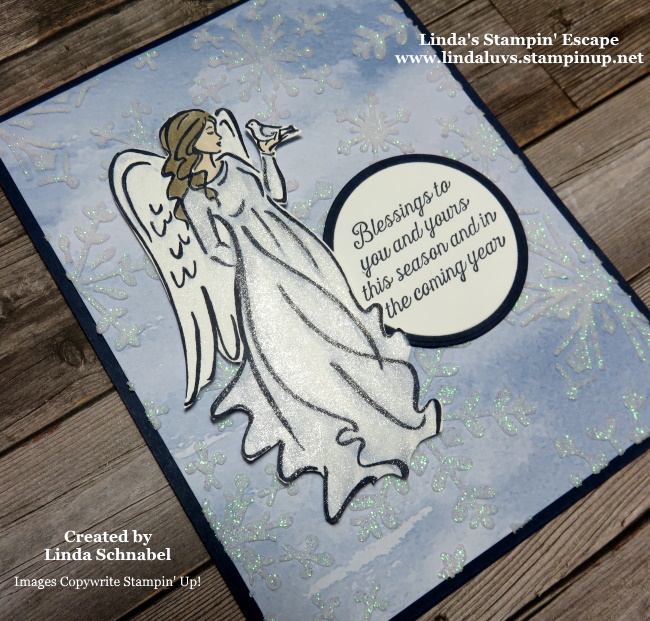
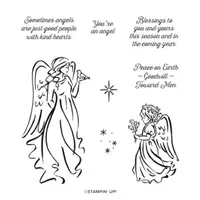
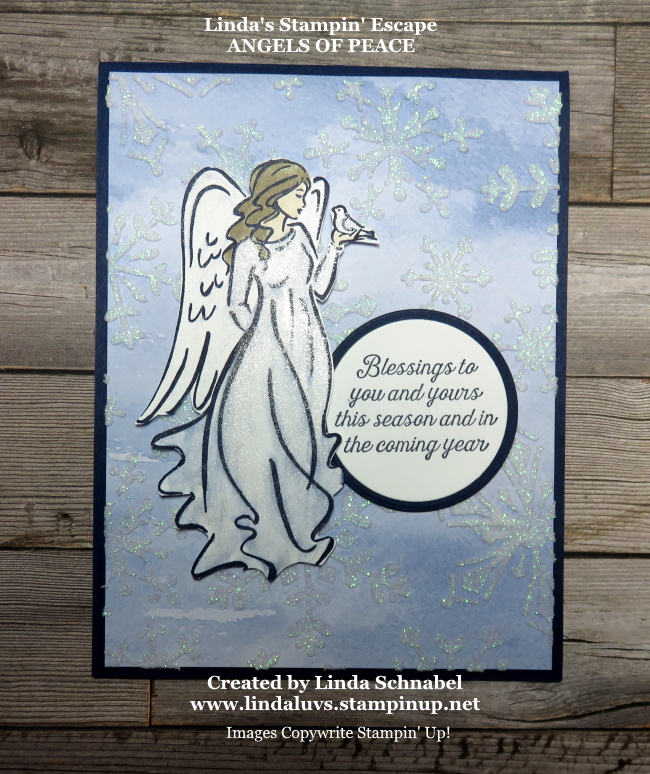
I am thrilled to share my next card with you!! I feel in love with the “Angels of Peace” stamp set the moment I saw it. She is so lovely and delicate and these angels can be used for so many different occasions …
The sentiment “Sometimes angels are just good people with kind hearts”… is the second reason I had to have this stamp set. The water washed background of the Beauty of the Earth designer paper was the perfect background for the snowflake mask and the Sparkling Embossing Paste…. and the angel was meant to go with them.
I stamped my angel in Night of Navy and then gently used the Wink of Stella to add some some sparkle to her. I was VERY careful on the wings as I wanted them mostly white, and the wetness of the Stella will smear the Night of Navy ink. On the other hand … I used the Wink of Stella to pull some of the color out of the lines and into her dress to give it that soft blue look.
The greeting was also stamped in Night of Navy and then cut out using the Layering Circle Dies. I also cut a Night of Navy mat to coordinate with her dress and the card base. It all flows so nicely and completes the card.
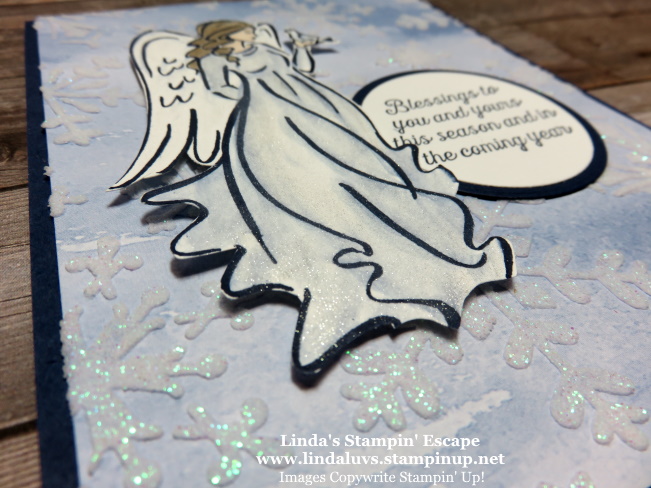
This angle of the photo is to show you the beautiful texture on this card!! The sparkle in the snowflakes is accented by the Wink of Stella on our Angel. One of my favorite cards that I ahve made in a while!
TODAY’S STAMPIN’ SUPPLY LIST … If you liked the products used in today’s projects, I have links for you below. Just click on the item you would like more information on, or to begin your shopping. It will take you directly to my website. Thank you ♥