Pillow Box … Pillow Gifts …

Hello Stampin’ Friends ~

Today I have a cute little 3-D project to share with you. Last night when my Holiday Retreat attendee’s returned to their rooms for the night, they had a little surprise …

000_2747

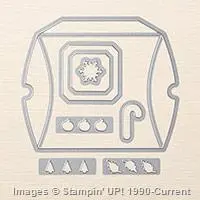
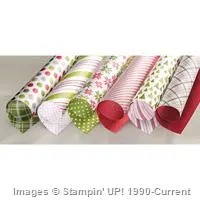
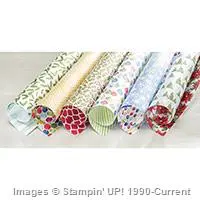
Each guest received this little Pillow Box filled with holiday goodies! I created them with the new Square Pillow Box Thinlits Dies from the Holiday catalog and the “Merry Moments” Designer Series paper from the Annual Catalog.

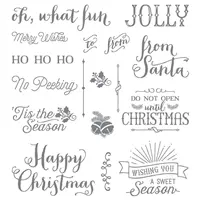
I teamed up this combination with the “Oh, What Fun” stamp set found on page 5 of the Holiday catalog.  This stamp set coordinates with the “Oh What Fun Tag Project Kit” … so you can see how versatile it is.

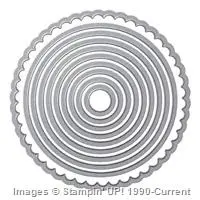
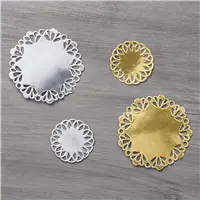
I chose the “Wishing You A Sweet Season” because my Pillow Box was filled with sweet treats. To create the focal point, I cut out the greeting with the Circle Framelits Dies and added a half of a Foil Doily to really draw the eye.

000_2750

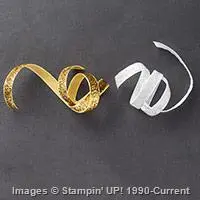
The Real Red cardstock banner also helped to draw your eye to the greeting, but I wanted to tone it down just a bit so I added the beautiful white glitter ribbon from the “Gold and White Glitter Ribbon” found on page 29 of the Holiday Catalog.

The make great office gifts or something cute to tuck a sweet treat into.

Thanks for checking out my blog today.

Have a wonderful Saturday!

blog-closing-small

TODAY’S STAMPIN’ SUPPLIES ….

000_2747

TRICK or TREAT!

Hello Stampin’ Friends,

As Halloween grows near and my week long Halloween showcase is almost at the end … I have a treat to share with you! I have been feelin’ the love this week and was surprised by a couple of treats myself!

First, a beautiful bouquet of flowers from my friend Nancy. Stampin’ has brought us together, our siblings brought us closer, and a true friendship has emerged …

000_2686

They are so beautiful (just like Nancy) and they make me smile each time I look at them.

Today as we arrived for our stamping class, our lovely host Tina, who opens her home to our group each month, also created this cute little treat for each of us!!

000_2682

I have to share a close up of this little pumpkin … he’s so stinkin’ cute!

000_2685

Thank you ladies … you are wonderful 🙂

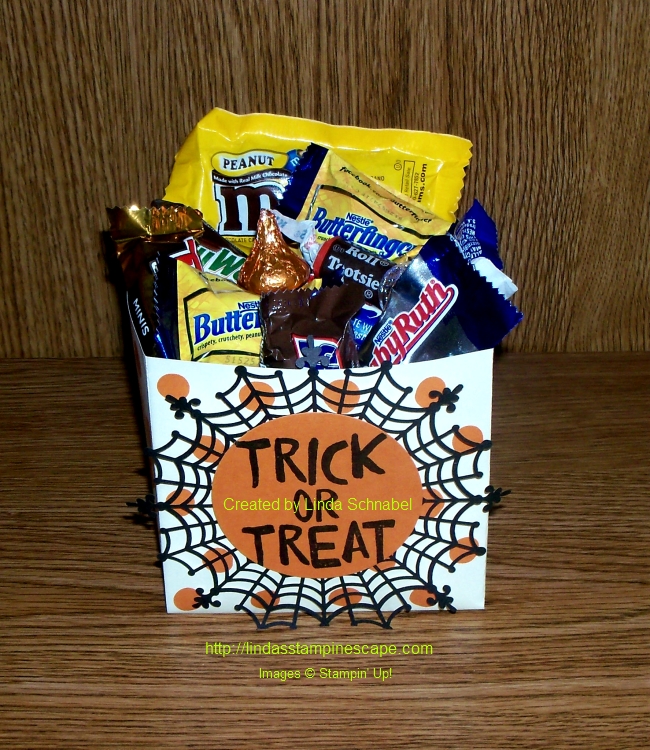
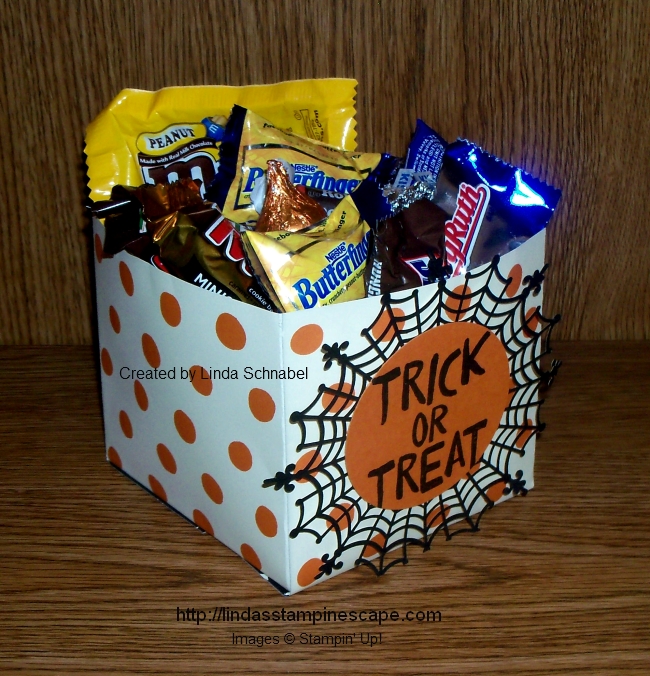
As for my treat, I created a handy little box to tuck all my candies in! I love the 2-4-6-8- boxes but needed something bigger so … I came up with this!

000_2687

I cut 2 – 6 x 9 inch pieces out of the Happy Haunting Designer Series Paper.  You score at 4″ and 8″ which leaves you a 1″ flap for sealing your box.

You will also need to score horizontally at the 2-1/4″ mark… that will create your bottom flaps. You do a little trimming on the bottom flaps so they close nicely (and all edges are adhered). Simple!!

If you would like a copy of the instructions, just send me your e-mail address to me at … (lindaluvs2stamp@aol.com) and I will send you directions. No purchase necessary! Just giving a little back or all I received this week.

000_2691


Thank you so much for dropping by today ~

Have a wonderful weekend …

blog-closing-small

TODAY’S STAMPIN’ SUPPLY LIST …

000_2687


Throwback Thursday … in 3-D

Hello Stampin’ Friends ~

Today I wanted to share a cute little project I made last year for Halloween … whats cool about this project is the core tools to make it are still available in the catalog!

Since I manage a Candy Store I find these little treat keepers the bomb!! They are the perfect size for our dessert truffles … Yum, Yum.

If you would like to see the original post and how to make the tag … just Click Here

It will also show you a list of supplies for my “Good to the Last Bite” treat box.

000_1576_0001

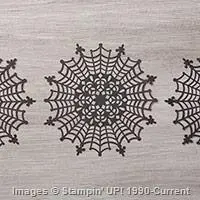
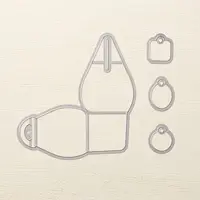
Oh so cute!! But now it’s time to check out my updated version … same Curvy Keepsake Box Thinlits die but I’m using the Happy Haunting Designer Series Paper and the Spider Web Doilies (currently on back order).

000_2673

Love the pattern of this paper … you could slip off the Halloween greeting and add a Thanksgiving greeting! Who wouldn’t love a cute little treat box filled with chocolate!

Last Christmas I made these cute little boxes for my Holiday Retreat attendee’s …

IMG_20141024_103846

The possibilities with this versatile framelit is definitely worth it’s price in gold!! Oh wait … I have one more to share with you! Ho Ho Ho …

000_1612

Hope you enjoyed my Throwback Thursday post … it’s always fun to look back at the fun projects we have made, and then take a look at what we can do with today’s tools.

Thank you for hangin’ with me today!

I hope your day is a marvelous one.

blog-closing-small

TODAY’S STAMPIN’ SUPPLY LIST … It does not include the “Throwback Thursday” projects.

Alternative Treats that Wow!

Hello Stampin’ Friends ~

Today I have a new video for you and a new twist on a familiar product … Our Treat Bags.  I LOVE learning alternate ideas to use for our products!  It shows how versatile the product is and what a good investment we have made!

Here’s is a cute treat bag made with the Mini Treat Bag Thinlits Die & two of my designs:

     Treat Bag 2    000_2565   000_2550

Here are a couple treat bags that are 1/2 the width…cute right?

Treat Bag

Sit back and watch this short video as it shows you exactly how to create the “MINI” Mini treat bags!

This is a GREAT product to have in your stamping supplies – it’s fabulous for all occasions! You saw my Halloween bags, now image … Christmas! How about Birthdays, Baby Showers, Thank You Gifts & more!

What would you make with yours? I’d love to know! Lets see how many different ideas we can come up with 🙂

Thank you for taking time out of your day to spend with me!

Have an awesome day!

blog-closing-small

SUPPLY LIST …


Simply Sunday: Autumn Smiles

Hello Stampin’ Friends ~

I hope you are enjoying your weekend! I am busy in my crafting room preparing for my upcoming Holiday Retreat … can’t wait!

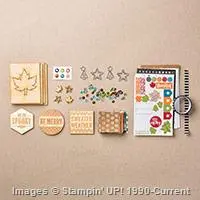
Yesterday I shared with you a simple card layout using the Seasonal Snapshot 2015 Project Life Card Collection. Isn’t it amazing what you can do with a such a kit! Today I want to share a quick and easy card I created with the Accessory Pack!

000_2629

Look at all the fun and amazing accessories included in this packet! I really do need to get back to scrapbooking!! These kits make it so easy … but I keep sneaking it for my cards! lol

000_2630

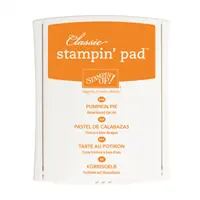
I took the jack-o-lantern lazer cut wood piece (popped out the face to save for another card) and then sponged the Pumpkin Pie color onto it.  It’s so easy to dye these wood pieces with your ink and a sponge!

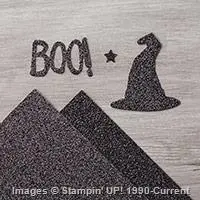
And what else would I back it with but the fabulous Black Shimmer Paper! Love it, Love it, Love it!!

WOW, how simple was that!! And … you have the coolest card on the block!! I finished off the inside with a strip of Washi Tape that is included in your Seasonal Snapshot 2015 Project Life Accessory Kit.

000_2632

I hope your Sunday brings you a smile as wide as my jack-o-lanterns face!

Thanks so much for stopping by!

blog-closing-small


Tree Advent Calendar

Hello Stampin’ Friends ~

Sorry I’m a bit late today, I spent some time with my grandson AJ yesterday who turned 17! Wow, they grow up fast. On the other hand, I also spent time with my youngest granddaughter Lori … she’s just 4 months. It was a busy day!

While checking out the “Get Inspired” blog by Stampin’ Up! I ran across the cutest project for Christmas. It was created by Allison Okamitsu 2014–2015 Artisan Design Team. I just had to share this one with you ….

Tree Advent Calendar

Christmas will be here before you know it, my friends, and what better way to celebrate the days leading up to it than an advent calendar?!

1

Tiny Treat Boxes (item #135829) make an adorable advent tree. I’ve covered each of the boxes with patterns from the Home for Christmas Designer Series Paper (item #139592)—what fabulous nostalgic designs it has! And the Hello December 2015 Project Life Accessory Pack (item #139654) has some great stickers numbered 1–25 for each box lid. The boxes are the perfect size to hold a treat, love note, or coupon for each day of December until Christmas day.

2

You’ll want to assemble your tree in layers, with seven boxes on the bottom layer, followed by layers of six, five, four, three, and one. The box on the very top of the tree isn’t meant to be opened, but it sure looks lovely as a topper. Using hot glue, I also adhered a double bow with long, whimsical tails using two yards of Mossy Meadow 5/8″ Striped Cotton Ribbon (item #138419).

3

Whether you’re counting down until Christmas with little children at home, grown children at university, or your spouse, this Tree Advent Calendar will be a lovely addition to your holiday (or dorm room) décor!

Allison Okamitsu  2014–2015 Artisan Design Team

Don’t you think that is the most adorable? What a fun project to make with your kids!

Thank you for stopping by today, I’ll be back tomorrow with fun Halloween card!

Have a wonderful day ~

blog-closing-small

Death by Chocolate!

Hello Stampin’ Friends,

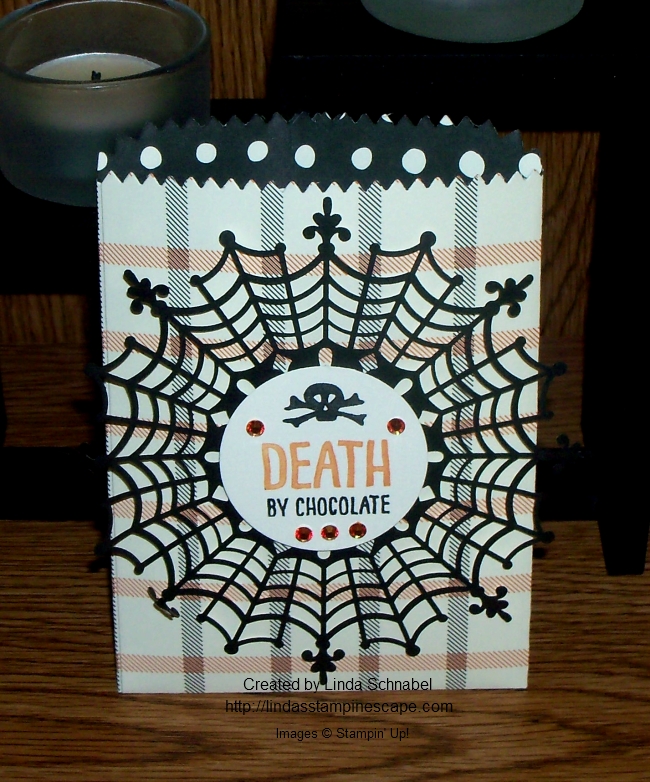
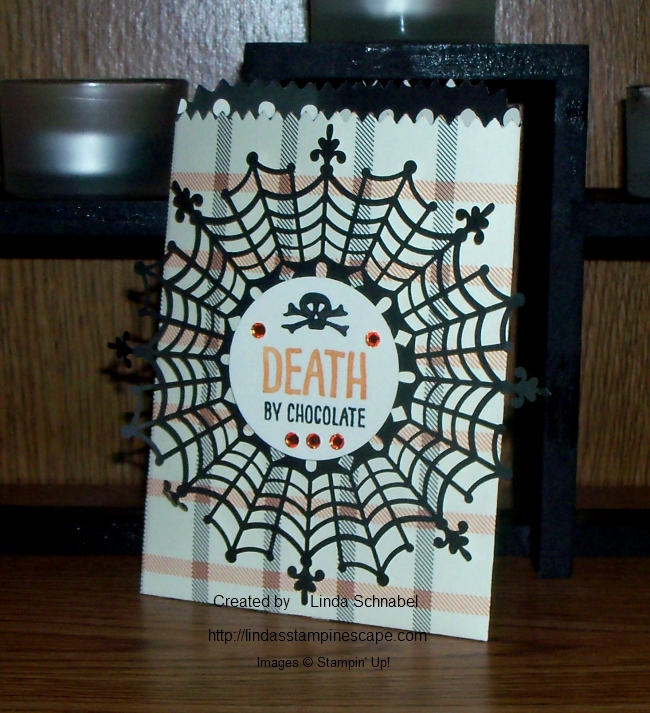
Death by Chocolate!?  If we have to go … what a way to go! I simply could not resist sharing another treat bad with you. I am again using the “Happy Haunting” Designer Series paper in yet another pattern… Plaid!! Plus it has a cute polka dot pattern on the other side so it worked perfect for my treat bag.

000_2565

This treat bag went together … 1 – 2 – 3! Once the bag was secured with my Fast Fuse, I simply popped on one of our “Spider Web Doilies” … they are soooo cute!

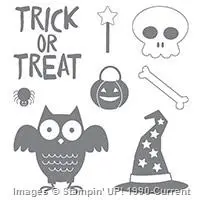
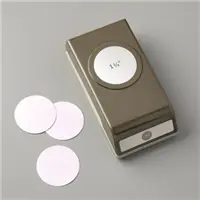
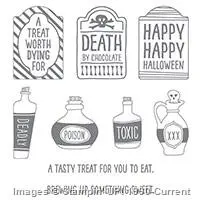
I then grabbed my greeting from the “Sweet Hauntings” stamp set and with the use of my markers I decided I only wanted the words and not the frame around it… this way I could punch them out (which I did) with the 1-3/4″ circle punch and place it nicely into the center of my doily!

Last but definitely not least … I grabbed a Sharpie™ and colored my Rhinestones to match my designer paper and greeting.  I love it when everything matches … lol. Then used my dimensionals to adhere my greeting and give the bag even more dimension.

000_2562

I can’t wait to stuff it with candy! And if you take a walk on Main Street in West Bend, Wisconsin you will see this cute little treat bag, along with some other stamped projects in the Candyman on Main’s Halloween window display. I should have that done by the end of the month!

I thank you for stopping by, it was so sweet of you!

Have a delightful day!

blog-closing-small

TODAY’S STAMPIN’ SUPPLY LIST …


More Treat Bag Fun for You!

Hello Stampin’ Friends ~

As promised, today I have a treat bag with a window! Let’s have a little fun here today … I’m using the  Treat Bag Thinlit and Happy Haunting Designer paper. I’ve chosen a different pattern of paper today so I can show you that this is not just for Halloween.

For those of you who know me well, you know I love Star’s!! Here they are in full force, and to top it off … our thinlit die has a star in it too! I used it to cut out my window and make another star to bring in the orange color from the inside of the bag (reverse side of paper).

000_2556

You simply place the star or other shape that you would like to use to create a window in the center of the largest die. If you want to fill your treat bag with smaller goodies, simply adhere a window sheet inside before assembling your treat bag. (Too hard to do once it’s all put together).

So … if you want to treat someone that “rocks” with a fun little gift, what would you give them? Why “POP ROCKS” of course.  So clever (or fun) … Pop Rocks + Star paper = Rock Star!

000_2560

What a quick and simple way to brighten someones day! Hope you enjoyed!


I also have something special to share with you …

BCRF_Demo_Header_0915

To show our support for Breast Cancer Awareness Month, Stampin’ UP! is going PINK . . . or at least our October Paper Pumpkin boxes are! And because we know our subscribers want to share the love too, Stampin’ Up! will be making a donation on our subscribers behalf to the Breast Cancer Research Foundation (BCRF).

Stampin’ Up! will donate

  • $1 for every active Paper Pumpkin subscriber.
  • Plus, an additional $1 for every new subscriber.

Together, we will make a difference!

Here’s how you can help:

  1. Subscribe! If you’re new to Paper Pumpkin, click here to get started. Your first kit will arrive in a limited-edition pink box that you’ll want to hold onto forever-and we’ll donate $2 because you’re new!
  2. Stay active if you’re a subscriber so we can donate $1 for you. Only those who receive the October shipment will be counted for the donation.
  3. Spread the word! Help us get as many new subscribers as possible. Every current subscriber adds $1 and for new subscribers it’s doubled, so let’s get the word out and raise as much as possible.

The Breast Cancer Research Foundation (BCRF) advances the world’s most promising research to eradicate breast cancer. Founded by Evelyn H. Lauder in 1993, BCRF has raised more than $550 million to fuel discoveries in tumor biology, genetics, prevention, treatment, survivorship and metastasis, making it one of the largest non-governmental funders of breast cancer research in the world.  For more information, please visit: www.bcrfcure.org.

Thank you for visiting with me today.
blog-closing-small

TODAY’S STAMPIN’ SUPPLY LIST …


Halloween Treats For You!

Hello Stampin’ Friends,

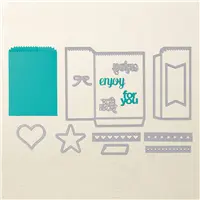
Today I made you a cute little treat bag from the Mini Treat Bag Thinlits that are currently on Sale during our Weekly Deals (ends Monday).

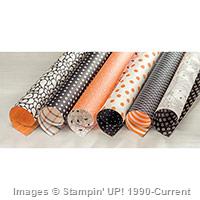
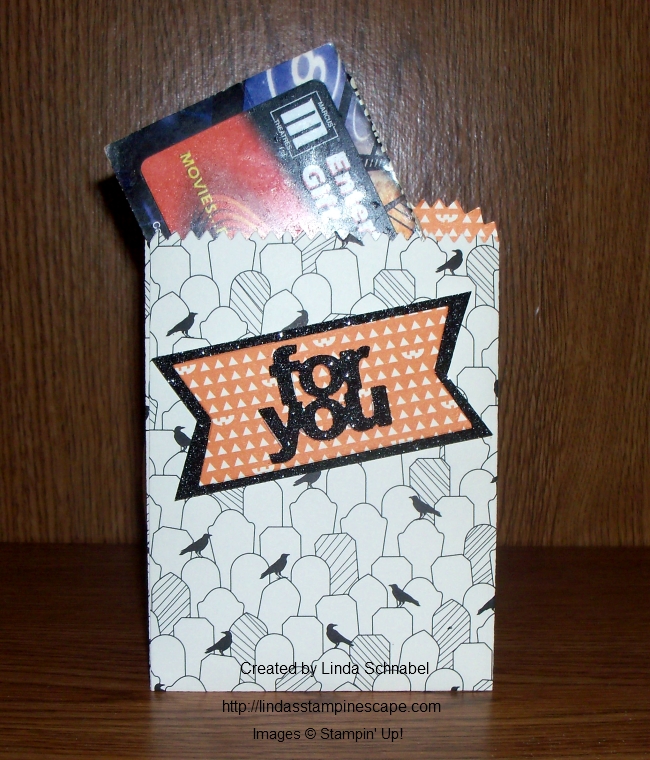
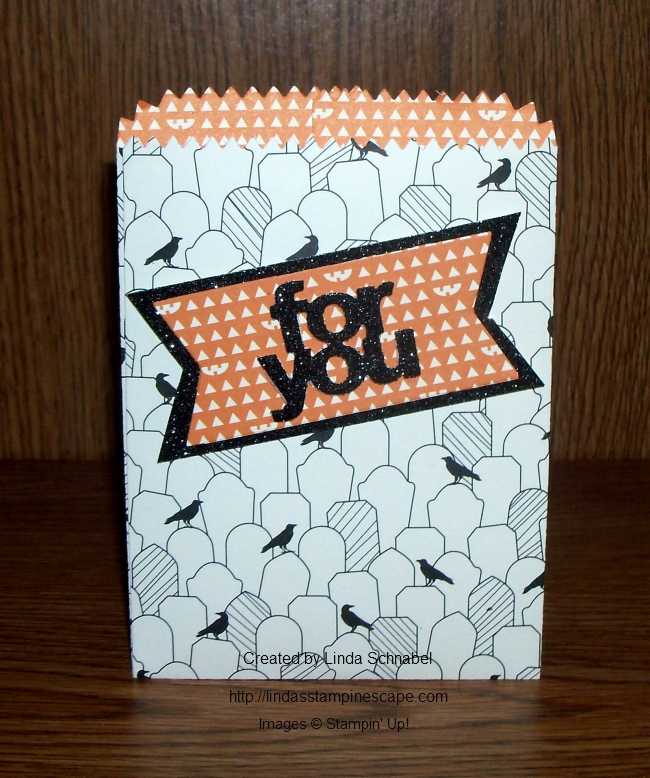
With Halloween just around the corner, I thought it would be fun to team up the Treat Bag Thinlits Dies with the Happy Haunting Designer Series Paper and the beautiful Black Glimmer paper! When cutting out your bag … you want to make sure the pattern is going in the same direction. Easiest way is to keep the “zigzag or pinking” edge up when placing your dies onto the paper.

000_2552

Don’t you think this designer paper is cute? If you look closely … you will see that those crows are actually sitting on gravestones! And the other side of this paper? Well take another close look … you will see little jack-o-lantern faces! Too cute.

137547G

I cut the banner (which is included with the dies) out of the left over piece of designer paper. The “For You” (also included) I cut from a 1-1/2″ wide strip of Black Glimmer paper. I kept it in the center so I could put the banner over the top ( No Waste! ) then I simply trimmed the ends to match the banner.

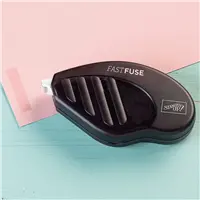
How simple was that!? I used Fast Fuse to adhere my edges because it’s a bit stronger than the Snail and much easier that the old sticky strip. Then a few dimensionals to pop up my words and I was done!

000_2550

I like it because it fits a Gift Card in … but a candy bar would be good too! Oh yes, and you could give them a sneak peek by cutting a window into your treat bag. Would you like to see a sample of that tomorrow?

Hope you enjoyed my little project today! And don’t just think of Halloween … You could use these as a table dressing for Thanksgiving or to tuck the gift cards in for a Tree of Giving at Christmas. The possibilities and gift giving opportunities are endless!

Thank you for sharing a part of your day with me!

Hope your today is wonderful ~

blog-closing-small

TODAY’S STAMPIN’ SUPPLY LIST …


Season To Season Wreath Project Kit

Hello Stampin’ Friends,

Happy Labor Day!!  Today I have another fun 3-D project to share with you …

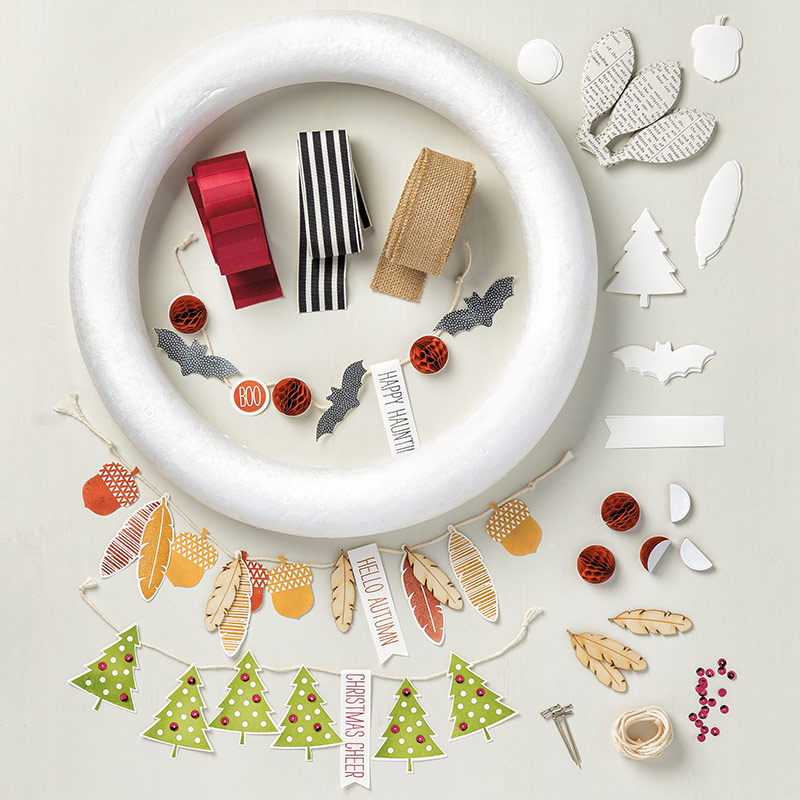
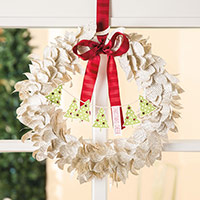
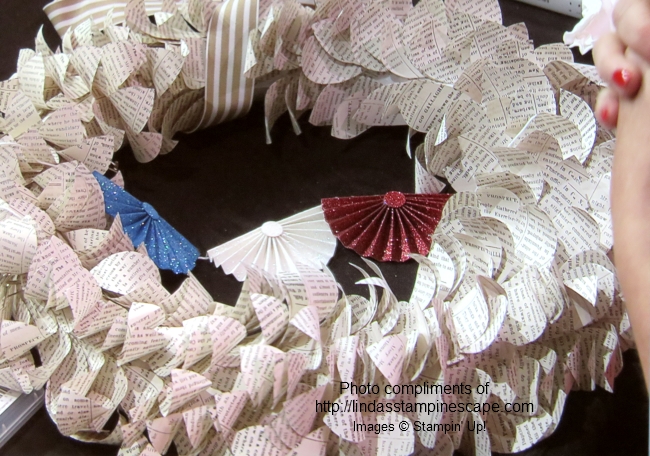
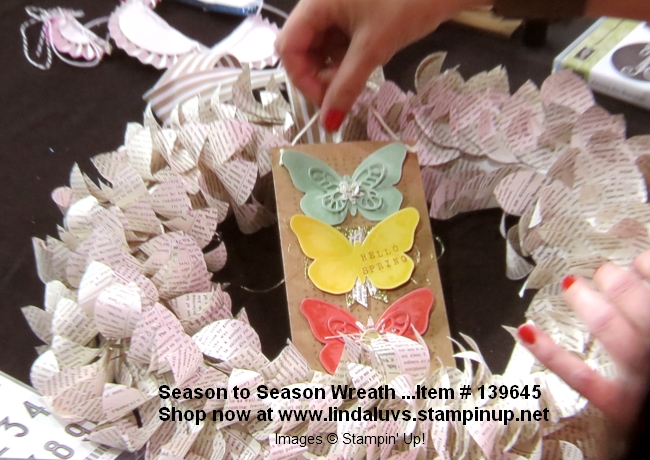
It’s a wreath for all seasons. Change the banner from season to season, and create your own for birthdays and holidays using your favorite stamp sets and dies. Makes one wreath with materials for creating three changeable banners: autumn, Halloween, Christmas.

139645O1 139645Sb

Complete the kit using the Cheer All Year Stamp Set (item 139839). Stamps, ink, and adhesive sold separately. Instructions are included.

I have a video for you demonstrating how to make the wreath along with some tips for you.

Below is a wreath that was showcased at Convention! I think it’s perfect for Labor Day… don’t you!

IMG_0281

You can decorate this any way you’d like … Here’s some butterflies for spring! Also a convention photo.

IMG_0279

How would you decorate your wreath?  I’d love to hear from you.

Thank you for stopping by today, hope yours is a great one!

blog-closing-small

TODAY’S STAMPIN’ SUPPLY LIST …

Totally Wicked Halloween Project …

Hello Stampin’ Friends ~

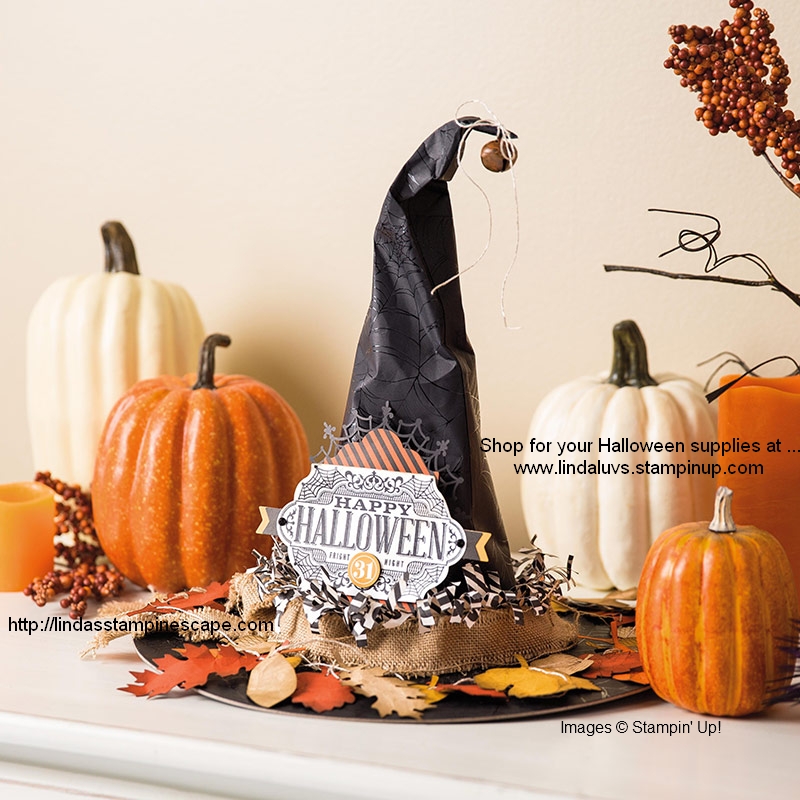
It’s the witching hour, and you’ve set the mood with a witch hat centerpiece. Everyone thinks you spent hours creating it, but you know how easy it was, thanks to the Witching Décor Project Kit...
140969O1


Watch how you can make this fun centerpiece with the Witching Décor kit.

Would you like to get together to create this fun Halloween project? Let me know …

Thanks for checking in today & I’ll be back with a “Simply Sunday” project tomorrow!

Have a great day!

blog-closing-small   

TODAY’S SHOPPING SUPPLY LIST …


Natural Expressions …

Hello Stampin’ Friends ~

Today I want to share with you a post from the Stampin’ Up! blog “Inspired By”. The beautiful projects were created by fellow demonstrator Teneale Williams who was on our Artisan Design Team 2014-15.  She is very talented & I’ve enjoyed reading her blog as well.

Please enjoy …

Natural Expressions

Today I’m (Teneale Williams) sharing some ideas on adding a little rustic charm to your projects.

1

Our Expressions Natural Elements (item #138395) feature wood veneer words and come with five of each greeting.

2

To enhance the wooden texture of the Expressions Natural Elements, apply a few strokes of ink across the grain of the wood using a Stampin’ Write Marker. I used Soft Suede and Early Espresso from the Neutrals Stampin’ Write Markers collection (item #131261). (It is fine to leave small sections without ink.)

3

Lightly sand the surface; I used a nail file.

4

Leaves are the second element in my projects. I clear-embossed on Mossy Meadow Cardstock (item #133676) using the Vintage Leaves Photopolymer Stamp Set (item #138802). For a look more rustic look, I shaped the leaves using a Bone Folder (item #102300) by rolling it over the surface and applying pressure to the midrib of the leaf. For best results, do this on a soft surface, like the Stampin’ Pierce Mat (item #126199).

5

6

Bringing together the previous elements, here is the first card. I’ve looped Linen Thread (item #104199) and used it to frame the leaves with the wooden greeting sitting on top.

7

For the second card, I used the larger maple leaf from Vintage Leaves. I clear-embossed the leaf, then cut it out and shaped it using the Bone Folder. This time I stepped up the design by adding a piece of Mossy Meadow 5/8″ Striped Cotton Ribbon (item #138419) and Home for Christmas Enamel Dots (item #140536) in Very Vanilla.

8

For the final item I clear-embossed the maple leaf on a Takeout Box (item #135827) and tied a bow around it with Mossy Meadow 5/8″ Striped Cotton Ribbon (item #138419).

9

Teneale Williams

Artisan Design Team 2014–2015

I would like to thank Teneale Williams for sharing her projects on the “Get Inspired” blog by Stampin’ Up!  Didn’t you just love her projects? My favorite is the Maple leaf … What is yours?

Thanks for stopping by ~

I hope you have a great day!

blog-closing-small

STAMPIN’ SUPPLY LIST …


DIY Paper Bird Cage …

Hello Stampin’ Friends ~

Today I’d like to share with you a really cool project that was done by Krista Frattin from the 2014–2015 Artisan Design Team. She was published on our Stampin’ Up! “Get Inspired” blog.

1

The birdcage itself was created using Whisper White Cardstock (item # 100730) and a Candy Dot Brad Base (item # 132293)! In the spirit of upcycling, the base of the cage was created using scrap packaging paper from the Stampin’ Up! Designer Series Paper packages. You will need a 1/16″ Circle Handheld Punch (item # 134363) and the Circles Collection Framelits Dies (item # 130911).

2

3

4

In step 12 you will see that I upcycled an empty Stampin’ Up! button container for filler inside the birdcage base. This was perfect! The only downside was that it was a bit fussy to add my flowers through the birdcage bars. Fussy . . . but not impossible. Just take it one flower and one leaf at a time. Be gentle so you do not bend or crease the bars.

7

I think Krista’s project is amazing!! CLICK HERE to read her full blog post … there is more!

Thank you for stopping by ~

Have a great day!

blog-closing-small

What’s Pink and Black & Pretty all over??

Hello Stampin’ Friends,

Oh silly me … yesterday I forgot to add a little something special to my post – a little something on our latest Blog Candy winner / redpt08 iz … Dee Ann from Johnson City, TN   “Congratulations”

I find it exciting to get to know my readers a little better… That’s why I love to hear from you all!  Thank you Dee Ann for contacting me … your “Blog Candy” is on it’s way!

For today I have a great product to share with you! What’s Pink, Black and Pretty all over??

Well it’s the August Paper Pumpkin of course! Watch to see how fun and simple this kit is to put together. I would like to add how beautiful the stamps are in this set … take a close look.


Wonder what the surprise will be next month? Well … I can give you a HINT: It’s a cute project that will be perfect for the next upcoming Holiday!! I saw a SNEAK PEEK at Convention and they are just the cutest!

If you would like to try out Paper Pumpkin, do it now and receive 50% off your first 2 months!

header_PP_demo_6.2015_(1)

(New subscribers only)

CLICK HERE TO SIGN UP NOW

Remember, once you’ve made all the projects / cards in the kit … you will still have an exclusive stamp set and ink spots to add to your collection!

Please let me know if you have any questions about Paper Pumpkin.

Glad you stopped by today!

Have an good day and a great weekend!!

blog-closing-small

50% off First Two Months of Paper Pumpkin

Hello Stampin’ Friends,

50% off First Two Months of Paper Pumpkin

If you’ve never tried Paper Pumpkin, now is a great time-get 50% off your first two months. With a deal like this, you’ll want to invite everyone you know to give it a try too!

Now through September 10, 2015

Offer Details: Use the code HALFOFF to join Paper Pumpkin before September 10, 2015, and get 50% off the first two months! After that, keep the creativity coming for only $19.95 + tax per month (shipping included).

The Fine Print:

  • For new subscribers only.
  • Available for month-to-month subscriptions, not prepaid subscriptions.
  • Discount applied to one kit per month for the first two months of a new subscription. After the first two months, the price for each month’s kit will go to the regular price: $19.95.
  • Click HERE to join.
  • Enter the Promo Code, HALFOFF when you sign up.
  • New subscribers must join by Thursday, September 10, 2015; 11:50 PM (MT).

CLICK HERE TO VIEW a Collection of Paper Pumpkin projects I’ve saved on my Pinterest board. Here you will find alternative ideas for your Paper Pumpkin kits!

IMG_0156

Please let me know if you have any questions about Paper Pumpkin.

Thanks for checking in with me today ~

blog-closing-small