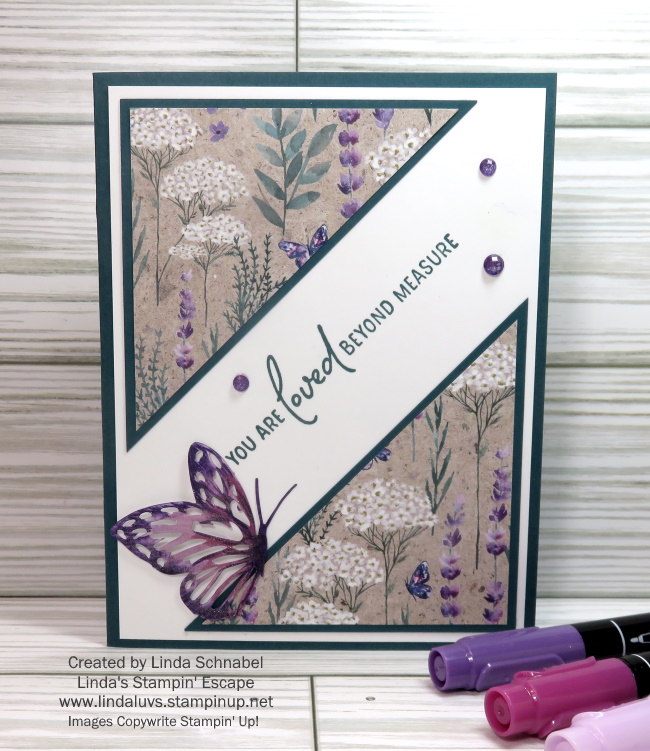
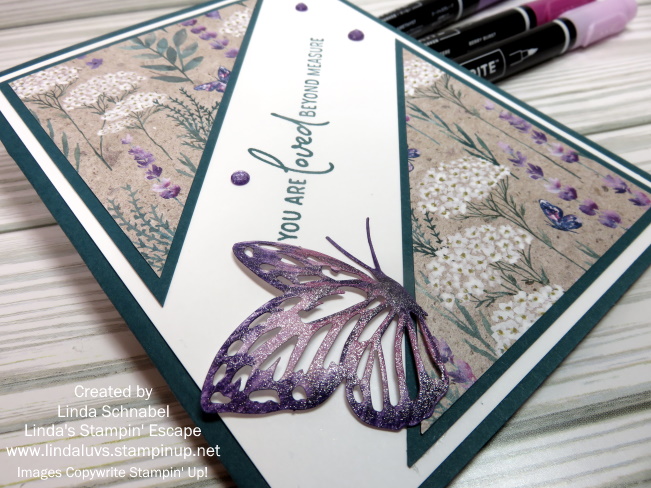
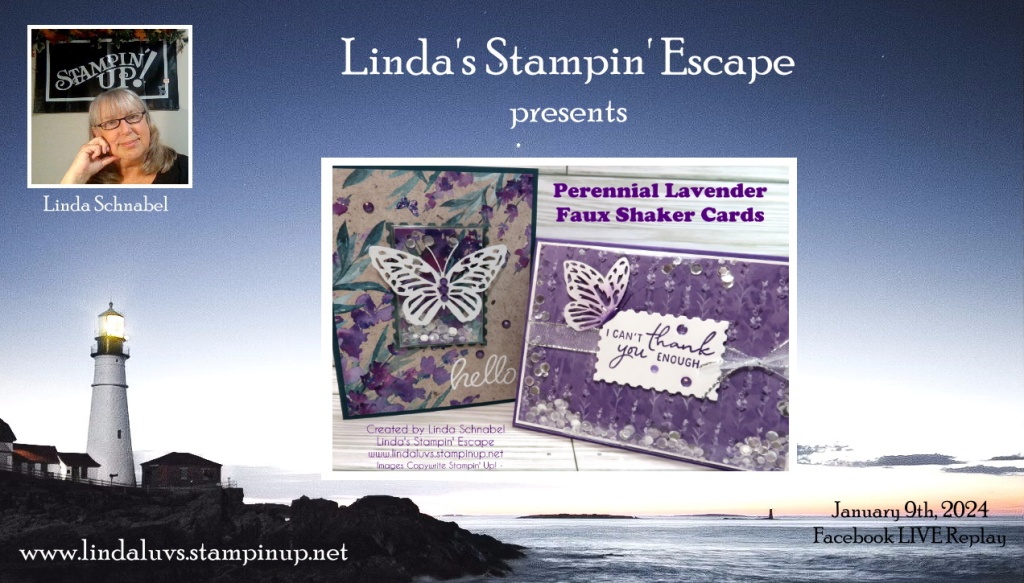
Hello Stampin’ Friends ~
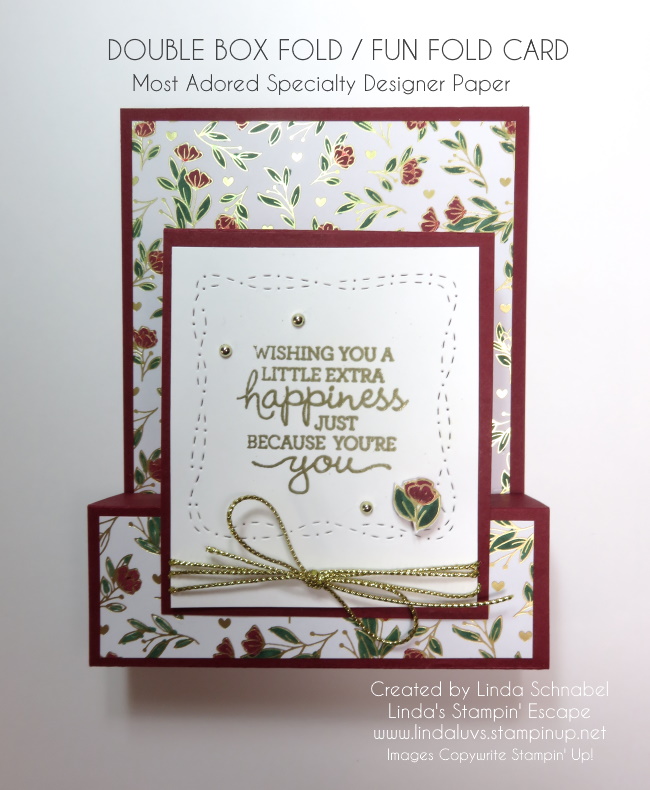
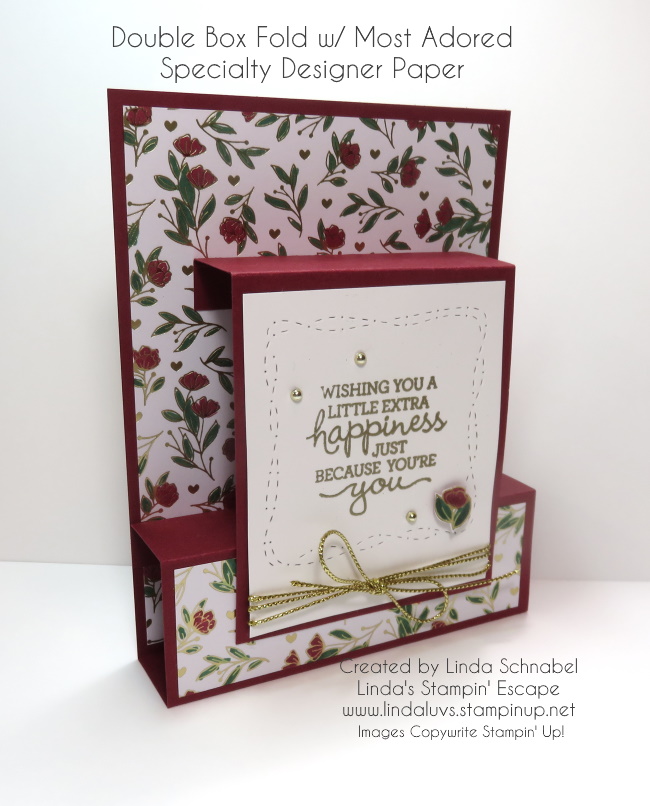
Are you ready to take your card-making skills to new heights? Look no further than the Double Box Fun Fold technique! This delightful fold adds an extra dimension to your handmade cards, creating a unique and eye-catching design that is sure to impress.
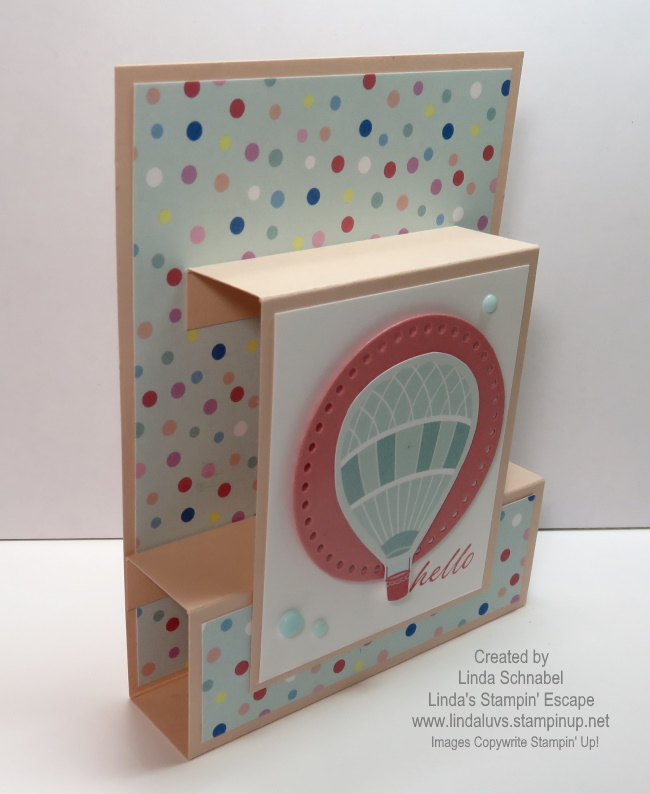
The Double Box Fun Fold is a creative card-making technique that adds depth and interest to your projects. Unlike traditional flat cards, this fold features two box-like structures that pop up when the card is pulled from the envelope, allowing it to stand on it’s own creating a fun and interactive element.
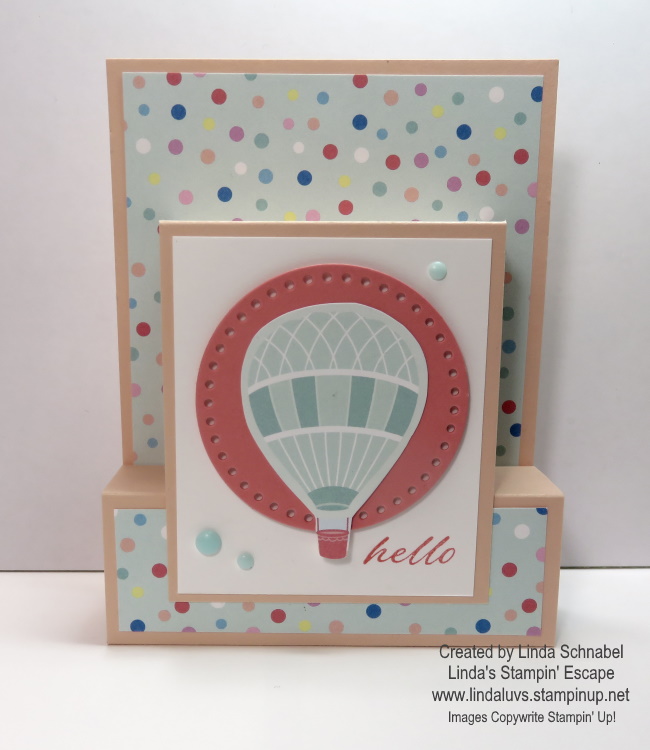
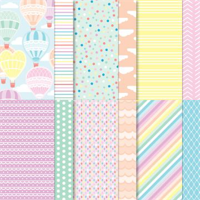
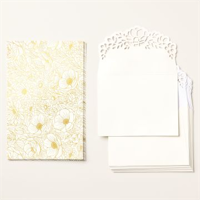
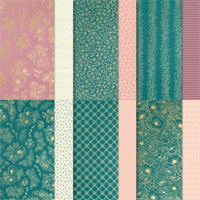
I selected the Lighter than Air 6 x 6 Designer Paper. This paper collection features whimsical designs and vibrant and pastel colors, perfect for creating cheerful and uplifting cards. Choose a fun pattern to create an “elevating” look for your card… it is lighter than air! lol
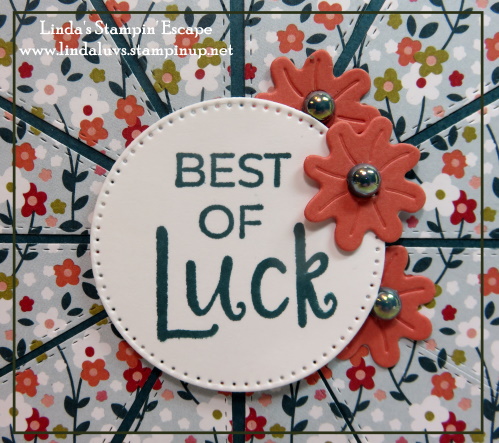
I fussy cut an Air Balloon from the designer paper. For an extra special touch, I mounted the Air Balloon onto some Flirty Flamingo circle cut from the Everyday Details Die to create a focal point for my card. This adds dimension and visual interest to your design.
To add a pop of color and texture to your card, embellish with Rainbow Adhesive Backed Dots. These self-adhesive dots are perfect for adding a playful touch to your projects and come in a variety of pastel colors.
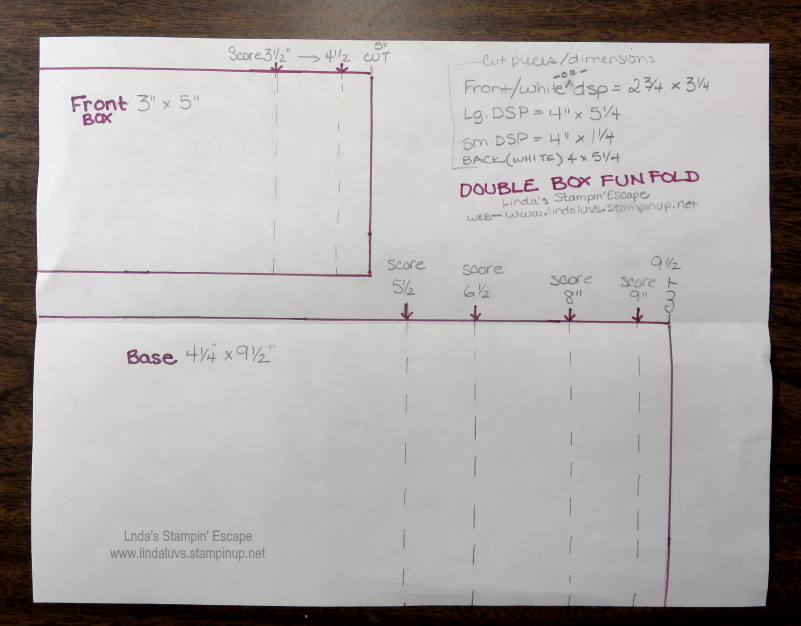
Here are the dimensions to start creating your own Double Box Fun Fold card ….
The Double Box Fun Fold is a fantastic technique for adding excitement and dimension to your handmade cards. By combining colorful designer paper, intricate die cuts, and fun embellishments, you can create cards that are sure to delight your friends and family.
So why not give the Double Box Fun Fold a try? Experiment with different paper patterns, embellishments, and die cuts to create custom cards that reflect your unique style and creativity. Your recipients will love receiving a handmade card that is as fun to open as it is to admire! Thanks for stopping by.