Hello Stampin’ Friends ~
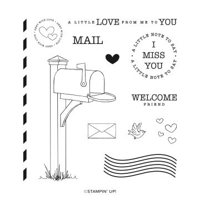
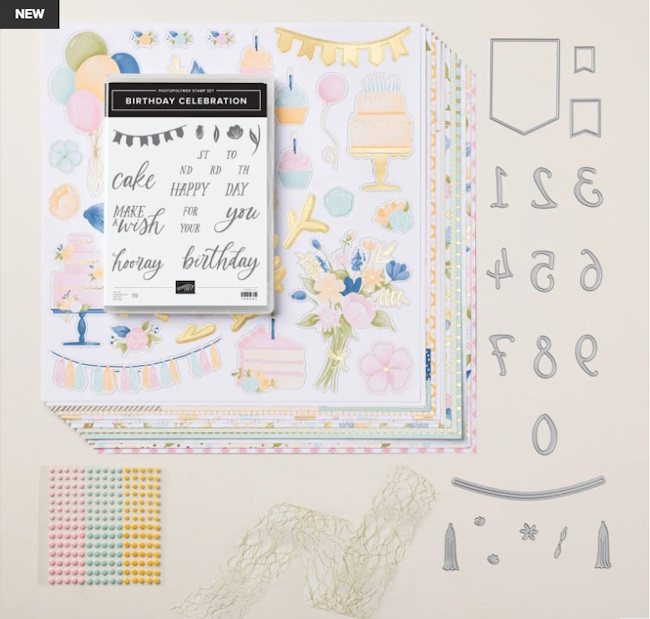
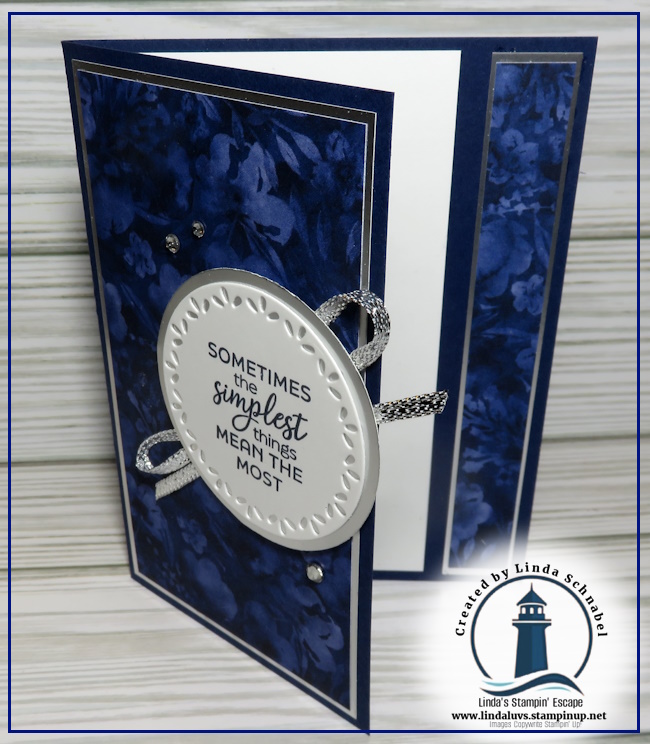
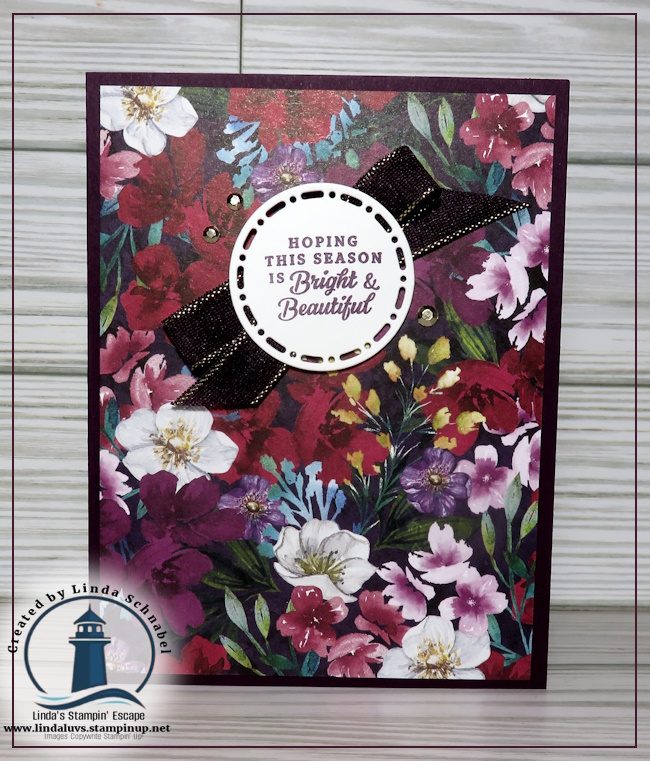
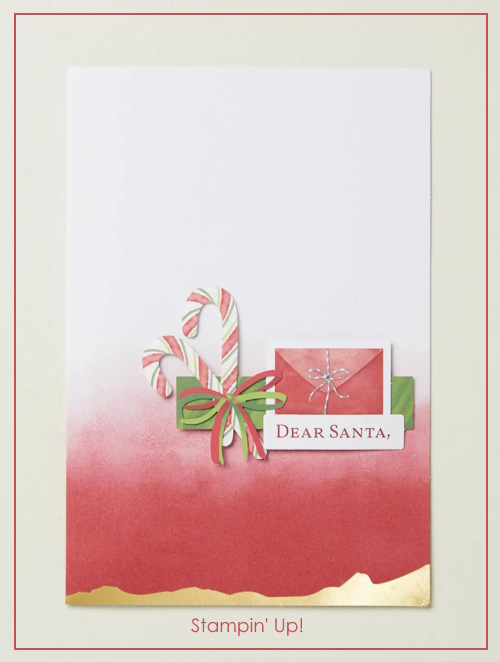
Today, I’m excited to share a perfect pairing that takes your handmade cards to new heights – the Perennial Postage Dies and Sending Love Stamp Set and Dies. These products seamlessly come together, allowing you to craft beautiful greetings that will surely warm the hearts of your loved ones.
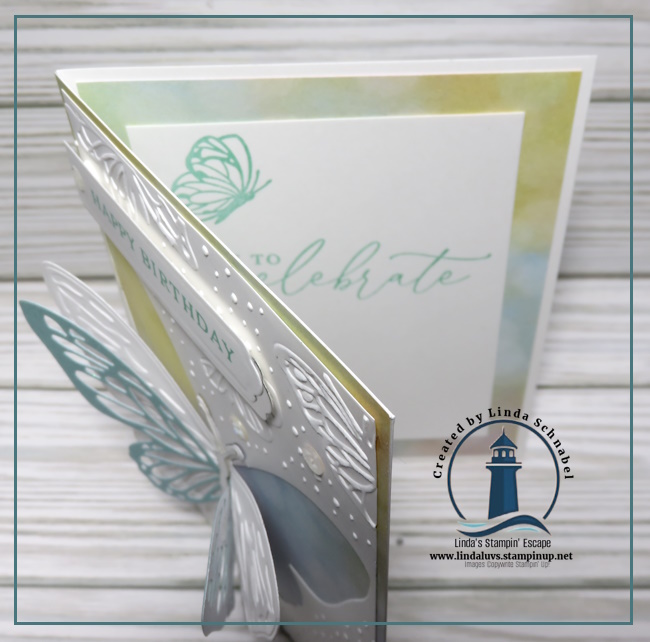
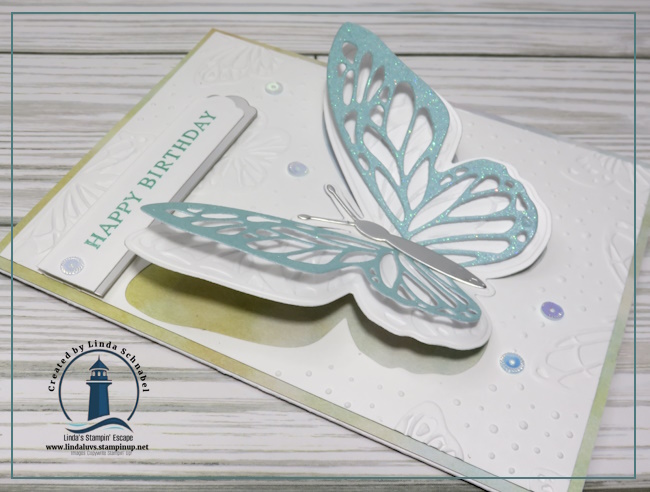
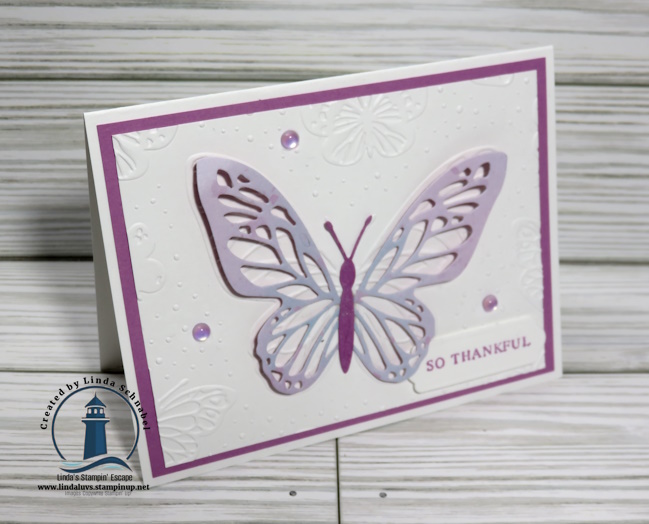
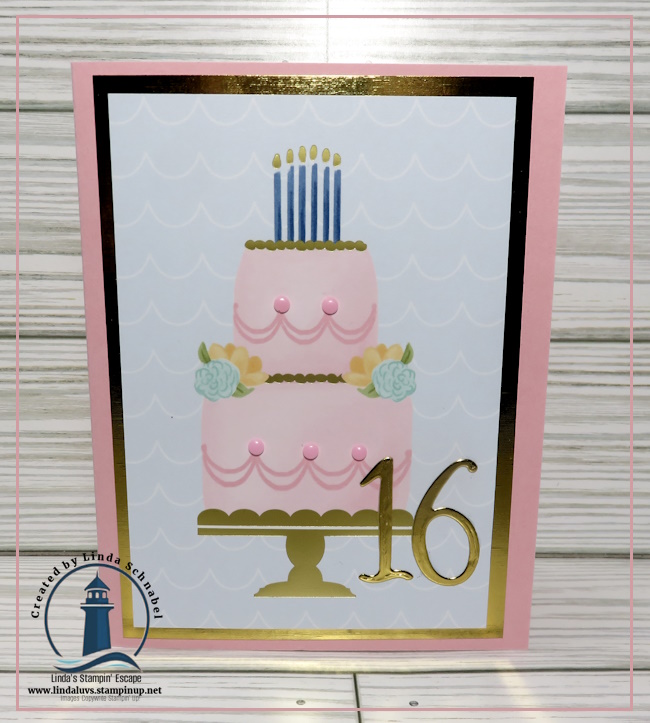
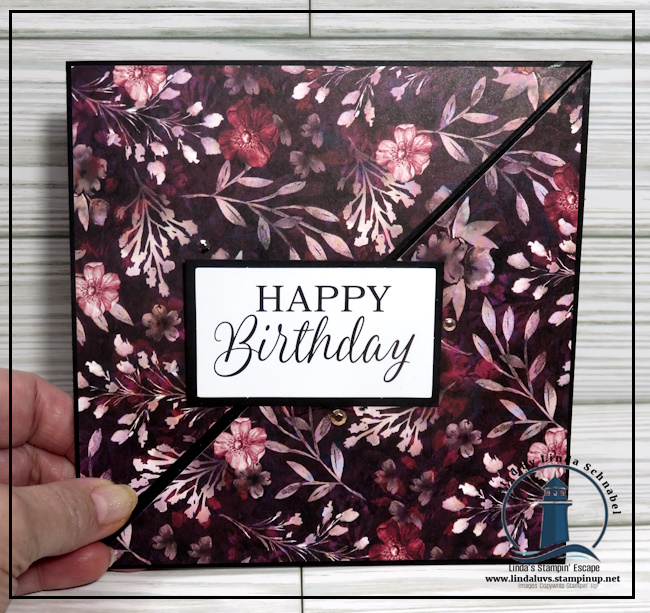
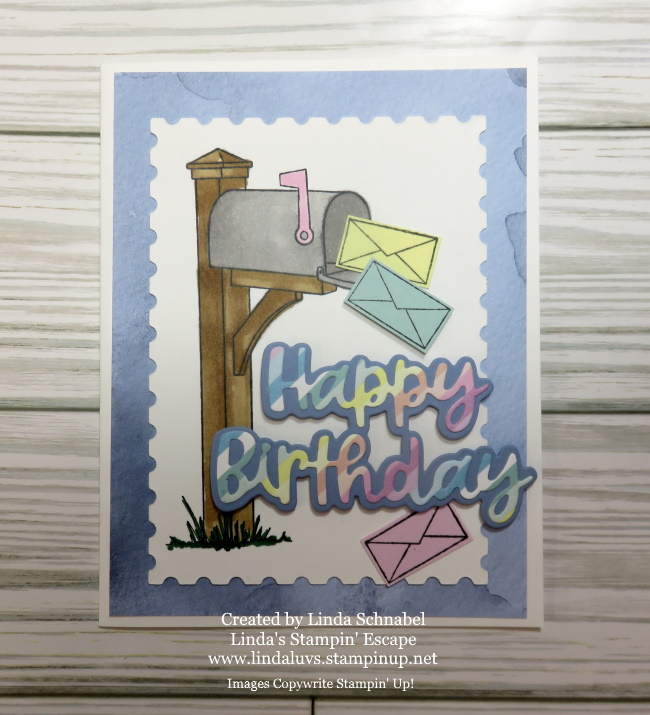
Birthdays are special occasions, and what better way to celebrate than with a personalized touch? The Wanted to Say Dies offer a versatile and elegant way to express your birthday wishes. These dies beautifully complement the Perennial Postage set, creating a harmonious blend of sophistication and sentiment.
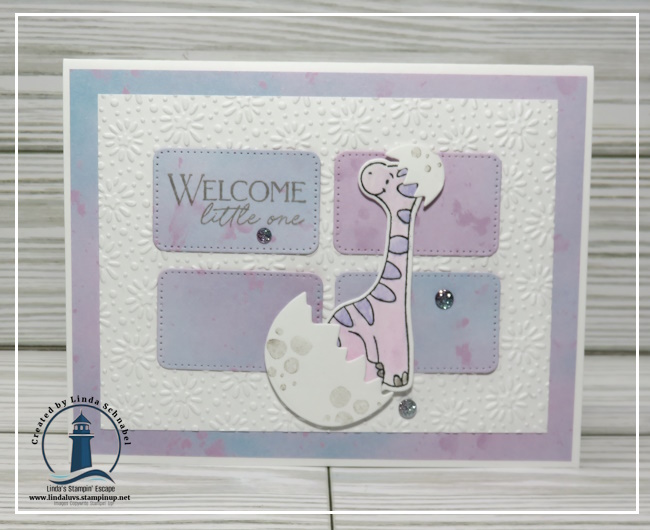
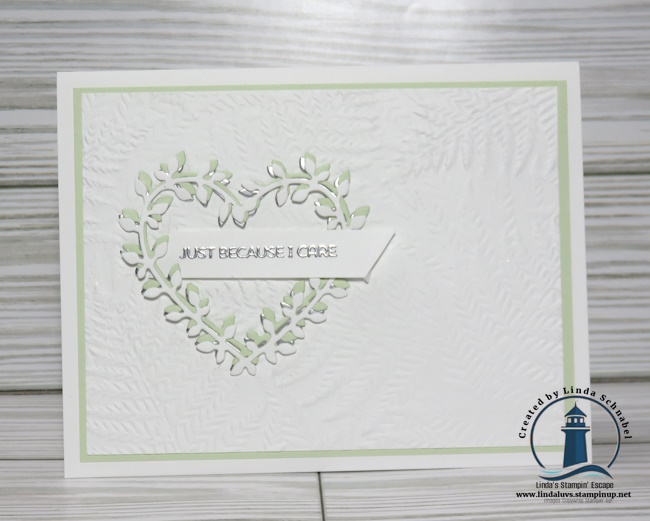
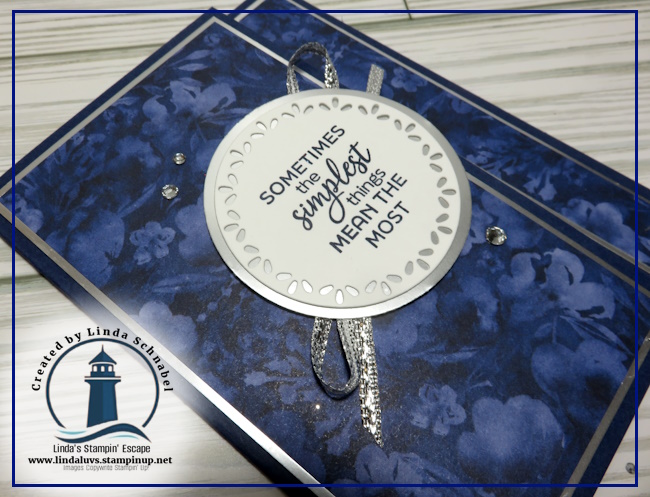
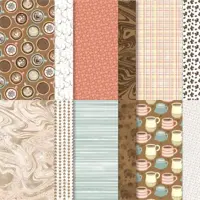
This watercolor look of the designer paper brings a whimsical and dreamy element to your cards, creating a perfect backdrop for the Perennial Postage Dies and the Wanted to Say sentiment.
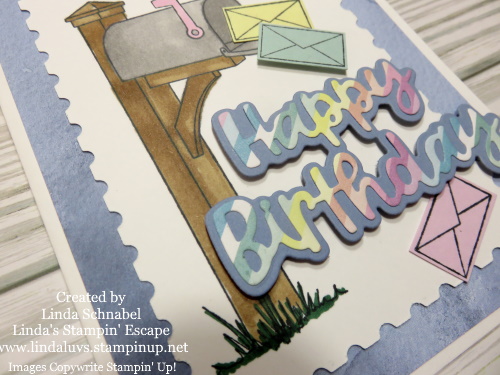
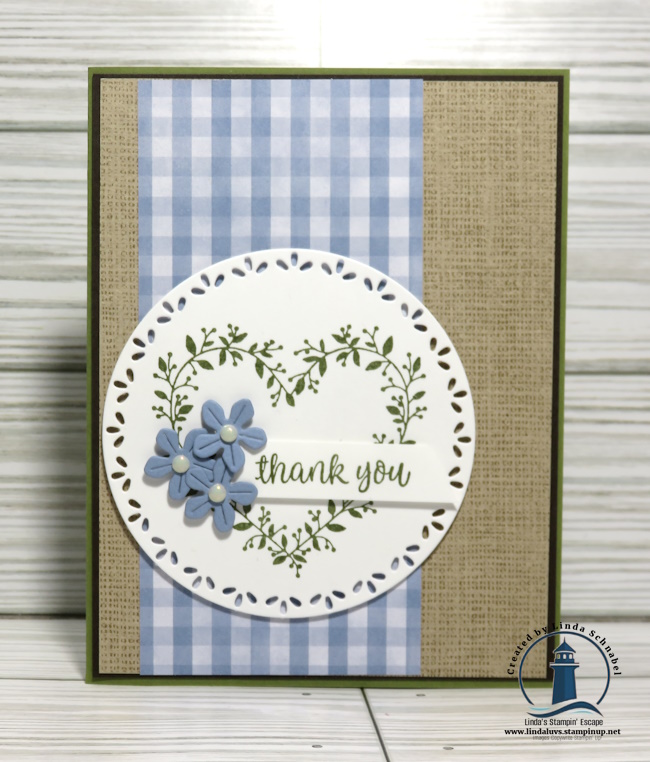
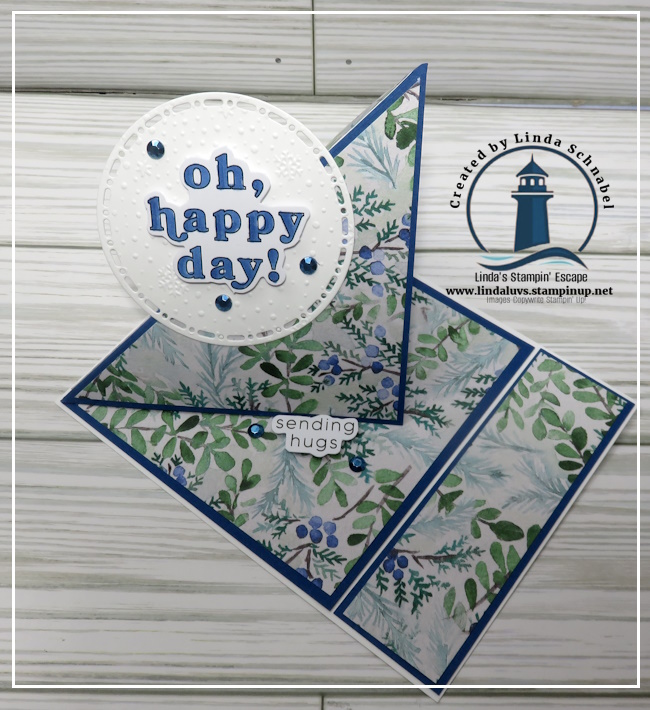
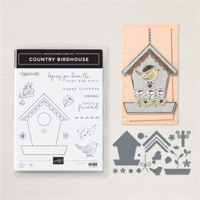
Now, let’s talk about the Sending Love stamp set and dies, which is the ideal companion for the Perennial Postage Dies. The coordinating stamps and dies, allow you to create intricate and charming mailboxes & envelopes to accompany your cards. (Today’s mailbox was stamped). The attention to detail in both sets ensures that your creations are not just cards but expressions of love and thoughtfulness.
With the Perennial Postage Dies, Sending Love stamps and dies, you have the perfect recipe for creating heartfelt and visually stunning cards. Whether it’s a birthday celebration or any other special occasion, let your creativity soar with this perfect pairing. Create Card, send, and spread love with every handmade creation!
Thank you for spending part of your Saturday with me!