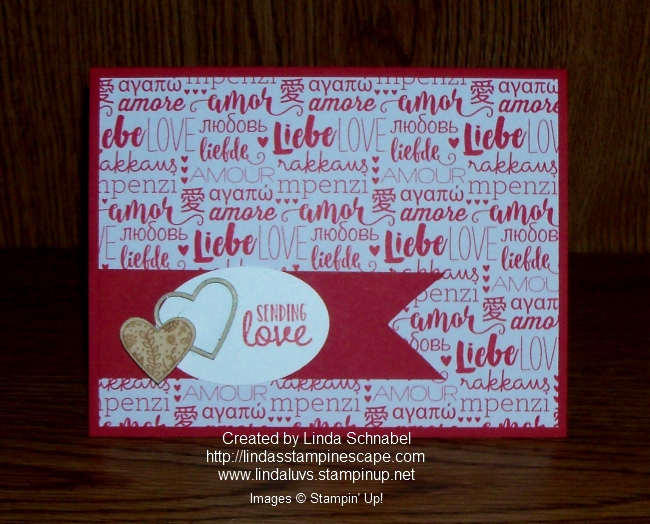
Hello Stampin’ Friends ~
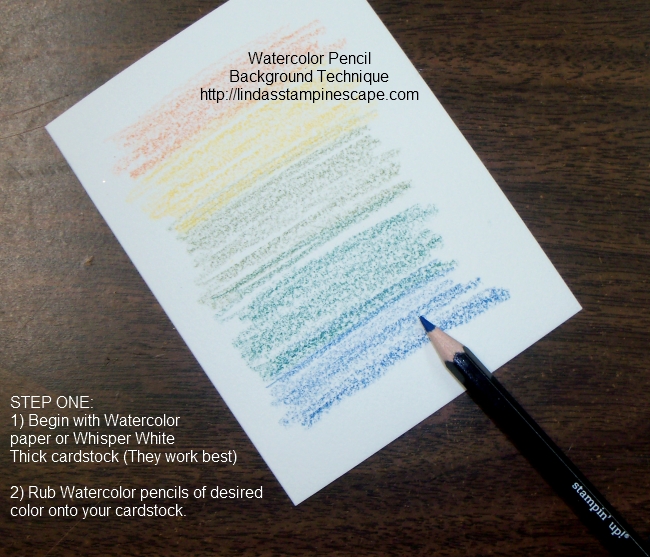
How did you like the Watercolor Pencil Background Technique yesterday? So easy … and so cool! Today we are staying with the Watercolor Pencils but will introduce the stamp set “High Tide”.
In the past 6 months I have been on a few “lighthouse” hunts where I travel the coastline and stop for any lighthouses I can find … then explore them if possible and take many pictures, so this card was inspired by those trips …

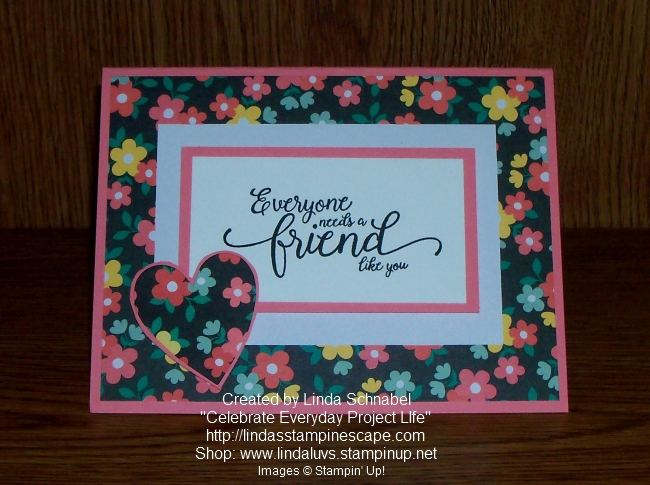
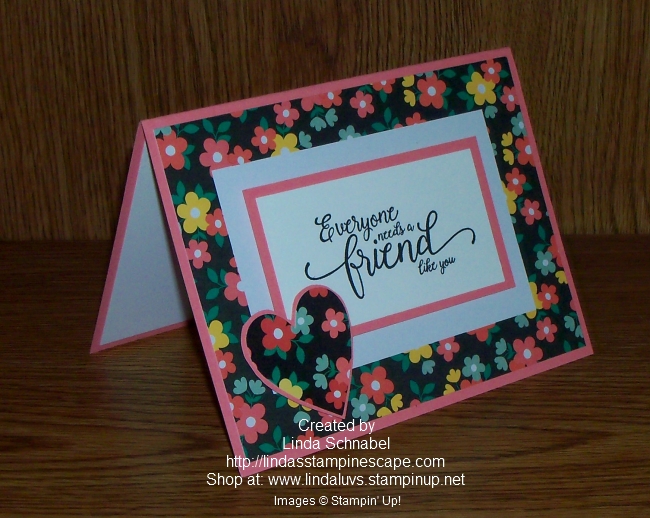
I began by stamping my lighthouse on the Watercolor paper and then stamped the land around the lighthouse in Sahara Sand, then the water… at that point I started coloring with the Watercolor Pencils.
I was on a bad part of the table and when I stamped the land around the lighthouse, I had a big void. With the use of the Watercolor Pencils and the Aqua painter I filled everything in and now you can’t even tell!
I then colored the water using the two blues; Bermuda Bay and Pacific Point. The Pacific Point is the cardstock I used for my base. Then with a light hand I applied the Melon Mambo and Pacific point (birds were already stamped) and blended the colors to create a subtle evening sky.
I finished off the card with the Real Red Watercolor Pencil to the lighthouse and stamped the grassy images around it with Old Olive ink.
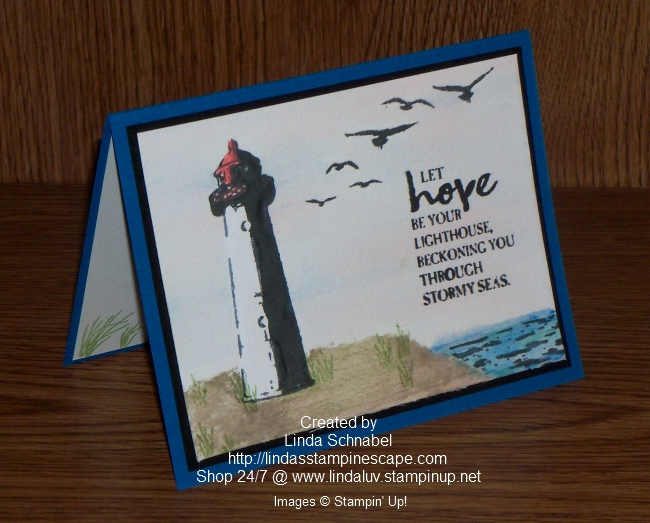
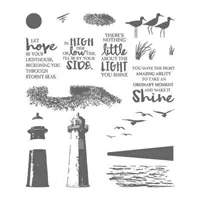
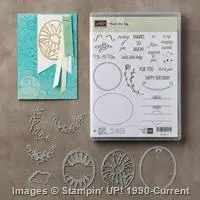
Do you hear the beach calling your name? It sounds a lot like what you hear when these stamps are calling to you. Answer all the calls! This is a Two-Step Stampin’ set… You can combine individual stamps to create the final image you want in the colors you want.
There are a total of 16 photopolymer stamps and the suggested clear blocks (sold separately): a, b, c, h
I’m glad you checked out my blog today, and I appreciate you taking time out of your day to do that. I hope it inspires you to get out and stamp or check out some lighthouses! They are a part of our history.
Can you be a beckon of light in someones life? Even if it’s just a moment, what a wonderful world we would have.
Have a wonderful day ~


STAMPIN’ SUPPLY LIST …