No Leftovers Here …

Hello Stampin’ Friends ~

Hope you enjoyed yesterday’s fall card and the fun “Reverse Masking” technique used to create it.

I had someone ask me … “What do you do with the left over items when you make a card?”  Well, she was speaking of the piece of paper that I used as a mask to create the leaf on yesterdays card.

Well … Let me show you!!

000_2621

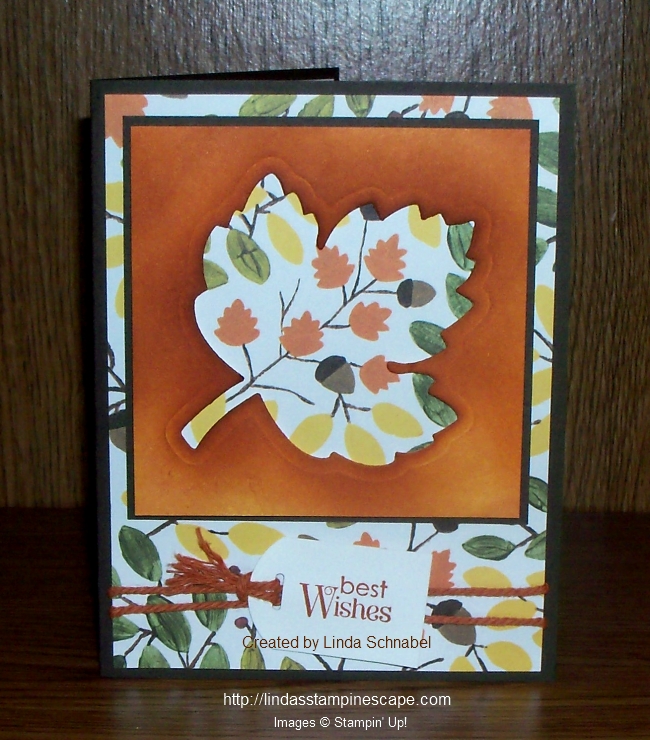
I that the mask looked pretty after I got done sponging, so I added a bit more sponging and trimmed it down and came up with the 3-1/2″ x 3-1/2″ square. I used dimensionals to raise the leaf above the “Into the Woods” designer paper.

I trimmed off the designer paper and matted the front (leaf) piece to create more impact for my focal point. Without the Early Espresso mat behind the leaf, it just blended in to much. Now the designer on the card front works well with our focal (leaf) point.

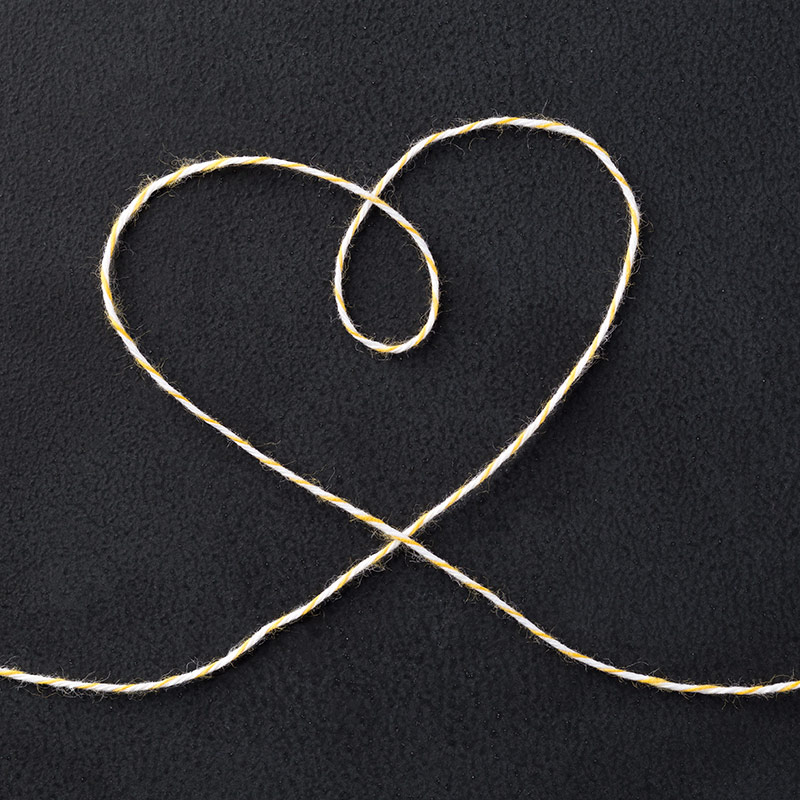
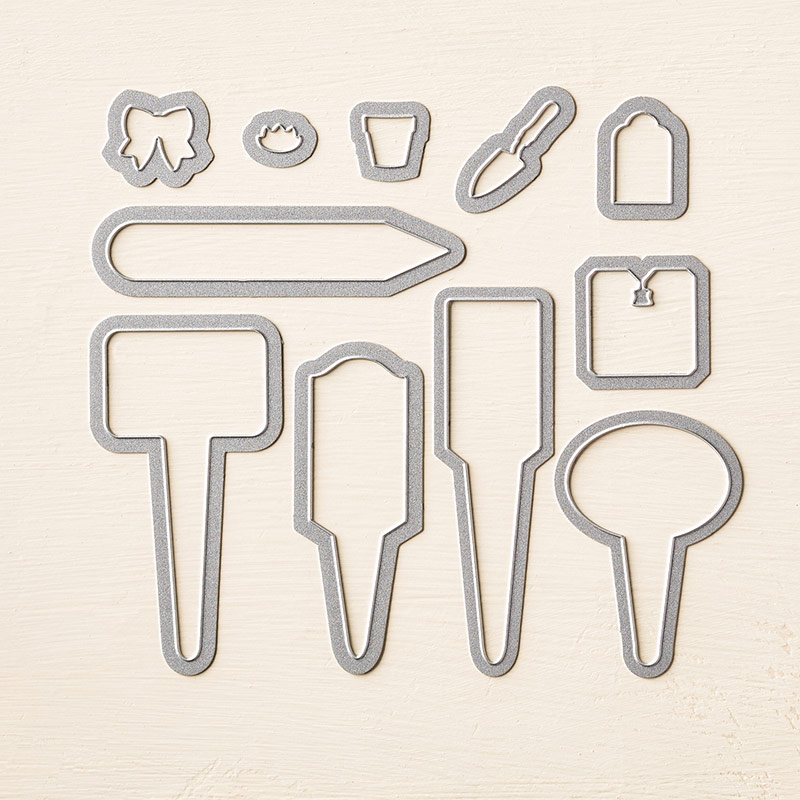
The card front sits upon a Early Espresso base and is tied together with a bit of that left-over bakers twine from my September Paper Pumpkin.  I created a little tag with the Note Tag and Curvy Corner Trio Punches (I’ll show you step by step soon).

000_2617

The greeting on the tag comes from the stamp set “Teeny Tiny Wishes … still a staple in my stamp collection.

So … now you know what I do with some of my left-over paper, I use it!

Thank you so much for stopping by today ~

Hope your day is a good one!

blog-closing-small

TODAY’S STAMPIN’ SUPPLY LIST …


Simply Thankful …

Hello Stampin’ Friends ~

Hard to believe we are mid-week already! But that means we are closer to the weekend. It is so beautiful this time of year … the leaves are just starting to turn. I hope nature takes it’s time this fall so we can all enjoy the splendor.

Today’s card is a refection of this time of year … the beautiful fall colors, and a time to give thanks for all we have in our lives.

000_2613

I did the “Reverse Masking” technique for this card. I cut out my leaf image using the “Leaflets Framelits” Dies to create my mask and placed it onto my Very Vanilla cardstock.

I then sponged Crushed Curry, Pumpkin Pie and Cajun Craze into the leaf image. When I got the color consistency I wanted … I simply lifted off the mask and revealed the beautiful leaf! I love the dimension that this technique gives.

With our new HOSTESS stamp set “Six Sayings” …. I stamped the Thankful greeting onto my card in Cajun Craze (I think I need to re-ink my pad!) However, I loved the way it turned out. What a beautiful font!! You can find this Hostess stamp set in the back of the Holiday Catalog.

Grab a few friends and do a book or on-line show so you can get this set for yourself (Contact me at lindaluvs2stamp@aol.com) for more details.

I matted my card front with Cajun Craze and then popped it up onto more Very Vanilla.

000_2610

I took a left over piece of bakers twine from my September Paper Pumpkin kit and added the cute little bow to the leaf. I gave it added a bit more texture to the card.

A simple but stunning card. I’ve always loved this technique! Hope you enjoyed the card share today.

I am “Thankful” you stopped by to visit with me …

Have a beautiful day ~

blog-closing-small

TODAY’S STAMPIN’ SUPPLY LIST …


Weekly Deals …

Hello Stampin’ Friends ~

I’m here with the latest installment of Stampin’ Up! Weekly deals …

CM100100B


We hope you enjoy this week’s Weekly Deals!

127012G Floral Frames Collection Framelits Dies Item # 127012
Regular Price: $27.00
Discounted Price: $20.25
Crushed Curry Baker’s Twine Item # 134586
Regular Price: $3.00
Discounted Price: $2.25
Handpicked Framelits Dies Item # 137361
Regular Price: $25.00
Discounted Price: $18.75
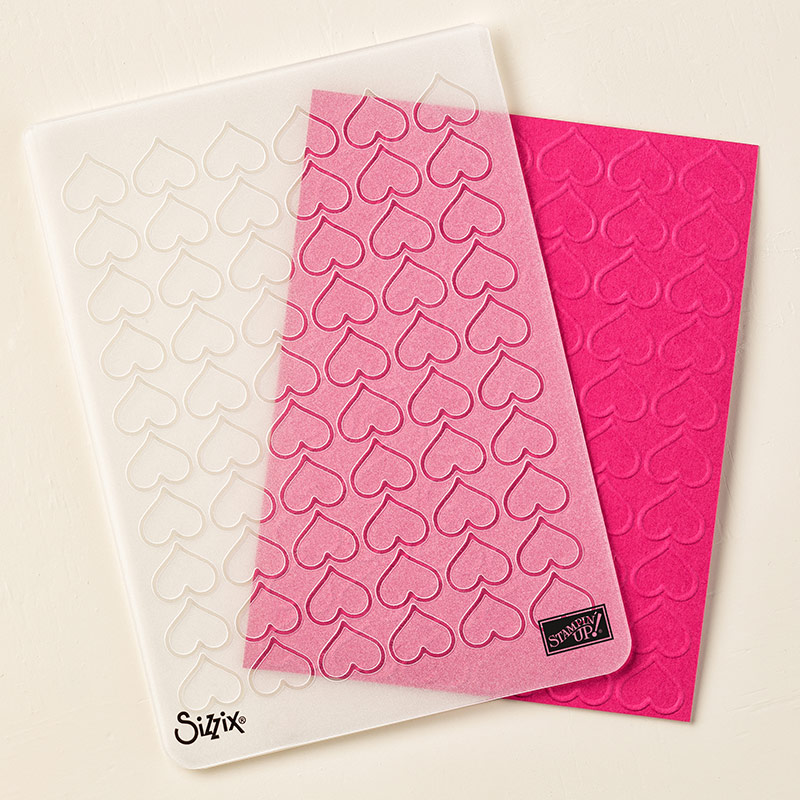
Happy Heart Textured Impressions Embossing Folder Item # 137364
Regular Price: $7.50
Discounted Price: $5.63
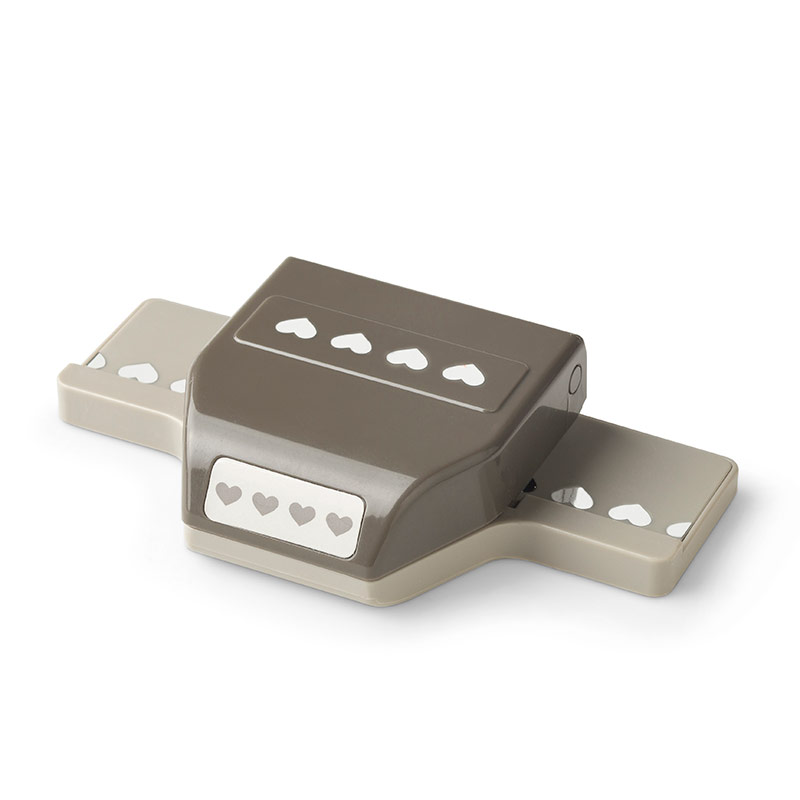
Hearts Border Punch Item # 133784
Regular Price: $16.00
Discounted Price: $12.00
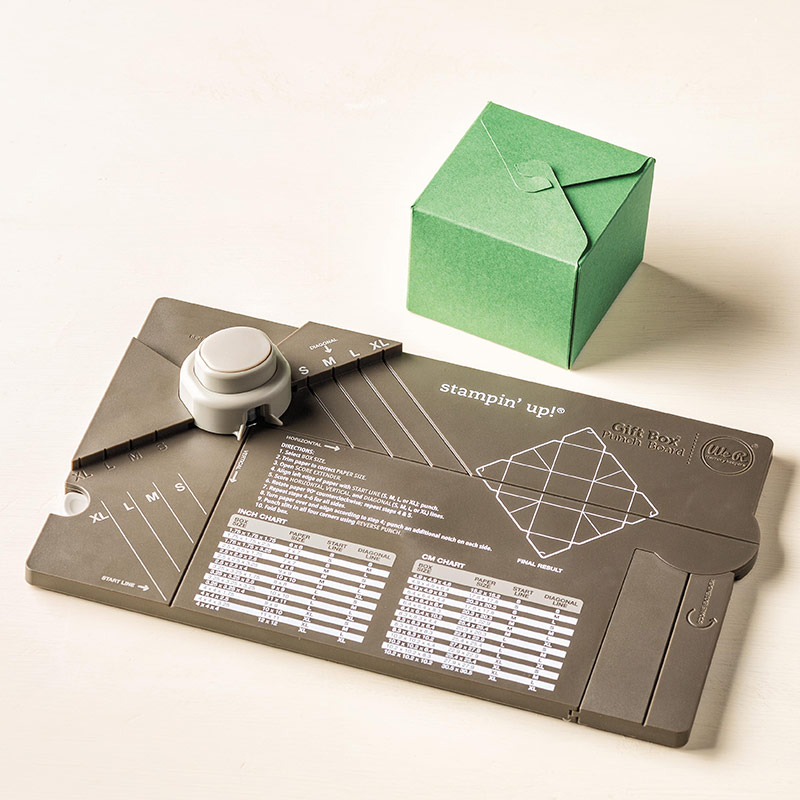
Gift Box Punch Board Item # 135863
Regular Price: $20.00
Discounted Price: $15.00
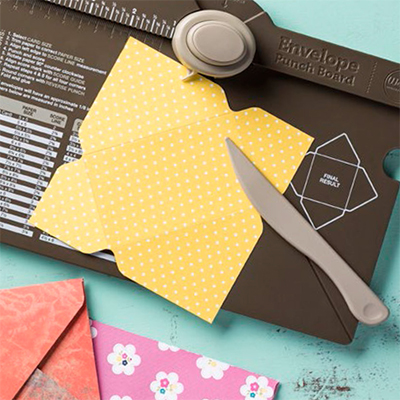
Envelope Punch Board Item # 133774
Regular Price: $20.00
Discounted Price: $15.00

Let me know if you need any help with ordering or have a question about one of the products… I’m here to help.

Thanks much for checking it out.

Have a great day!

blog-closing-small


Happy Scenes …

Hello Stampin’ Friends,

Today I’d like to share with you a post from the Stampin’ Up! Get Inspired blog. When their concept artists or staff writers share awesome cards & projects … I just have to share with you. So please note that the following information is from that blog post …

Window cards are trendy, they’re so much fun to make—and we have everything you need to create one yourself using products from our brand new holiday catalog!

1

2

The Happy Scenes Stamp Set (item # 139821) includes 16 photopolymer stamps with autumn/winter landscape images and sayings that are perfect for end-of-the-year holidays. Stamp a little landscape and enclose it in a window frame—which you can make using the Big Shot and our Hearth and Home Thinlits Dies (item # 139666). Instant cuteness! (I borrowed this card idea from p. 11 of the holiday catalog.)

DSCN1613

For the Halloween card I included the cat from the Festive Fireplace Stamp Set (item # 139754). He just seemed to fit!

And here’s some great news: when you purchase the Happy Scenes Stamp Set + Hearth and Home Thinlits as a bundle (item # 140853), you save fifteen percent!

Cindy B.

Sr. Staff Writer

Thank you Cindy for sharing your talents …

and Thank You so much for stopping by, I hope you enjoyed these cards as much as I did!

I will be back tomorrow with a new set of Weekly Deals!

Have a wonderful week ~

blog-closing-small


Simply Sunday in Olive …

Hello Stampin’ Friends ~

I think you will “fall” for today’s Simply Sunday card … I won’t need many words to describe this card and you won’t need much to make it!

000_2604

I began with the beautiful Old Olive plaid pattern of designer paper found in the Farmers Market package and used the Very Vanilla as my base and front of the card.

I cut out the “maple” leaf from the “Leaflets” Framelits Dies from a 4-3/4″ x 3-1/2″ piece of Very Vanilla cardstock. I then cut out the “grateful” from the “Seasonal Frame” Thinlits Dies out of Old Olive.

The Vanilla was popped up over the designer paper to create a beautiful dimensional look and the greeting was adhered directly to the vanilla with the Multipurpose liquid glue. Simple.

000_2606

I know I talked this past week about “less is more” and this is just another card to explain my statement.

Thank you for joining me this Sunday ~

I wish you a beautiful day.

blog-closing-small

TODAY’S STAMPIN’ SUPPLY LIST …


Sweet, Sweet Candy …

Hello Stampin’ Friends ~

Happy Weekend to you! Many of you know besides being a Stampin’ Up! demonstrator, a blogger, Mom of 3, grandma of 11 and great-grandma of one … I also manage the candy store in my hometown.

So, what do you think I thought of when I say that little candy stamp in this months Paper Pumpkin kit?

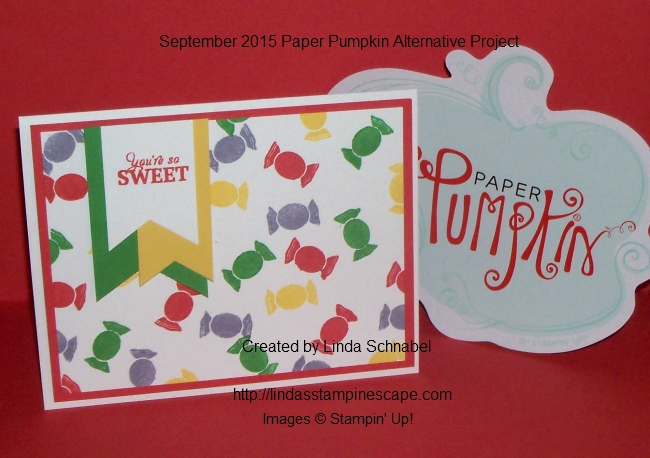
Yep … a sweet but simple card featuring the candy! I used it to create the background …

000_2600

I wanted plenty of color so I chose the Daffodil Delight, Crisp Cucumber, Watermelon Wonder and Wisteria Wonder and stamped that little candy stamp all over!

Then I chose the “You’re So Sweet” as my greeting and stamped it in Watermelon… that is when I decided to create a banner to highlight the greeting. For a bit more pop of color I added the Daffodil Delight and Crisp Cucumber behind it. (Subliminal message: Green and Gold)

The entire card front was matted with the Watermelon Wonder to make the greeting stand out and then that was layered onto the Whisper White background.

000_2602

Cute & fun card for any occasion … birthday, sweet sixteen or just because!

Thank you for joining me today ~

I hope your day is filled with fun and lots of color!

blog-closing-small

TODAY’S STAMPIN’ SUPPLY LIST …


Are You Afraid of the Dark?

Hello Stampin’ Friends ~

Today I’m going to take you to a “spooky” place … the dark side! I showed my Stampin’ Technique club this month a neat way of sponging a background on a colored piece of cardstock …

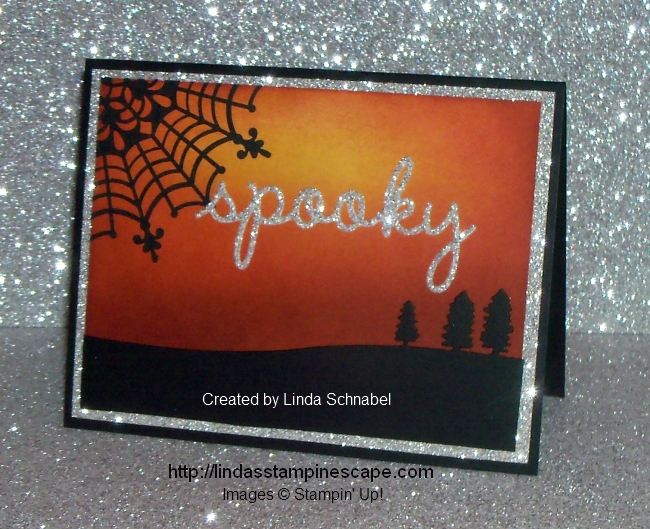
We began with the So Saffron cardstock and started sponging with the Crushed Curry. I like the way the Curry bring depth to the yellow tones. Next we blending in Tangerine Tango and finally blended our edge in Cajun Craze. It creates a bit of a haunting effect … don’t you think?

000_2595

Now that I had my background complete I wanted to add something new … I’ve been dying to get my hands on the “Sleigh Ride” Edgelits Dies (but why wait till Christmas!)

I used the “trees” die and added it to my background … yes, I liked the look. Hmmm … what next, the Spider Web Doily of course! Yes … I liked that too!

Yes, it’s a bit on the dark side, but I figured even Halloween likes to shine, so I matted my background with the silver glimmer paper and added my “Spooky” greeting also from the silver greeting. You can find “spooky” in with the Seasonal Frame thinlits dies.

000_2594

It’s a bit unique yes, but I liked the way the glimmer paper lighted it all up. A little Hocus Pocus I would say!

Thank you so much for “dropping” in.

I hope you have a fabulous Friday!

blog-closing-small

TODAY’S STAMPIN’ SUPPLY LIST …


Truly Grateful for Autumn …

Hello Stampin’ Friends ~

Yesterday marked the first day of autumn … my favorite season. I love the colors, the warm days and cool night, sweaters, caramel apples and the smell of the leaves. Yup, I love it all.

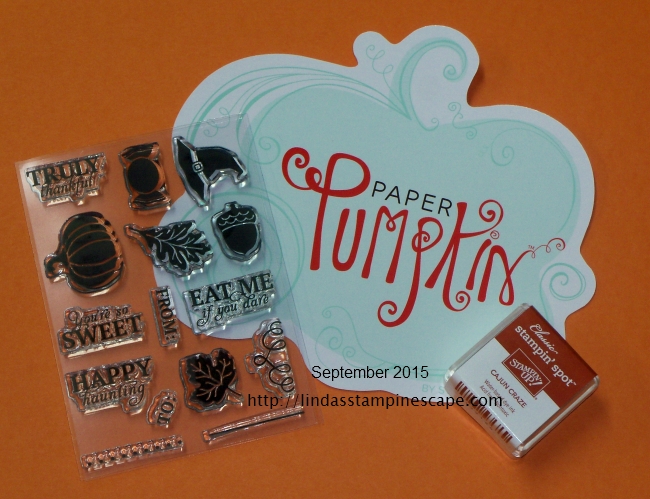
Today I promised an alternative idea for your Paper Pumpkin kit. Just a little reminder of the stamp set that comes with the kit …

000_2584

I had so many ideas popping into my head with this stamp set. I will share one today, another at a later date, but the rest are reserved for my Paper Pumpkin subscribers … their treat for choosing me as their Paper Pumpkin demonstrator.

You may join my Paper Pumpkin Pals … HERE. Plus, you’ll be helping out Breast Cancer and the same time you treat yourself to Paper Pumpkin.

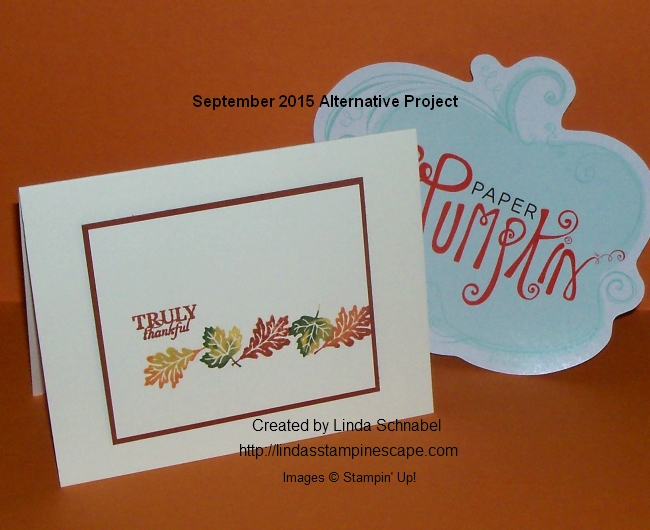
In honor of the season, I chose the leaves and did the Rock -n- Roll technique – that is why some are two different colors …

000_2588

The Rock-n-Roll technique is very simple … Ink up your image in the lighter of the two colors, and then simply roll the very edges of the image into the darker color ink. Since these were so very small, I just kind of tapped the very edge onto the ink pad instead of “rolling” the image around.

I thought of adding a texture to the background but I really loved the simplicity of this card … it speaks volumes. Sometimes less is more.

000_2590

Hope you enjoyed today’s alternative project … stop back tomorrow, I have some more “spooky” for you! My sister teases me that not everyone loves Halloween as much as I do .. I know, some of you like it more!! lol

Thank you for sharing a part of your day with me, see you tomorrow!

blog-closing-small


Something Bewitching for You!

Hello Stampin’ Friends ~

How did you like those weekly deals yesterday?  Awesome right!

Well today I something bewitching for you. Have you seen the September Paper Pumpkin kit yet?

Watch to see how fun and simple this kit is to put together. Wonder what the surprise will be next month? Learn more / Sign up Here!

Those treat filled witches brooms are so stinkin’ cute! I love opening my Paper Pumpkin each month, and making the projects inside is always fun, but what I really love is the fact that we get an exclusive stamp set each month! And the cute little “spot” (mini stamp pad) is like the cherry on top!

000_2584

Did you know that each month they send a different color “spot” ink pad? These are what I take with me when I take my stampin’ to go … much lighter and take up less room than the big pads do.

I also want to remind you of our current promotion …


To show our support for Breast Cancer Awareness Month, we’re going PINK . . . or at least our October boxes are! And because we know our subscribers want to share the love too, we will be making a donation on their behalf to the Breast Cancer Research Foundation (BCRF).

Stampin’ Up! will donate

  • $1 for every active Paper Pumpkin subscriber.
  • Plus, an additional $1 for every new subscriber.

Together, we will make a difference!

As a special perk for Paper Pumpkin subscribers, Stampin’ Up! offers a selection of past kits and refill kits for purchase, while supplies last. We just added new kits to the offering.

I’d like to invite you back tomorrow to check out what I came up with using the cute stamps inside this months Paper Pumpkin!

Till then … Have a great day!

blog-closing-small


Weekly Deals …

Hello Stampin’ Friends ~

Before I share the Weekly Deals with you, I’d like to welcome my newest blog followers!! It’s so rewarding to know that my fellow stampers enjoy my blog enough to follow me … Thank You!!

Every Tuesday Stampin’ Up! brings you amazing deals on select products. The product offering changes each Tuesday, so be sure to you order what you like before they change.

Today I have the latest of deals for you from Stampin’ Up! and I think you will like what you see. I just ordered a bolt of the Gold Ribbon, but with Christmas just around the corner, I will get a few more! I also think you will like the stamp set “Remarkable You”  ….

CM100100B

Brights Sequin Assortment by Stampin' Up!
Price: $5.00 $3.75
Gold 1/8 Ribbon by Stampin' Up!
Price: $5.00 $3.75
Gold Stampin' Glitter by Stampin' Up!
Price: $4.00 $3.00
Lucky Stars Textured Impressions Embossing Folders by Stampin' Up!
Price: $7.50 $5.63
Ornate Tag Topper Punch by Stampin' Up!
Price: $23.00 $17.25
Remarkable You Clear-Mount Stamp Set by Stampin' Up!
Price: $33.00 $24.75
Stars Framelits Dies by Stampin' Up!
Price: $27.00 $20.25

What are my favorites … Well, anything STAR’S of course! But I’ll admit, I have all of these in my stampin’ collection.

You can view more details about the product by clicking on the product name, that will take you to my website, where you can begin shopping. You may also CLICK HERE to view Weekly Deals or begin shopping.

I’ll be back tomorrow with a really cool card share!

Thanks for checking out my blog today ~

Enjoy the beautiful day!

blog-closing-small

Spooky Halloween …

Hello Stampin’ Friends ~

I’m back today with another Halloween card! It’s right around the corner and I want to share as many samples with you as I can. Can you believe how fast this year has gone! It’s almost spooky!

Today’s card uses the Howl-o-ween stamp set and Boo To You framelit bundle …

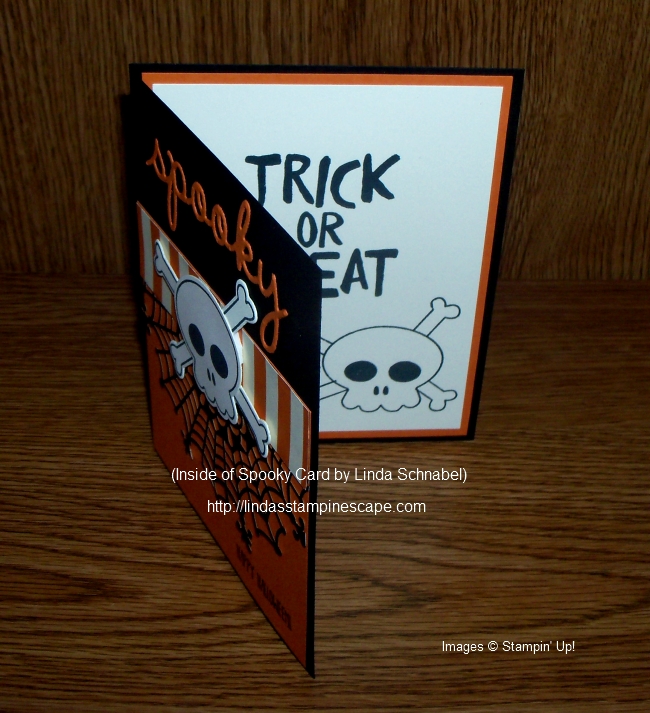
I had to make at least one card with the skull and cross bones, and I’m glad they’re not too scary.  Once I stamped it and cut it out, I knew that I had to use those Spider Web Doilies again (just luv ’em). It really adds that “Halloween” touch to the card.

000_2579

My “spooky” comes from the “Seasonal Frame” Thinlits, another cool framelit set! Click HERE to view.

A pop of color was needed so I used another pattern from the “Happy Hauntings” designer paper. It’s just enough to pull the whole card together. My Halloween greeting comes from the “And Many More” stamp set.

000_2576

The inside was stamped with another skull -n- cross bones and “Trick or Treat” as a promise of a sweet things to come!

I love playing with stamp sets and their coordinating framelits … it’s easy to make and your cards looks so polished! Can’t by that at any store!!

000_2579

Thank you for visiting my blog, I hope you enjoyed my spooky little card.

Have yourself a great day!

blog-closing-small

TODAY’S STAMPIN’ SUPPLY LIST …


Simply Sunday: Silent Night

Hello Stampin’ Friends ~

Today I’d like to share with you a simply beautiful card that I did at with my technique clubs this month. We focused on the “Woodland” embossing folder and some fun techniques that you can use with them to create a “WOW” card.

I paired up the Woodland folder with the beautiful “Wonderland” and “Happy Scenes” stamp sets…

000_2568

To create this beautiful card, you simply stamp directly onto the Woodland embossing folder with the pines from the Wonderland stamp set. Be sure you stamp on the “raised” side of the folder (the trees will be recessed on the side you stamp on).

Silent Night is stamped on vellum in Mossy Meadow and tucked behind your embossed front … I also used Mossy Meadow to mat the front and highlight the beautiful color.

000_2571

For the inside of the card, we stamped the trees from “Happy Scenes” into the corner and the verse from “Wonderland” into the center. I love how many of the stamp sets from Stampin’ Up! coordinate together.

Hope you enjoyed my card …

000_2568

 and I hope you have a beautiful day!

Thanks for stopping by ~

blog-closing-small

TODAY’S STAMPIN’ SUPPLY LIST …


Death by Chocolate!

Hello Stampin’ Friends,

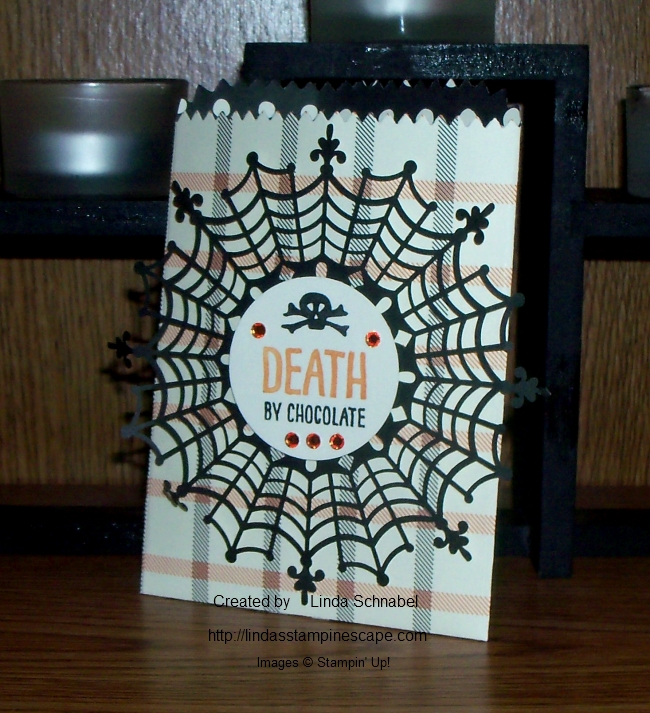
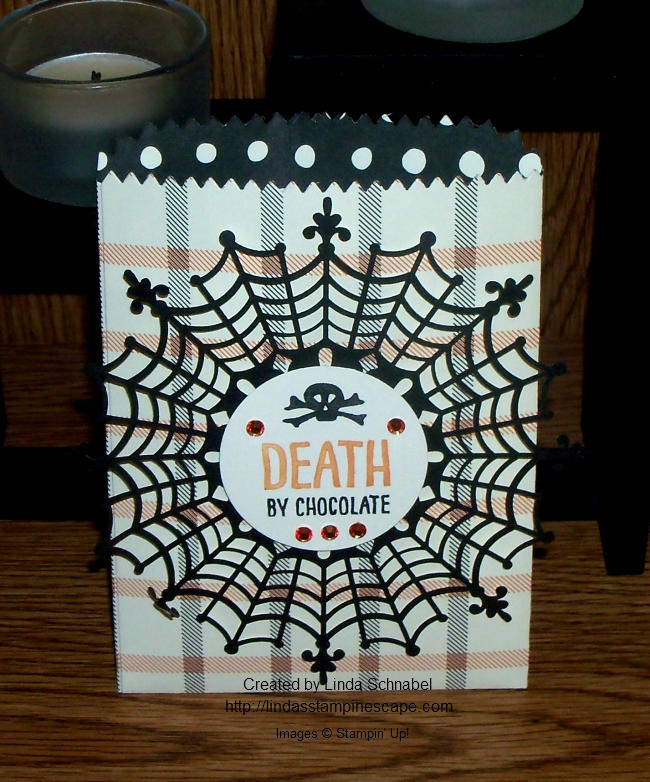
Death by Chocolate!?  If we have to go … what a way to go! I simply could not resist sharing another treat bad with you. I am again using the “Happy Haunting” Designer Series paper in yet another pattern… Plaid!! Plus it has a cute polka dot pattern on the other side so it worked perfect for my treat bag.

000_2565

This treat bag went together … 1 – 2 – 3! Once the bag was secured with my Fast Fuse, I simply popped on one of our “Spider Web Doilies” … they are soooo cute!

I then grabbed my greeting from the “Sweet Hauntings” stamp set and with the use of my markers I decided I only wanted the words and not the frame around it… this way I could punch them out (which I did) with the 1-3/4″ circle punch and place it nicely into the center of my doily!

Last but definitely not least … I grabbed a Sharpie™ and colored my Rhinestones to match my designer paper and greeting.  I love it when everything matches … lol. Then used my dimensionals to adhere my greeting and give the bag even more dimension.

000_2562

I can’t wait to stuff it with candy! And if you take a walk on Main Street in West Bend, Wisconsin you will see this cute little treat bag, along with some other stamped projects in the Candyman on Main’s Halloween window display. I should have that done by the end of the month!

I thank you for stopping by, it was so sweet of you!

Have a delightful day!

blog-closing-small

TODAY’S STAMPIN’ SUPPLY LIST …


More Treat Bag Fun for You!

Hello Stampin’ Friends ~

As promised, today I have a treat bag with a window! Let’s have a little fun here today … I’m using the  Treat Bag Thinlit and Happy Haunting Designer paper. I’ve chosen a different pattern of paper today so I can show you that this is not just for Halloween.

For those of you who know me well, you know I love Star’s!! Here they are in full force, and to top it off … our thinlit die has a star in it too! I used it to cut out my window and make another star to bring in the orange color from the inside of the bag (reverse side of paper).

000_2556

You simply place the star or other shape that you would like to use to create a window in the center of the largest die. If you want to fill your treat bag with smaller goodies, simply adhere a window sheet inside before assembling your treat bag. (Too hard to do once it’s all put together).

So … if you want to treat someone that “rocks” with a fun little gift, what would you give them? Why “POP ROCKS” of course.  So clever (or fun) … Pop Rocks + Star paper = Rock Star!

000_2560

What a quick and simple way to brighten someones day! Hope you enjoyed!


I also have something special to share with you …

BCRF_Demo_Header_0915

To show our support for Breast Cancer Awareness Month, Stampin’ UP! is going PINK . . . or at least our October Paper Pumpkin boxes are! And because we know our subscribers want to share the love too, Stampin’ Up! will be making a donation on our subscribers behalf to the Breast Cancer Research Foundation (BCRF).

Stampin’ Up! will donate

  • $1 for every active Paper Pumpkin subscriber.
  • Plus, an additional $1 for every new subscriber.

Together, we will make a difference!

Here’s how you can help:

  1. Subscribe! If you’re new to Paper Pumpkin, click here to get started. Your first kit will arrive in a limited-edition pink box that you’ll want to hold onto forever-and we’ll donate $2 because you’re new!
  2. Stay active if you’re a subscriber so we can donate $1 for you. Only those who receive the October shipment will be counted for the donation.
  3. Spread the word! Help us get as many new subscribers as possible. Every current subscriber adds $1 and for new subscribers it’s doubled, so let’s get the word out and raise as much as possible.

The Breast Cancer Research Foundation (BCRF) advances the world’s most promising research to eradicate breast cancer. Founded by Evelyn H. Lauder in 1993, BCRF has raised more than $550 million to fuel discoveries in tumor biology, genetics, prevention, treatment, survivorship and metastasis, making it one of the largest non-governmental funders of breast cancer research in the world.  For more information, please visit: www.bcrfcure.org.

Thank you for visiting with me today.
blog-closing-small

TODAY’S STAMPIN’ SUPPLY LIST …


Halloween Treats For You!

Hello Stampin’ Friends,

Today I made you a cute little treat bag from the Mini Treat Bag Thinlits that are currently on Sale during our Weekly Deals (ends Monday).

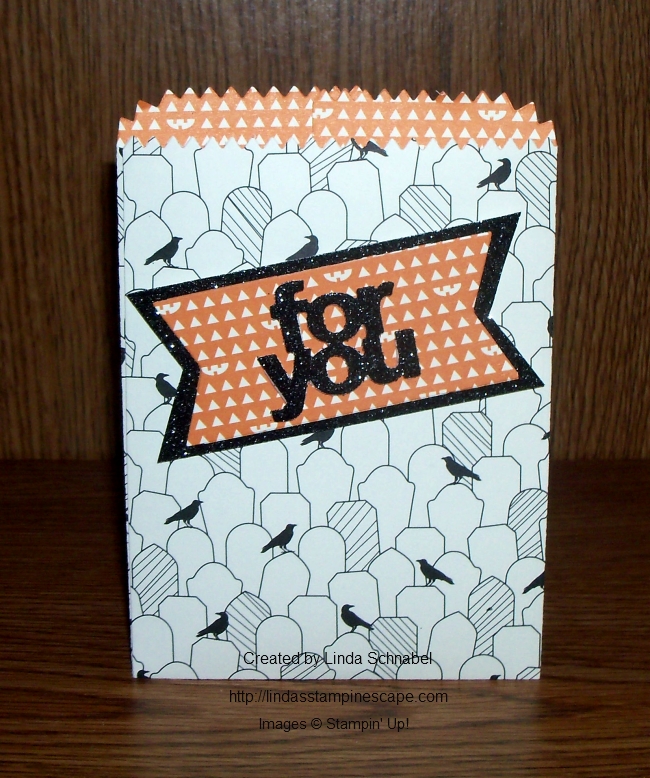
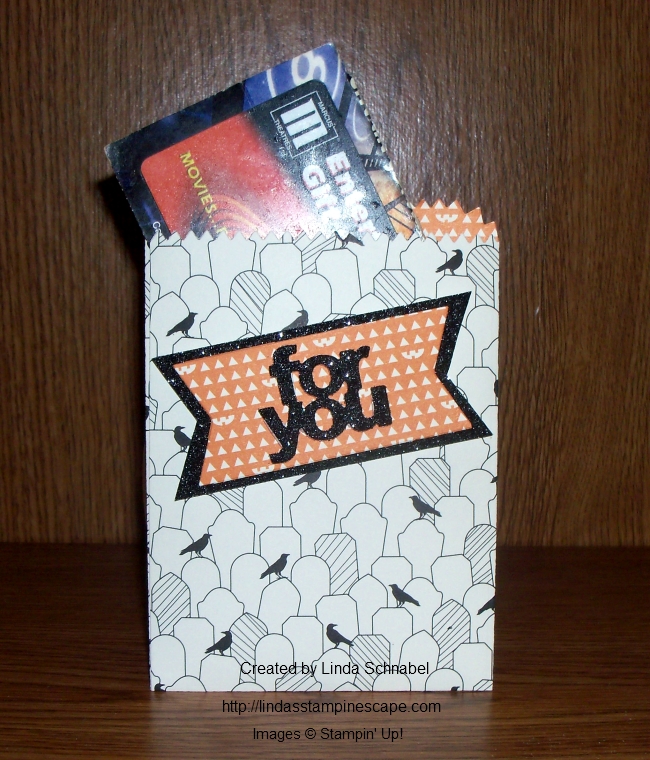
With Halloween just around the corner, I thought it would be fun to team up the Treat Bag Thinlits Dies with the Happy Haunting Designer Series Paper and the beautiful Black Glimmer paper! When cutting out your bag … you want to make sure the pattern is going in the same direction. Easiest way is to keep the “zigzag or pinking” edge up when placing your dies onto the paper.
000_2552

Don’t you think this designer paper is cute? If you look closely … you will see that those crows are actually sitting on gravestones! And the other side of this paper? Well take another close look … you will see little jack-o-lantern faces! Too cute.

137547G

I cut the banner (which is included with the dies) out of the left over piece of designer paper. The “For You” (also included) I cut from a 1-1/2″ wide strip of Black Glimmer paper. I kept it in the center so I could put the banner over the top ( No Waste! ) then I simply trimmed the ends to match the banner.

How simple was that!? I used Fast Fuse to adhere my edges because it’s a bit stronger than the Snail and much easier that the old sticky strip. Then a few dimensionals to pop up my words and I was done!

000_2550

I like it because it fits a Gift Card in … but a candy bar would be good too! Oh yes, and you could give them a sneak peek by cutting a window into your treat bag. Would you like to see a sample of that tomorrow?

Hope you enjoyed my little project today! And don’t just think of Halloween … You could use these as a table dressing for Thanksgiving or to tuck the gift cards in for a Tree of Giving at Christmas. The possibilities and gift giving opportunities are endless!

Thank you for sharing a part of your day with me!

Hope your today is wonderful ~

blog-closing-small

TODAY’S STAMPIN’ SUPPLY LIST …