Hello Stampin’ Friends ~
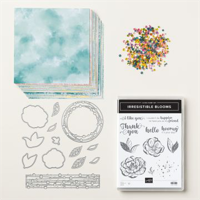
Today I’m sharing a video I recorded a while back highlighting the Hello, Irresistible suite and a FUN and Easy Embossing Technique. I’m pleased to see that all of the items in this suite are still available in our Online Exclusives. I’m also sharing an alternative design using Black Ink verses the White Embossed flowers you see in the video …
This suite is so fun to work with and the flowers … well, they are perfect for so many techniques. Embossing is one of my all time favorite techniques because it adds an elegance and texture to your cards, and when you combine it with a touch of ink … you get depth too.

I used the designer paper for the background and to cut out the leaves, so if you are used to embossing or die cutting, you will find this card pretty easy to recreate. Overall, I would give it a medium rating.
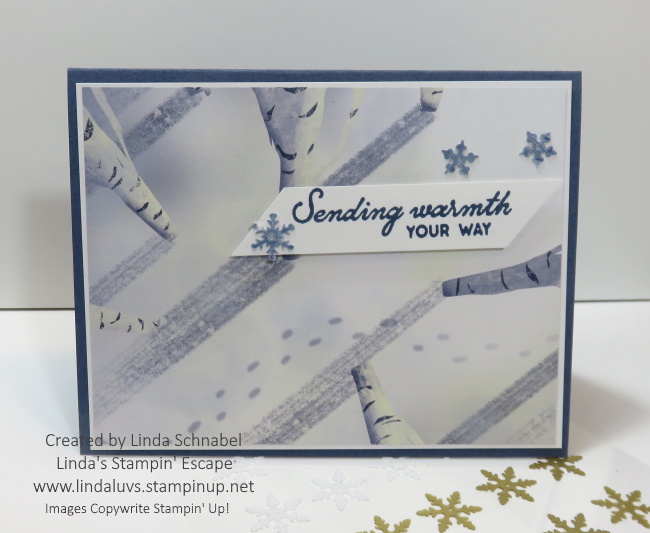
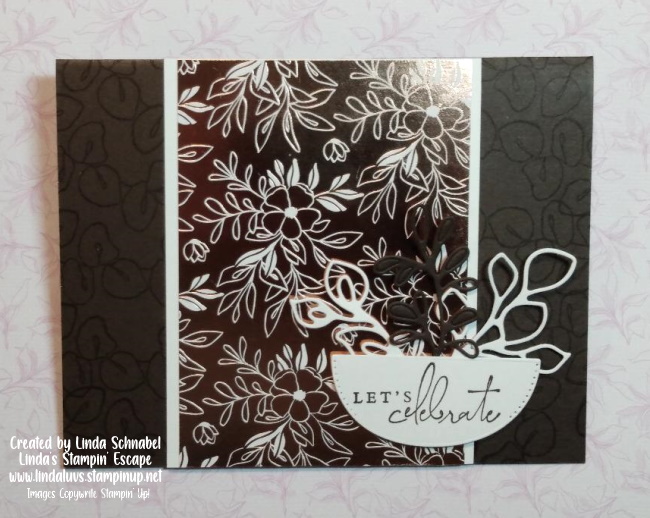
Now for the “Black” ink card. I used a lot of the same materials and the dauber technique as well. I cut the leaves out as I did on the first card but used the “other” awesome die in the bundle. Check this out …
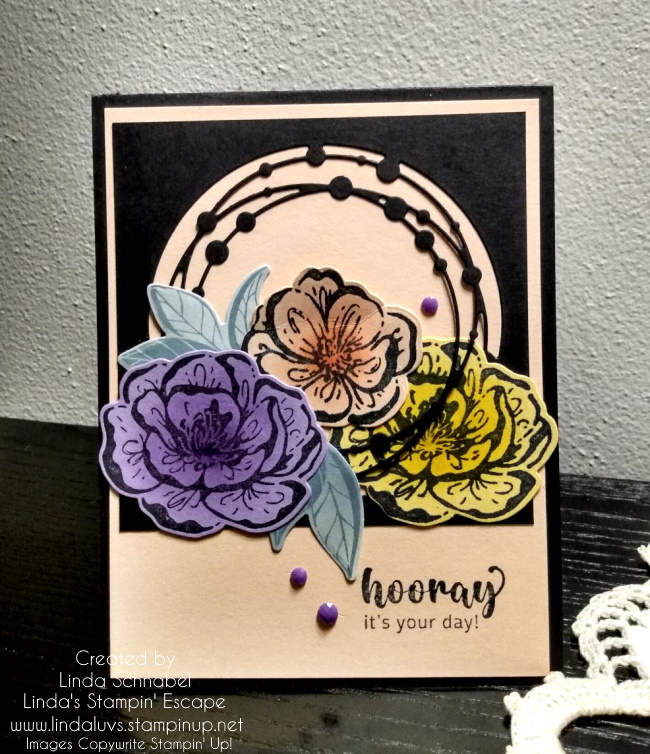
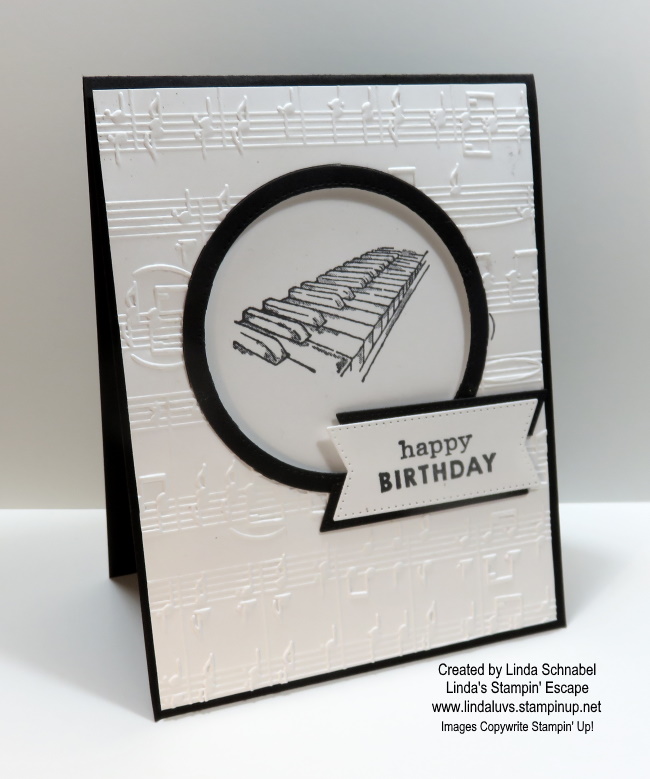
The card base is Basic Black and cut 11″ x 4-1/4″, scored and folded at 5-1/2″, and the second black piece is cut to 3-3/4″ x 3-3/4″ and then die cut with the circular die. The card front is Petal Pink (same as the small flower) and measures 4″ x 5-1/4″.
And this time I added the “purple” adhesive dots for my purple fans! Both card were fun to make and somewhat similar but they really look different! I love it 🙂
Hope you enjoyed today’s cards, and thanks to those who came over to my blog from Facebook to check it out.
Have a great day … Linda