Hello Stampin’ Friends ~
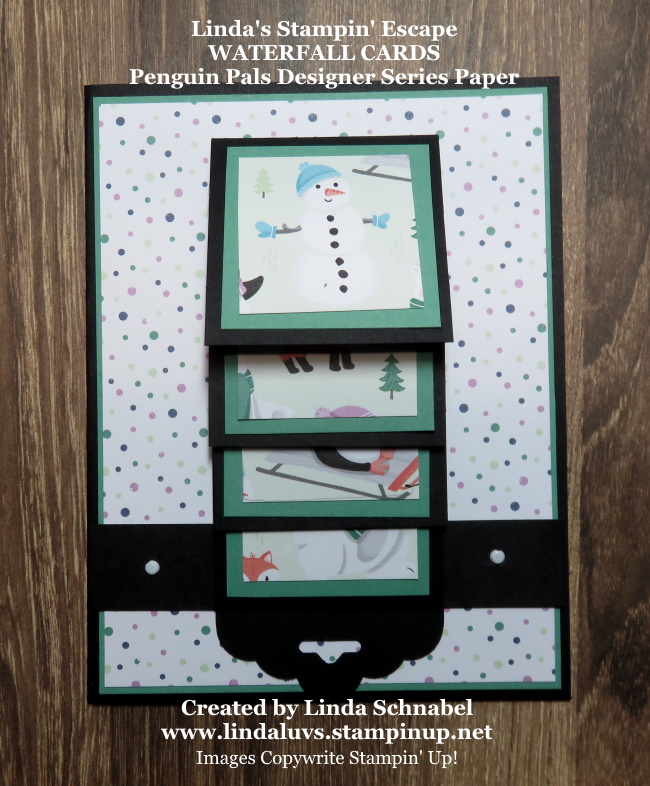
Today, I’m sharing the fabulous flippin’ Waterfall card with you … this fun is just that, FUN!! I have three cards and a short video for you today.
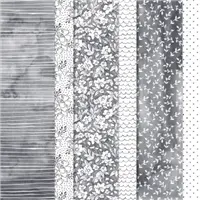
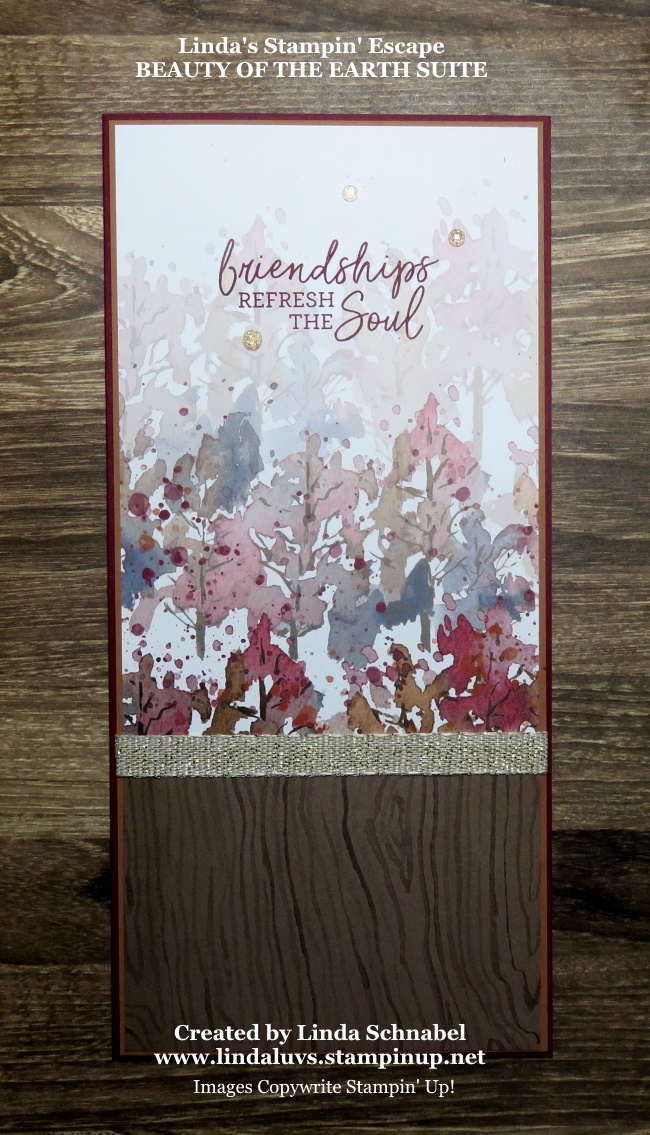
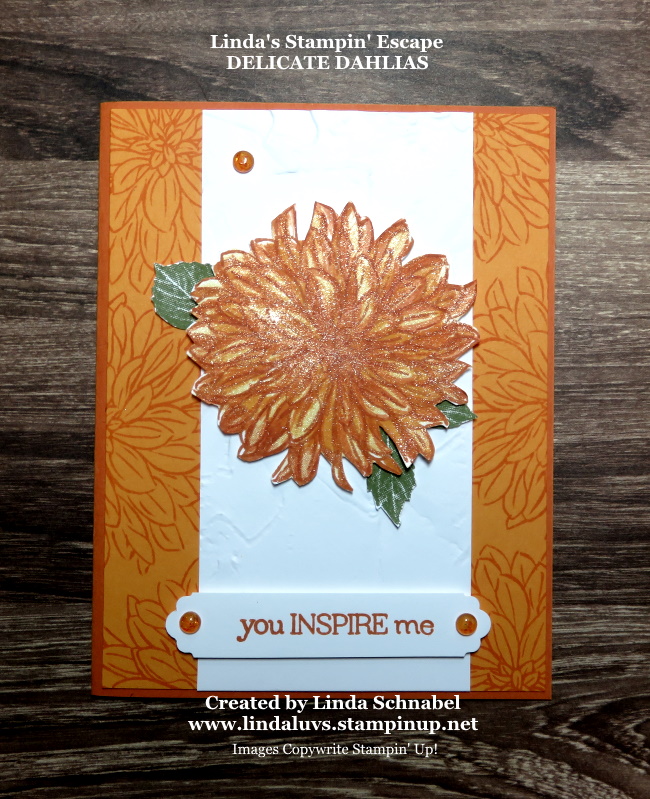
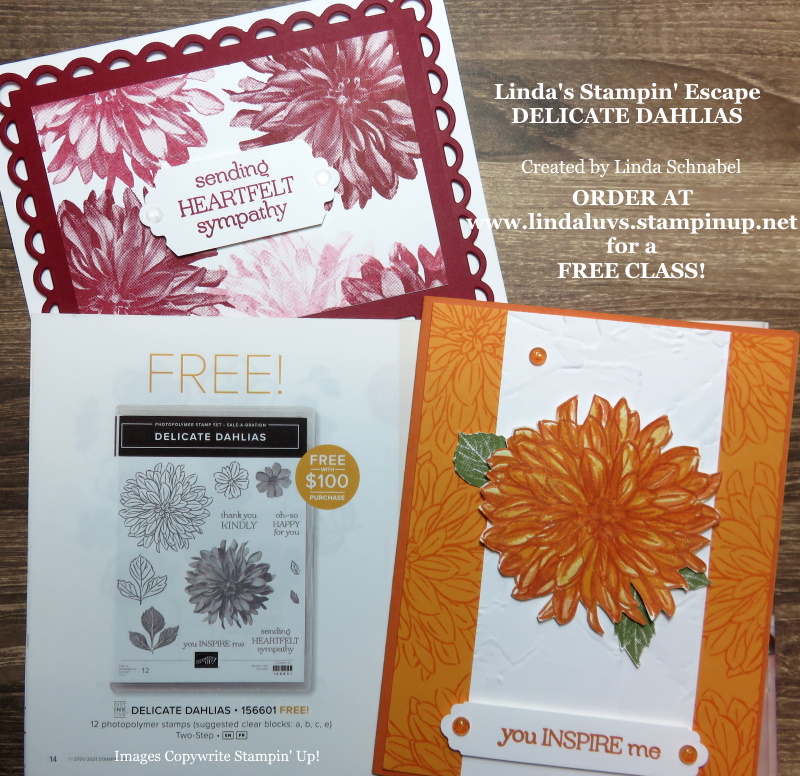
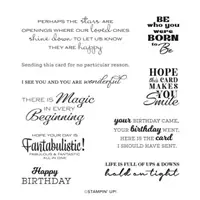
Let’s start with the first card I created using the Beautifully Penned Designer paper from our Sale-a-bration catalog (FREE with a $50 purchase / before Ship&Handling)

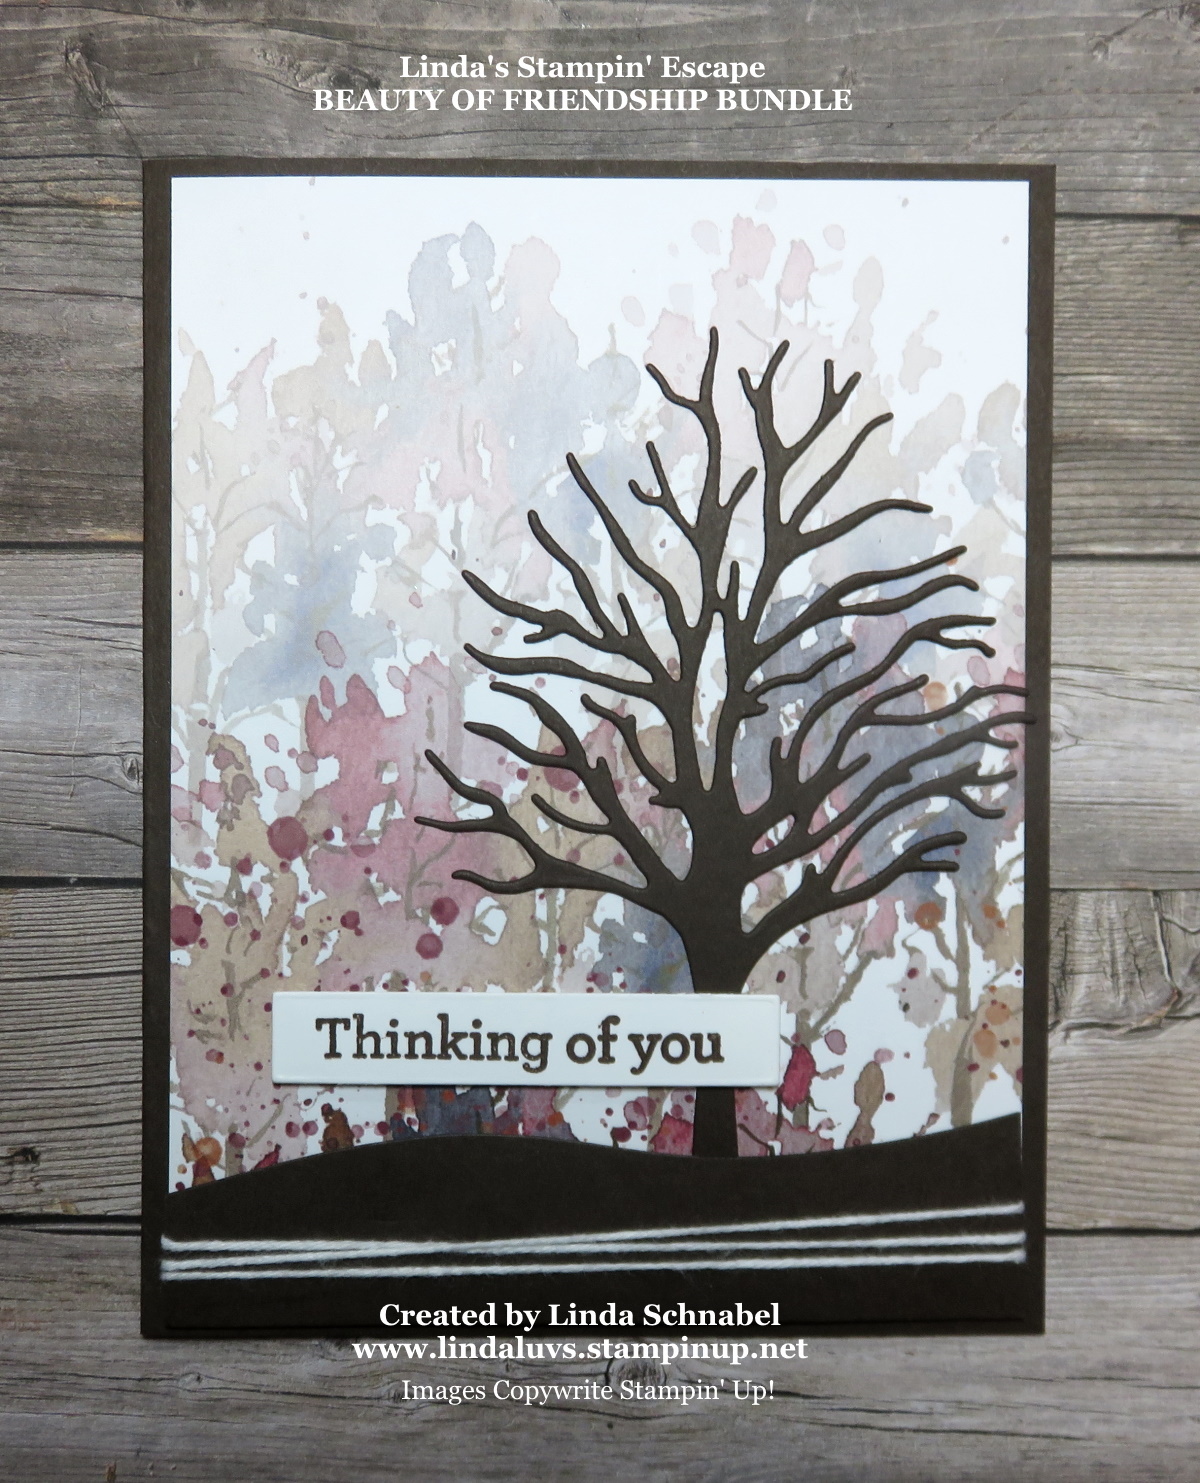
I gave the flowers a hint of color using my Flirty Flamingo ink pad and Sponge Daubers. I then went over the flowers with the Wink of Stella.
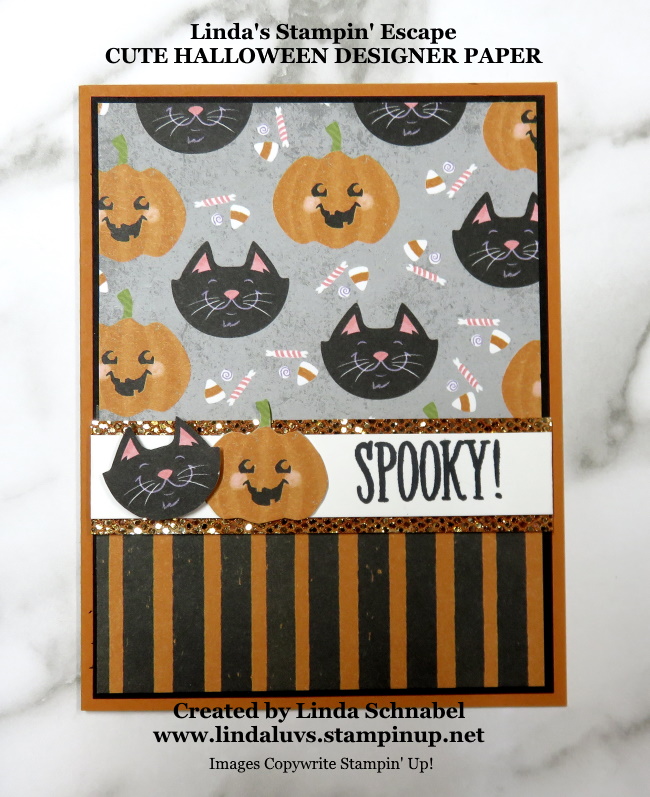
The second card was created with the Cute Halloween Designer paper … you can find this adorable paper in the Mini Catalog.

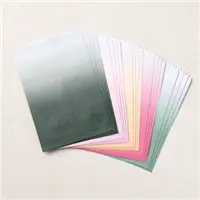
The background paper comes from the Pattern Party Designer paper which is one of our Hostess Gifts!! You’ll see in the video how I embellished the paper with a pop of color….
You will want to watch the video as it shows you how simple the cards are to create, and how budget friendly this layout truly is. I even talk about how you break down the costs.
Enjoy the video and please let me know if you have any questions …
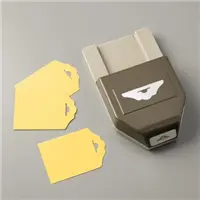
The crucial dimensions you need for your Waterfall card is the Waterfall itself: 9-1/4″ x 2″ … Punch one end and flip to score other side: Score at 2″ … 2-3/4″ … 3-1/2″ and 4-1/4″. Then you will need your “band” which hold down the sliding part of your card: 4-1/4″ x 3/4″.
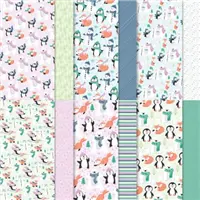
The last card that I shared in the video was the Christmas Card that I created using the Penguin Pals designer paper … another Sale-a-bration item!! I want to remind you that our Sale-a-bration promotion ends in about 2 weeks … wow, that time sure flew by!
Thank you for stopping by and spending a part of your day with me. I hope the rest of your day is wonderful ~

TODAY’S STAMPIN’ SUPPLY LIST … If you liked the products used in todays projects, I have links for you below. Just click on the item you would like more information on, or to begin your shopping. It will take you directly to my website. Thank you ♥


")
")
")
")
")
")
")
")
")
")

")