Hello Stampin’ Friends ~
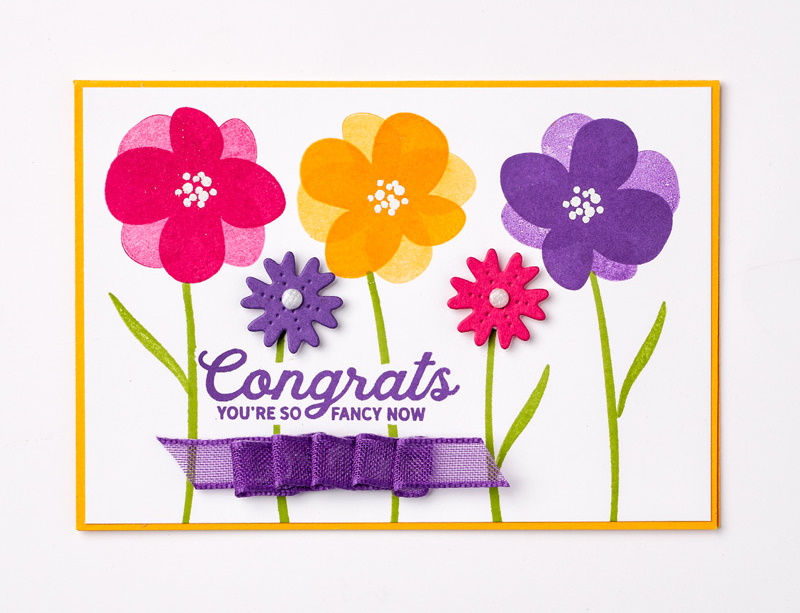
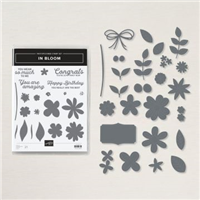
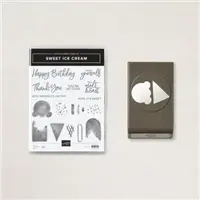
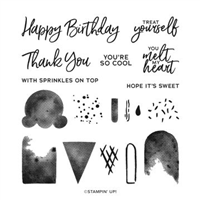
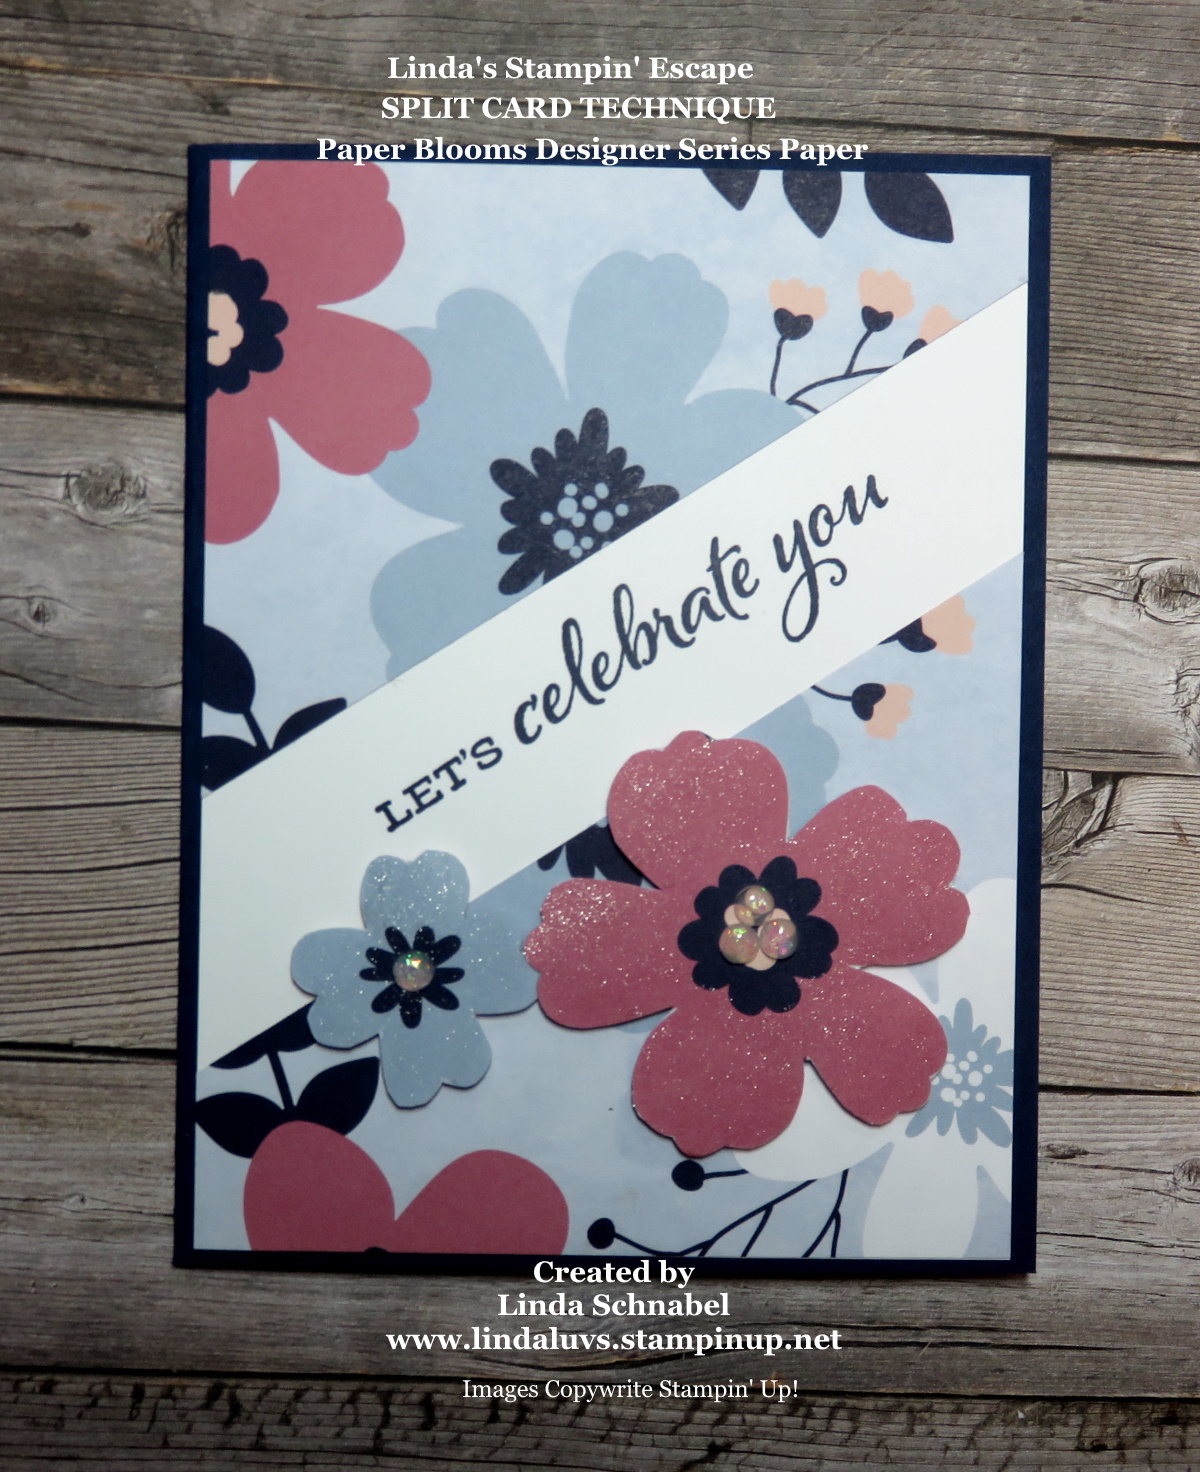
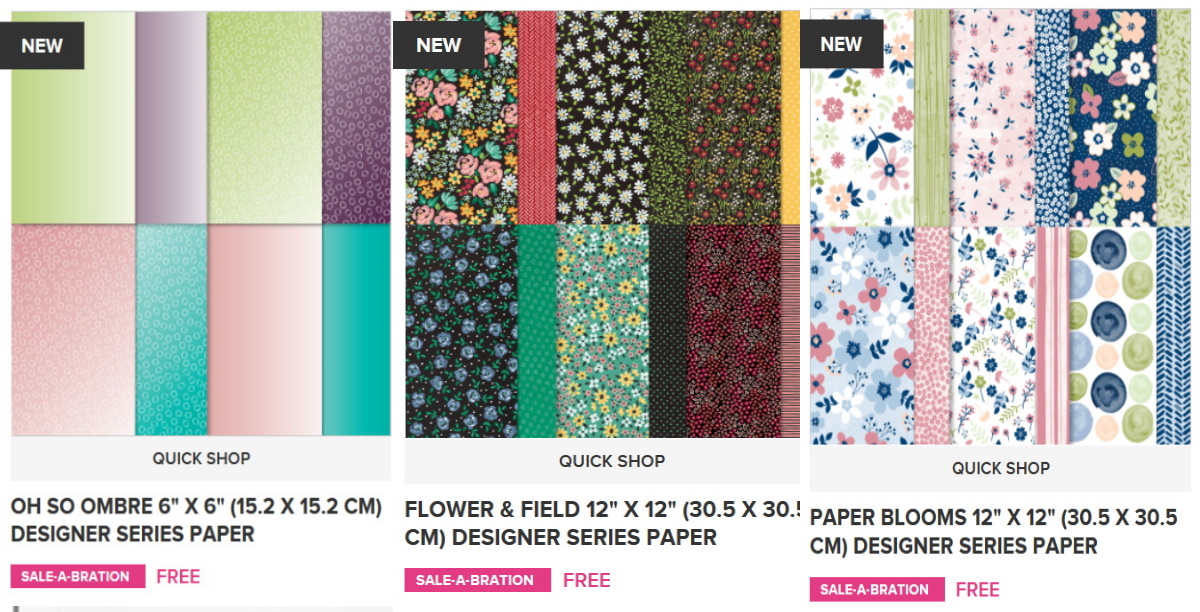
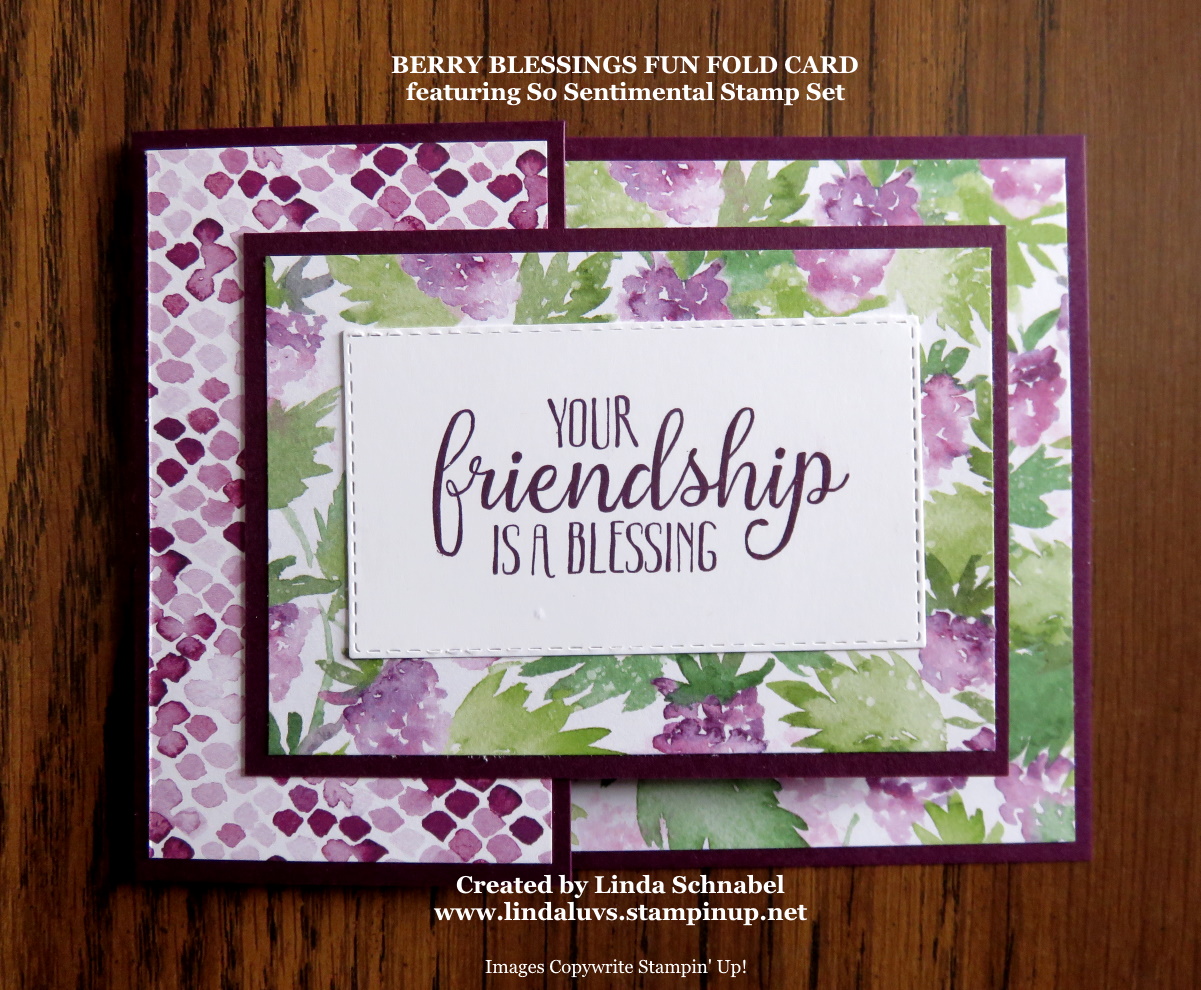
Burrr … another fridig day and another good reason to stay in and stamp! I have so much fun playing with all the new products … and speaking of new products, have you seen the catalog yet?
Check out this cute little video … just click on the arrow!
I have the new catalog also posted on the right hand side of this blog so you can take a peek if yours has not come yet. If it hasn’t … let me know!!

Along with the New Mini Catalog … We’ve been Sale-a-brating!! Hard to believe we have less than 3 weeks left 😦 There are three (3) ways to take advantage of our Sale-a-bration event …
- SHOP … Customers (and demonstrators) can earn FREE products for every $50 you spend (before ship/tax)
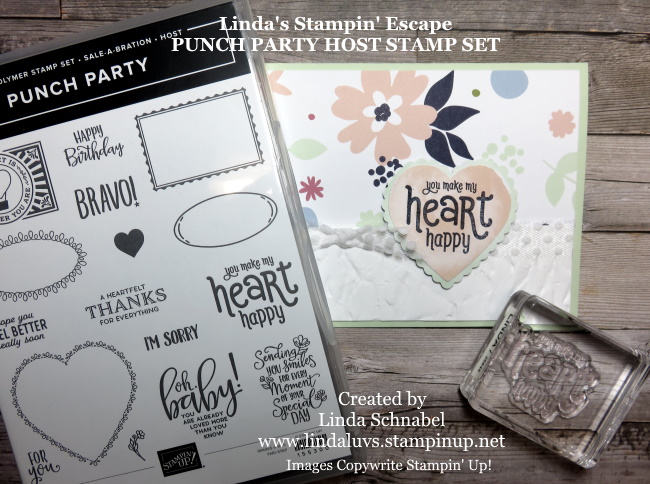
2. HOST … Hosting a party is a great way to earn FREE product, and it gives your friends a chance to earn FREE products too!! Let’s schedule a date and get you some catalogs. You’ve seen my online parties … I can do the same for you and your friends!! Demonstrations … Fun … and Prizes!!

3. JOIN …. When you join my team (and Stampin’ Up!) you will pick out $125 worth of product for $99 PLUS you will receive a free stack of our Regals, Subtles, Neutrals, Brights, and 2020—2022 In Color Designer Series Paper along with your Starter Kit! That is 5 paper stacks!!

Don’t forget to hop over to Facebook and join me LIVE tonight at 6:30 … I’ve got more to show you!! It’s going to be fun, fun, fun! We’ve got 2 weeks to “spin to win” tonight … I hope you plan on joining me!

Thanks for joining me today. Please let me know if you have any questions about the New Mini Catalog or Sale-a-bration. I’d be happy to help you with any questions, or get you a catalog if you have not received one from me yet.
Have a great day and I’ll see you on my Linda’s Stampin’ Escape Facebook page for a fun LIVE demonstration.