Hello Stampin’ Friends ~
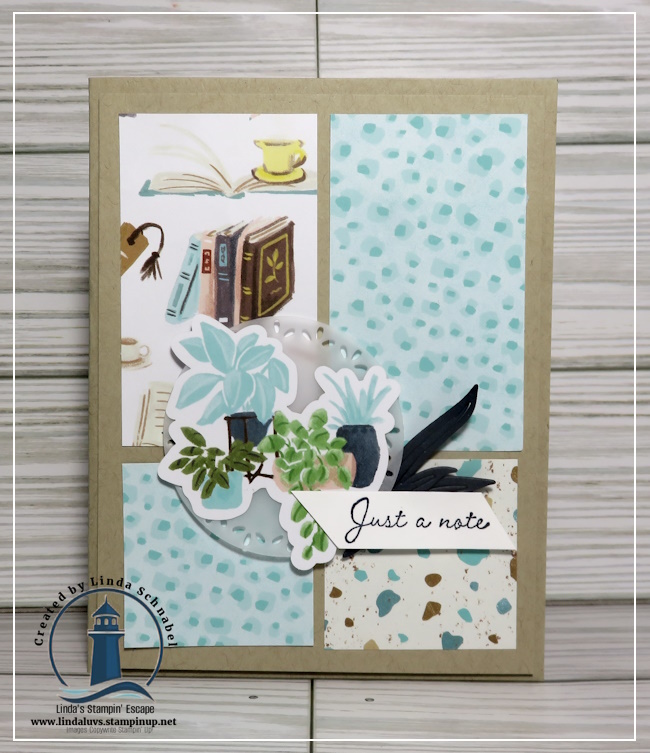
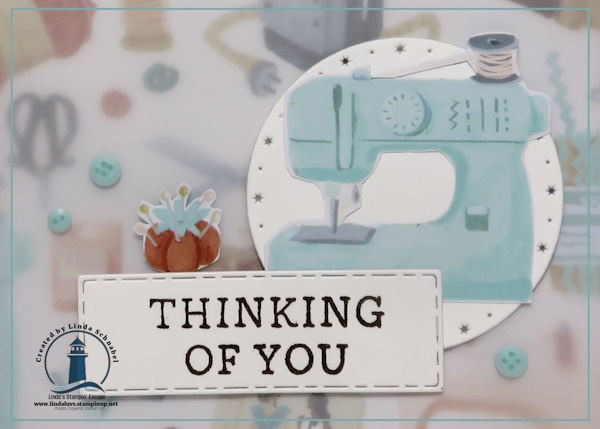
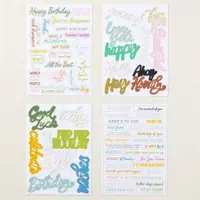
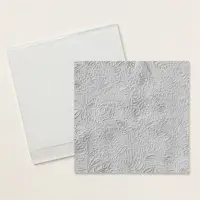
Have you ever fallen in love with a piece of designer paper and thought, I don’t want to waste a single inch of this!? If that sounds like you, you’re going to LOVE today’s project. I’m sharing a fun, eye-catching designer paper fun fold that not only maximizes your paper but also delivers a big WOW factor with very little effort. This is one of those cards that looks fancy and impressive, yet comes together easily—perfect for using up your favorite papers while making something truly special.

One of my favorite things about this fun fold is how efficient it is. With just a few strategic cuts and folds, you’ll be amazed at how much impact you get with little to no waste. It’s a fantastic way to stretch your designer paper, especially those patterns you’ve been hoarding because they’re “too pretty to cut.” Trust me—this design lets the paper shine while keeping the process simple and enjoyable.
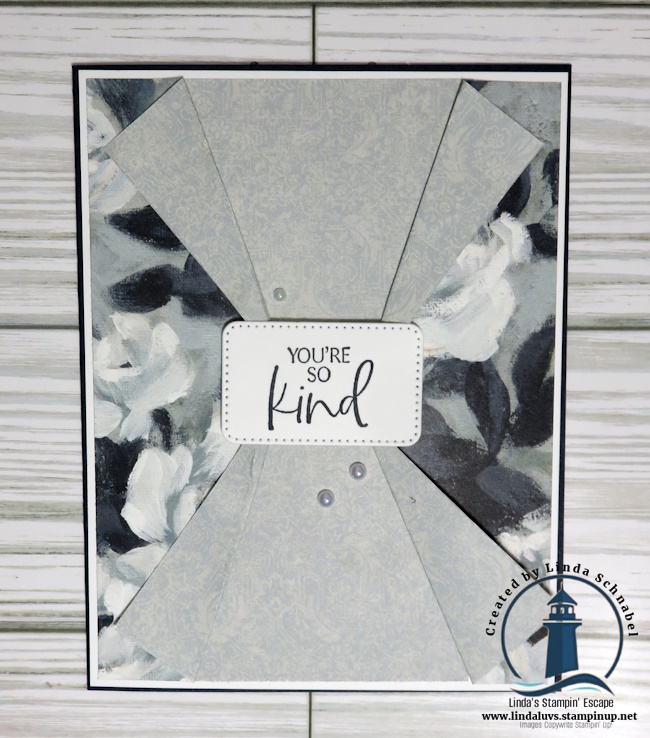
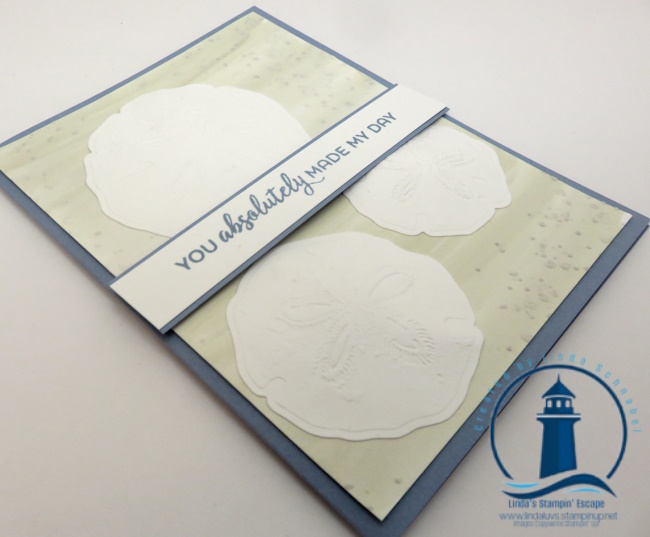
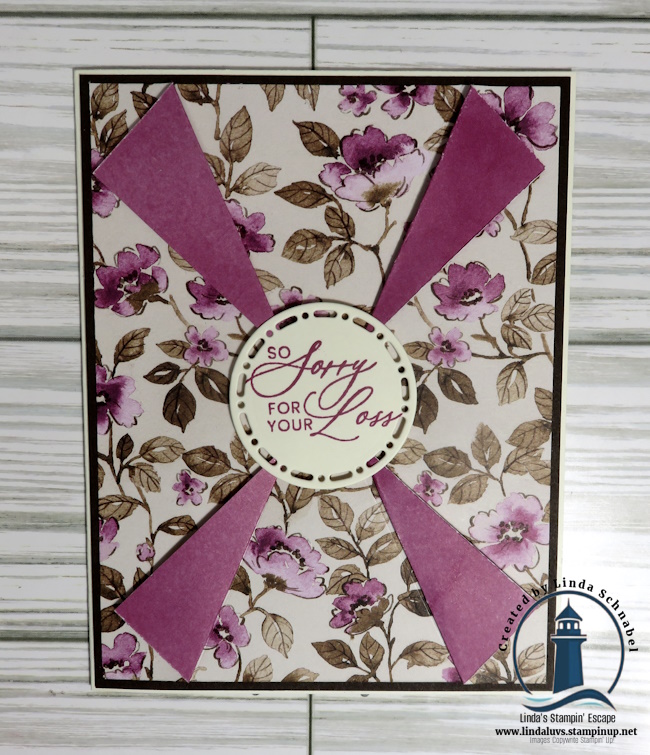
In today’s Facebook LIVE REPLAY / YouTube video, I walk you through the entire process step by step. You’ll see exactly how the folds come together, how the layers create that WOW moment when the card is opened, and how easy it is to adapt this design using different designer papers, colors, and themes. Whether you’re crafting for birthdays, thank-you cards, or just for fun, this fold is one you’ll come back to again and again.
🎥 Watch the video below to see this designer paper fun fold in action and learn how to maximize your paper while creating something truly impressive. Grab your supplies, craft along with me, and don’t forget to leave a comment—I’d love to hear which designer paper you’re excited to try with this fold!
CLICK HERE TO WATCH ON YOUTUBE
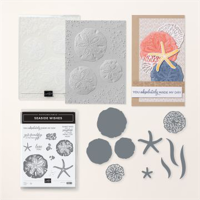
If you loved this fun fold and the idea of getting more WOW from your designer paper, be sure to check out the supplies I used—you can easily recreate this design or make it your own with papers you already have on hand. This fold is incredibly versatile and looks amazing with just about any designer series paper. And if you’re hungry for more creative ideas, fun folds, and stamping inspiration, make sure you’re subscribed to my YouTube channel and following along here on the blog so you never miss a project. Crafting should be fun, relaxing, and inspiring—and I’m so happy to share that creative escape with you.
Happy stampin’, my friend! 💕✂️


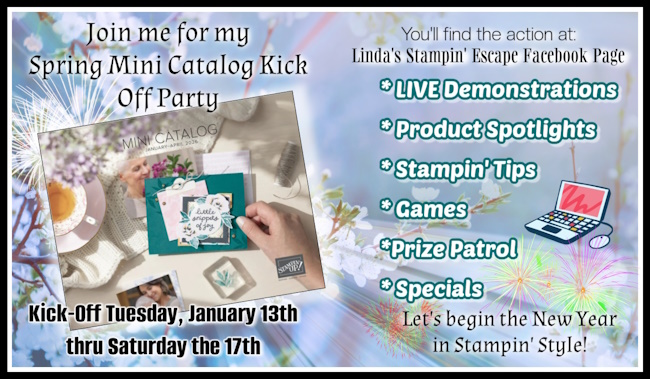
🎉 Join me next Tuesday at 6:30 pm on my Linda’s Stampin’ Escape Facebook page LIVE as I launch my Mini Catalog Kick-Off Party—stamping, inspiration, specials and crafty fun await!