Hello Stampin’ Friends ~
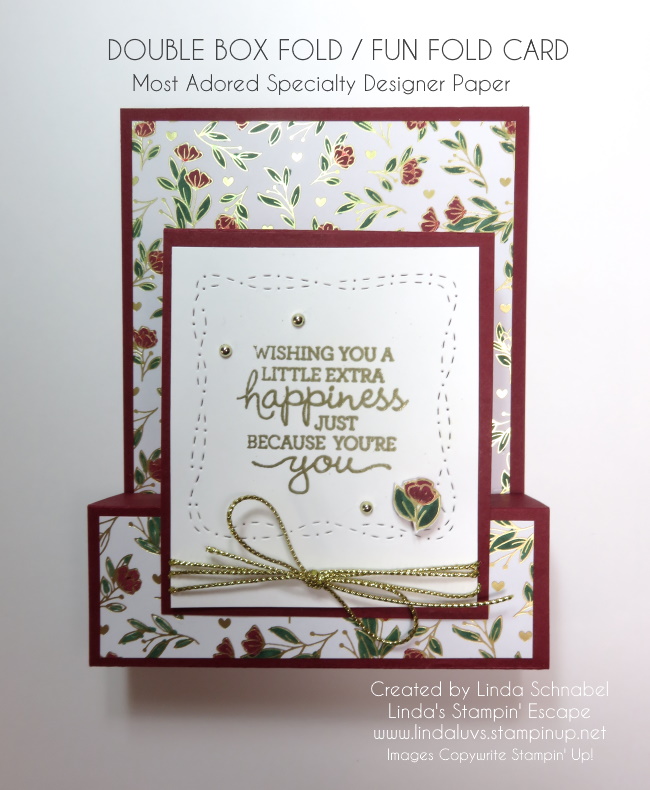
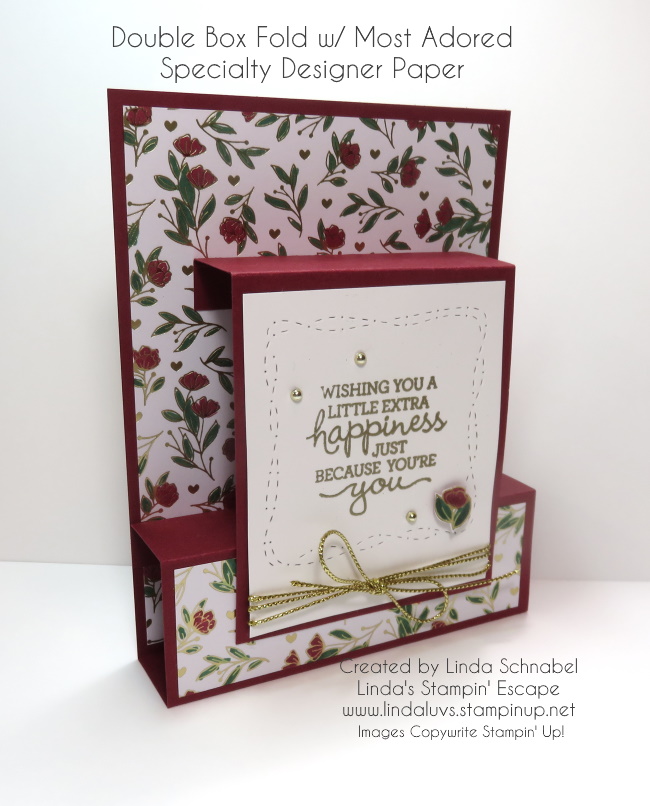
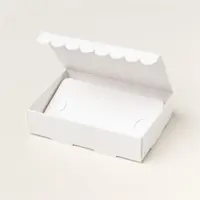
In my last blog post I shared the “Double Box Fold” Card with you, but what do you do with the leftovers? You repurpose your leftover materials to craft a charming shaker card. If you’re a fan of recycling and getting creative with what you have on hand, this project is perfect for you! Are you ready to add an extra touch of love to your Valentine’s Day greetings?

Cut a piece of clear acetate sheet slightly larger than the opening of the leftover piece. Adhere it to the backside of the die-cut piece using adhesive, ensuring it covers the entire opening securely.
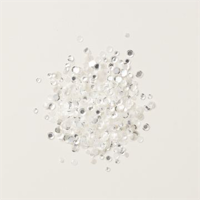
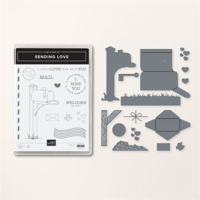
Carefully apply foam adhesive strips around the edges of the die-cut piece, creating a border around the acetate window. Make sure there are no gaps where the sequins could escape. Pour a generous amount of Loose Silver Sequins onto the center of your card base. Sprinkle in some hearts from the Sending Love Dies to add a romantic touch to your shaker card.

Now, carefully place the acetate-covered die-cut piece over the card base (centering it), and ensuring the sequins and hearts are securely trapped inside. Press down firmly on the edges to seal the shaker element.
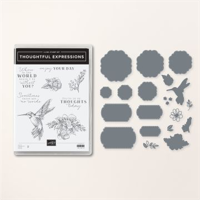
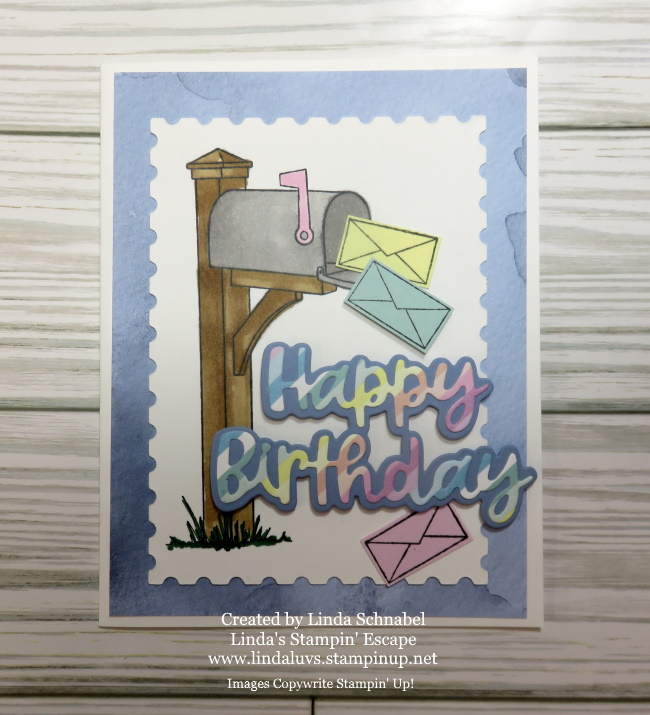
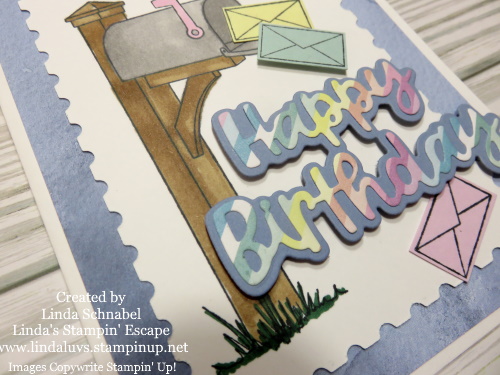
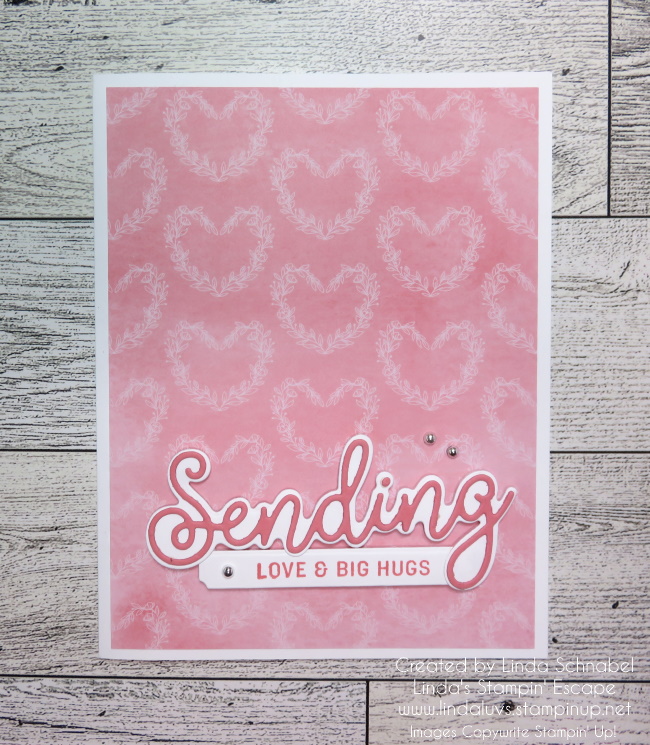
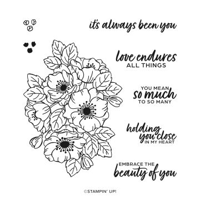
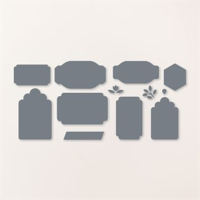
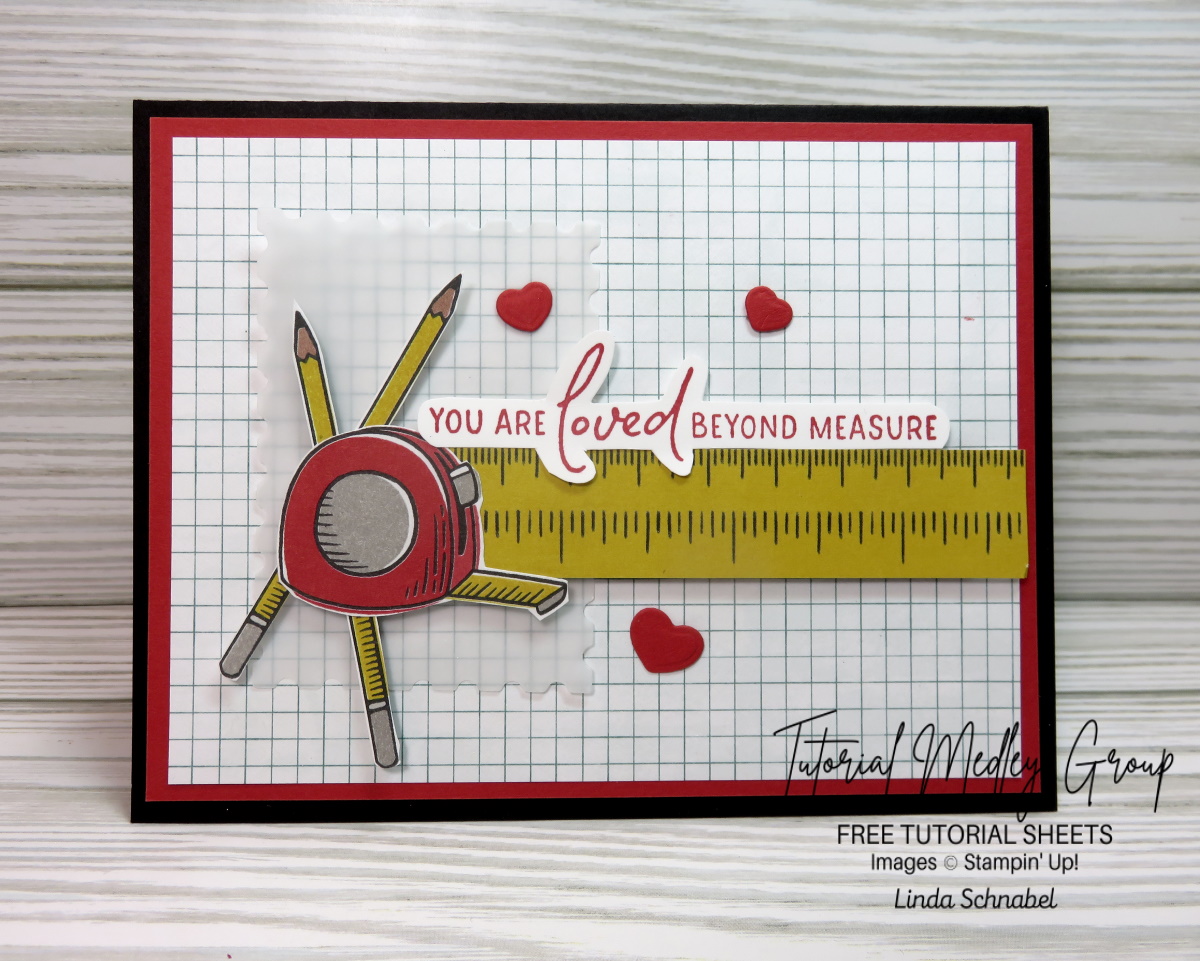
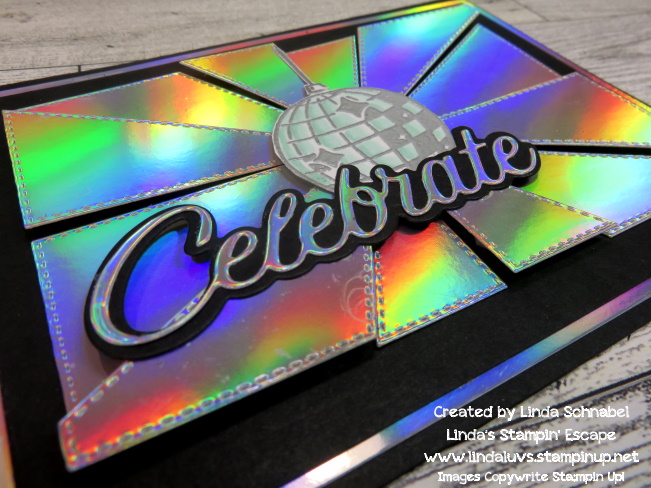
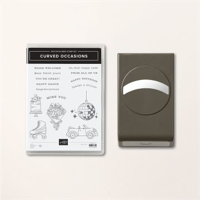
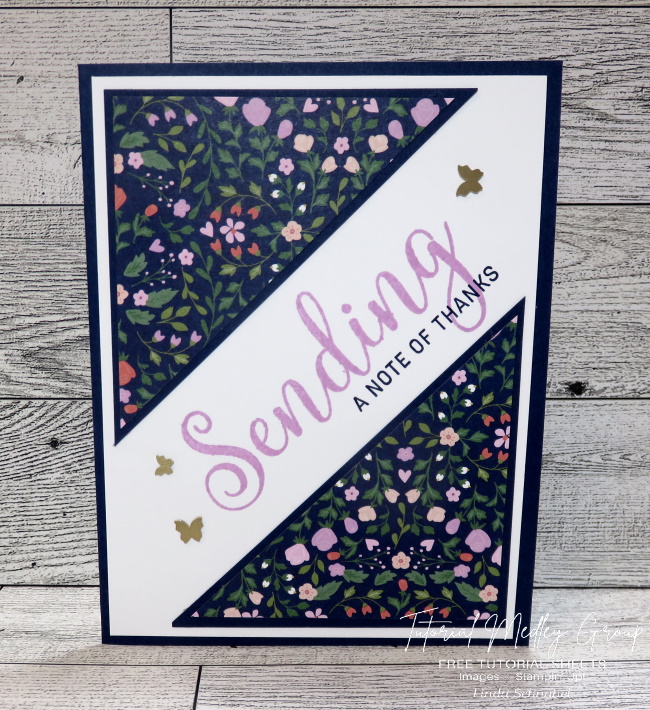
Once your shaker portion is complete, it’s ready to add a greeting and embellish. Greeting comes from the Throughout the Year stamp set and die cut with the Everyday Details Dies. I glued a few of my sequins on the card front to embellish, and then embellished my embellishments by adding the Iridescent Rhinestones inside of them. I also add a couple hearts at the top for a pop of color and interest.
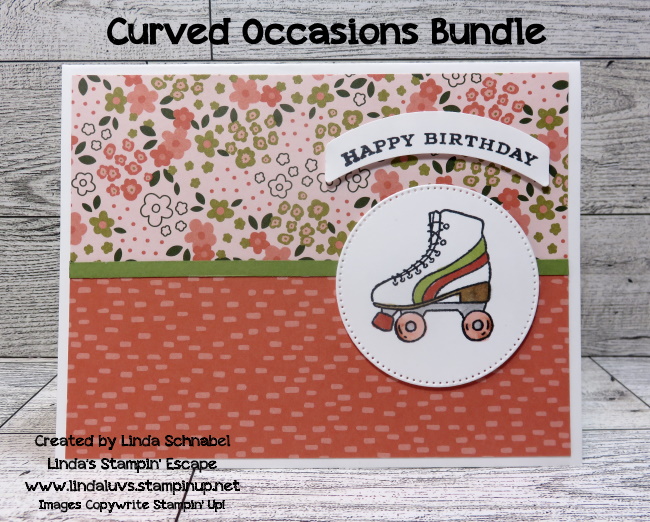
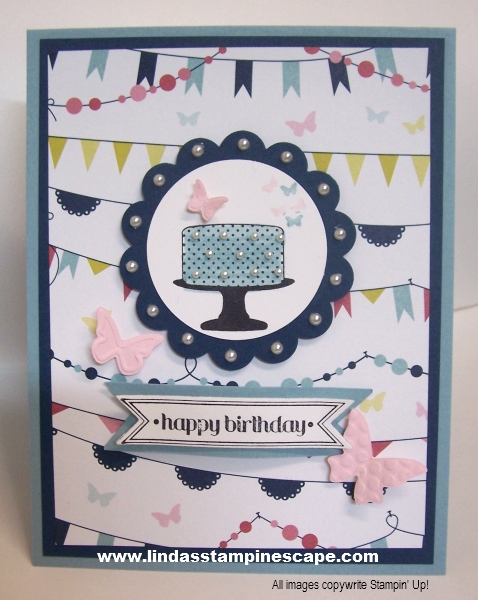
Now it’s ready to spread love and joy to your friends and family. Whether you’re mailing it to a loved one or hand-delivering it with a hug, this handmade creation is sure to bring a smile to their face. PS. Swap out the greeting for an All Occasion / Just Because I Care card!!
Thanks for joining me today ~