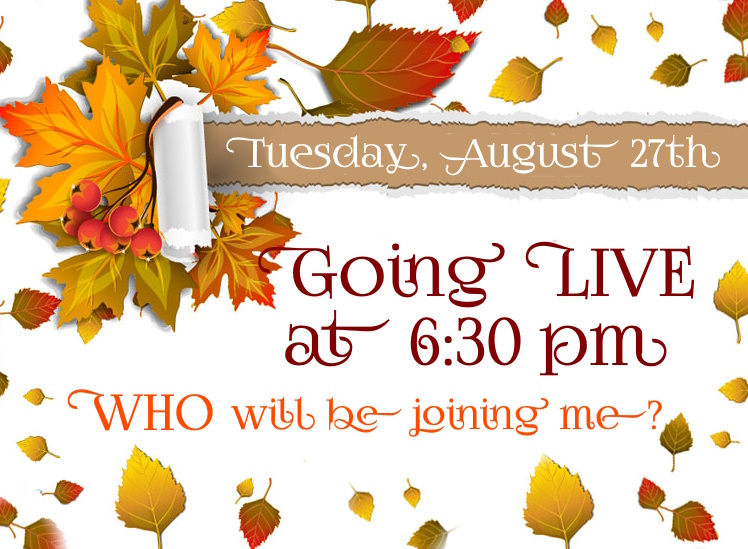
Hello Stampin’ Friends ~
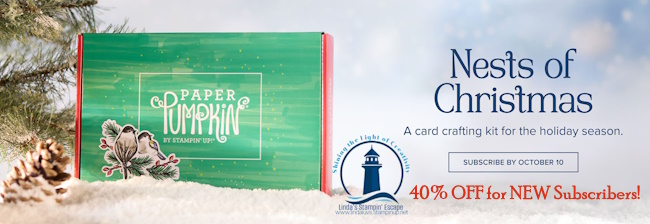
Santa Claus is comin’ to town a bit early this year—and he’s brought a holiday Paper Pumpkin SALE! Starting September 11, 2024 until October 10, 2024 anyone who signs up for our monthly Paper Pumpkin subscription as a new subscriber will receive 40% off their first kit. That’s right, 40% OFF! This discount will be applied to the upcoming October Nests of Christmas Paper Pumpkin Kit.
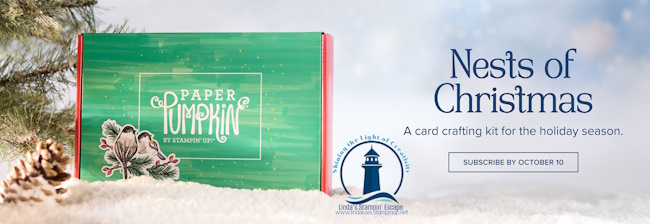
Our Nests of Christmas Paper Pumpkin Kit perfectly coordinates with the stunning Nests of Winter Suite from the Mini Catalog. If you’re already in love with the Nests of Winter, this kit is the perfect addition to your holiday crafting collection. Imagine the intricate details and cozy, wintry vibes of the Nests of Winter Suite transformed into beautiful, ready-to-create projects in your Paper Pumpkin box!
What could be better than kicking off your holiday crafting with a beautiful and festive kit, all while saving big?

Where This Discount Is Applied
This discount will be applied to one kit in the first kit shipment of the Paper Pumpkin subscription, which means new subscribers will get 40% off the October Nests of Christmas Paper Pumpkin Kit. After that, each month’s kit will return to the regular price of $25.00.
Qualifying for This Discount
This offer is only for new month-to-month subscribers and is not valid on purchased or redeemed prepaid subscriptions. So if you have previously used an email address for a Paper Pumpkin subscription, you won’t qualify as a new subscriber to receive this discount. Also, anyone who signs up as a new subscriber to Paper Pumpkin but cancels by October 10 will not receive any kits or discounts.
With the holidays fast approaching, there’s no better time to treat yourself to a little crafting joy. Plus, you’ll have coordinating products that work seamlessly with the Nests of Winter Suite from the Mini Catalog, offering you endless creative possibilities.
So, what are you waiting for? Grab this 40% off deal, and let’s craft the holidays together! 🎅 You can CLICK HERE to get started! Our Paper Pumpkin subscriptions make the Perfect Gift!
✨ Stay tuned for more holiday crafting inspiration, and remember: Santa’s coming, but he’s bringing the savings early this year!