Check out my Fun “Faker Shaker” Card!

Hello Stampin’ Friends,

Today I’m sharing a fun “Faker Shaker” card … Last week I shared the cards from the Saying Thanks Card Kit and during my demonstration (will share the video replay below) that I would create a card using those left over hearts that came off of one of the cards in the kit.

If you’ve seen the video, just bypass it because you know exactly what I’m talking about … If you haven’t grab a cup of coffee, sit back and enjoy.

I really love this kit … as it states, it’s perfect for NEW Crafters / Cardmakers, Busy Moms or Grandmas! Great to craft with your kids (thanks Barb) and they are nice to have on hand when you need a quick card!!

OK … Let’s get to this cutie! I used a “clear” medium envelope to create my shaker card, and all those hearts you see below, they will now be “inside” as the “shaker” for my card.

I cut the front of the cardbase used for the “heart” card down to 4″ x 5-1/4″ … it’s so colorful and coordinates with the envelopes from the KIT perfectly. Then I tucked it inside the “CLEAR” envelope … make sure that the adhesive flap goes towards the back.

You can save the back that was cut off for another card. Next I tucked all them hearts inside the envelope “in front of” the card front. The fact that they are white, really makes them stand out from the watercolor background.

You will need to wrap the excess of the envelope to the back. I use the Stampin’ Seal Plus as it lays nicely on the clear envelope and really holds it in place. Now you can remove the backing from the adhesive flap and pull that around the back as well. This encloses your hearts.

I wanted to add a ribbon behind my greeting so I used the Fresh Freesia Open Weave Ribbon. I attached the ends to the back of my “shaker” and then tied a bow and attached it with a Mini Glue Dot. I chose the Merci as my “thank you” … the greetings in the “Saying Thanks” Kit come in four different languages so it’s fun to find a way to use them as well. I attached the greeting over my ribbon using the Stampin’ Dimensionals.

Then I stamped the “FOR ALL YOU DO” from the Happiness Abounds stamp set … I used my Stampin’ Write Marker to lay color only on those words as it is a larger sentiment. Once inked up, I stamped it on Basic White and cut it out myself. Using the edge of my stampin’ dimensionals I popped it up to match the greeting height.

Now that the “shaker” card front is done, you can mount it onto your card base … I used a Basic Black card base to pull the black out of the greeting and creating a focal point. It draws your eye to it even though it is mounted onto such a colorful background. Interesting!! To finish off my card, I added 3 Fresh Freesia embellishments from the Opaque Adhesive Backed Gems.

Even though the kits were designed for NEW stampers, those of us who are avid stampers also like to have quick & easy cards on hand … and if we want, we can JAZZ them up a bit!!

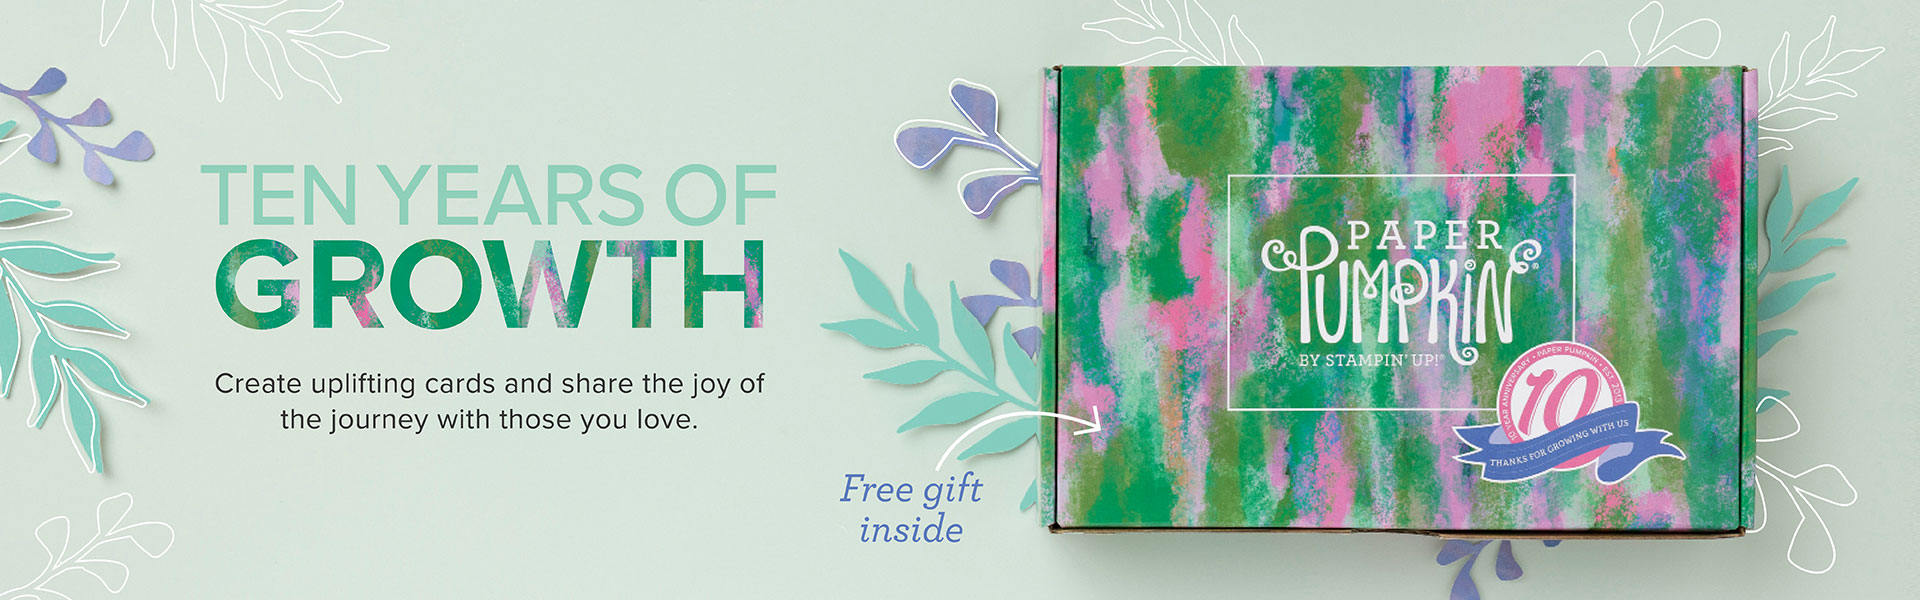
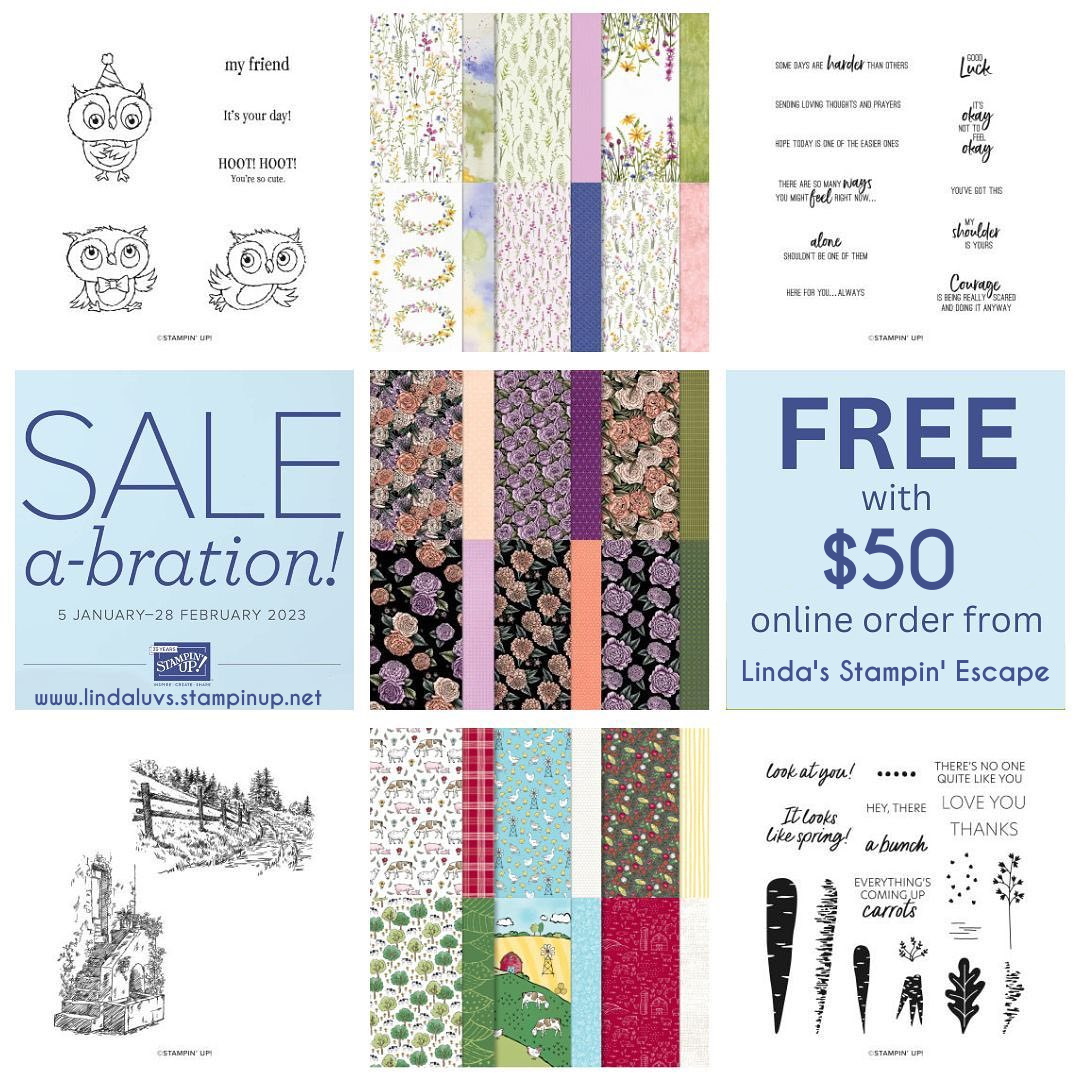
I have the links listed below so you may add these products to your stamp collection. We only have 1 week left to qualify for our FREE / Exclusive Sale-a-bration items, so if you need some adhesive, cardstock or embellishments now would be a good time to pick them up, and grab a FREEBIE!!

I want to “Thank You” for joining me today. I hope you have a wonderful day.

Here are those links that I promised …. Feel free to contact me if you have any questions.

Make sure to join me LIVE tonight (Tuesday, Feb.21st) on my Facebook Linda’s Stampin’ Escape Page … I will be showcasing the NEW Hello, Irresistible Suite Collection

Inspired by Your Amazing Courage

Hello Stampin’ Friends,

Today I’d like to share a card of inspiration. My card today was inspired by the amazing courage of my neice … Samantha Rose. I’m using the Greatest Journey Bundle … this was on my Wish List from the moment I saw it, and for very personal reasons. I love the sentiments and they are inspirational, yet there is one that is “inspiring” and that is the one I’m using today. I’m also using the dies, specifically the “rider on the bike”.

She was just a little girl, a baby when they discovered that Sammy had CF / Cystic Fibrosis. It affects their lungs and we were told to prepare that she would not have a long life expectancy (things are better now for children) and her health was critical so many times … but this girl persevered.

Approximately 14 years ago she went through her first “double” lung transplant, and has since has another. She is so grateful for her new chance at life (and her donors) that she is not wasting a second … she experiences all she can in life. She has journaled her experiences and connected with others suffering from CF. She has joined in to raise awareness as well …

She continues to amaze all of us .. family and friends, she is a true inspiration. But I have to share the pictures of HOW she celebrates her life that inspired my card today ….

She’s on that bike …

So my card today has the biker in the mountains ….

And I am truly inspired by her courage, the way she chooses to live her life and honor those who gave that second chance to her.

And if she’s nice biking in those mountains, she’s climbing them! Yep … this photo still makes me hold my breath!! Oh Lord, look how high she is!! I could go on for hours about how proud I am of her and the way she honors the life she was given… she is an inspiration. Love this girl …

And flowery foo foo cards are just not her style (that doesn’t mean she doesn’t like flowers) but I just felt this was so fitting for Sammy. The designer paper is so pretty and coordinates perfectly with this bundle, so with some paper and a couple die cuts the card was ready for the sentiment … Inspired by your courage!

Oh yes, and my oldest grandson, well a picture is worth a thousand words! And video’s … oh my, they can be hard to watch LOL.

More power to those who follow their dreams and inspire others by living their best life. I’ll stick to my passion of card making and sharing that!!

I hope today’s card inspired you. Just so you know, there’s also a tent and a hiker in that bundle, and I have something floating around my mind for one of the designs in that Enjoy your Journey designer paper. Can’t wait to share that one with you!

I think you will agree that this bundle and coordinating designer paper will be an adventure to stamp with as well. Thank you for sharing your time with me today. Have a beautiful day ~

Here is a list of ingredients that I used on today’s card …. Click on the image for more information or to begin shopping. Thank you. ❤

Simply Sunday: Wishing You Adventure

Hello Stampin’ Friends,

Today I’d like to share a simple and pretty card created with the Greatest Journey stamp and the Enjoy the Journey Designer Paper (which you can get FREE during Sale-a-bration). This card takes it a step up from just simply using designer paper and a greeting.

We begin our usual 8-1/2″ x 5-1/2″ card base; I’m chose Basic Black, scored and folded at 4-1/4. Then cut a a 4″ x 5-1/4 piece of designer paper, then cut off 1-1/4″ off each side leaving a 2-3/4″ center.

Next cut a 4″ x 3″ piece of Basic Black cardstock which will be mat the 2-3/4″ center piece of designer paper.

I attached the two end pieces on first, then I secured the center piece of designer paper onto the black mat. You can still see the flow of the card but you have the interesting design element by layering it … I did not use dimensionals on the center piece.

I stamped the greeting and just cut the ends off at a slant… then I popped it up. The final touch was to add the black dots from the Classic Mat Dots.

Super simple but with an interesting twist … great for when you need a quick card. Thank you for spending time with me today.

Here is a list of ingredients that were used in today’s card …

Oh Happy Day Card / Rain or Shine!

Hello Stampin’ Friends ~

I have another Rain or Shine card for you, in fact … I’m sharing them all here today. I like to share several samples of the same product so you are inspired to create / play with you goodies and to maximize the value of your purchase. I want to make sure you get your moneys worth!

You will enjoy this little cutie for sure …

Using the same pattern of designer paper as I did yesterday, you’ll want to start with a 3” X 4” and cut at 1” and 3” leaving you with 1” left (and a 2″ center). These are layered onto Basic White and the Mango Melody.

The turtle is die cut from the Rain or Shine designer paper … you want the one that is at the edge, then there is no waste because he looks pretty awesome coming in from the side of your card! The front will be attached to the Balmy Blue card base.

To finish off the card, stamp your greeting with Momento ink and punch from the Dual Oval Punch (Mango Melody from Scallop Oval). Attach 3 of the loose daisy’s using liquid glue to the sentiment on your card front and you are done!

There is so much you can do with this bundle, have you seen these yet?

These two bunnies, above and below have designer paper shirts!! Just stamp the bunny image onto the designer paper and cut it out (the die coordinates with the stamp and designer paper!) Love it!

And then there was yesterday’s card ….

So, are you falling in love yet? I’ll have more to share soon but I will be sharing Sale-a-bration samples with you because time is running out, only 11 more days to Sale-a-brate!

Have an awesome Friday, and I’ll see you tomorrow!

Just for You Free Tutorial …

Hello Stampin’ Friends ~

Hot off my craft table is today’s quick card created with the Rain or Shine Specialty Designer paper and the Sentimental Park bundle. I created this card for the Design Team I am on, so I combined two of my Mini Catalog favorites (well, there are so many awesome things in the mini it’s hard to pick favorites!)

Message me below in the comment section and I will send you the Tutorial that includes the full color photo, list of ingredients, measurements and step by step instructions! Print it out or Save it in your files.

Let’s see how many I can give away!!

Thank you ~

Kits Make Card Making Easy Breezy!

Hello Stampin’ Friends,

Today I will be sharing the replay of my Facebook LIVE last night where I highlighted the Saying Thanks Card Kit and will show you making them is Easy Breezy! These kits include everything you need to create the cards and even include coordinating envelopes. Then I’m going to use one of the card bases and add some stamping to it!! Oh … I can’t wait to show this to you!

First, lets take a look at the video …

I really love this kit … as it states, it’s perfect for NEW Crafters / Cardmakers, Busy Moms or Grandmas! Great to craft with your kids (thanks Barb) and they are nice to have on hand when you need a quick card!!

As you look at these three cards, you could change up the “occasion” with just a little simple stamping! Turn the polka dots into a “birthday” or the hearts into “I Love You” or “I’m Here For You” card … anything you can imagine!

Now … let’s talk about that rainbow card. The minute I saw it, a stamp set came to mind and I know I had to try it out. I normally don’t really change up my “Kit” cards but I didn’t think swapping out a greeting / sentiment would hurt.

When I saw the Covered in Sunshine stamp set, well … I had to have it. Look at the samples in the Mini Catalog (page 37/ below) and you can see why I was tempted to purchase this one… It’s different! It’s happy and encouraging and fun! Stampin’ Up! did a great job on these samples.

So … look at the rainbow card above, and you’ll see where I got my inspiration from for my Saying Thanks Kit card. I thought it was the perfect time to do a “Mash Up” of products and see how it turns out.

Here you go ….

I love the way it turned out! It almost looks hand written, cool right, and perfect to send to a friend. And I told you in the video that I would be using up those hearts, and this is just the beginning. Let me share with you how I got the sentiment so perfect.

Oh, those of you who own the Stamparatus already knew where I was going with this ….

Using the Stamparatus allows you to align your sentiment perfectly and then “repeatedly” stamp it until you get the depth of color you want. I do believe I stamped my greeting 4 times to get it nice and dark so that it really showed up on such a colorful background.

They really do go together nicely … don’t they? Those cute little confetti embellishments that come in the kit are shiny so I thought I would add my Wink of Stella to my heart so that it sparkled too!!

I have the links listed below so you may add these products to your stamp collection. The Saying Thanks Kit, Covered in Sunshine Stamp Set and Wink of Stella “almost” gets you to a FREE Sale-a-bration item, so if you need some adhesive, cardstock or embellishments now would be a good time.

I want to “Thank You” for joining me today. I hope you have a wonderful day.

Here are those links that I promised …. Feel free to contact me if you have any questions.

Say Thanks with the beautiful Favored Flowers Card

Hello Stampin’ Friends ~

Today I’d like to share a beautiful card created with the Favored Flowers Designer Series paper that comes from our Sale-a-bration catalog so you can earn it for FREE!

Starting with a Fresh Freesia card base and adhere the Petal Pink designer paper to the bottom part of the card base. Stamp the Fresh Freesia cardstock with the flower stamp randomly using the Fresh Freesia ink pad. Rub the edges of the cardstock with the Fresh Freesia ink pad. Adhere the layer to the card.

Adhere the flowered designer paper to the Basic Black cardstock, the place a piece of White Twine on top of the Designer Paper and adhere the ends to the back of the Basic Black cardstock. Tie a smaller piece of Twine in a knot, then make a bow. Adhere this layer to the card.

Stamp the greeting on a scrap Petal Pink cardstock using its matching ink pad. Cut out the greeting using the label die. Add it to the card using Dimensionals.

What a lovely way to say thank you! Do you have this designer paper yet? There’s still time, but it will be gone in two weeks … Sale-a-bration ends February 28th!

Thank you for joining me today. Happy Galentines Day!!

Celebrating 10 Years of Paper Pumpkin with a FREE Gift

Hello Stampin’ Friends ~

It’s Paper Pumpkin’s 10-year anniversary and we want to celebrate how much we’ve grown! This month’s kit is all about happy greetings, organic and botanical designs digitally painted by our in-house artists, along with all-occasion sentiments to celebrate the happy moments in life and recognize the people around you who help you grow! 

And as part of our anniversary celebration, the March Paper Pumpkin Kit includes a FREE GIFT featuring a plant and pot builder to make all your projects plant-astic!

Did you say free? That’s right, this month’s kit includes a FREE stamp set to add versatility and creative possibilities to your projects. With unique plant and pot builder designs, there’s no better time to sign up or renew your Paper Pumpkin subscription and get your FREE stamp set!

This kit includes:

  • All the supplies you need to create 9 cards: 3 each of 3 designs; and coordinating envelopes.
  • An all-occasion stamp set to recognize the people in your life who help you grow with greetings and beautiful botanical images.
  • 1 Polished Pink Classic Stampin’ Spot
  • Paper pieces and embellishments with digitally-painted designs and images.
  • Mini Stampin’ Dimensionals.
  • 1 FREE additional stamp set, which includes a plant and pot builder to make plant-astic projects!

Completed card size: 5-1/2″ x 4-1/4″ (14 x 10.8  cm)

Coordinating Stampin’ Up! colors: Shaded Spruce, Garden Green, Coastal Cabana, Orchid Oasis, Fresh Freesia, Polished Pink, Crumb Cake

Subscribe to the March Paper Pumpkin Kit before March 10th, 2023 by clicking here!

What is Paper Pumpkin?

Paper Pumpkin is our monthly One-Stop Box™ that offers a unique variety of paper projects for subscribers of any skill level to enjoy! These thoughtfully-themed and all-inclusive craft kits encourage you to explore your creativity, try new techniques, and discover the potential in papercrafting.

Now is a great time to subscribe, because if you choose the Pre-Paid option of subscribing, you will also receive FREE Exclusive Sale-a-bration products. Click Here to Learn More About Sale-a-bration.

Subscribe to the March Paper Pumpkin Kit before March 10th, 2023 by clicking here!

Once you subscribe, you will be sent an email verification which at that time you will need to activate your subscription … it’s easy. Then your Paper Pumpkin kits will be delivered right to your mailbox!

Thank you for checking out my blog post today to learn more about Paper Pumpkin and the amazing FREE gift offered in this kit, and during Sale-a-bration.

Message me if you have any questions.

Have a beautiful Sunday ~

You can subscribe using the links above or you can click on any of the images below ….

No Line Watercolor Technique Card & Video

Hello Stampin’ Friends ~

Ready for Spring? I’m thrilled to revisit the No Line Watercolor Technique with you today. Daffodils always remind me of spring and with the temperature hitting 40 degrees today, it will feel like spring for many of us.

I love this watercoloring technique and it is much easier that you think. It’s not a quick card but it is very relaxing and you will fall in love with the No Line Watercolor technique as well.

I’m using the Daffodil Daydream stamp set, it is such a beautiful flower to illustrate and do this technique with.

I invite you to watch the video along with me … I can’t wait to show you the simple steps it takes to create such a gorgeous card. You are going to fall in love with this technique because it’s going to make you look like a real artist! I’m no paint pro, but I sure like the way this looks.

As simple tip is too keep your darker colors in the recesses of your image. I also kept my water painter on the dryer side … it still has water but it easier to control your color when it’s not over wet, and the results are amazing. The dimensions for this card are also simple; Old Olive Card base is 8-1/2″ x 5-1/2″ … the front is a piece of watercolor paper measuring 4-3/4″ x 3-1/2″. The watercolor piece I stamped on measures 3-1/2″ x 2-1/4″ so my Old Olive mat was 3-3/4″ x 2-1/2″. I just used scrap pieces for my greeting.

The greeting comes from a brand new bundle … the Very Best Occasions Bundle! That is also where the triple edge punch comes from that I decked out my daffodil with. It’s a great addition to my stamp & punch collection – I’ll be using them both many, many times.

I hope you enjoyed this beautiful card, and the video will inspire you to try out this No Line Watercoloring technique.

Have a wonderful day! Thank you

Here is a list of the supplies I used in creating this card …

Free Tutorial Friday: Thanks A Bunch Card

Hello Stampin’ Friends,

It’s time for Free Tutorial Friday! Direct from the pages of our Sale-a-Bration catalog comes the Thanks A Bunch stamp set!

You’ll “carrot” a lot about all the things you can do with the Thanks a Bunch Stamp Set. This Two-Step Stampin’ set makes it easy to build a vegetable garden scene. With more than half a dozen greetings to choose from, you can create friendship- and spring-themed cards for a variety of occasions. Harvest these playful images and greetings for yourself!

Measurements: 

  • Card Base: Pumpkin Pie- 4 ¼” x 11”
  • Cardstock #2: Pumpkin Pie- strip 2” x 5 ¼”
  • Cardstock #3: Basic White- 4” x 5 ¼”, 2 ¾” x 4” layer, and 2 ½” x 1 ¼” for sentiment
  • Cardstock #4: Garden Green- 3” x 4 ¼”

Instructions:

  • Score the Pumpkin Pie card base of the long side at 5 ½” and fold.
  • Stamp the small carrot bunch mostly on the sides of the 4” x 5 ¼” Basic White layer in Pumpkin Pie. Add the tops of the carrots with Garden Green ink.
  • Attach this layer to the card front using Stampin’ SEAL. Then, attach the strip of Pumpkin Pie cardstock on top with Stampin’ SEAL.
  • Take the last Basic White layer and stamp three large carrots in Pumpkin Pie. Start in the center and add one to each side. Then, stamp the detailed stripes on the carrots using Calypso Coral ink. Stamp the carrot tops in Garden Green ink.
  • Attach this layer to the Garden Green cardstock layer using Stampin’ SEAL. Add Stampin’ Dimensionals to the back and add to the center of the card front.
  • Stamp the sentiment using Calypso Coral ink on the last piece of Basic White cardstock. Die-cut the sentiment using the Stylish Shapes Dies.
  • Make a faux bow with the Garden Green ribbon and attach it to the card front using Mini Glue Dots. Add the sentiment on top of the ribbon using Mini Glue Dots.
  • Lastly, add three gems to the card front.

Thanks a Bunch for dropping by today! Wishing you an awesome weekend.

Here is a list of ingredients used in today’s card. You can click on any one for more information about the product, or to begin shopping at my OnLine store. Thank you for your support ❤

Time is Flying By … Join the FUN!

It’s Sale-A-Bration, and it’s one of our biggest promotions of the year, and it’s only happening once this year! It’s overflowing with opportunities for YOU, and filled with fun for everyone! Grab your Sale-A-Bration brochure and check out the great products for FREE when you shop, host, or join …Time is Flying By and this amazing promotion ends soon.

They say a picture is worth a thousand words to let me paint one for you …

You can shop from either the Annual Catalog or the NEW Jan-April Mini Catalog … yes, I said through April! Sale-a-bration ends in 29 days … wow, time sure flies by and you won’t want to miss out on your favorites.

Here are some of the FREE items you can choose from ….

Here are the product that are FREE with a $100 purchase ….

OH WAIT … There is MORE!! That’s right, Stampin’ Up! has added more FREE Products to choose from, some of your favorites from the catalog.

You could also HOST a virtual or in home stampin’ party with me and we will have fun checking out some of the NEW products, stamping some cute cards and earning you some great products!

If you’ve ever attended one of my Launch Parties or Kick-Off parties you know how much fun they are, and I can create a Private Virtual Party for you and your friends.

However my friend, if you are like me and want it all … consider joining my team, and I will show you how to Save money … or Make money, the choice is yours. I hear to guide you, and not only do you have me but you’ll get to know the rest of my team, and 40,000 other of our closest Stampin’ Up! sisters and brothers worldwide. We love to share! And that’s not it ….

In addition to the already excellent value of the Starter Kit, if a customer decides to sign up as a Stampin’ Up! demonstrator during Sale-A-Bration, they can choose from three incredible options:

  • Option 1: The exclusive Boho Blue Mini Machine ($63 value) + your choice of $175* of Stampin’ Up! products for only $129.
  • Option 2: The original white Mini Machine ($63 value) + your choice of $175* of Stampin’ Up! products for only $129.
  • Option 3: Your choice of $175 of Stampin’ Up! products for only $99.

Ummm … yea, that is a REALLY good deal. WOW … That is over 56% Savings!! JOIN HERE or contact me with any questions / concerns.

Here’s part of my amazing team and we’d love to have you join us for our next stamping get together. We’re at a Stampin’ Up! event celebrating our achievements and just having FUN!!

I hope you consider joining me and my team, or having a party for your friends … just know that I am here to help you, even if you would like help placing your order.

Thank you so much for taking the time to check out my blog post today. Enjoy your day.

Punchin’ with Heart: Creating Cute Valentine Treat Boxes

Hello Stampin’ Friends ~

Happy Wednesday! Today I will be sharing the replay of my Facebook LIVE presentation from last night: Punchin’ with Heart: Creating Cute Valentine Treat Boxes I’m going to show you how quick & easy it is to make these cute boxes along with some fun tips for your Heart Punches. Did I mention cards too!!

Grab a beverage, sit back, relax and join me for my replay and the things that happen when your LIVE!

Hope you enjoyed and caught those tips! Here are the dimensions for the boxes. Start with a 12″ x 12″ – cut in half so you have a 12″ x 6″ sheet to start with.

  • Score at 2″ – 5″ – 7″ and 10″ at 11″ cut off end.
  • Turn paper 90 degrees and score at 1″
  • Turn 180 degrees and score at 1″

Burnish all score lines and cut and trim as shown in the video

Here is the card I created in the video too …

Thank you for hanging out with me today. I hope you enjoyed these cute boxes and were inspired to create some yourself.

Here is a list of ingredients used in today’s card. You can click on any one for more information about the product, or to begin shopping at my OnLine store. Thank you for your support.

Amazing Silhouettes Card in Watercolor

Hello Stampin’ Friends ~

Today I’m sharing the last of the 3 images in the Amazing Silhouettes stamp set. I’m using a touch of watercoloring with this one. I began by stamping the leaf image on to one of the watercolor patterns in the Dainty Flowers Designer papers in Old Olive. Yes, I stamped my image onto designer paper.

I added water to the middle size Water Painter and I used it to activate the ink and give it a more watercolor look. Then I added a little more ink to the image using the Water Painter giving it more depth of color…..

Once dry, I added a Mossy Meadow mat to it and wrapped the corner with the 3/4″ White Frayed Ribbon and then some of the natural Bakers Twine. These add so much texture to the card and create a framed edge for our foliage.

Using another pattern from the Dainty Flowers I cut into two pieces and used one side to highlight the green and the other to highlight the freesia that is found on the original piece that I stamped on. I layered these three pieces together and mounted them onto my cardfront.

I used Mossy Meadow for my card front and then embossed it with the Stitched Greenery Die. It gives the project some texture and a touch of greenery! You’ll love how the intricate detail dresses up the card perfectly.

No bling on this card because I wanted to keep it more natural. I added the card front to my base in Mossy Meadow … I love layering color on color, it’s such soft and subtle look.

Hope you enjoyed the three different looks / techniques that showcased the Amazing Silhouettes. I have to “Thank” my friend Karen who booked a workshop and asked to see this stamp set. It totally changed my mind … I love it! It’s unique and lends itself to many different techniques.

Thanks for popping in today, I hope you have a wonderful Tuesday!

Here is a list of ingredients used in today’s card. You can click on any one for more information about the product, or to begin shopping at my OnLine store. Thank you for your support

Amazing Silhouettes Faith over Fear Card ….

Hello Stampin’ Friends ~

Today I have another card to share from the Amazing Silhouettes stamp set and a fun technique that really showcases the silhouette aspect of this stamp set. There are three different images in this stamp set and it’s when you add ink that they really come to life.

I’m going to be using a type of “Emboss Resist” technique on my card today. Starting with the VersaMark pad … ink up the butterfly image and stamp it onto your card front (I’m using a 3-3/4″ x 5″ sheet of Basic White) re-apply ink and stamp a second and repeat. Pour White embossing powder over the butterfly images and heat until the powder turns smooth and shiny.

Next I pulled out my Blending Brushes along with Highland Heather, Flirty Flamingo, and Coastal Cabana ink pads….

Pull the Blending Brush across the ink pad to ink up and then using a rotating motion beginning “off” your cardstock bring it in and color in your butterflies. I used a different brush for each color. Then grab a tissue and wipe excess ink off of the embossed area.

Once the excess ink is wiped off, I added the White Glittered Organdy Ribbon between two of the butterflies attaching the ends to the backside of the card front. Once secure, I tied another piece onto the ribbon to create a bow. This is when I layered the Flirty Flamingo mat behind my card front.

Using the same Charming Sentiments bundle I used on yesterday’s card, I stamped the “Faith over Fear” sentiment in Highland Heather and then die cut it with the coordinating dies in the bundle.

I then embellished the card using the Iridescent Rhinestones. I love how they pick up the colors of the ink I used and just twinkle on this card … it gives you a soft, warm feeling like a hug, and pairs perfectly with our sentiment.

Such a beautiful card with a soft touch of color, and pretty darn easy to make too! Embossing is what actually attracted me to the world of stamping, with a few simple steps you can elevate your card to the next level. What inspired you to begin stamping?

Thank you for visiting my blog today, hope yours is a good one.

Here is a list of ingredients used in today’s card. You can click on any one for more information about the product, or to begin shopping at my OnLine store. Thank you for your support