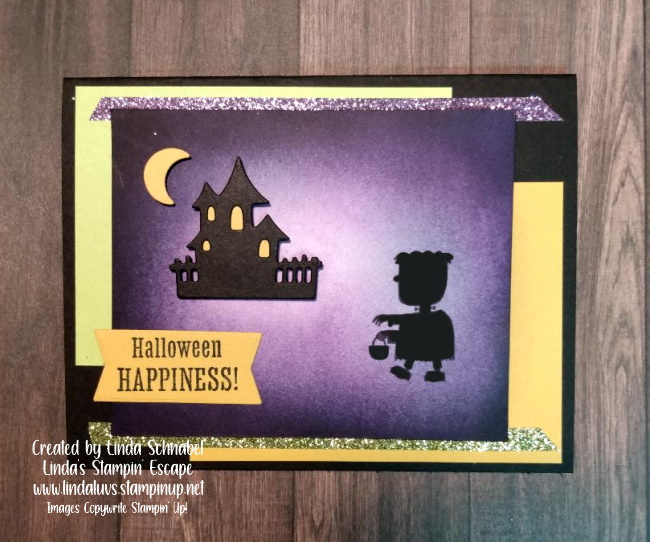
Did you know that today is National Frankenstein day?
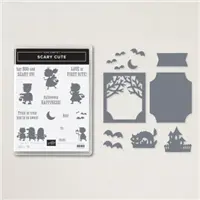
So … I couldn’t resist and made a fun Halloween card using the Scary Cute bundle and the “Frankenstein” in the stamp set. I also used a couple of the dies from the bundle to spook it up a bit!
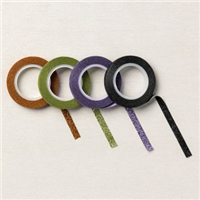
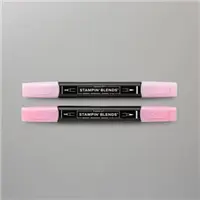
I used Gorgeous Grape and Night of Navy along with the Blending Brushes to create Frankenstein’s backdrop. The banner, house and moon were all die cut from the coordinating dies. A bit of Washi Tape to add some sparkle.
We have eight weeks before Halloween … what better way to celebrate than to make cute cards of the monster himself? Better yet, find a friend and create together… Isn’t that what Frankenstein and Igor did? The two months of prep will give you plenty of time to design the perfect cards and decorations for your Ghouls and Goblins at your Halloween event.
I’ll be sharing more Halloween inspiration throughout those eight weeks, till then have a great day.
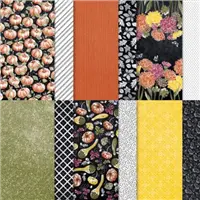
Today I’m going to bewitch you with a Dazzling Halloween Card! From a simple Black & White pattern from the Rustic Harvest Designer Paper to a fun and colorful card that’s a treat for any of your ghouls and goblins.
Now that you’ve seen the card, I invite you to sit back and join me for a quick video … it is a replay of my Summer Sale-a-bration / Mini Catalog Celebration Party. Enjoy!!
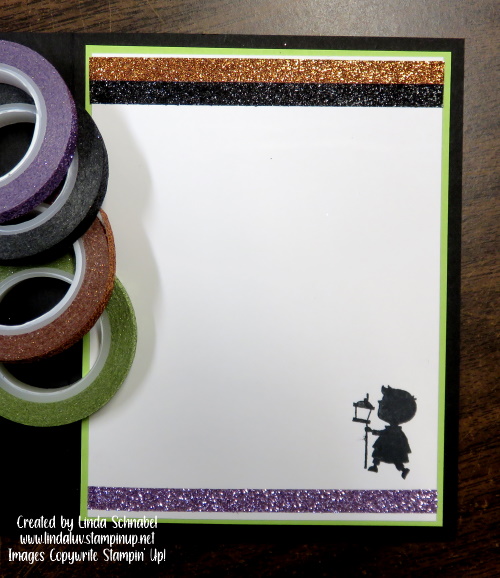
Now … wasn’t that easy? The Glitter Washi Tape fits nicely between the lines and goes down easily. The Scary Cute Bundle creates a hauntingly inviting image that sits on a piece of die cut vellum to really make it pop. If you’ve watched the video to the end … you got to see two of the cards that I had showcase on my blog earlier.
I thank you for joining me today. Hope you have a good day!
Here are the links to the products that I used in today’s card ….
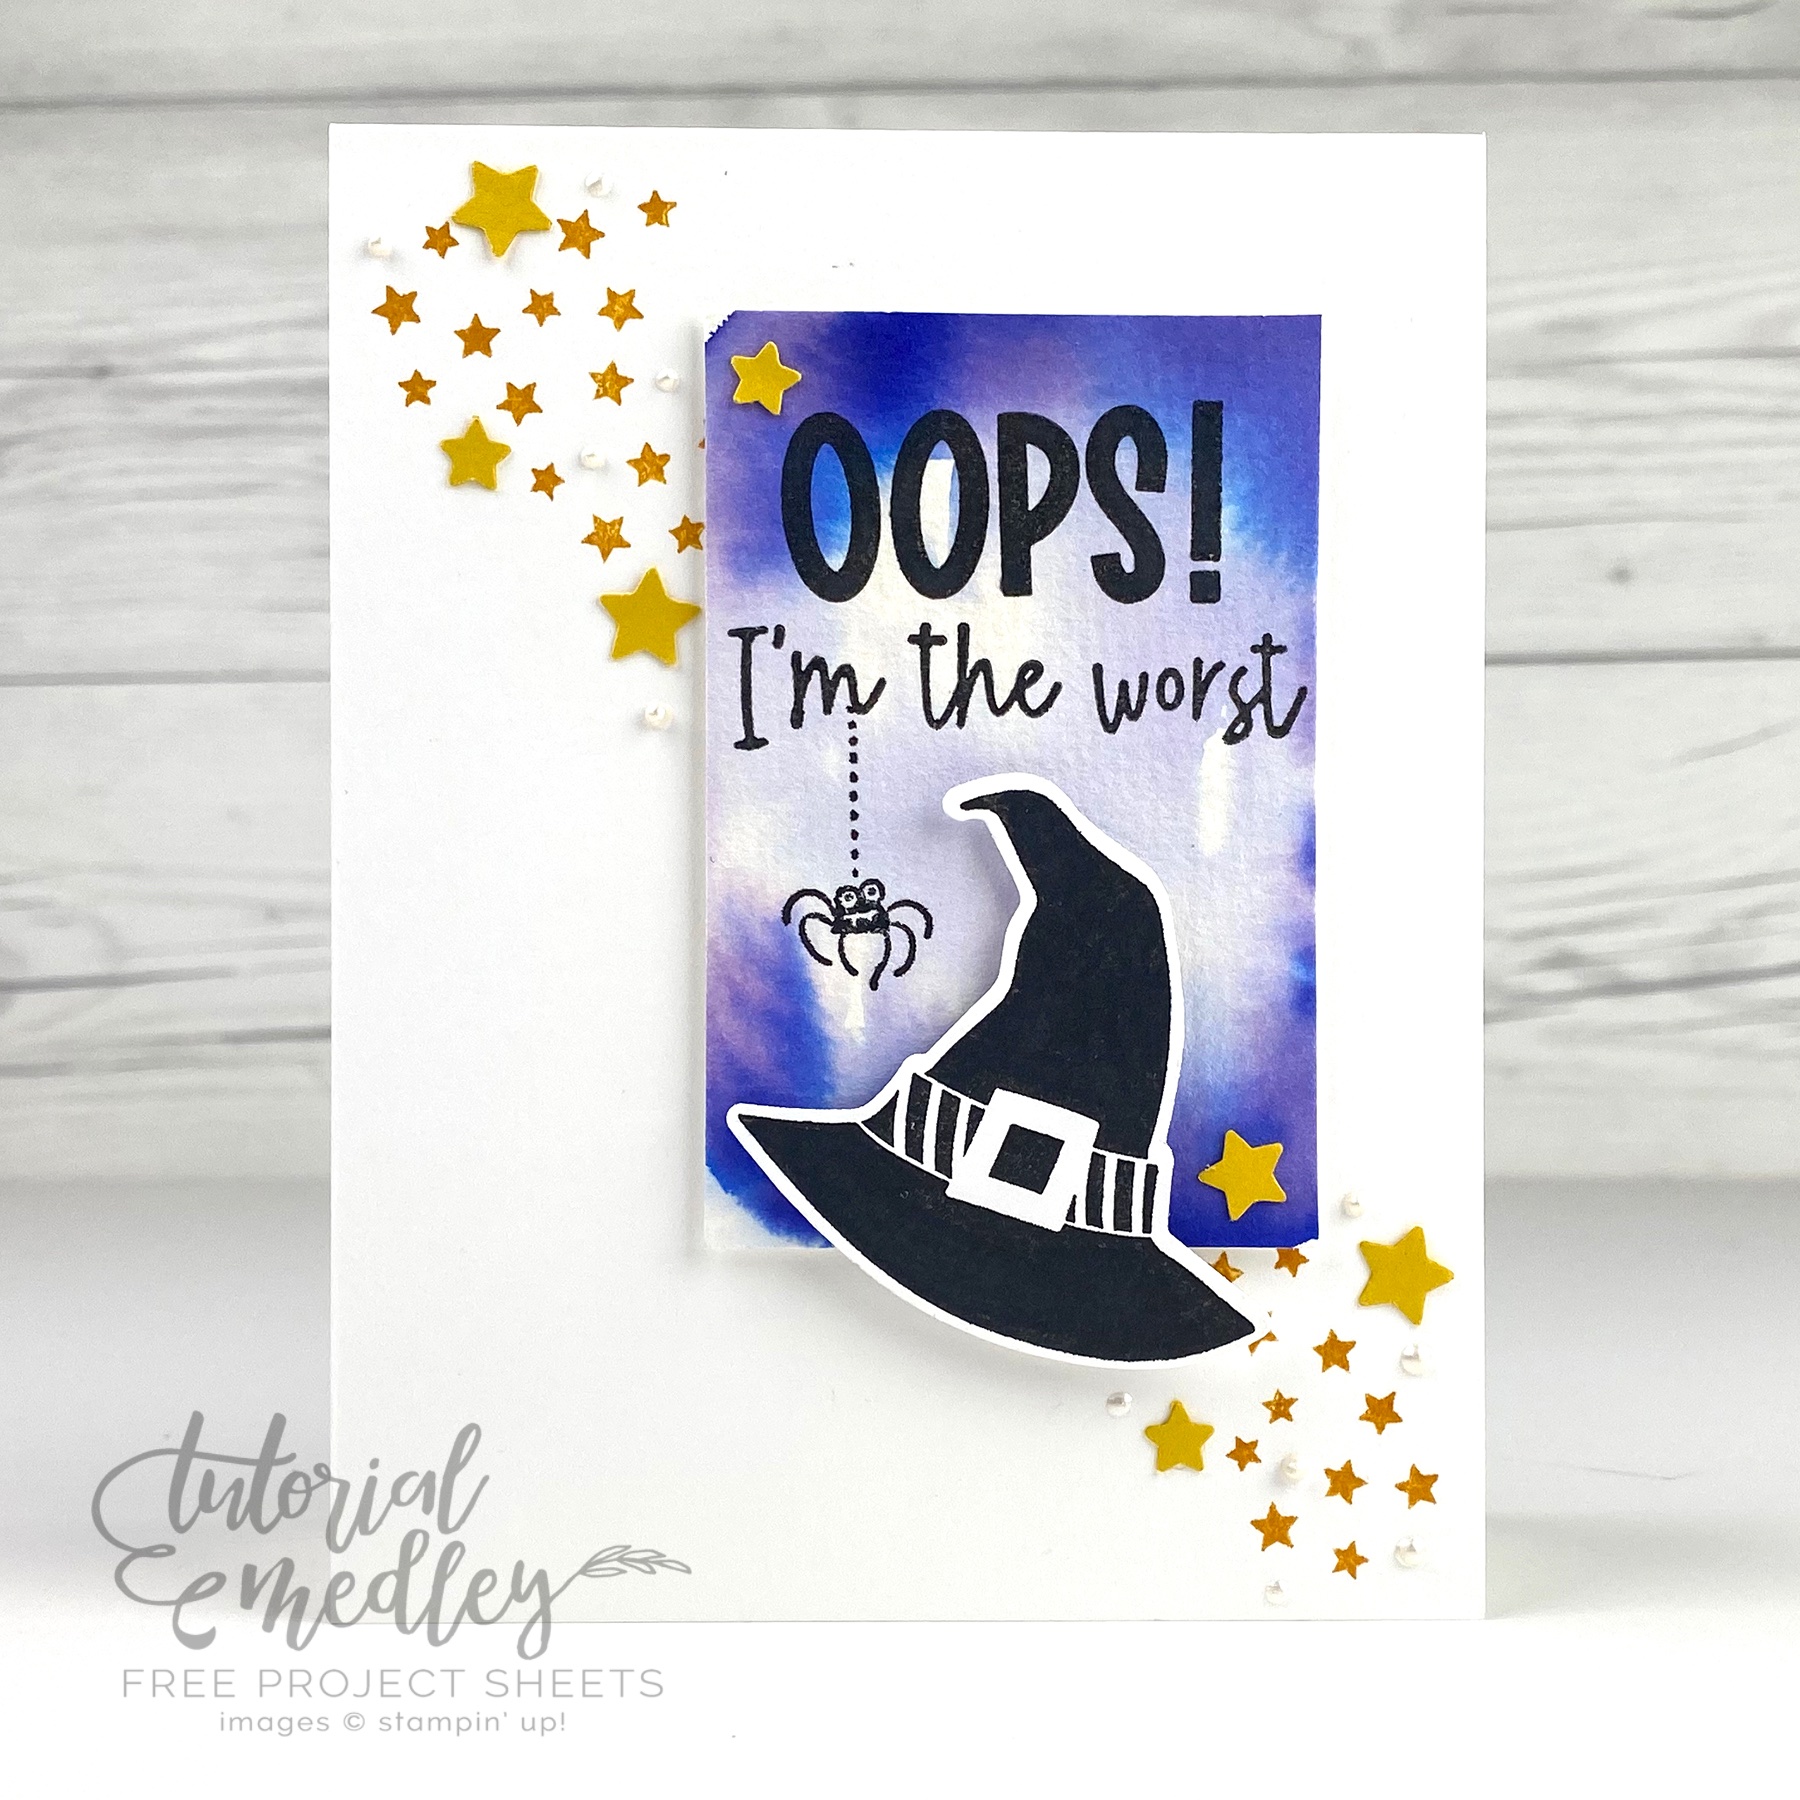
Hope you’re staying cool, because we have a heat wave out there! With that thought the images of the Wicked Witch of the West comes to mind … “I’m melting”! lol And if we are thinking about witches, well … Halloween! And I have a cute card to share with you today, along with the instructions!! Ya hooo 🙂
Measurements:
Card Base: Basic White 4.25″ x 11″ folded to 4.25″ x 5.5″
Layer #2: Fluid 100 Watercolor paper 3” x 4”
Instructions:
Cut and score card base. Fold in half using a bone folder.
Stamp the star image from Bewitching in the bottom right and top left corners of the card base. Stamp three times to create a cluster of stars.
Cut a piece of Fluid 100 cardstock to 3”x5”. Create a watercolor wash and drop in Orchid Oasis color around the outside edges of the wash using a water brush. Set aside and let dry. Once dry trim down to 2”x3”.
Stamp ‘OOPS’ from Amazing Phrasing in Tuxedo black ink onto the Orchis Oasis watercolor fluid paper. Center and stamp on the top portion.
Stamp ‘I’m the worst’ from Amazing Phrasing in Tuxedo black ink onto the Orchis Oasis watercolor fluid paper under the OOPS sentiment.
Stamp ‘spider image’ from Bewitching stamp set in Tuxedo black ink onto the Orchis Oasis watercolor fluid paper hanging from the M.
Mount to card front using Stampin’ Dimensionals in top right corner of card approximately ¾” from top and side.
Stamp the witch hat from Bewitching stamp in Tuxedo Black ink onto Basic White cardstock. Punch out using coordinating witch hat punch. Center and mount to watercolor piece on card front. See card photo for placement suggestion.
Using the witch hat punch out six stars from Crushed Curry cardstock. Adhere to card front around stamped stars. See card photo for placement suggestion.
Add dots of white Pearlized Enamel Effects to the negative spaces around the stamped stars.
I didn’t think you would mind if I shared another “watercolor” background. This is such an cute and simple card with a touch of humor!
Thank you so very much for stopping by today. Hope you have a wonderful weekend.
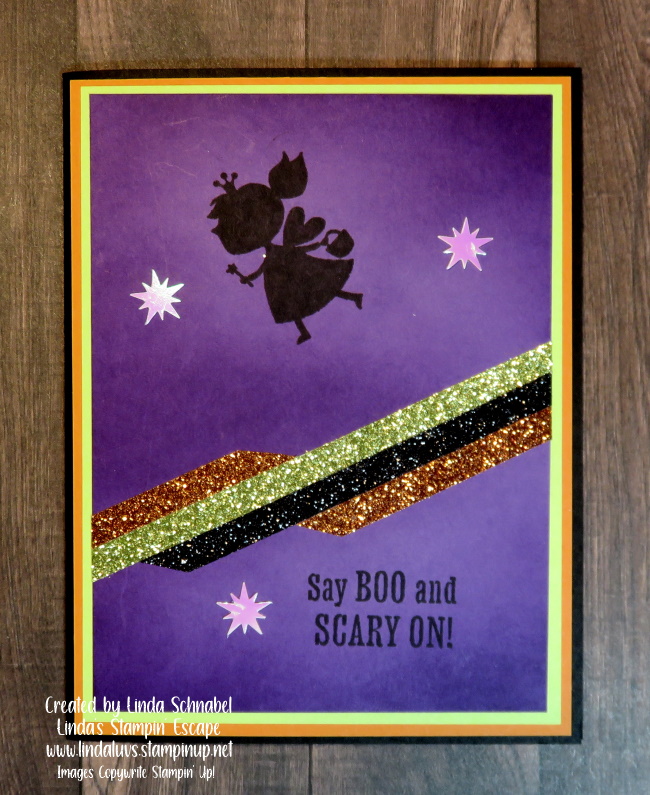
Today we are taking a bewitching turn, a peek into some Halloween fun. The Glitter Washi Tape was sitting in my newly opened box from my Mini Catalog order and it was “just calling my name”!! Grab your June – December Mini and open it to page 56 and check out this cute bundle … Scary Cute to be exact! These cute little trick or treaters are going to make such fun cards, gifts and scrapbook pages!
We’re starting with a card today as I create a little flying fairy ….
I began with my “Washi Tape” and used it as my color inspiration: Black, Highland Heather, Old Olive and Pumpkin Pie. I opted for Gorgeous Grape cardstock and used my Blending Brush to add some color on color which creates that soft “spooky” kind of look. This technique of brushing on color is easy and adds no cost to your project!
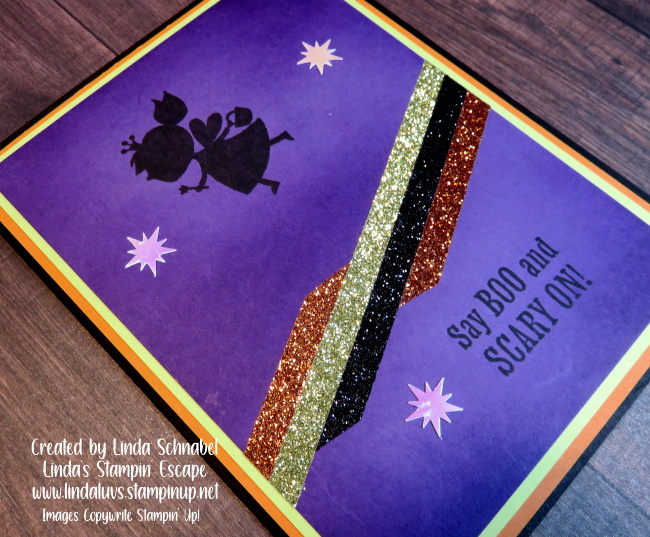
Now it was time to add my Glitter Washi Tape!! I decided to use the Pumpkin, Olive and Black and a slight diagonal and trimmed the edges to soften the look. I gave myself plenty of room to stamp my image and greeting.
This is the second card I created with the bundle, my first card highlighted the dies. (See it here) So today, I knew I was going to stamp the little girl with the wings so I could turn her into a little fairy and let her fly! Of course she was going to by high on the card, so the greeting went in the lower right-hand corner.
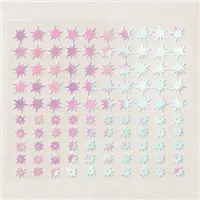
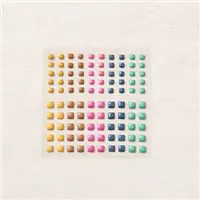
It looked OK … but I knew I had the Adhesive Backed Stars that came from the “Santa Express Suite” and I thought they would look perfect with my little fairy … and well, what do you think?? Cute right? The cute iridescent stars worked perfectly with my brushed background, it truly looks like a spooky Halloween starry night!
I wanted to bring the colors of my Washi Tape into the rest of my card so I layered it onto Parakeet Party (instead of Olive) the Pumpkin Pie and then I mounted it onto the Black card base. I layered and glittered my inside too!!
If you are a Halloween fan like I am, I think this is the perfect fit for your stamp collection … it is different that what we’ve had before and the dies are so much fun too. You’ll see much more of this bundle from me, but don’t wait to get yours … you’ll want to start playing right away!
Thank you for checking out my blog post today, it’s appreciated.
Have a great Sunday!
Here are the links to the products I used on my card today. Adding the “Washi Tape” to your bundle will get you a FREE Sale-a-bration item! If you’re not sure what that is … message me.
Today I have another card highlighting the multicolored watercolor background I shared with you, but that’s not the best part … I’m going to pair it with a brand new bundle!! It’s also a great way to show you another use for those beautiful watercolor backgrounds you’ll be creating … because once you get started, you are going to create a lot of them because it’s so much fun.
Let’s take a good look at the new Scary Cute bundle and how it allows me to use my background in a new way ….
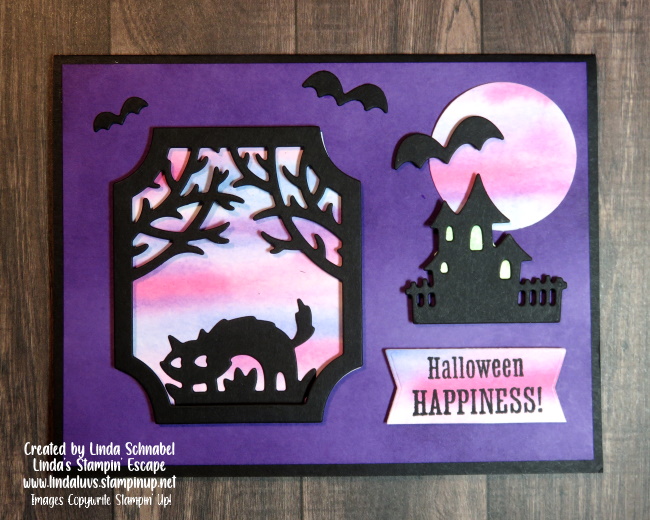
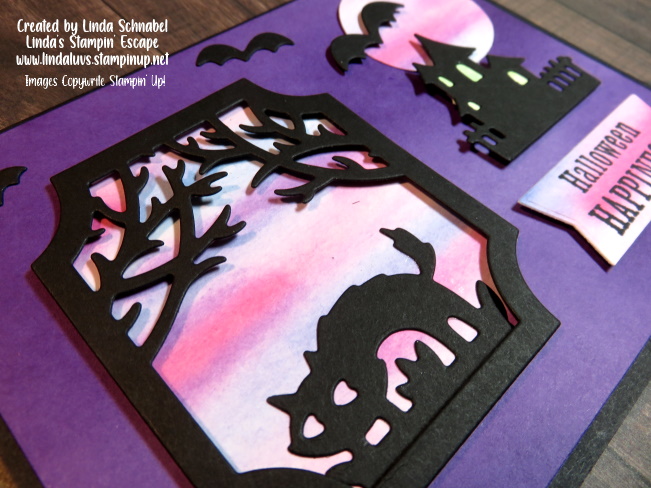
First, this cute bundle has this fun frame … I chose to “pop it up” with dimensionals. It is an open frame so you can put your scardy cat in it, the cute little house or stamp any one of the kids to fit inside (so many options!). I also have enough of my watercolor background left to die cut a moon and a greeting! Three different ways to use your creation … sweet!
You may also see a bit of tomorrows watercolor paper behind the windows of the house ….
All of these dies (except the moon) come in the bundle … I haven’t even played too much with the stamp set yet, just used it to stamp my greeting today. I hope that you liked the different ways to use your “watercolor background” and the first peek into the Scary Cute bundle. I have more Scary Cute to share with you in future posts.
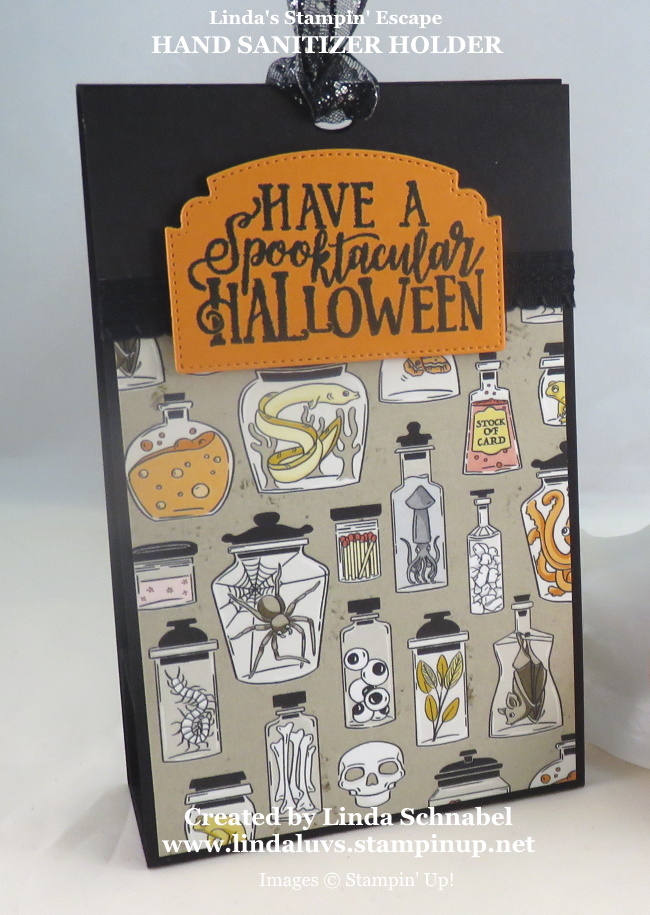
I had a request to share my “Hand Sanitizer” Holder … I did not have time to re-create it, so I hope you don’t mind that I am sharing the original post. It includes tips to make this cute Sanitizer Holder!! Please not that the designer paper and stamp set are no longer available … however, the dies are!!
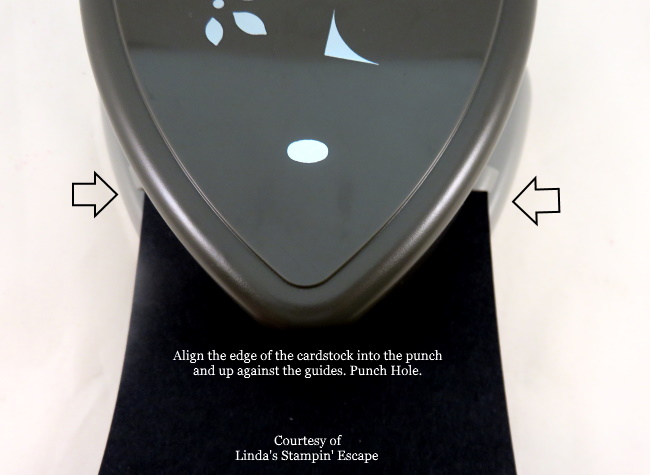
Let’s begin with the outer wrap. Start with an 11″ x 3″ piece of cardstock. Score the cardstock at 4-7/8″ and 6-1/8″ … these measurements will ensure the insert sits nicely in the wrap. Then punch both ends, this will be used to for your ribbon and to close the top.
Attach a piece of 2-3/4″ x 3-1/2″ of designer paper… I used Monster Bash. We finished off the top edge of the designer paper by attaching a piece of ribbon over it and trimming off the edges.
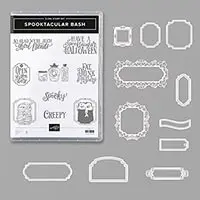
Stamp your greeting and cut out with a favorite die or punch. I used the coordinating die from the Spooktacular Bash Bundle and pop it up with the new black Stampin’ Dimensionals.
Set your outer wrap aside for now … it’s time to create your inner (inset) piece. Cardstock should measure 4-1/2 x 2-7/8″ … score at 1″ – 2″ – 3″ and 4″. Using the smallest of the scallop ovals, place it between the the two score lines closest to the 1/2″ flap. (See photo below).
Once the whole is cut out, you will need to glue the 1/2″ flap to the opposite side to create a box. The hole needs to be facing up … add glue to the bottom (opposite side with the hole) and set it into the outer wrap between the score lines. Now you can tuck your Hand Sanitizer into the scallop oval hole. The Bath & Body Works small hand sanitizers fit perfectly into the oval.
This would make a cute teachers gift, thank you gifts, get well ? Any reason … flu season is coming and why not be prepared and be the cool mom on the block! This is also a great way to use up some of that designer paper you’ve been hording … lol.
Have some fun creating these cute Halloween gifts for your ghoul friends and then make some more for just for the fun of it … Christmas is coming too!
Thanks so much for joining me today … Let me know if you liked this project, I’d love to hear what you think … just message below.
I also have a supply list below to make your shopping easy, just click on any image for more information or to begin shopping with me.
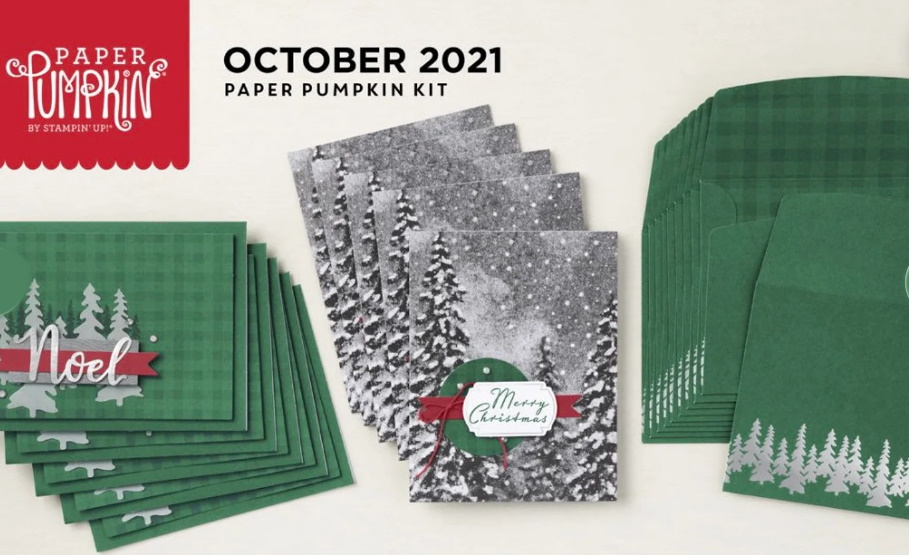
When you picture a peaceful Christmas, what comes to mind? Do you see snow outside your window, softly swirling through the sky? A tree trimmed with tinsel, a fire crackling nearby? Maybe you’re dreaming of decorating a holly jolly gingerbread house. Can you catch a whiff of Christmas cookies wafting through the air?
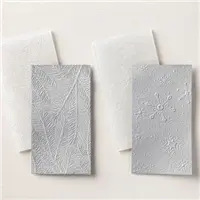
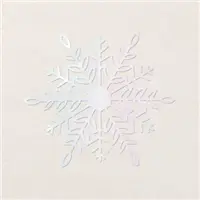
Whatever it is you think about when Christmas comes to town, picture a peaceful Christmas with the Peaceful Christmas Paper Pumpkin Kit! This still, silvery, and snowy kit is the nudge you need to get nutcrackin’ on your Christmas cardmaking. With a flocked and frosted forest feel, sprinkles of silver snow, and warm winter wishes, you’ll find enough festive elements and embellishments to create 10 Christmas cards and coordinating envelopes! And all your supplies will arrive in an enchanting evergreen box—a special addition for the spirit of the season.
What is Paper Pumpkin? Paper Pumpkin is our monthly One-Stop Box™ that offers a unique variety of paper projects for subscribers of any skill level to enjoy! These thoughtfully themed and all-inclusive craft kits encourage Stampin’ Up! customers to explore their creativity, try new techniques, and discover their potential in papercrafting.
Take a look at this months Paper Pumpkin and tomorrow I’ll share an alternative …
I hope this inspires you to try out some of our upcoming Paper Pumpkins! Here is a peek of our November Paper Pumpkin …
Stop back tomorrow to see my twist on the Peaceful Christmas Kit and how you can “stretch” your kit!
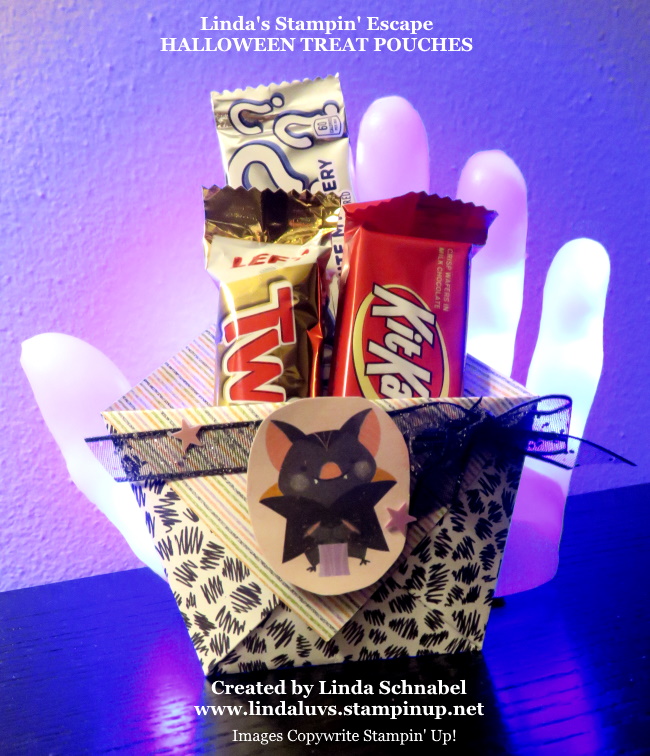
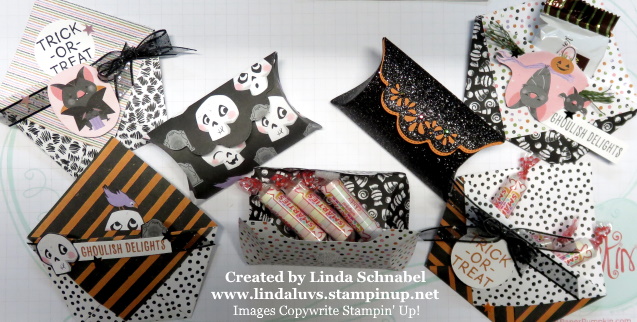
Today I’m here to share two different styles of Treat Holders for your little ghouls and goblins! If you’re like me, you like to create “special” little packages for those close to you. Whether the receivers are friends or family … they will be charmed by these little cuties!
I’m also sharing the my Facebook LIVE so you can see how to create these treat holders. Sit back and take a look … then I’ll share the pictures so you get an even closer look.
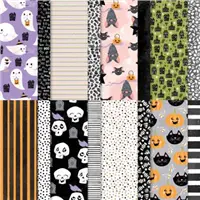
Did you like how easy these were to make … and NO Adhesive needed!! Each of these little cuties were make from the “Cute Halloween” Designer Series paper and a few other accessories which I’ll share as I go.
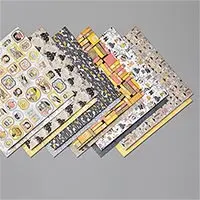
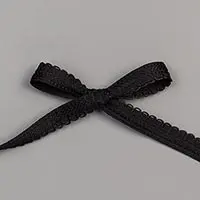
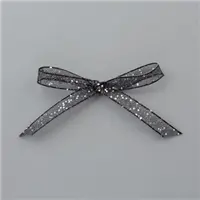
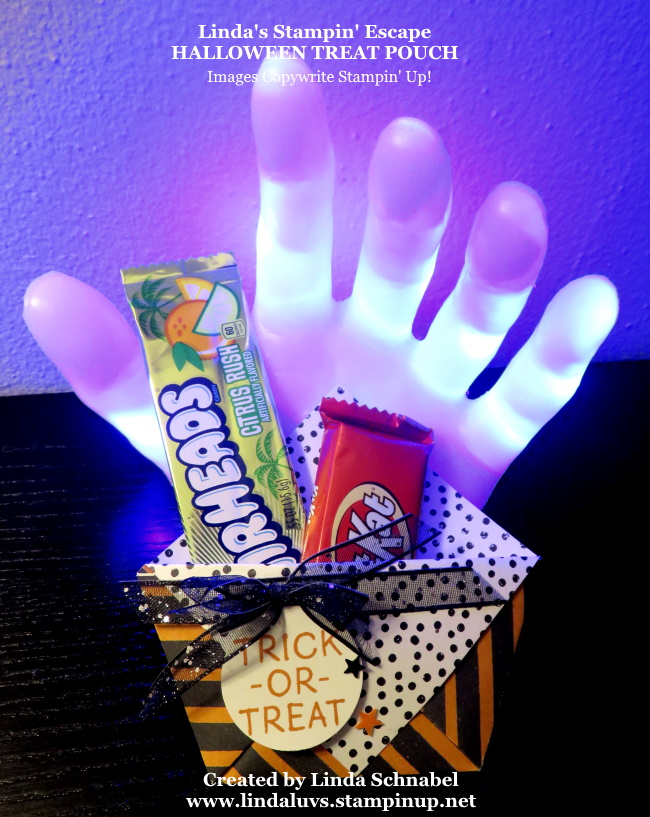
This sheet of designer paper has the polka dots on one side and Pumpkin Pie and Black stripes on the other. I used the Black Organdy Glitter Ribbon and the “Little Delights” stamp set. I also used the “Cute Stars Adhesive Backed Sequins” on this one!
I actually used the “Cute Stars Adhesive Backed Sequins” on all of my Halloween Pouches …
I used a more subtle pattern on this sheet of the “Cute Halloween” Designer paper … I then highlighted it with a cut out of another sheet of the designer paper. That little bat trick-or-treating is just too stinkin’ cute!!
Here is a closer look at the “Pillow Boxes” … these are so cute, and I think I’ll be trying out some of the suggestions I shared in the video. I’ll be sure to share those with you as well …
I hope this inspires you to try out either one of these cute patterns … the pouch (also called the Diaper Fold) need no special tools, dies or adhesive so you can try it right away.
Hello Stampin’ Friends ~ I’m here but limping along on a not so stable laptop, so it’s going to be a quick post to share these cute little treat pouches that I made for you!
Each of these little cuties were make from the “Cute Halloween” Designer Series paper and a few other accessories which I’ll share as I go.
This sheet of designer paper has the polka dots on one side and Pumpkin Pie and Black stripes on the other. I used the Black Organdy Glitter Ribbon and the “Little Delights” stamp set. I also used the “Cute Stars Adhesive Backed Sequins” on this one!
I actually used the “Cute Stars Adhesive Backed Sequins” on all of my Halloween Pouches …
I used a more subtle pattern on this sheet of the “Cute Halloween” Designer paper … I then highlighted it with a cut out of another sheet of the designer paper. That little bat trick-or-treating is just too stinkin’ cute!! I will share more designs along with instructions as soon as I hunt down a new computer … I don’t know what happened 😦 But … I’ll be back!!
Thanks for hanging out with me as I limp through my “technology” issues!
Pumpkins, leaves, and Christmas trees—this time of year is overflowing with fun!
The Seasons of Fun Stamp Set illustrates the fun-filled festivities that await in autumn and beyond—
Jumping into piles of leaves, trick-or-treating in a cute costume, picking the perfect Christmas tree, and “snow” much more are packed into one stamp set!
Falling for this set? Host a papercrafting party and get it for free! I can come to your home, or we can party “from anywhere” when I set up a special Facebook Party page for you and your guests … just message me and we’ll set something up.
Check out these additional cards created with this cute Host Stamp Set …
Here is the card celebrating the winter season and Christmas …
Thank you for joining me today. I hope you have a wonderful weekend planned, but before you go … Can we set up a date for your party? Message Me.
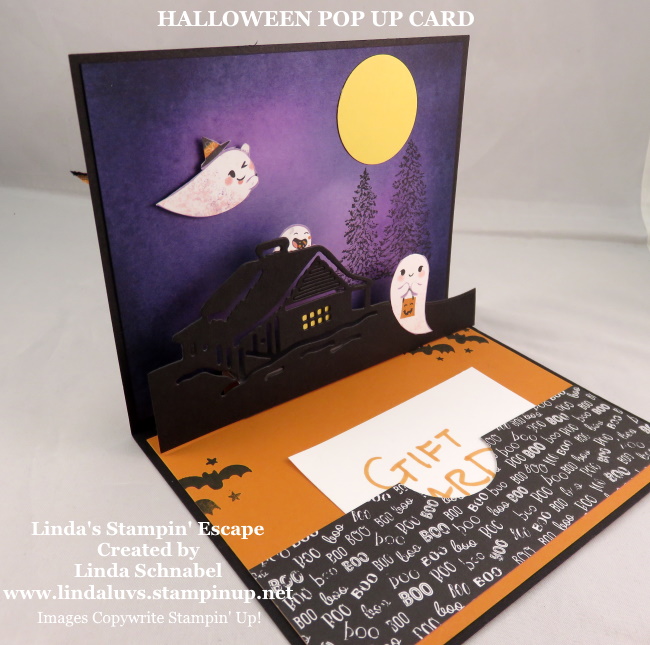
Enter if you Dare!! Today, I’m sharing the a Fun & Functional Halloween Card … The fun is the POP UP – inside the card a haunted cabin pops up to give you a 3-D effect complete with ghosts!! The functional is the my card serves as a “GIFT CARD” too!
Let’s start with the front of the card … I used the “Cute Halloween” Designer Series paper and Black & White Gingham Ribbon dyed with my Pumpkin Pie Stampin’ Blends Marker.
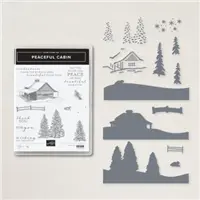
The inside of the card is created with the “Peaceful Cabin” bundle and the magic of our Blending Brushes … this is illustrated in the video below.
You’ll also see that I used another pattern of the Cute Halloween Designer Paper which creates the pocket you can put your Gift Card into.
In this photo, you will notice I “did not” line the back of my cabin as I showed in the video … I wanted you to see the difference. Here you can see the purples through the cabin … kind of spooky!
Enjoy the video and please let me know if you have any questions …
This fun card is very easy to make … three simple components, the front, the pop up & background and the base in which you can tuck in a Gift Card. Your ghouls and goblins are going to flip for this card!!
The dimensions for the “pop up” section of the card is 3″ by 2-1/4″ … score in 1/2″ incriminates: Score at 1/2″ – 1″ – 1-1/2″ and 2″ … then CUT at 2-1/4″. The 1/4″ edge will be your glue flap that secures the pop up together.
Here is the Fall Special I talked about in my video. Please message me if you have any question. Thank you!!
Thank you for stopping by and spending a part of your day with me. I hope the rest of your day is wonderful ~
TODAY’S STAMPIN’ SUPPLY LIST … If you liked the products used in todays projects, I have links for you below. Just click on the item you would like more information on, or to begin your shopping. It will take you directly to my website. Thank you ♥
Check out this little cutie direct from Stampin’ Up ….
We know Halloween is on the way, but don’t be “afraid” to stray from a traditional color scheme. Combine our Cutest Halloween Bundle with soft, subtle shades for a happy and light-hearted Halloween card!This is so adorable!
I will be demonstrating “Halloween” tonight on my Facebook page LIVE!! Come join me – I begin at 6:30 pm Central. CLICK HERE FOR THE LINK
Thanks for stopping by today! I’ll see you tonight at 6:30
Ready for some Friday Fun?? Last night I met with my Stamp Club and we were talking about “Pinterest” and I shared “what I thought” was my #1 “pinned” card … I was wrong, so I thought it would be cool to share my Top 3 with you today!! Let’s see if any of these are the ones YOU pinned!
Card #3 ….
It is the Cute Halloween Designer Series paper from the Stampin’ Up! Aug. – Dec. Mini Catalog!
This card was featured on my Simply Sunday series of cards … and you can view the entire post by CLICKING HERE!
Card #2 ….
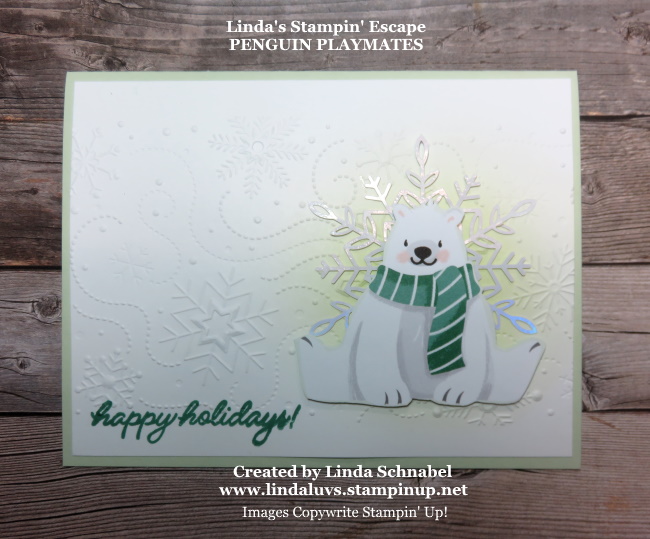
Well … this little cutie is going to look VERY familiar because it was just highlighted yesterday with the Penguin Playmates Designer Paper cards …
That Polar Bear is so cute and the card is so simple to make, (check out yesterday’s post for directions) it’s not a surprise this is in the Top 3, however … I thought it was the #1 Card!!
Hmmm … which one do you think it is?
CARD #1
This card BLEW all the others away with over 13K hits! Not bad considering it hasn’t been out there that long! Are you ready to see it??
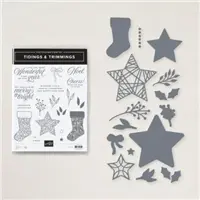
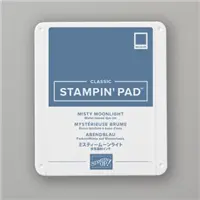
It is the “Tidings of Christmas” in Misty Moonlight
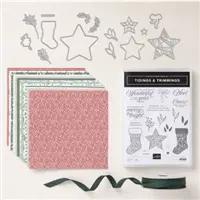
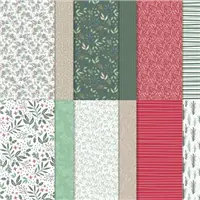
A Merry & Bright card for sure coming from our Tidings of Christmas suite … these stocking are are quite lovely and the pretty paper makes this a perfect card to send to all your friends and family. To see the original post / how it was made just CLICK HERE.
I’ve put a list of ingredients at the bottom of my post so you can shop for what you need to make these popular cards! And you still have a little time left to grab those Sale-a-bration Freebies! Instructions can be found by clicking the links by the picture.
I thank you for following my blog and checking in today.
Have a nice weekend ~
TODAY’S STAMPIN’ SUPPLY LIST … If you liked the products used in today’s projects, I have links for you below. Just click on the item you would like more information on, or to begin your shopping. It will take you directly to my website. Thank you ♥
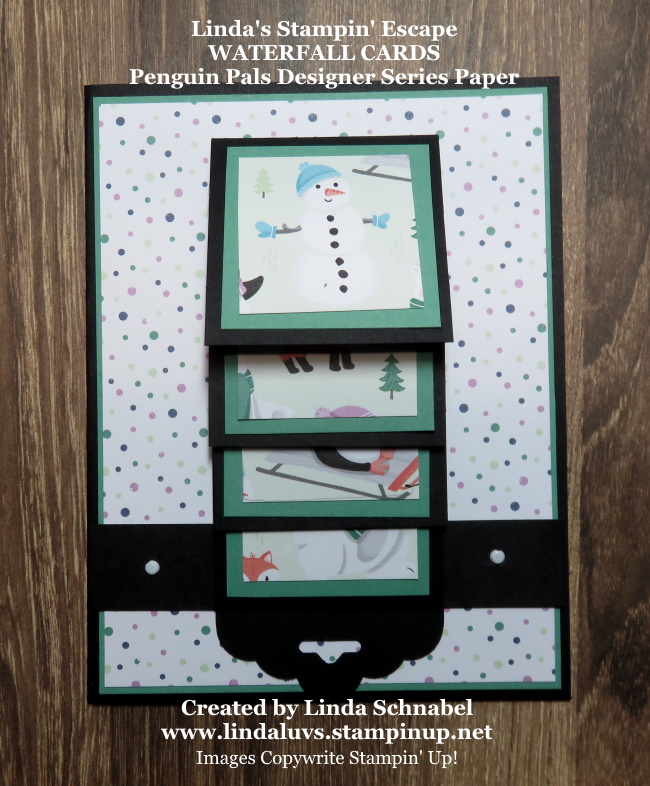
Today, I’m sharing the fabulous flippin’ Waterfall card with you … this fun is just that, FUN!! I have three cards and a short video for you today.
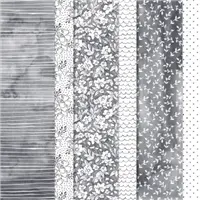
Let’s start with the first card I created using the Beautifully Penned Designer paper from our Sale-a-bration catalog (FREE with a $50 purchase / before Ship&Handling)
I gave the flowers a hint of color using my Flirty Flamingo ink pad and Sponge Daubers. I then went over the flowers with the Wink of Stella.
The second card was created with the Cute Halloween Designer paper … you can find this adorable paper in the Mini Catalog.
The background paper comes from the Pattern Party Designer paper which is one of our Hostess Gifts!! You’ll see in the video how I embellished the paper with a pop of color….
You will want to watch the video as it shows you how simple the cards are to create, and how budget friendly this layout truly is. I even talk about how you break down the costs.
Enjoy the video and please let me know if you have any questions …
The crucial dimensions you need for your Waterfall card is the Waterfall itself: 9-1/4″ x 2″ … Punch one end and flip to score other side: Score at 2″ … 2-3/4″ … 3-1/2″ and 4-1/4″. Then you will need your “band” which hold down the sliding part of your card: 4-1/4″ x 3/4″.
The last card that I shared in the video was the Christmas Card that I created using the Penguin Pals designer paper … another Sale-a-bration item!! I want to remind you that our Sale-a-bration promotion ends in about 2 weeks … wow, that time sure flew by!
Thank you for stopping by and spending a part of your day with me. I hope the rest of your day is wonderful ~
TODAY’S STAMPIN’ SUPPLY LIST … If you liked the products used in todays projects, I have links for you below. Just click on the item you would like more information on, or to begin your shopping. It will take you directly to my website. Thank you ♥
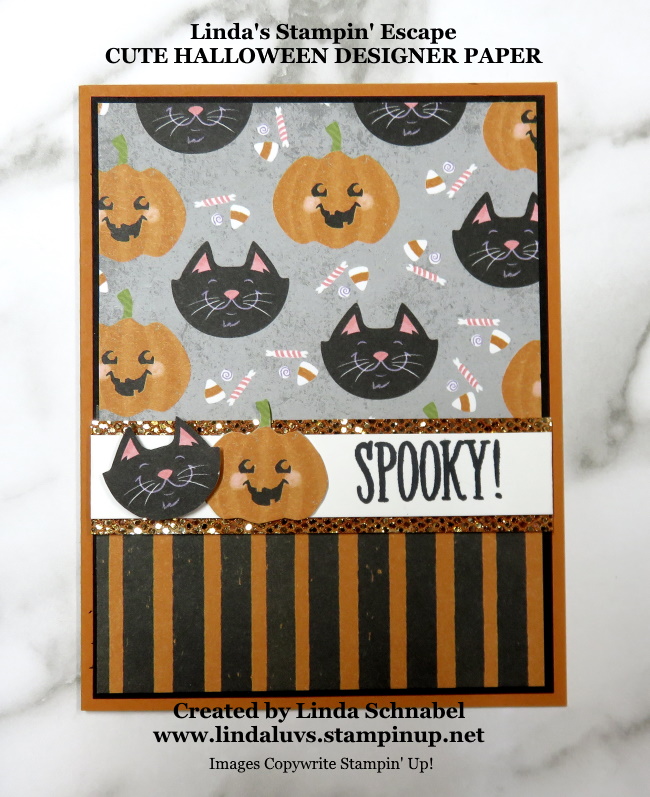
Well, well, well … here we are and it’s Labor Day weekend already! The summer went by so fast, but I’m a fall girl and I love all the wonderful upcoming holidays, including Halloween. When I saw this designer paper I could not resist, I had to add it to my collection! It is the Cute Halloween Designer Series paper from the Stampin’ Up! Aug. – Dec. Mini Catalog. (Formally the Holiday Catalog)
We begin with a simple layout to highlight 2 patterns from the designer paper …
I’m not much for raw edges so I brought the two patterns together by using the fun and amazing BeDazzling Specialty paper that is in our Sale-a-bration Catalog… FREE with a qualifying purchase. I used the Pumpkin Pie Stampin’ Blends to color it to match my card!
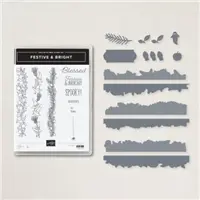
My cute, or should I say “Spooky” greeting comes from the Festive & Bright bundle. You know me … I like to get my money’s worth so I like to choose stamp sets & bundles that I can use for more than just one season!
I fussy cut my pumpkin and kitty although there is a punch for them … I love it when we have punches and dies that coordinate with our designer paper.
Sometimes cute and simple is all you need to send a little Halloween Hello to someone you love. I’ve got lots of cute Halloween cards to make … it just makes life easier! lol
Thank you for stopping by and spending a part of your Sunday with me. I hope the rest of your day is a good one ~
TODAY’S STAMPIN’ SUPPLY LIST … If you liked the products used in todays projects, I have links for you below. Just click on the item you would like more information on, or to begin your shopping. It will take you directly to my website. Thank you ♥