Hello Stampin’ Friends ~ Today I have some “Halloween Happiness” for you, one of the cards we made last night in my Hooray for Halloween class. The class featured the Scary Cute bundle and the different ways you can use it.
This was our fourth card and it introduces the Aspen Tree dies from the Perched in a Tree bundle … it is stunning with the Hues of Happiness Designer Series paper. The brush strokes in the designer paper add such an eerie touch to the card.
The moon shining brightly behind the trees, lights the way for our little Halloween Fairy … so cute she is! She’s bedazzled with Wink of Stella on her wings, wand and crown. She walks fearless into the forest in search for her treasure … Halloween candy!
Thanks for dropping by and checking out my card, have a great weekend.
Today I have the replay of last nights Facebook LIVE presentation. I featured the Scary Cute bundle using the Corner Fold Fun Fold but with a twist. I’ll be showing you a different layout to this common fun fold then give you some ideas on how to use the dies.
Grab a coffee and sit back and relax while I show you this scary cute card ….
This fun fold is easy to do and as you’ve seen, you can either use the horizontal / landscape layout or the vertical / portrait style and any occasion works with this layout… so have fun! I absolutely love the different looks you can create with this bundle … a touch scary and a whole lot of cute.
I’ll start with today’s card and then share some of the cards I have presented before …
Halloween is only 8 weeks away so if I’ve inspired you with this bundle, I have added the links below for your shopping convenience. Thank you for taking the time to visit me today.
Stop back tomorrow to see the new promotions Stampin’ Up! has announced. BUT … Don’t forget that today is the last day to enjoy the Sale-a-bration FREE Products.
Have a good day ~
Here is my list of ingredients for today’s card ….
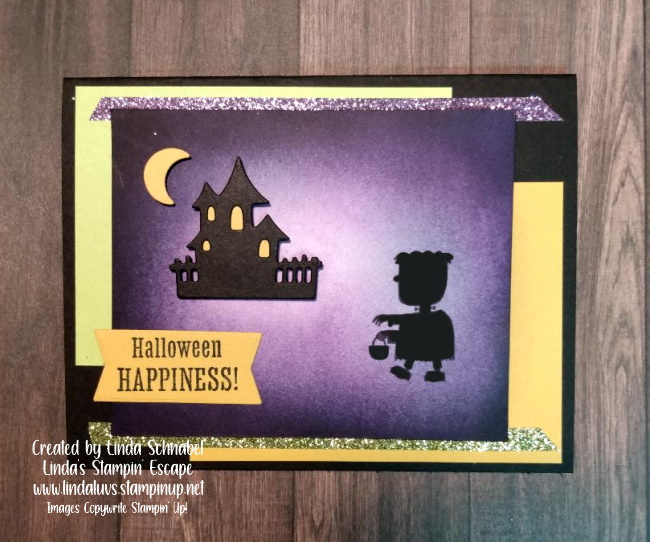
Did you know that today is National Frankenstein day?
So … I couldn’t resist and made a fun Halloween card using the Scary Cute bundle and the “Frankenstein” in the stamp set. I also used a couple of the dies from the bundle to spook it up a bit!
I used Gorgeous Grape and Night of Navy along with the Blending Brushes to create Frankenstein’s backdrop. The banner, house and moon were all die cut from the coordinating dies. A bit of Washi Tape to add some sparkle.
We have eight weeks before Halloween … what better way to celebrate than to make cute cards of the monster himself? Better yet, find a friend and create together… Isn’t that what Frankenstein and Igor did? The two months of prep will give you plenty of time to design the perfect cards and decorations for your Ghouls and Goblins at your Halloween event.
I’ll be sharing more Halloween inspiration throughout those eight weeks, till then have a great day.
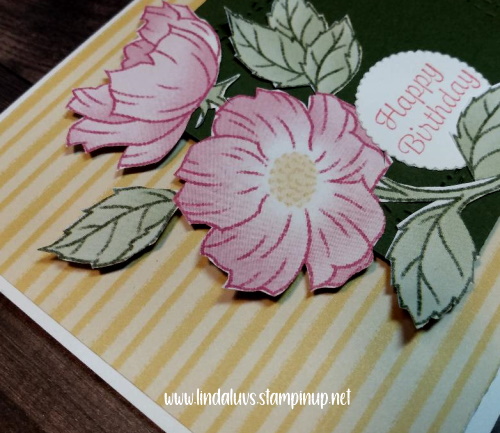
Today I have a beautiful card to share with you that highlights the Wonderful World Designer Series paper. The many pretty patterns from this paper helped to create this card … one sheet has larger flowers so I fussy cut it out and then mounted it onto my layered cardfront.
The card base is Basic White and was layered with the yellow pattern … I used that one to pull the yellow out of the center of the flower. I used the Stitched with Whimsy dies to create some texture onto my piece of Mossy Meadow and then layered my flower over it.
My Happy Birthday sentiment comes from the Very Best Trio bundle and was die cut using the Layering Circle dies to add a little more whimsy to the card. I did have to pinch off that leaf so I could position near the greeting like I did. And then ….
the entire assembly was mounted onto the card front using the Stampin’ Dimensionals. I love the larger flowers on that sheet, so many different kinds from all over the world … amazing! Each one will give you a different look so you can have a lot of fun with them.
Thank you so much for coming and checking out my blog today. With Sale-a-bration ending in just a few days, I wanted to make sure I gave you a chance to get your favorites.
Have a wonderful day ~
Here is a list of products used for today’s card ….
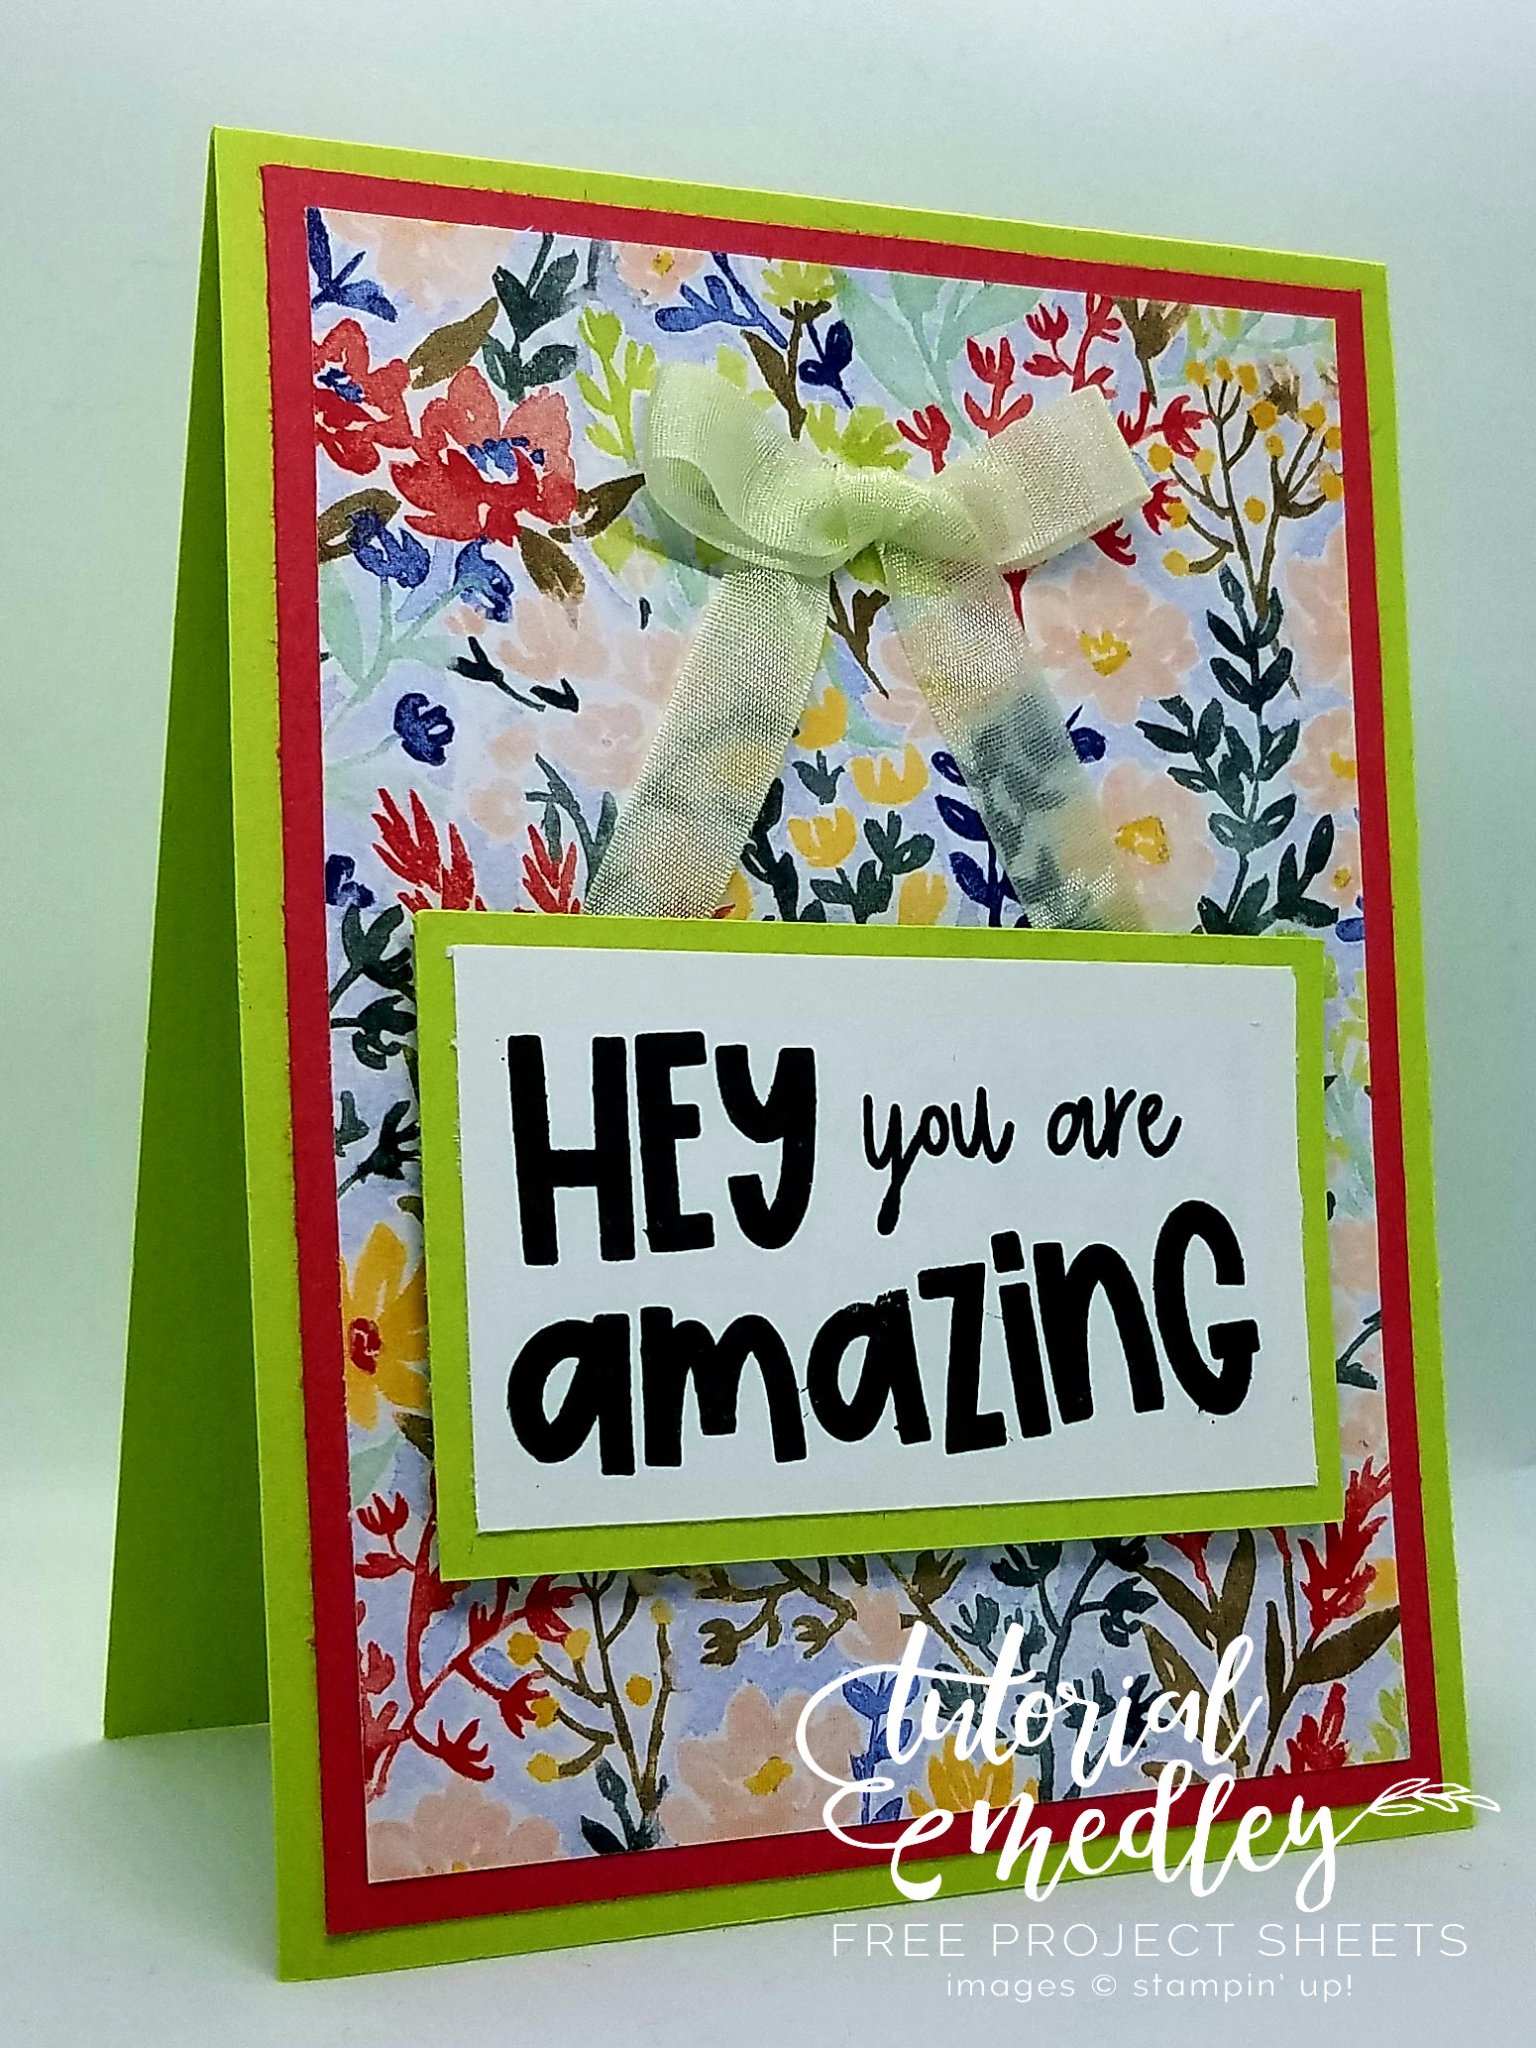
Finally feeling a little better so I’ll be back to posting and sharing again! Today’s Hey, You are Amazing card features the Amazing Phrasing stamp set and the Rings of Love Designer Paper.
Before we begin … here are the measurements:
Card Base: Parakeet Party 11” x 4-1/4”
Cardstock # 1: Sweet Sorbet 5-1/4” x 4”
Cardstock # 2: Parakeet Party 3-1/4” x 2”
Cardstock # 3: Basic White 3” x 1-3/4”
DSP: 5” x 3-3/4”
Instructions:
Score and fold the card base in half as you would if you were making a normal card.
On a Clear Block, line up the “HEY” and “you are” stamps on one line and then place the “AMAZING” stamp under them. Using Evening Evergreen ink, stamp the sentiment on Cardstock #3.
Adhere the sentiment on to Cardstock #2. Add dimensionals to the corners on the backside of Cardstock #2.
Place adhesive on the back of the DSP and adhere to Cardstock #1.
Place adhesive on the back of Cardstock #1 and adhere to the card base.
Take about 10” of the Soft Sea Foam Seam Binding ribbon and tie a bow. Use glue dots to adhere to the DSP, also use glue dots to adhere the tails of the ribbon to the DSP. Attach the sentiment to the DSP, so that it looks like a wall hanging.
For the inside of the card, stamp a sentiment and adhere the Basic White card stock to the inside of the card.
Today I have a cute card made from the fabulous Cup of Tea Suite. Sit a bit and enjoy a cuppa while you create cards and more with products from the Tea Boutique Suite Collection.
If you like tea, you’ll love creating tea-themed projects. The Cup of Tea Bundle has stamps and coordinating dies for making cards and scrapbook pages.
Sit and stay awhile with a friend and share the Cup of Tea Bundle!
This bundle includes stamps and dies to create a perfect cup! Add a little (or a lot) of love, a slice of lemon, and a heart-felt sentiment for cute cards and crafts that will make everyone smile.
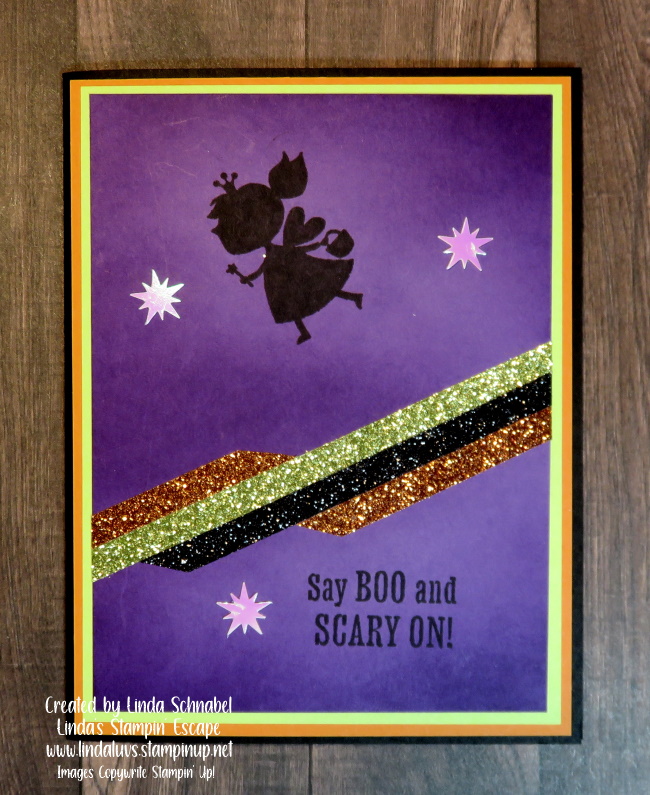
Today I’m going to bewitch you with a Dazzling Halloween Card! From a simple Black & White pattern from the Rustic Harvest Designer Paper to a fun and colorful card that’s a treat for any of your ghouls and goblins.
Now that you’ve seen the card, I invite you to sit back and join me for a quick video … it is a replay of my Summer Sale-a-bration / Mini Catalog Celebration Party. Enjoy!!
Now … wasn’t that easy? The Glitter Washi Tape fits nicely between the lines and goes down easily. The Scary Cute Bundle creates a hauntingly inviting image that sits on a piece of die cut vellum to really make it pop. If you’ve watched the video to the end … you got to see two of the cards that I had showcase on my blog earlier.
I thank you for joining me today. Hope you have a good day!
Here are the links to the products that I used in today’s card ….
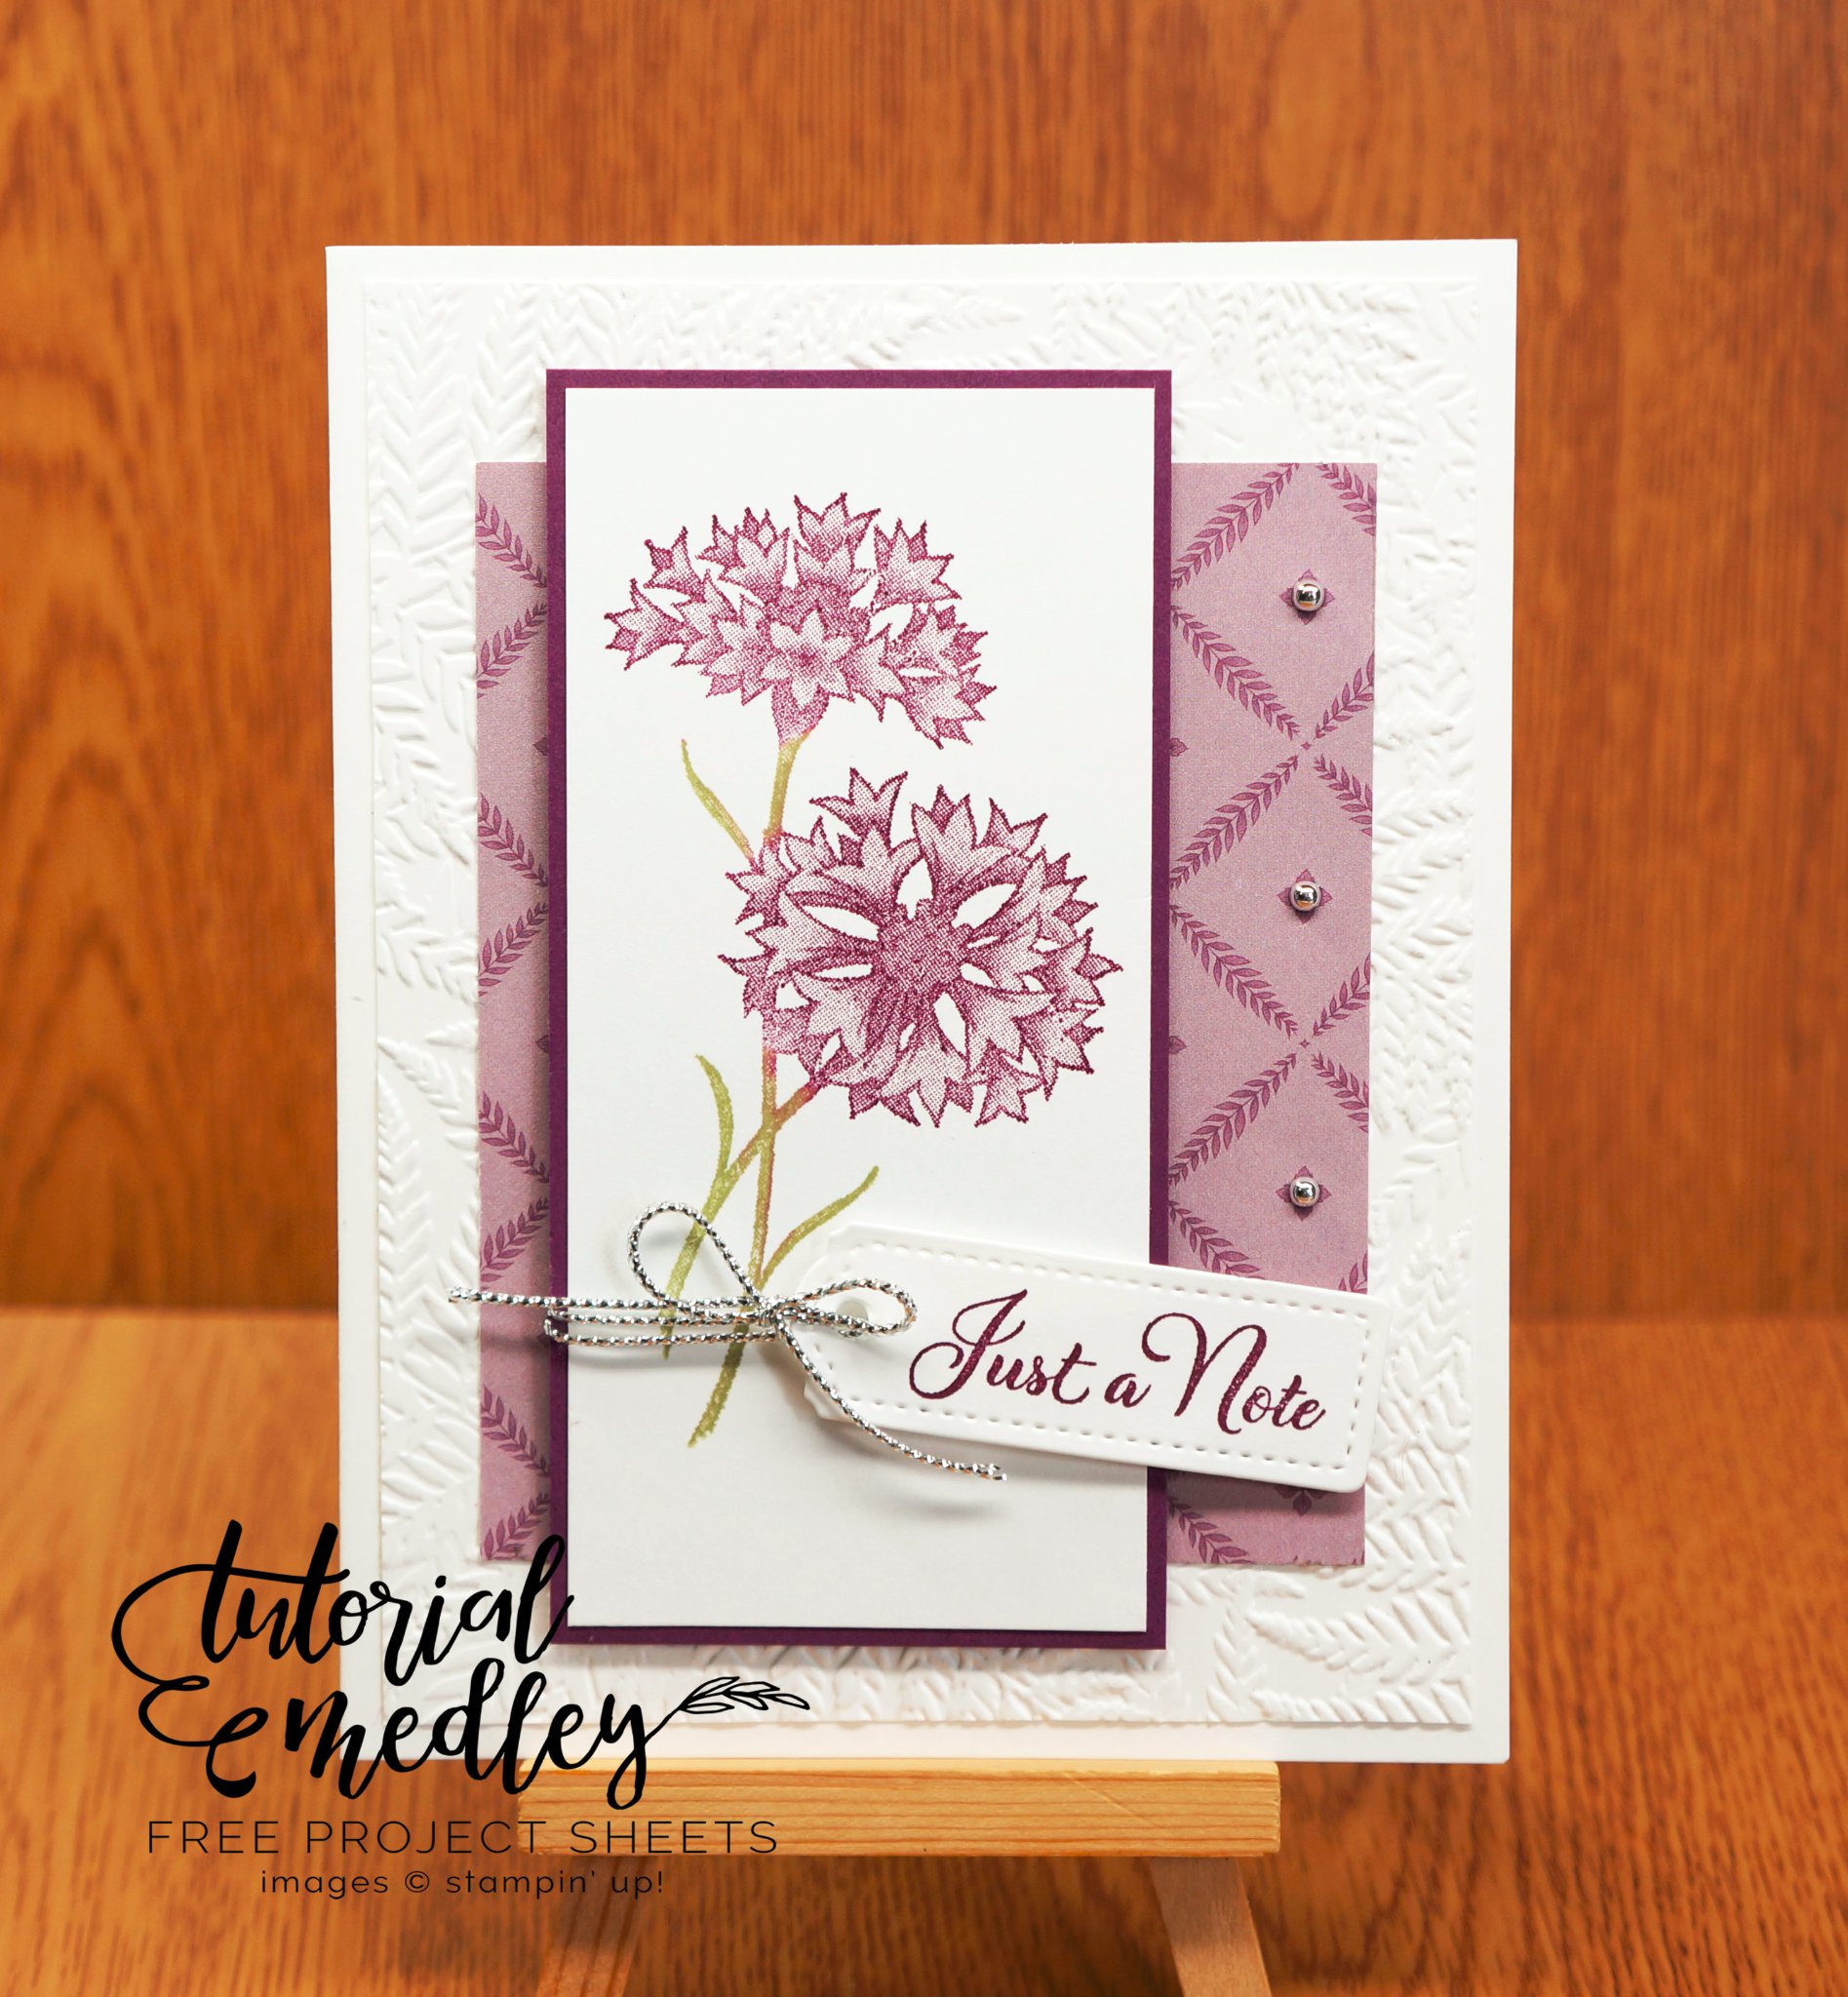
A new week ahead, so Just a Note to say Happy Monday to you! Today I’d like to share another card from the Wonderful World bundle. The layers truly highlight the beauty of this flower. We begin with a Basic White base and a Basic White mat that is embossed with the Fern 3D folder … this adds a nice touch of texture to the card.
Our next layer is the Wonderful World Designer Series paper which is attached directly to the embossed cardstock. Next we’ll ink up the stamp using a sponge dauber and Rich Razzleberry for the flower and the Pear Pizzazz Stampin’ Write marker to add color to the stem and stamp onto Basic White cardstock. Secure to a Rich Razzleberry mat.
Stamp greeting on white carstock and die cut with smallest tag die. Wrap silver cord twice around matted image and thread tag on, then tie a bow. Adhere to card with dimensionals. Finish off your card by adding silver pearls to the designer paper.
If you would like a PDF of this card with photo, dimensions and full instructions … just leave a comment below and I will send it out to you.
Thank you for joining me this Monday. Have an amazing day!
Here is a list of ingredients to make today’s card ….
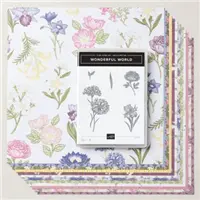
A Wonderful World … Celebrate the natural beauty found around the world with this stamp and paper bundle featuring prominent flowers from across the globe. The stamps and paper are designed to coordinate perfectly for handmade cards as beautiful as Mother Nature herself.
The Wonderful World Bundle includes the Wonderful World Stamp Set and the Wonderful World 12″ x 12″ (30.5 x 30.5 cm) Designer Series Paper. Let me show what a beautiful combination these two are together…
I’m teaming it up with the Corner Flip Fold … an easy Fun Fold that gives your card extra dimension and an additional pop of color by exposing the designer paper we are using on the inside…. Instead of trying to write down all of the instructions, I have created a video from my LIVE presentation during my Summer Sale-a-bration & Mini Catalog Celebration.
I hope that the video explains how to create the fun folds and shows how beautiful this bundle really is. I love the “Distinktive” stamps and how realistic they are…. those sponge daubers add color so nicely to the stamps as well.
Thank you for stopping over today and checking out my blog,
Here is a list of the products I used for my two cards shown in the video ….
I couldn’t resist … I had to share one more card (for now) using the Rustic Harvest Designer paper and bring you the Warmth of the Fall Season. I know you know how to use the “colored” paper so I have another way to highlight the black & white. Let’s take a look at this gorgeous paper …
See, I bet you have ideas spinning around in your head with what you would like to do with all the beautiful colored patterns, but I want to share how to have fun with the black and white.
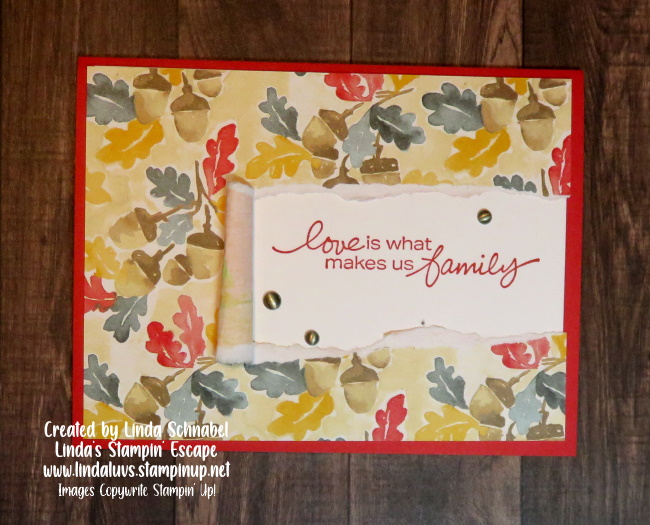
Yesterday’s card highlighted the “Blending Brushes” and transforming the black and white to a soft fall background. Wait till you see today’s card!! Grab your fall colored ink pads (I’m using Old Olive, Pumpkin Pie, Cherry Cobbler, and Crushed Curry) … then grab your sponge daubers. Don’t have any? I put the link below be cause you are going to want these handle little coloring tools in your stamp collection!
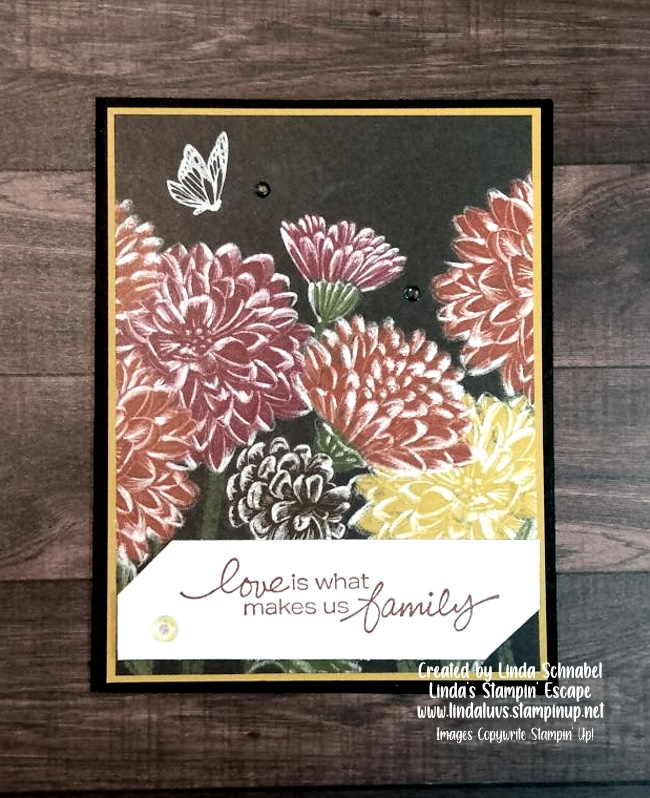
Is this not a WOW card!?! It really takes you right to those beautiful sunny fall days … Call me crazy but I love to look up into the trees when the sun is shining through those beautiful colors, it’s magical. I can almost smell it now. Sorry … drifted off into my happy place for a minute there! lol The paper has the perfect detail of the leaves and some spattering to age them a bit … all I had to do was sponge (dauber) the colors onto it.
The beautiful sentiment comes from the Very Best Occasions Bundle (pg. 68 in your Jul-Dec Mini Catalog). There are so many heart-felt sentiments in this stamp set and a couple of cute fun ones as well … and as for the bundle, well that is the Very Best Trio Punch.
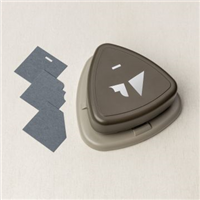
Get three punches in one with the Very Best Trio Punch! These punches are designed to create perfect corner cutouts and openings you can thread ribbon through. Choose from a straight edge or a detailed corner to add an extra touch to labels, tags, and sentiments. You can punch the detailed corner design two ways: by just rotating the paper clockwise or punch the top and bottom corners so that they mirror each other. This punch is a triple threat that you can use with any stamp set or dies. So let’s get crafting!
Today’s card may look detailed but it is so simple to create with the right tools. I have linked all of the products I used on today’s card for your convenience.
Thank you for sharing a part of your day with me. It’s a beautiful day here in Wisconsin, I hope you are enjoying your day as well.
Are you ready for some more Rustic Harvest Designer paper? I had so much fun playing with this paper this weekend. It gets me thinking of my favorite season – Autumn. I pictures those warm days (not hot) and cool nights with a campfire and some smore’s … let’s not forget everything Pumpkin Spice! lol
Speaking of pumpkin, I pulled out the Pumpkin Pie for this card, along with Cajun Craze and my Blending Brushes to color this once black and white designer paper. Once you’ve colored your paper, you can layer it over your Basic White mat. Then secure it to your card front.
That pretty little pumpkin was fussy cut from the same Rustic Harvest paper … just another pattern. It’s elegance in white is why I chose a white mat for may card, I just think it ties everything together nicely.
The “Endless Grateful” sentiment comes from the Very Best Occasions stamp set in the Mini Catalog, and was die cut using the Scallop Contours Dies.
The pumpkin and the greeting are both popped up using dimensionals. I love the simplicity of and beauty of this card … the blending brushes apply to color so smooth and easily and really turn this black and white paper into an autumn wonderland.
I am back from my Summer Sale-a-bration Party and will have lots to show you over the next few days! Today I’m starting out with the beautiful Rustic Harvest Designer Paper …
The majority of this card is designer paper, the beautiful pattern makes cardmaking a breeze. Even the butterfly is designer paper!! I matted the designer paper with Crushed Curry and then mounted it onto the Basic Black card base.
My greeting comes from the Lovely You stamp set … it’s kind of my “go to” stamp set with it’s versatile greetings. I trimmed off two of the corners with the New Trio punch. To finish off my card I added some of the Iridescent Rhinestones.
Thank you so much for stopping by. Have yourself a good day ~
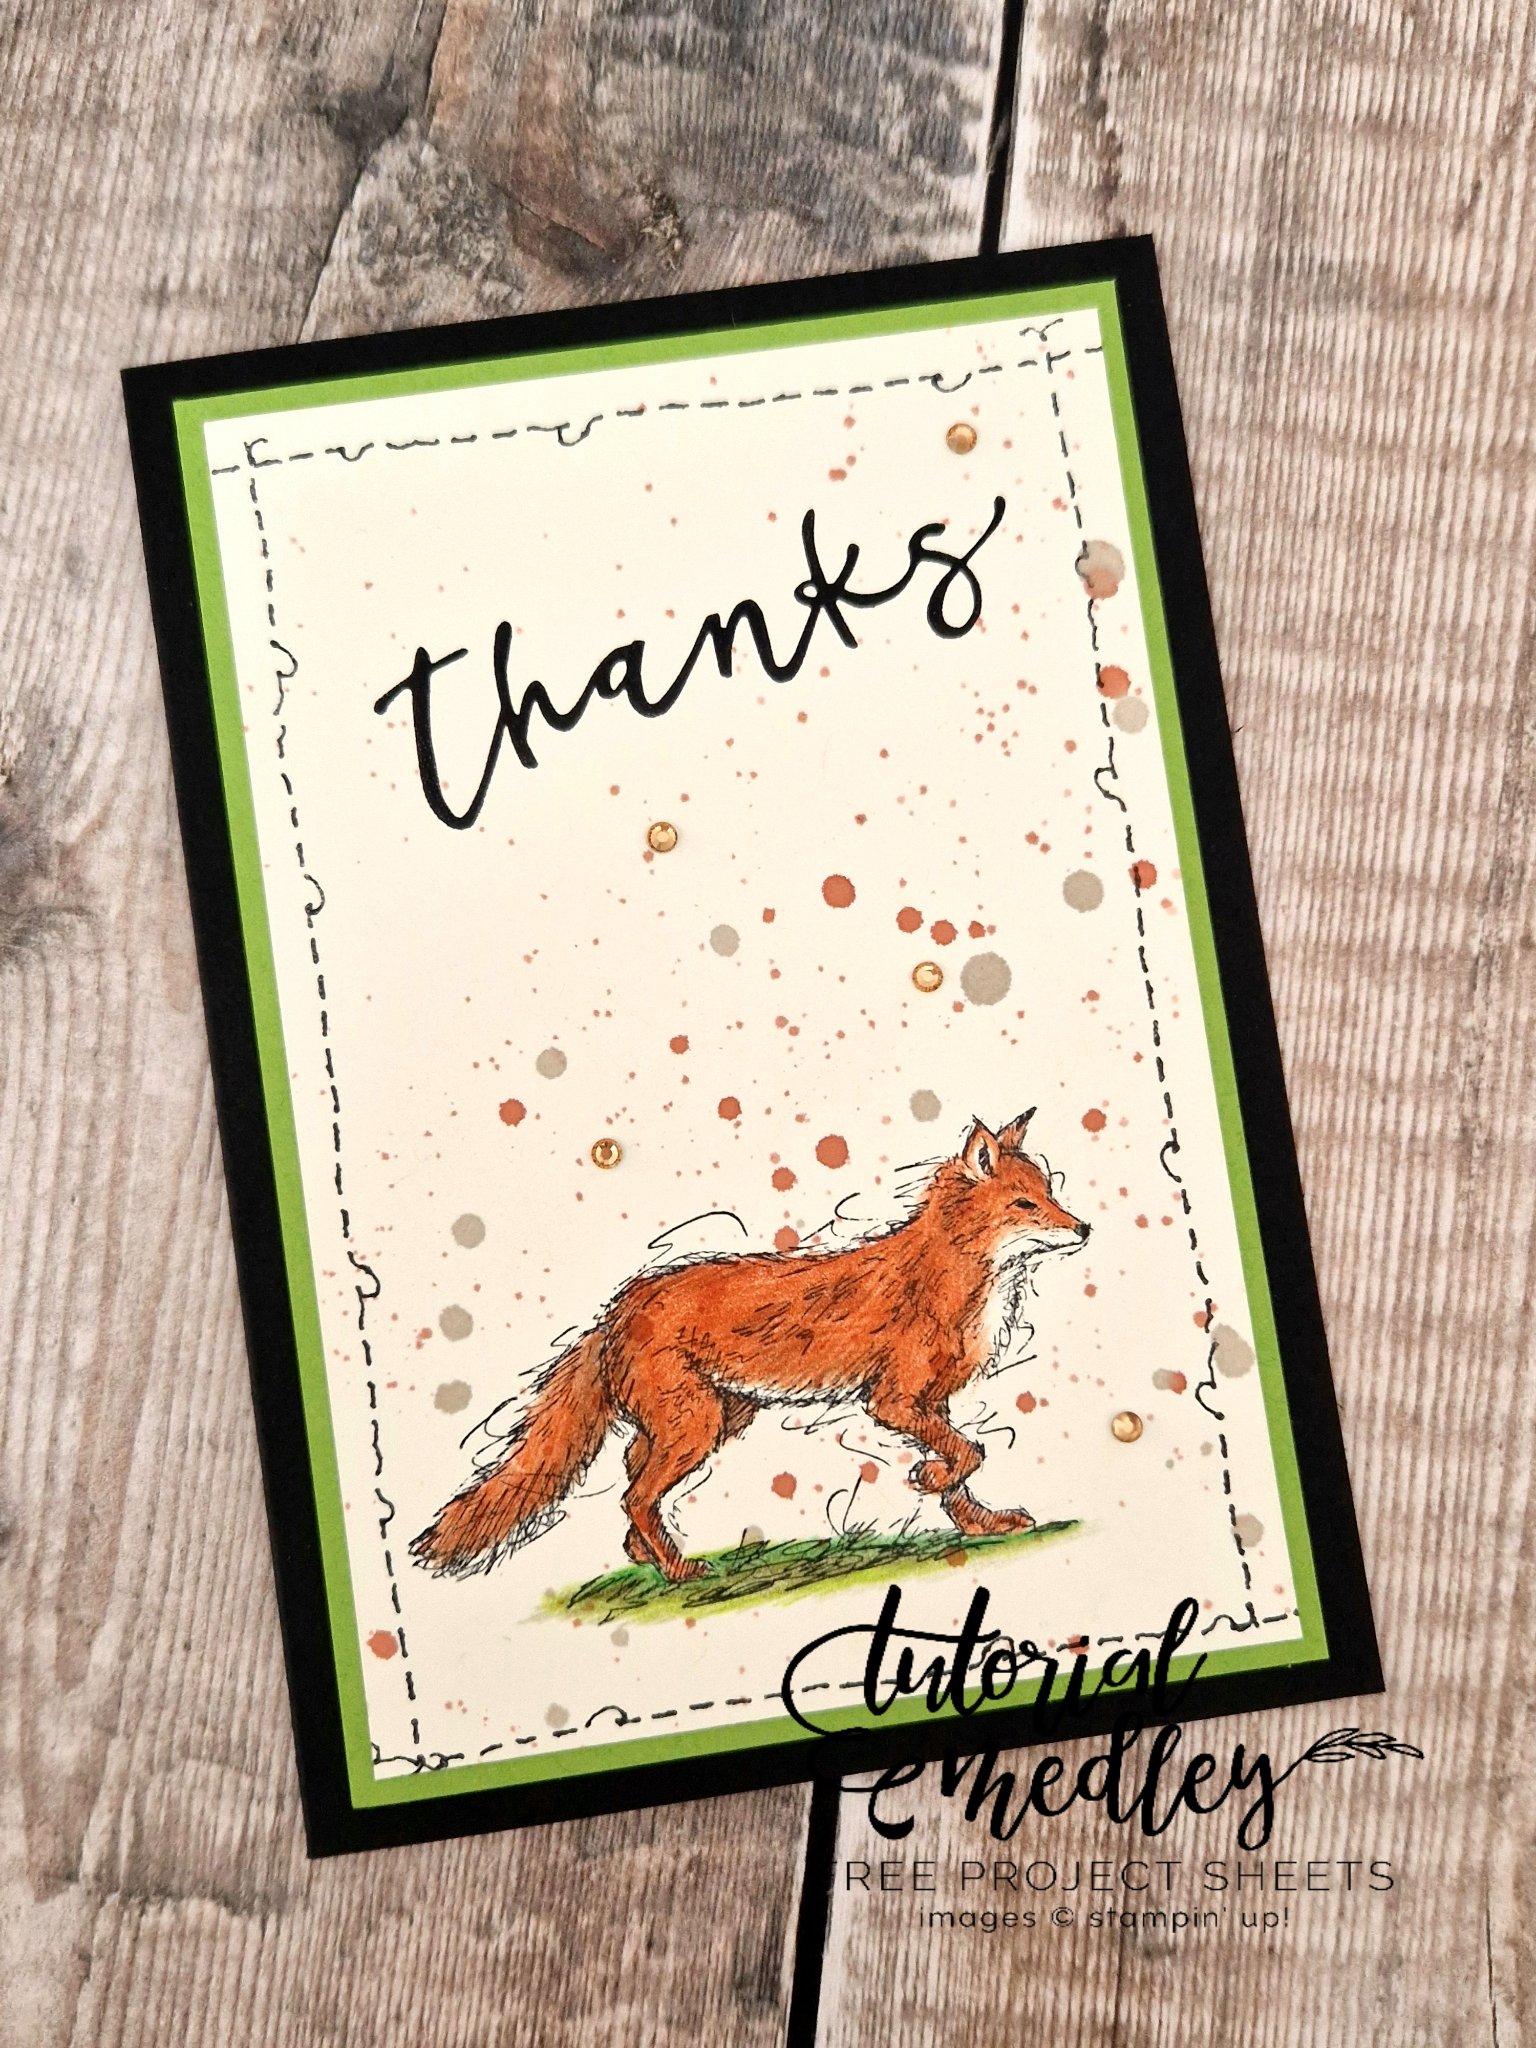
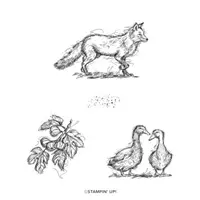
Woot Woot … the weekend is almost here!! That means it’s Free Tutorial Friday and I am sharing a beautiful card with the Stylish Sketches stamp set. This card features the fox from this set and would be perfect for any occasion …
Measurements:
Card Base: 8-1/2 x 5-1/2, scored at 4-1/4
Cardstock #2: 5 x 3-3/4
Cardstock #3: 4-3/4 x 3-1/2
Instructions:
Stamp the fox at the bottom of the Very Vanilla.
Color the fox using Watercolor Pencils. I used Cajun Craze and Early Espresso for the fox and Garden Green, Old Olive and Granny Apple Green for the grass. I used my pencils dry and did not add any water.
Mix a little bit of Cajun Craze ink with some water and splatter the background of Vanilla cardstock. I used the two different sizes of Water Painters to achieve the different size dots. Repeat with a little bit of Early Espresso ink, I watered this down quite a lot to achieve the lighter effect.
Once dry, stamp the sentiment in Staz-on ink.
Stamp the stitching around the edges in Staz-on ink or use a Basic Black Stampin’ Marker and draw the stitches by hand.
Secure the layers with your favorite adhesive.
Add a few Champagne Rhinestone Basic Jewels to complete the card.
Thank you so much for the visit … and I hope you enjoyed the card is much as I did. This was created from one of my Stampin’ Sisters in the Tutorial group that I am in.
Have a great weekend, and I hope you stop over and join in on my party.
Here is a list of ingredients used in today’s card …
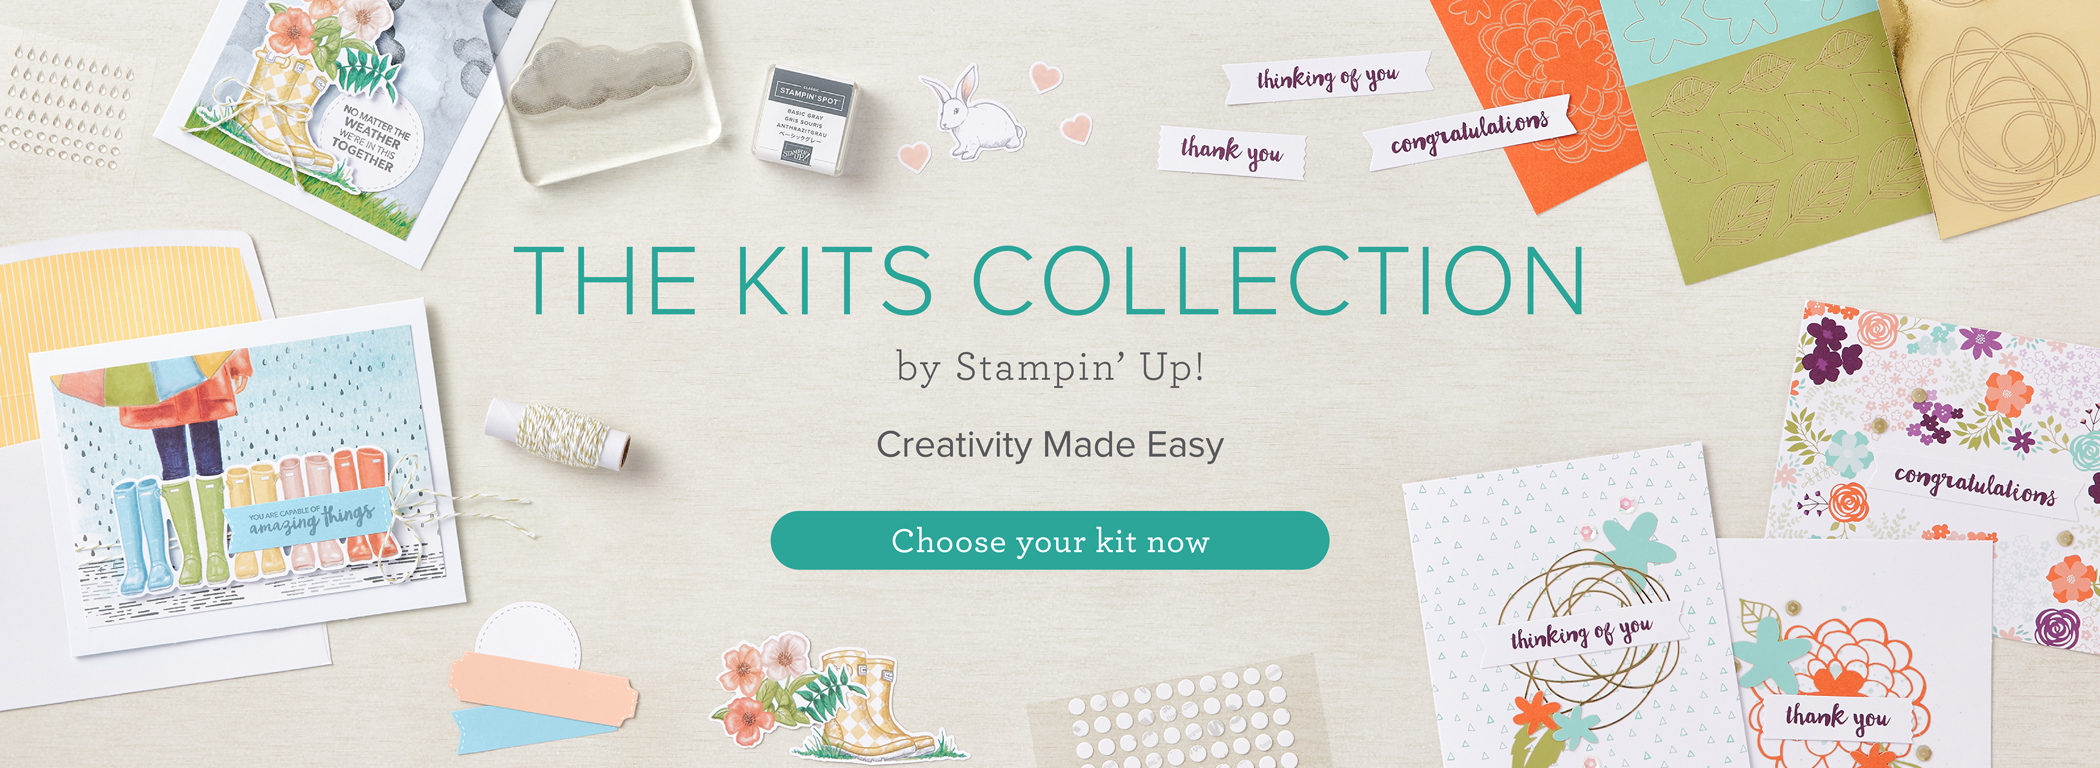
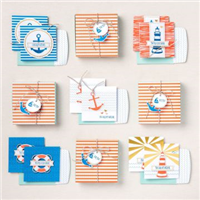
I’m excited to share with you a new line of creative products called the Kits Collection by Stampin’ Up! Stampin’ Up! has taken the guess work out of creativity and done the hard parts, and you get to do the fun stuff: craft! Each kit is all-inclusive and includes the predesigned projects, preprinted pieces, and even the adhesives you need to complete the projects.
Let’s learn a little bit more about the kits and what’s inside your kits…. Every collection kit is different but includes similar types of products.
In this video, Join Stampin’ Up! CEO Sara Douglass to find out about the product types, see how to use them, and learn some crafty terminology!
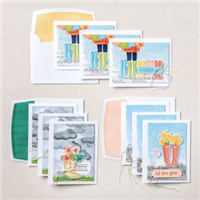
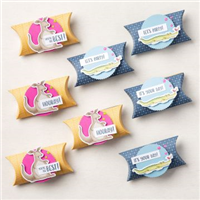
Here is a cute kit I have not seen yet so I checked out the video and thought I’d share it with you! It’s so cute and “beachy”!!
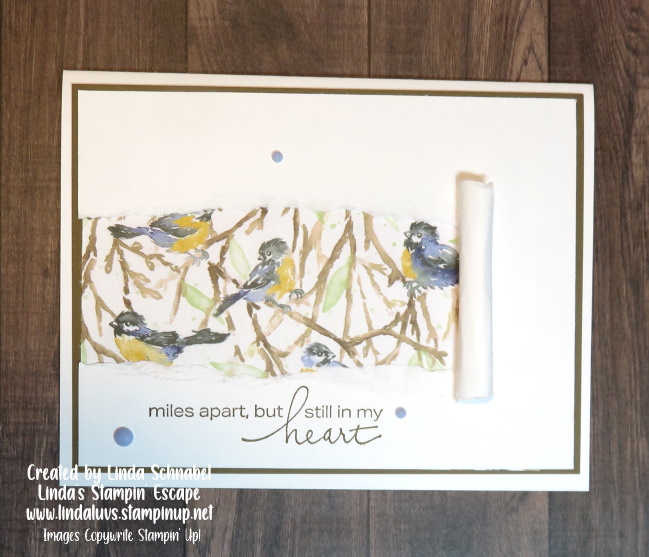
I’m thrilled to share today’s cards and technique with you … I have been playing around with the “Torn Window” technique and really had fun creating different looks. In the video I demonstrate how to do the “tear” on both the designer paper and cardstock. Take a look at the video … It is a replay of last nights LIVE and can be found on YouTube as well.
This is just the tip of the iceberg … there are so many different variations that you can create using the technique. The video shares the basic “how to” and I can’t wait to share more with you this weekend … I hope you plan on joining me for the Summer Sale-a-bration Mini Catalog Celebration Party!! Now let’s take a closer look at the cards …
Card Base is 8-1/2″ x 5-1/2″ scored and folded at 4-1/4″. The designer paper or mat will measure 4″ x 5-1/4″ … the white cardstock that you will tear will measure 1/8″ less than the mat; 3-7/8″ x 5-1/8″. The designer paper you tuck inside can be measured based on your opening.
Just a reminder to join me for my party this weekend to see more samples using this technique, plus LIVE demonstrations on some of the amazing products found in these catalogs… games, much FUN and prizes. CLICK HERE
I hope you enjoyed seeing this fun and easy technique, I love the fun that unfolds with this card… either a beautiful sentiment of a beautiful scene!