Inspired Thoughts rockin’ the “Blends, Alcohol & Vellum Technique!

Hello Stampin’ Friends ~

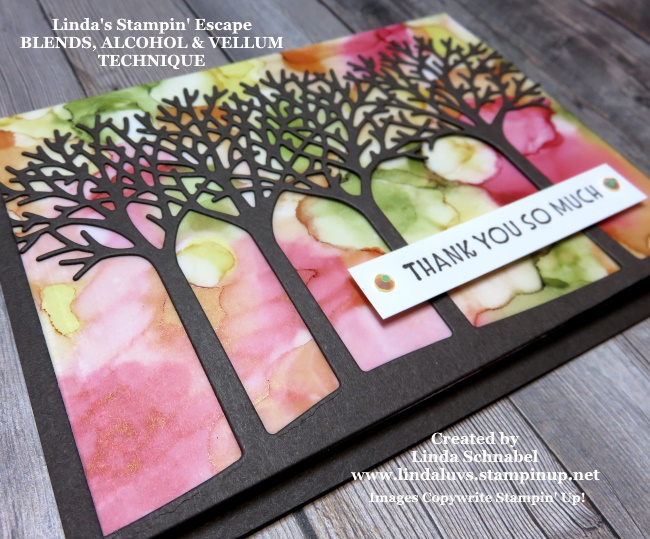
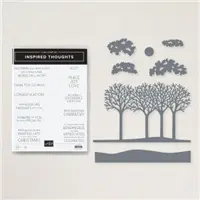
Now I’d like to bring back a technique featuring the “Inspired Thoughts” Bundle … I am excited to share a video and two cards that I created using the amazing “Blends, Alcohol & Vellum” technique! This is such a fun technique and creates amazing backgrounds where no two will look alike. The more you play with it, the more you will be hooked!!

Here is the card that I created in the video, I’ll share another with you later in my post.

I have a few tips to share and then I invite you to watch the video;

  1. Make sure you are using 91% (or higher) Isopropyl Alcohol … the 70% will not work properly.
  2. Your room should be well ventilated due to the Alcohol
  3. A paint brush works great, or you could try your old Aqua Painters. (I like the stability of the brush)
  4. Have paper towel or something to clean your brush off with and absorb excess alcohol on your brush.
  5. Pick colors that coordinate well together as some combinations may get muddy… But have fun experimenting!

I had so much fun sharing this technique last night with my stampin’ friends, that I made even more backgrounds!! I was playing around with some color combinations and thought of a sunset, so I layered my colors and this is what developed …

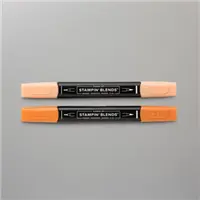
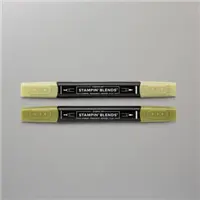
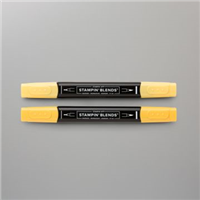
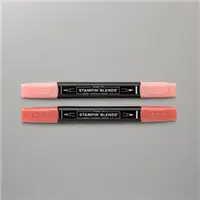
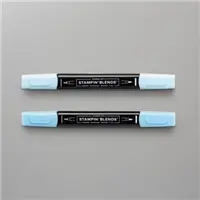
Cool … right!! I made this card just like the one in the video. My Stampin’ Blends colors were: (from the bottom up) Dark Night of Navy, Dark Highland Heather, Dark Calypso Coral, Dark Daffodil Delight and Dark Balmy Blue.

I added a big patch of the Daffodil Delight to create the “sun” area … and once that was created, I used a circular candle holder to trace a circle in that area – wow, doesn’t that look cool!? I also dropped my trees lower, so I had to cut off the bottom, trim the trunks and then glue to bottom back on.

This technique creates such unique background which gives such depth to the card, and then our trees and some really nice texture. Both of these cards were so much fun to create, and I can’t wait to send them out, or give them away as one of my door prizes!!

I want to “Thank you” for spending time with me today, to check out my cards and my video! I’d love to know what you think of this technique, and what colors would you use?

Have a fun and creative day ~

TODAY’S STAMPIN’ SUPPLY LIST … If you liked the products used in today’s projects, I have links for you below. Just click on the item you would like more information on, or to begin your shopping. It will take you directly to my website. Thank you  

Thinking of You Card …

Hello Stampin’ Friends ~

Get a one-stop solution for year-round cards with the Inspired Thoughts Bundle. The stamp set includes greetings for many occasions—and you’ll get options you can use on both the inside and outside of your card. Plus you can use all the greetings with one clear block, which makes it easy to use and cost effective.

Today I’ll be sharing another card from Stampin’ Up! also from the Inspired Thoughts Bundle …

We’ve got some step by step instructions for today’s card ….

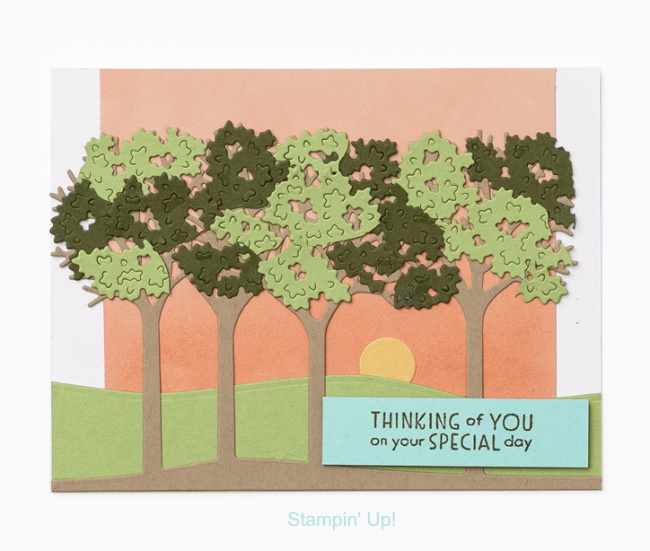
1. Cut a 5-1/2″ x 8-1/2″ (14 x 21.6 cm) card base from Basic White Cardstock. Cut a smaller piece of Basic White to 4-1/4″ x 4-1/4″ (10.8 x 10.8 cm).

2. Color the smaller piece of Basic White Cardstock with Calypso Coral ink with a Blending Brush, adding more saturation at the bottom and getting lighter toward the top of the paper.

3. Die cut the tree base from Crumb Cake Cardstock, circle from So Saffron, hill from Pear Pizzazz, and two sets of leaves in Mossy Meadow and Pear Pizzazz.

4. Stamp “Thinking of you on your special day” sentiment using Mossy Meadow ink on a 5/8″ x 2-5/8″ (1.6 x 6.7 cm) piece of Pool Party Cardstock.

5. Adhere individual pieces to the card base as shown. The Pool Party piece is adhered with Stampin’ Dimensionals.

Thanks for stopping by today!!

Have a great day ~

TODAY’S STAMPIN’ SUPPLY LIST … If you liked the products used in todays projects, I have links for you below. Just click on the item you would like more information on, or to begin your shopping. It will take you directly to my website. Thank you 

Inspired Thoughts Bundle …

Hello Stampin’ Friends ~

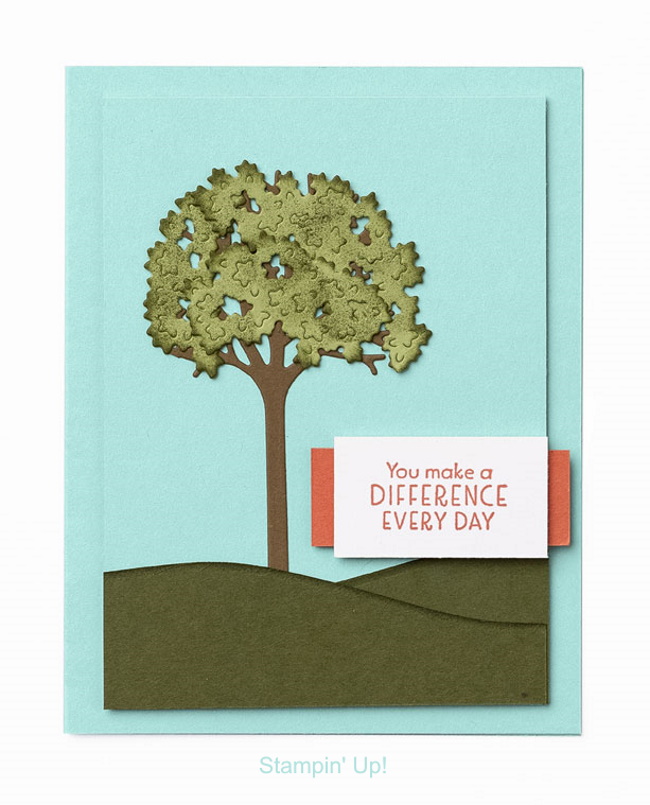
Today I’d like to share a card direct from Stampin’ Up! highlighting the Inspired Thoughts Bundle …

We’ve got some step by step instructions for today’s card ….

1. Cut a 5-1/2″ x 8-1/2″ card base from Pool Party Cardstock. Cut a smaller piece of Pool Party to 3-1/2″ x 5″.

2. Die cut the tree base from Soft Suede Cardstock; cut leaves from Pear Pizzazz Cardstock; and cut two hills from Mossy Meadow Cardstock.

3. Die cut the tree base from Soft Suede Cardstock; cut tree branches and piece them together to create one tree.

4. Add color to the leaves and hill with ink and a Sponge Dauber for added dimension.

5. Stamp “You make a difference every day” sentiment using Calypso Coral ink on a 1″ x 1-3/4″ piece of Basic White Cardstock. Layer it on a 2-1/8″ x 1-3/4″ piece of Calypso Coral Cardstock.


6. Adhere individual pieces to the card base as shown. The Pool Party piece, Calypso Coral piece, and front hillside are adhered with Stampin’ Dimensionals.

Thank you for joining me today!

Have a beautiful day ~

TODAY’S STAMPIN’ SUPPLY LIST … If you liked the products used in todays projects, I have links for you below. Just click on the item you would like more information on, or to begin your shopping. It will take you directly to my website. Thank you 

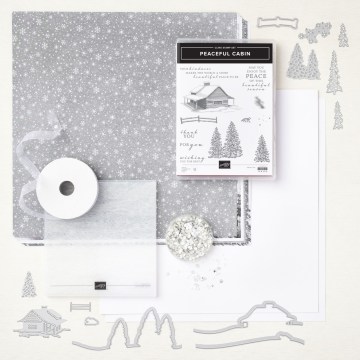
Peaceful Cabin …

Hello Stampin’ Friends ~

August-December 2021 Mini Catalog - PEACEFUL CABIN SUITE

PEACEFUL CABIN SUITE

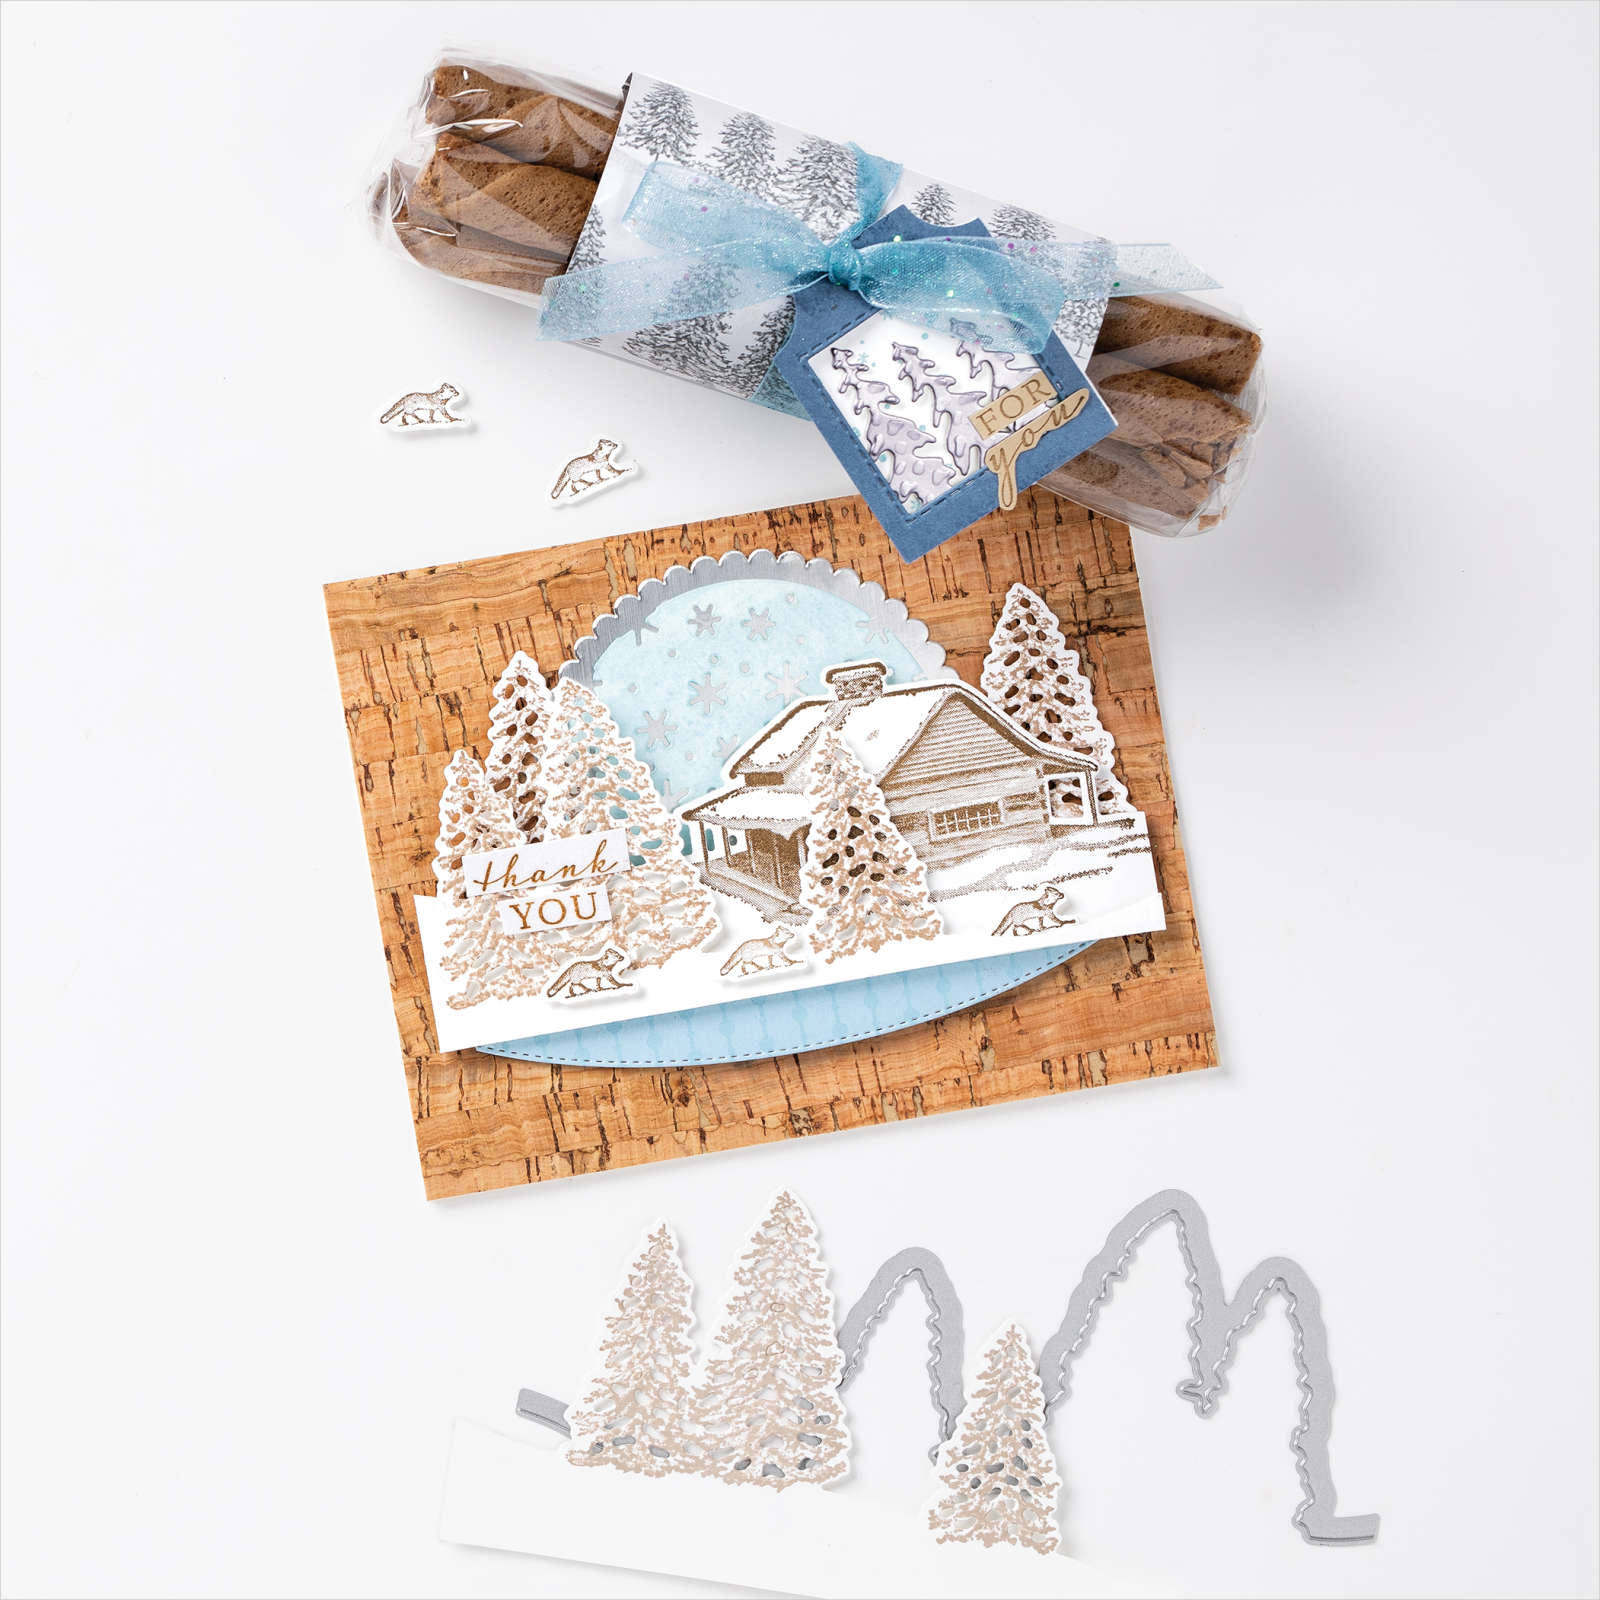
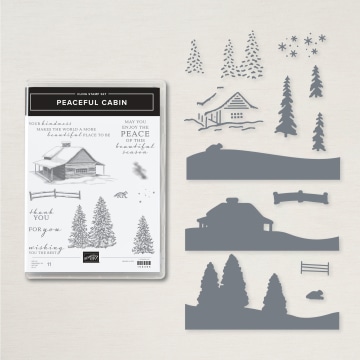
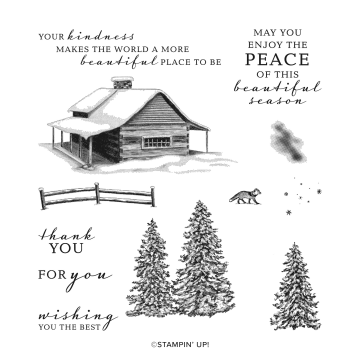
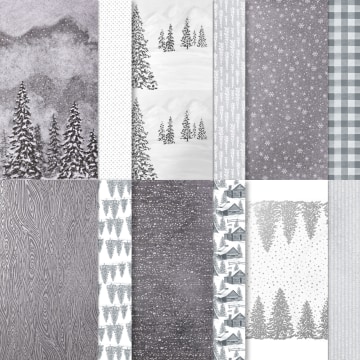
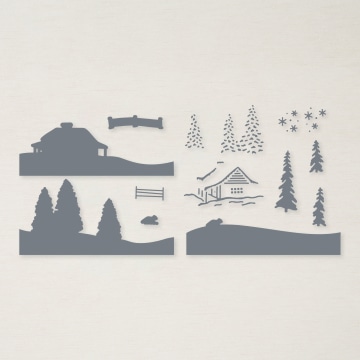
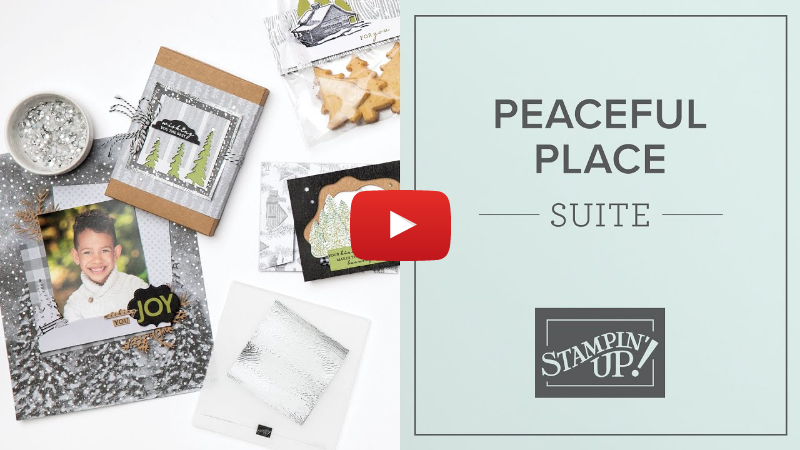
A cabin in a snowy meadow, surrounded by trees, is about as iconic of a peaceful scene as I can imagine. With the Peaceful Place Suite you’ll have all the elements for creating cards, scrapbook pages, and more with beautiful, wintery landscapes. The Peaceful Place Specialty Designer Series Paper features a lovely, soft monochrome style with silver accents that are perfect for elegant and natural looks. The Peaceful Cabin stamp set is a DistINKtive set, which means it creates detailed, shaded images. You’ll love creating with this set for the holidays and the winter months that follow. The tutorial below features a diorama-style, that layers down to the focal image, instead of up like most cards we create. I think you’ll love creating and sending this beautiful card. Have a beautiful day ~
Stampin’ Hugs, Linda
————————————————– VIEW ONLINE August-December 2021 Mini Catalog - PEACEFUL CABIN SUITE

Coordinating Products

Peaceful Place Suite Collection (english) Peaceful Cabin Bundle (english) Peaceful Cabin Cling Stamp Set (english) Peaceful Place 12 X 12 (30.5 X 30.5 Cm) Specialty Designer Series Paper Cabin Dies Timber 3d Embossing Folder Silver Foil 12 X 12 (30.5 X 30.5 Cm) Specialty Pack Subtle Shimmer Sequins White 3/8 INCH (1 Cm) Glittered Organdy Ribbon Snowy White 12 X 12 (30.5 X 30.5 Cm) Velvet Sheets August-December 2021 Mini Catalog - Peaceful Sweet Stockings Card August-December 2021 Mini Catalog - Peaceful Sweet Stockings Card

Peaceful Sweet Stockings Card

August-December 2021 Mini Catalog - Peaceful Sweet Stockings Card SUPPLIES BUNDLES #156816 Peaceful Cabin Bundle (#156395 Peaceful Cabin, #156404 Cabin Dies) PAPER #159276 Basic White, #121045 Basic Black, #131201 Pear Pizzazz, #159229 Basic White Thick, #156325 Kraft 6″ X 6″ (15.2 X 15.2 Cm) Paper Pack INK #102283 VersaMark Pad, #147089 Garden Green, #147104 Pear Pizzazz, #147113 Smoky Slate TOOLS #156406 Timber 3D Embossing Folder, #155559 Picture This Dies, #155565 Layering Diorama Dies, #129053 Heat Tool, #149653 Stampin’ Cut & Emboss Machine, #133773 Sponge Daubers ADHESIVES #103683 Mini Glue Dots, #104430 Stampin’ Dimensionals, #110755 Multipurpose Liquid Glue, #138995 Tear & Tape Adhesive, #141825 Foam Adhesive Strips EMBELLISHMENTS #155554 Basics Embossing Powders, #156485 Black & White 1/4″ (6.4 Mm) Gingham Ribbon, #156407 Subtle Shimmer Sequins TIPS: The Peaceful Cabin stamp set is a special stamp design called DistINKtive(TM) by Stampin’ Up! DistINKtive stamps are designed to give a detailed, shaded, 3D-like effect. An ink pad with too much ink will create a blotchy, blobby image with these stamps. This is a real case of less is more. Use a Bone Folder or the back of a plastic spoon to push the ink away from the center of the ink pad and towards the edges. Then ink and stamp. Peaceful Place Suite | By Stampin' Up! DOWNLOAD OUR LATEST CATALOG August-December 2021 Mini Catalog

Whimsical Christmas …

Hello Stampin’ Friends ~

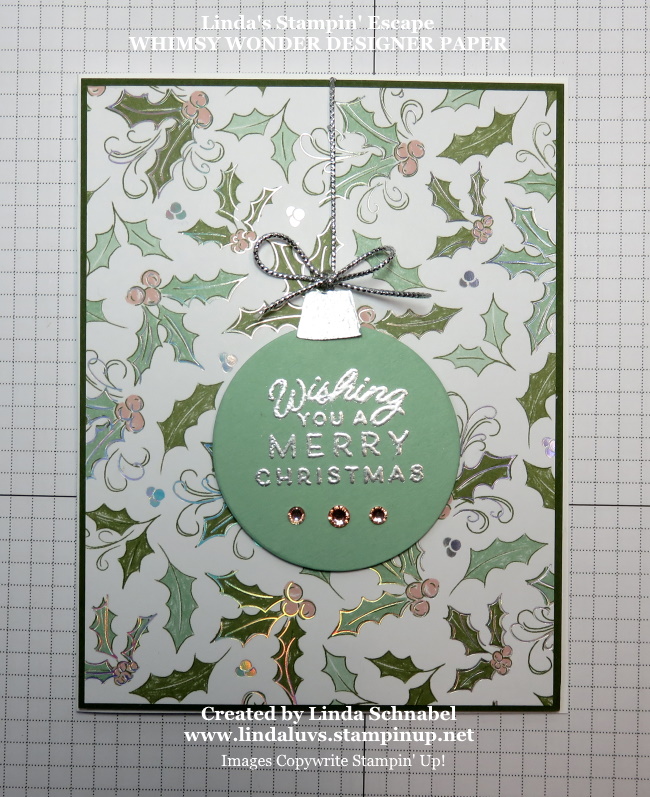
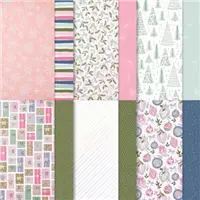
Many of you know I’ve been busy preparing for my upcoming Holiday Stampin’ Retreat next weekend, and while doing so, I had some left over Mint Macaron circles … couldn’t let them go to waste so I paired it up with the Whimsy & Wonder Designer Paper …

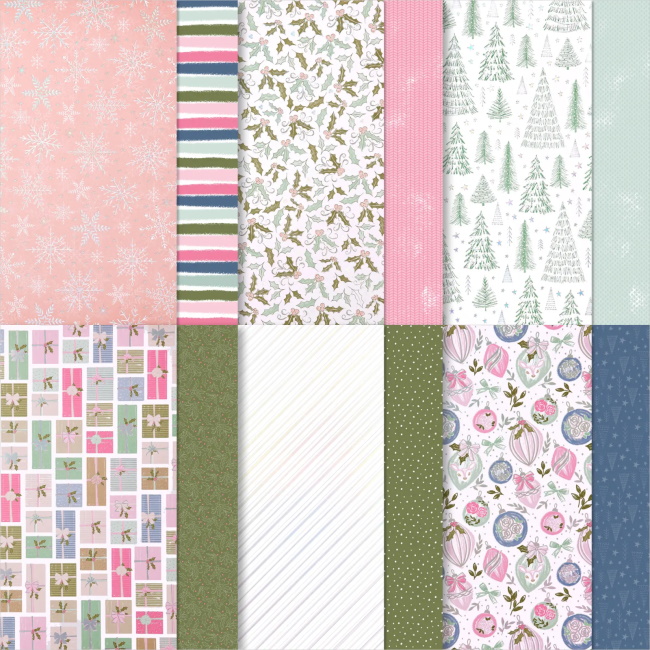
The conventional patterns meet an unconventional color scheme in the Whimsy & Wonder Designer Specialty Series Paper. This paper is a lovely choice for those who want to celebrate the spirit of the season. Images include gifts, trees, snowflakes, and more. And once the holidays are done, use the versatile stripes and tone-on-tone patterns for all of your projects. This papercrafting staple is great scrapbook paper, card making paper, and more!

Now let’s take a look at that card ….

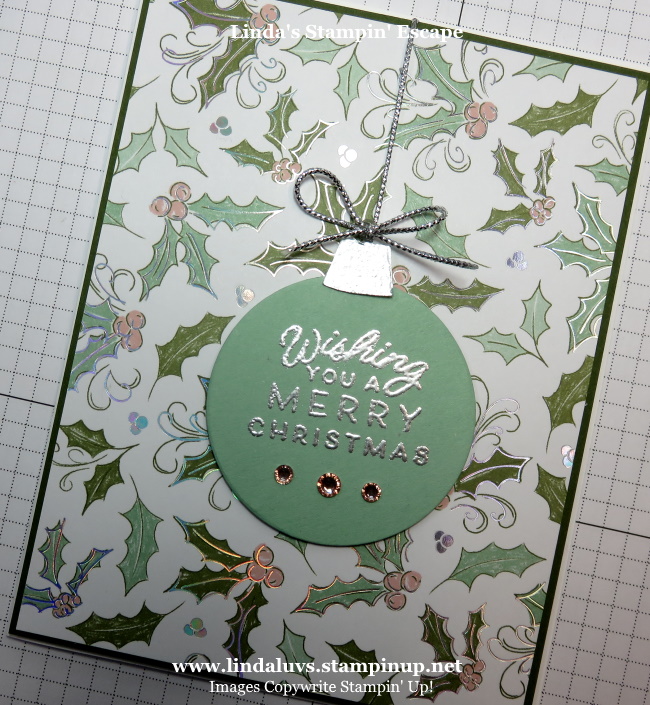
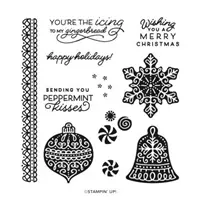
So simple yet so darn cute! I turned the circle into an ornament … the greeting comes from the Frosted Gingerbread stamp set and is Heat embossed in silver. I also heat embossed the top to my ornament and used some silver cord from on of my Paper Pumpkin kits! There are always left over goodies to use.

The Basic Rhinestones were colored with the Stampin’ Blends …

I love a quick -n- easy card … especially when you can add some beautiful designer paper and a few items you have around the stamp room!! What can you create?

Thank you for joining me today… Happy 1st Day of November!!

Happy Stampin’ ~

TODAY’S STAMPIN’ SUPPLY LIST … If you liked the products used in todays projects, I have links for you below. Just click on the item you would like more information on, or to begin your shopping. It will take you directly to my website. Thank you 

Snowflake Greetings …

Hello Stampin’ Friends ~

Send your season’s greetings with snowflakes! ❄️ I got this beautiful card directly from Stampin’ Up! Check out this amazing color combination.
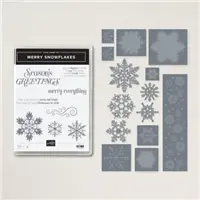
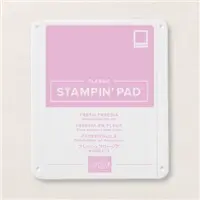
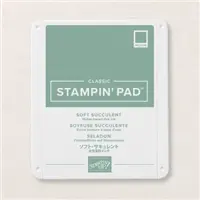
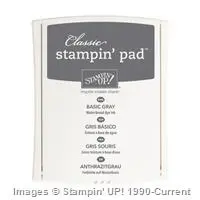
The Merry Snowflakes Bundle has just what you need to walk in a winter wonderland: snowflakes, a blustery breeze, and warm winter wishes. Pair these products with subtle shades—we chose Fresh Freesia, Soft Succulent, and Basic Gray—for a wonderfully whimsical Christmas card!

Bundle up for the cold with this bundle!

I love a quick -n- easy card … especially when with just a few pretty colors and a great stamp set your ready to go!

Thank you for checking out my blog today! Enjoy your Saturday!!

Happy Stampin’ ~

TODAY’S STAMPIN’ SUPPLY LIST … If you liked the products used in todays projects, I have links for you below. Just click on the item you would like more information on, or to begin your shopping. It will take you directly to my website. Thank you 

Friday Fun: Ombre Butterflies …

Hello Stampin’ Friends ~

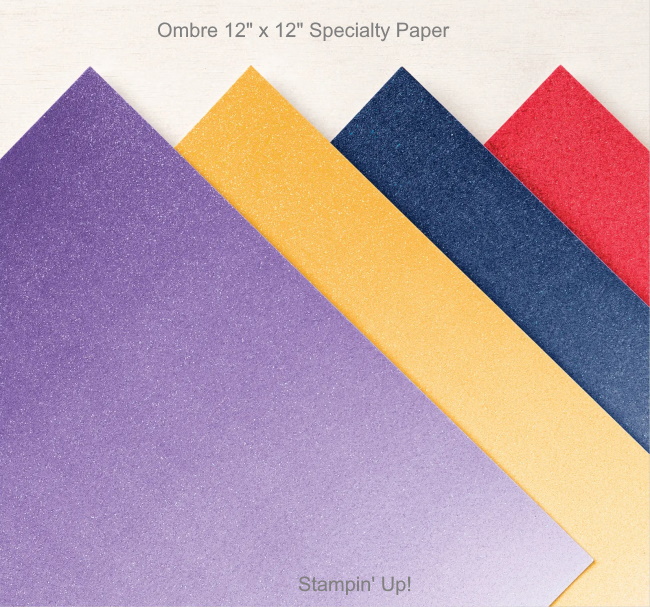
It’s Finally Friday and it’s time to have some fun!! How about adding sparkle to any paper project with our Ombre Specialty Paper! ✨

Available in Gorgeous Grape, Mango Melody, Night of Navy, and Poppy Parade, this selection of shimmery sheets adds the perfect amount of pizzazz to your projects. Plus, the color of each piece cascades from light to dark, offering even more options for creative expression!

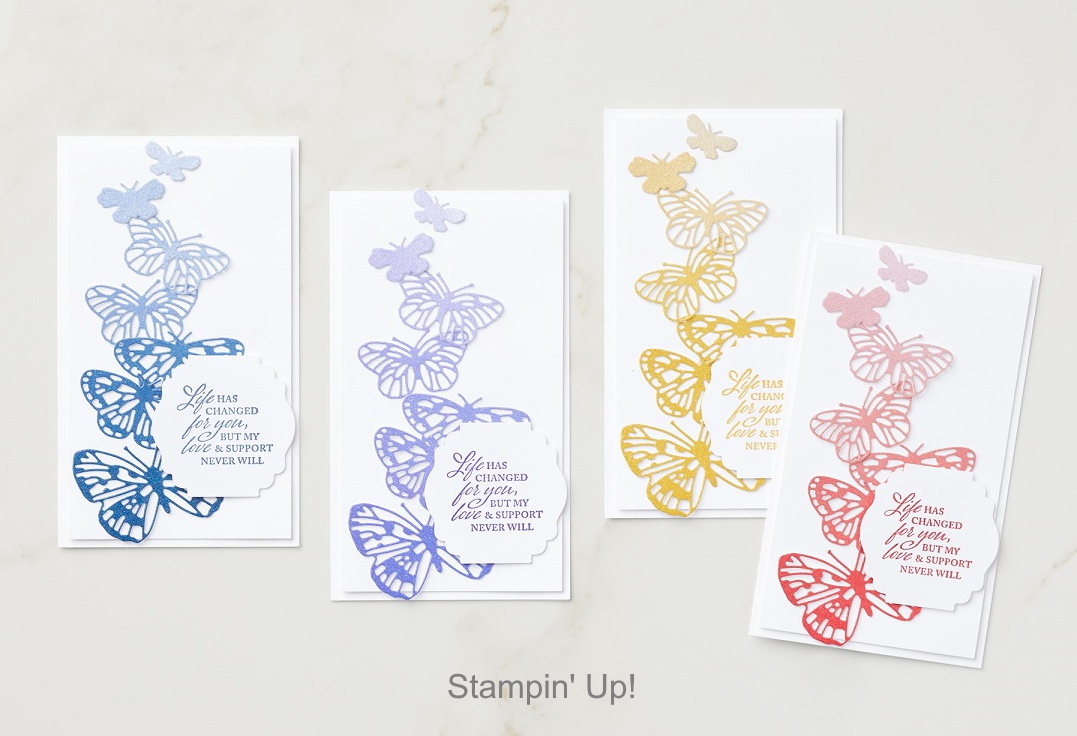
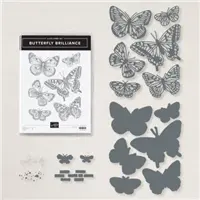
Now imagine a field full of beautiful butterflies in amazing colors … what a wonderful way to cheer someone up or wish them a happy birthday. These simply beautiful cards were created with the Brilliant Wings Dies ….

How will you use these gorgeous, glittery sheets?

Don’t you just love a quick -n- easy cards … especially when you know they will touch the heart of another. It’s not how long you spend making the card, it’s that you send it to someone who needs one, and you never know when your card will be just the thing that brightens their day!

Thank you for dropping in and checking out my blog.

Happy Stampin’ ~

TODAY’S STAMPIN’ SUPPLY LIST … If you liked the products used in todays projects, I have links for you below. Just click on the item you would like more information on, or to begin your shopping. It will take you directly to my website. Thank you 

Friends Like You …

Hello Stampin’ Friends ~

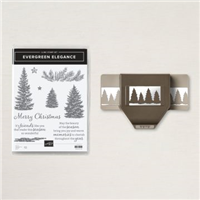
In the wise words of Jane Austen: “The evergreen! How beautiful, how welcome, how wonderful the evergreen!” Embrace the everlasting beauty of the evergreen with the Evergreen Elegance Bundle!

This pretty pair of pine products—the Evergreen Elegance Stamp Set and Evergreen Border Punch—boasts beautifully bushy trees, festive phrases, soft touches of snow, and shining stars. While it’s the perfect pick for Christmas crafts, re-imagine and repurpose the set for any season! Stamp a summer night sky scattered with stars, fill a forest with flourishing trees, or watercolor a warm body of water.

Today’s card celebrate the season with friends …

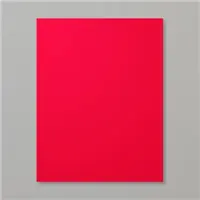
1. Cut a piece of Poppy Parade Cardstock to 5-1/2″ x 8-1/2″ (14.9 x 21 cm) and score at 4-1/4″ (10.8 cm). This is your card base.

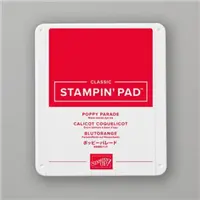
2. Using the Poppy Parade Classic Stampin’ Pad®, add ink to each tree stamp from the Evergreen Elegance Stamp Set. Then, stamp onto the card front multiple times to create a tone-on-tone forest.

3. On Basic White Cardstock (4-3/8″ x 3-1/8″; 11.1 x 10.5 cm), stamp the solid star stamp three times in Pool Party ink. On the same piece, stamp the “It’s friends like you…” sentiment in Poppy Parade ink.

4. With the Evergreen Border Punch, punch three rows of evergreen trees from a scrap piece of Basic White Cardstock. Adhere the rows together with Multipurpose Liquid Glue, place them face-up on a piece of scratch paper, then apply ink directly to each row with the Granny Apple Green Classic Stampin’ Pad®. To do this, swipe the ink pad across the paper until you achieve your desired coverage and color saturation. Once dry, use Multipurpose Liquid Glue to adhere the trees to the bottom of the Basic White Cardstock.

5. To complete the card, use Stampin’ Dimensionals® to adhere the piece of Basic White Cardstock to the Poppy Parade card base.

Take a peek at how easy it was to make this card ….

I hope you enjoyed the project that I shared with you today. I have a list of the ingredients used for our red card. Let me know if you need any help placing an order or have any questions about your products.

Thank you for joining me, I hope you have a wonderful day.

TODAY’S STAMPIN’ SUPPLY LIST … If you liked the products used in todays projects, I have links for you below. Just click on the item you would like more information on, or to begin your shopping. It will take you directly to my website. Thank you 

Season’s Blessings …

Hello Stampin’ Friends ~

The past two days I shared a card created from Stampin’ Up! highlighting the Seasons Blessings stamp set, so today I have the Step-by-Step Video to share with you.

Sit back and relax while you watch how easy it is to create these little cuties ….

Here is the other card ….

I hope you enjoyed both of the cards I have shared featuring the Season’s Blessings bundle. Stampin’ Up! has a program that highlights a bundle once a month and I always like to share them with you!

Thank you for stopping by today. I invite you to come hang out with me tonight for my Facebook Live … I will be creating a fun project tonight using the Time of Giving Bundle.

Have a wonderful week ~

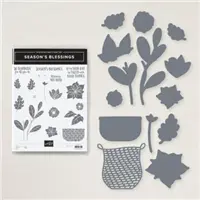
TODAY’S STAMPIN’ SUPPLY LIST … If you liked the products used in todays projects, I have links for you below. Just click on the item you would like more information on, or to begin your shopping. It will take you directly to my website. Thank you 

Season’s Blessings …

Hello Stampin’ Friends ~

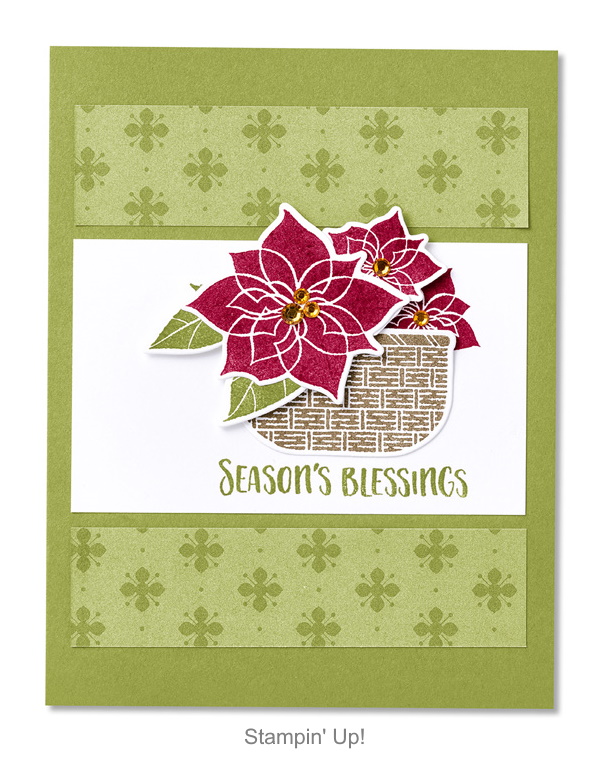
Yesterday I shared a card created from Stampin’ Up! highlighting the Seasons Blessings stamp set, today I’d like to show you another one. This are cute with simple layouts and easily “cased” … Copy And Share Everything!

We’ve got some step by step instructions for today’s card ….

1. Cut a piece of Old Olive Cardstock from the Regals Cardstock Assortment to 8-1/2″ x 5-1/2″ (21.6 x 14 cm) and score at 4-1/4″ (10.8 cm). This is your card base.

2. Adhere two pieces of Old Olive paper (3-3/4″ x 1″; 9.5 x 2.5 cm) from the Regals 6″ x 6″ (15.2 x 15.2 cm) Designer Series Paper Assortment, approximately 1/2″ (1.3 cm) from the top and the bottom of the card base.

3. Stamp the sentiment in Old Olive ink on Basic White Cardstock (3-3/4″ x 2-1/4″; 9.5 x 5.7 cm). Adhere to the card base between the two pieces of Designer Series Paper.


4. On Basic White Cardstock (4-1/4″ x 2-3/4″; 10.8 x 7 cm), stamp one basket in Soft Suede ink, one large and two small poinsettia bunches in Cherry Cobbler ink, and leaves in Old Olive ink.

5. Use the basket, poinsettia, and leaves dies to cut out the stamped images. Adhere to the Basic White Cardstock using Stampin’ Dimensionals.

6. Adhere three Pumpkin Pie rhinestones to the center of the large poinsettia image and one to the center of each small poinsettia image.

I hope you enjoyed both of the cards I have shared featuring the Season’s Blessings bundle. Stampin’ Up! has a program that highlights a bundle once a month and I always like to share them with you!

Thank you for stopping by and checking on my blog today.

Have a wonderful week ~

TODAY’S STAMPIN’ SUPPLY LIST … If you liked the products used in todays projects, I have links for you below. Just click on the item you would like more information on, or to begin your shopping. It will take you directly to my website. Thank you 

Simply Sunday: Good Things

Hello Stampin’ Friends ~

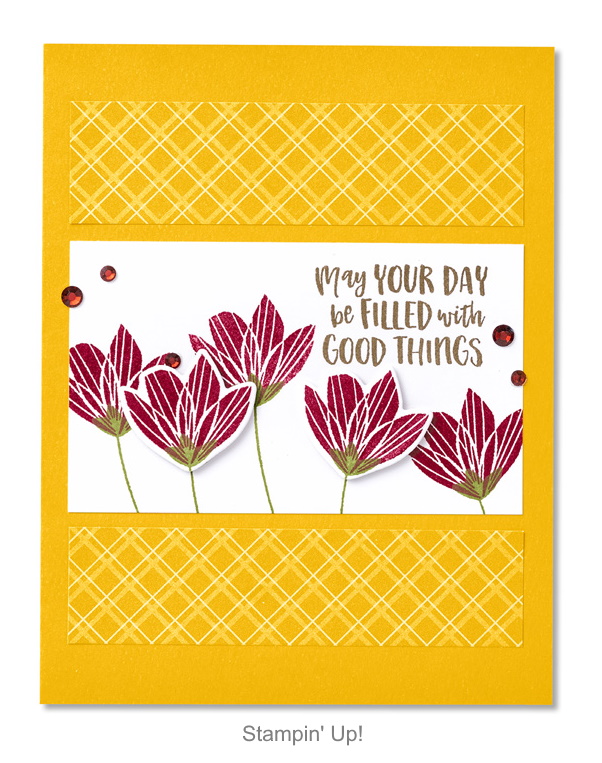
Today I’d like to share a card direct from Stampin’ Up! highlighting the Seasons Blessings stamp set …

We’ve got some step by step instructions for today’s card ….

1. Cut a piece of Crushed Curry Cardstock from the Regals Cardstock Assortment to 8-1/2″ x 5-1/2″ (21.6 x 14 cm) and score at 4-1/4″ (10.8 cm). This is your card base.

2. Adhere two pieces of Crushed Curry paper (3-3/4″ x 1″; 9.5 x 2.5 cm) from the Regals 6″ x 6″ (15.2 x 15.2 cm) Designer Series Paper Assortment, approximately 1/2″ (1.3 cm) from the top and the bottom of the card base.

3. On the Basic White Cardstock (3-3/4″ x 2-1/4″; 9.5 x 5.7 cm), stamp the sentiment in Soft Suede ink, three stems in Old Olive ink, and three flowers in Cherry Cobbler ink. Adhere to the card base between the two pieces of Designer Series Paper.

4. On the other piece of Basic White Cardstock (1-1/2″ x 2-1/4″; 3.8 x 5.7 cm), stamp two stems in Old Olive ink and two flowers in Cherry Cobbler ink. Use the stem and flower dies to cut out the stamped images. Adhere the die cut images to the card front using Stampin’ Dimensionals.

5. Adhere two large and two small Cherry Cobbler rhinestones to the card front.

Thank you for joining me on this Sunday.

Have a beautiful day ~

TODAY’S STAMPIN’ SUPPLY LIST … If you liked the products used in todays projects, I have links for you below. Just click on the item you would like more information on, or to begin your shopping. It will take you directly to my website. Thank you 

Peaceful Christmas Alternative Projects …

Hello Stampin’ Friends ~

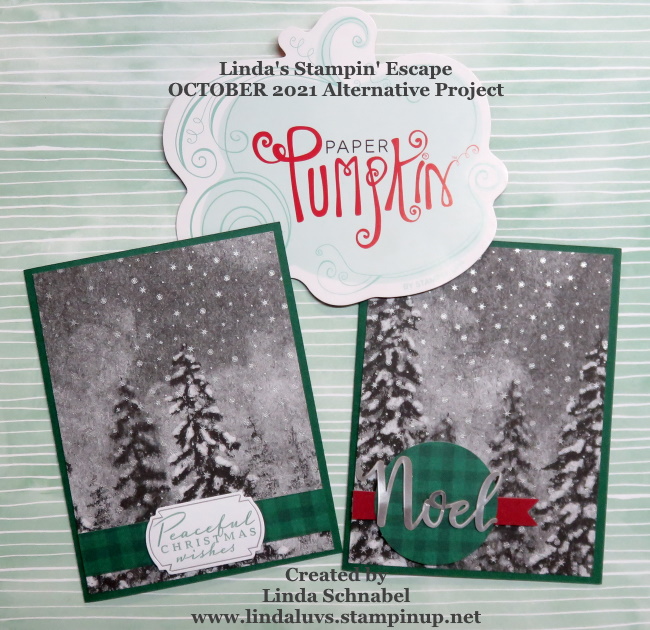
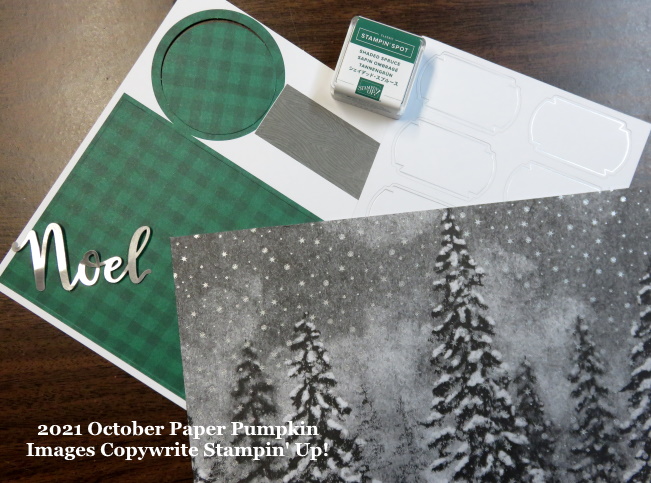
I’m excited to share two cards with you today!! Both are alternative projects to the October 2021 Paper Pumpkin kit. You’re getting two cards today because the Paper Pumpkin cards beautiful design is not only on the front, but on the back as well … so with just a little trimming, you can double your card count!! Here are the pieces I used from the kit …

Can you see how the card laid out can easily be doubled … LOVE IT!! So I trimmed it down to 5-1/4″ … then I folded it in half, and cutting on the fold down to 4 inches, creating the two pieces. Then I took a sheet of Shaded Spruce, cut it in half and used the two pieces for my card bases. Then I attached my cut card fronts onto my card bases …

On my first one I cut down the card front from the other card in this kit to use as an accent on this card. I then stamped the greeting that is include in the kit with the Shaded Spruce ink pad (also included in the kit) I popped it up and it completed my card!

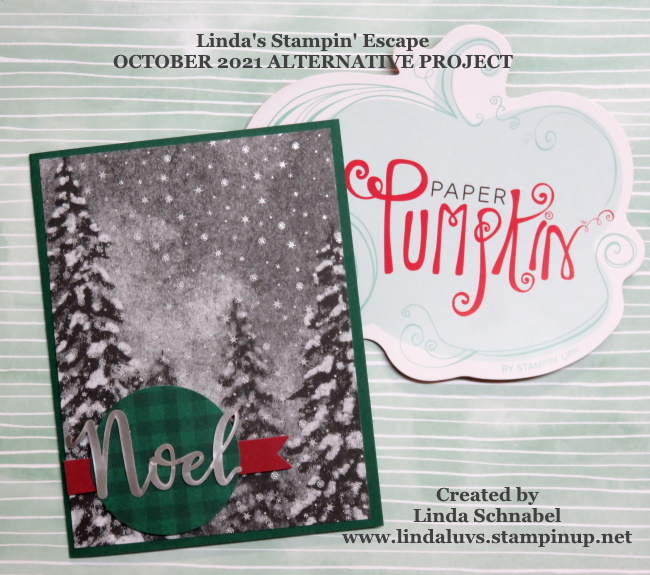
My second card uses a few other pieces; the banner and circle and the Noel … so no stamping needed on this one. I used the Glue Dots to attach the “Noel” and then I popped up the entire greeting and placed it in the lower left hand corner, trimming off the left side of the banner.

I also cut 2 … 4″ x 5-1/4″ Basic White for the inside of my card … those I stamped with the trees included in the kit. (It matches the trees shown on the enveloped below) I love that you get “everything” you need to create beautiful cards, and that there is the ability to change up the design … or double it, like we got to do in this kit!

I’m sharing the video again today for those who may have missed it yesterday….

I hope this inspires you to try out some of our upcoming Paper Pumpkins! Here is a peek of our November Paper Pumpkin …

I hope you enjoyed the alternative projects and how you can “stretch” your kit … and still get amazing cards! You can click on any of the links below to begin a Pre-Paid Subscription or you can CLICK ON THIS LINK to start the monthly subscription.
Thank you for taking time out of your weekend to hang out with me today.

Sending Peppermint Kisses …

Hello Stampin’ Friends ~

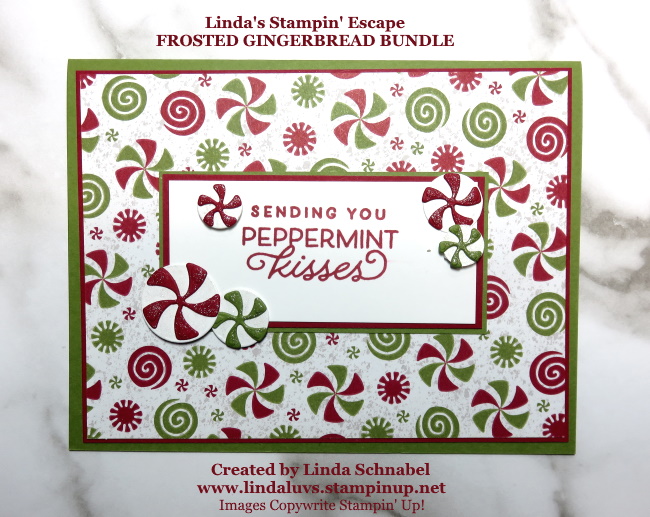
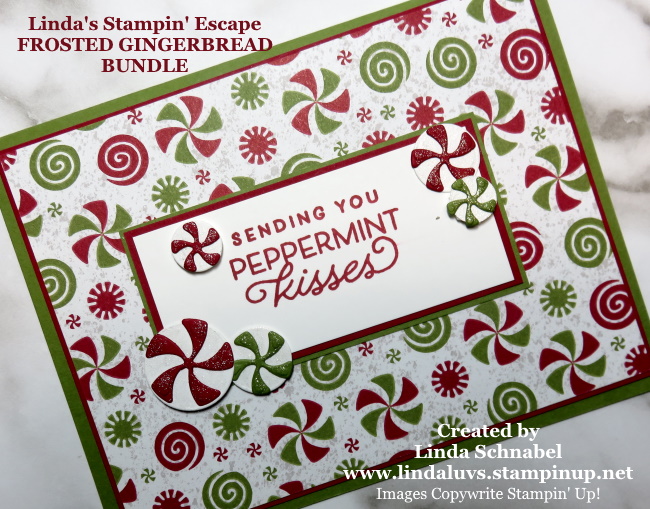
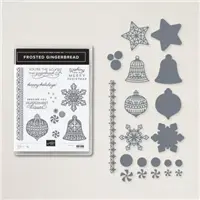
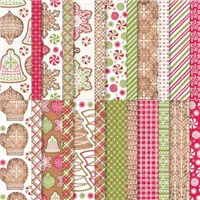
I’m working on my upcoming Stamping Retreat and having a blast … I can’t wait to share all the amazing projects with my guests. One of the the suites we are creating with is our Gingerbread & Peppermint. This card is “not” one of the retreat cards, but I wanted to share this cutie as it highlights the Designer Series paper from the Stampin’ Up! Aug. – Dec. Mini Catalog

This simple layout is sweet when you need to create many Christmas cards and all of those candies brighten anyone’s day.

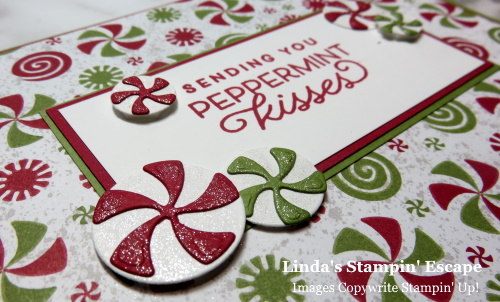
The candies were created with the coordinating dies and are done in Cherry Cobbler and Old Olive …

I had to add the Wink of Stella to my candies to make them glisten. There are several circle dies and candy tops that will help you create some needed depth and texture to the card.
Don’t you just love a quick -n- easy cards … especially when you have a BIG Christmas card list. The quicker you get done, the more Hot Chocolate you can enjoy … while your stamping! Hard to think of Hot Chocolate when you are going to have temps in the high 90’s!

Thank you for dropping in and checking out my blog. Enjoy your day~

TODAY’S STAMPIN’ SUPPLY LIST … If you liked the products used in todays projects, I have links for you below. Just click on the item you would like more information on, or to begin your shopping. It will take you directly to my website. Thank you 

Crafting with Kids: Turtley Fun!

Hello Stampin’ Friends ~

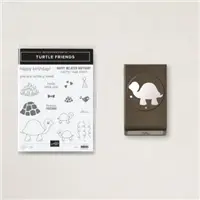
Want to start crafting with kids but not sure where to start? Start here with the Turtle Friends Bundle! The adorable turtle images are a cute entrance into the fantastic world of stamping, and the two-step stamp process allows for more freedom to explore colors, techniques, and their creativity.

The included Turtle Punch is also a great place to start for children as the single punch is easy to use and does not require any separate tools to operate.

The stamp sentiments range from belated birthdays to warm friendship which means you have plenty to choose from and you’ll make use of this stamp set all year round. You’ll make the most memorable birthday cards and invitations with this set!

As always, you’ll save 10% off the individual product prices when you purchase this discounted bundle. Contact me to order your Turtle Friends Bundle today or click on the links below.

Thank you for joining me on this Friday!

Have a great weekend ~

TODAY’S STAMPIN’ SUPPLY LIST … If you liked the products used in today’s projects, I have links for you below. Just click on the item you would like more information on, or to begin your shopping. It will take you directly to my website. Thank you

Turtle Friends

Hello Stampin’ Friends ~

Today I have a cute card direct from the Stampin’ Up! files. A couple days ago I share a couple cards using the Tailored Tag punch … take a look at how it was used on this little cutie

Stamps: Turtle Friends
Paper: Granny Apple Green, Pale Papaya, Shimmery White, Pattern Party Designer Series Paper
Ink: Granny Apple Green, Polished Pink, Memento Jet Black, Versamark, Light Soft Sea Foam Blends, Dark
Polished Pink Blends, Light Granny Apple Green Blends, Light Pool Party Blends
Accessories: Pale Papaya & White 1⁄2” Woven Ribbon, Baker’s Twine Essentials Pack, Shaker Shapes, Gilded
Gems, Clear Embossing Powder, Black Embossing Powder
Adhesives: Stampin’ Seal +, Dimensionals, Mini Dimensionals, Glue Dots, Multipurpose Liquid Glue
Tools: Tailored Tag Punch, Hippo & Friends Dies, Tasteful Textile Embossing Folder
Tips: Punch out the tailored tags, stamp with the turtle shell image, then emboss with the Tasteful Textile
Embossing Folder. Pull on one of the white threads in the ribbon to fray the ends a little

Thank you for stopping over today. Hope our day is a good one.