Hello Stampin’ Friends ~
First let me say “Happy Veterans Day” … a big THANK YOU to all our current and past military men and women who put their lives on the line, and those who sacrificed their lives so that we can enjoy the freedoms here at home. I ❤ U.
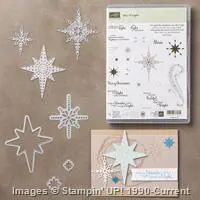
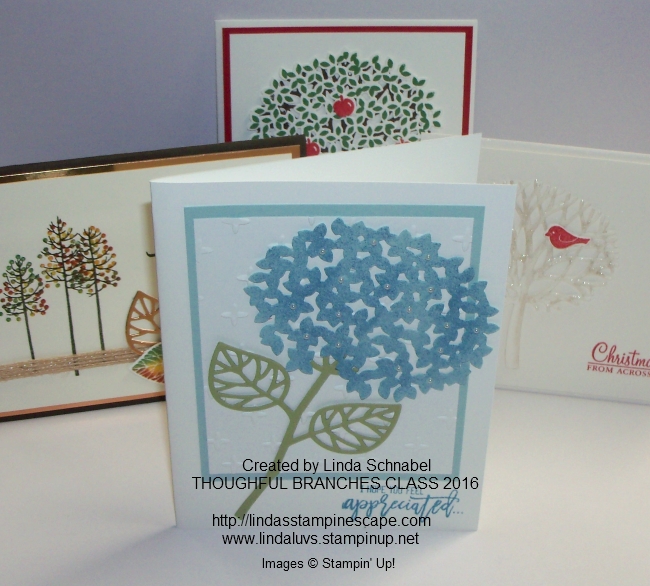
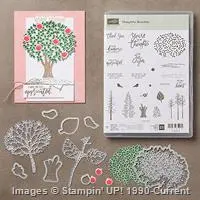
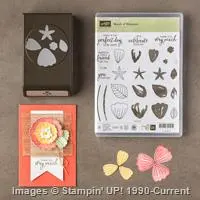
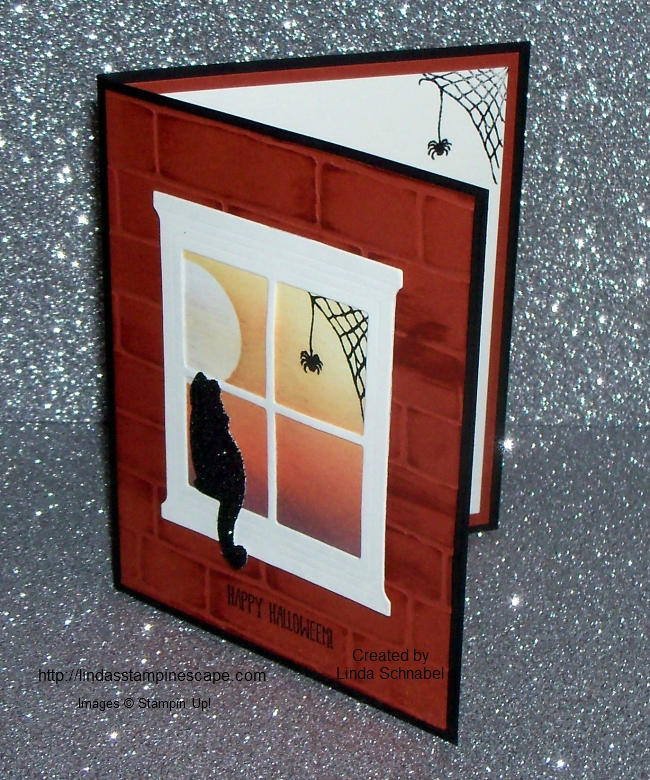
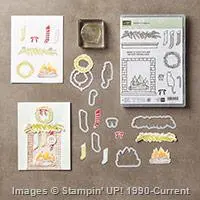
Today I want to share 3 beautiful cards that we made at our Annual Holiday Stamping Retreat featuring one of my favorite stamp sets from the Holiday Catalog … the Star of Light stamp set and Thinlits.
At Retreat and all my stamping events …. it is my mission to show the versatility of the stamp sets or bundles. Here we went from a simple card to beautiful elegance …
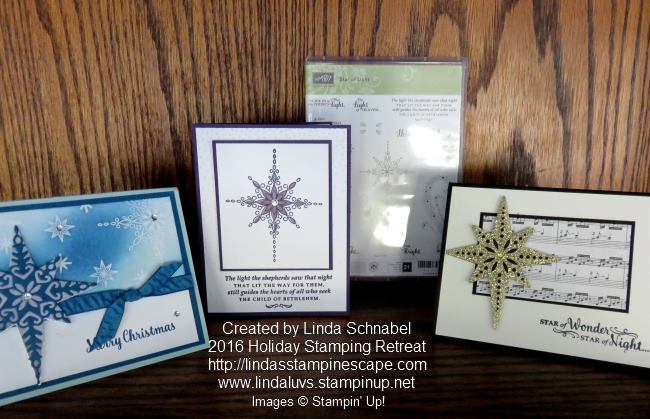
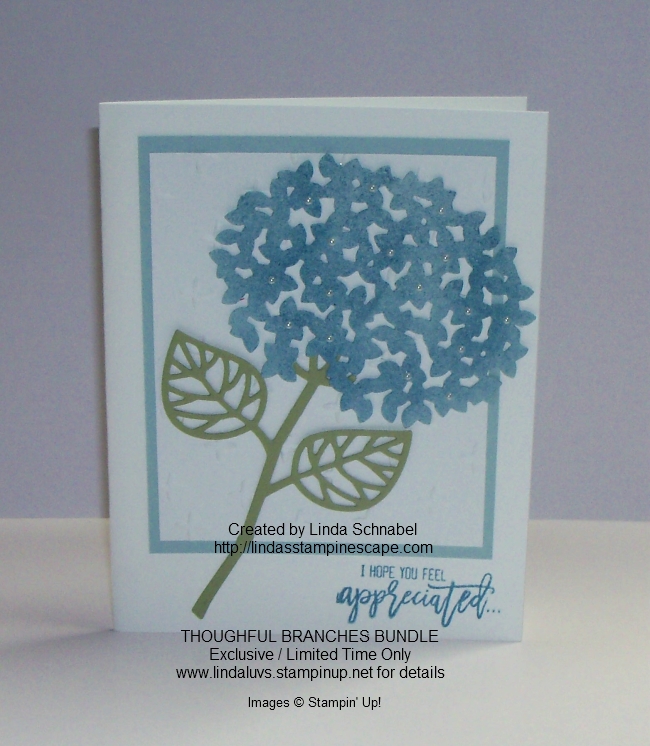
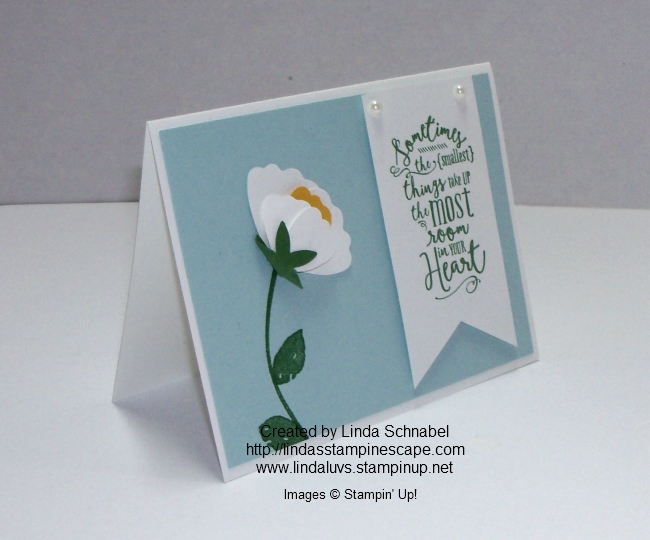
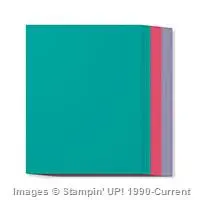
Let’s begin with the center card, created using Elegant Eggplant and Wisteria Wonder. Simple but pretty and it highlights the stamps, ink and greetings with just a touch of bling to draw your eye to the focal point of the card, the star.
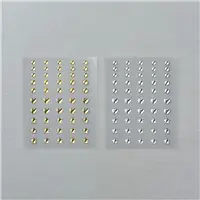
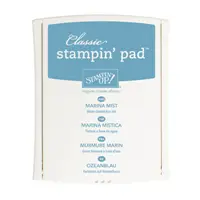
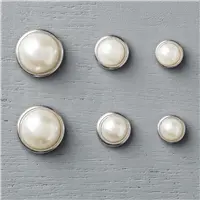
The card on the left uses Pool Party and Island Indigo a fun color combination turned elegant when we sponged the background and used the Silver Foil paper for our star, topped with a beautiful die cut. (This card was cased from a fellow demonstrator) I wish the photo would have reflected the silver so you could see how stunning it really is. We also used the new Metallic Enamel Shapes on the card which works so well with the Silver Foil paper … this was one of our “All attendee Gifts”(also known as Pillow Gifts as they get a package of goodies on their beds as a Thank You for joining us)
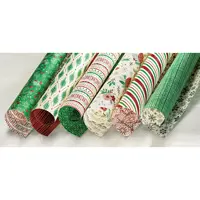
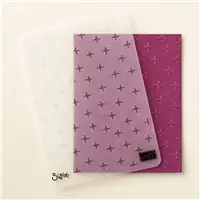
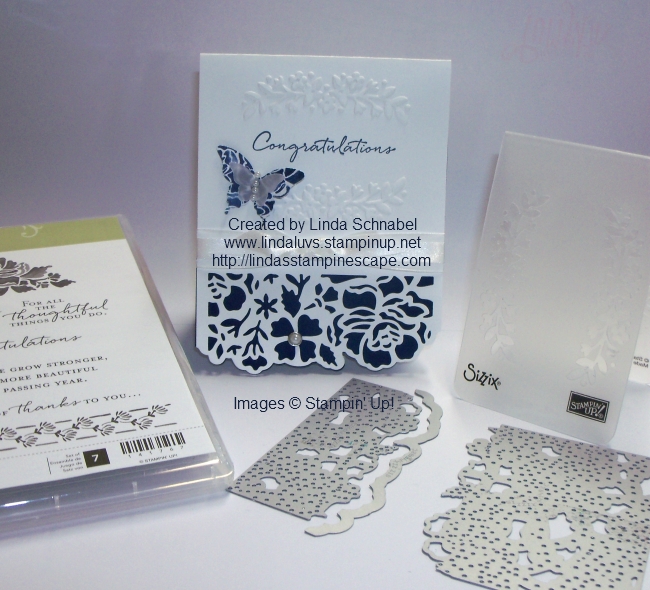
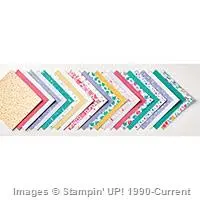
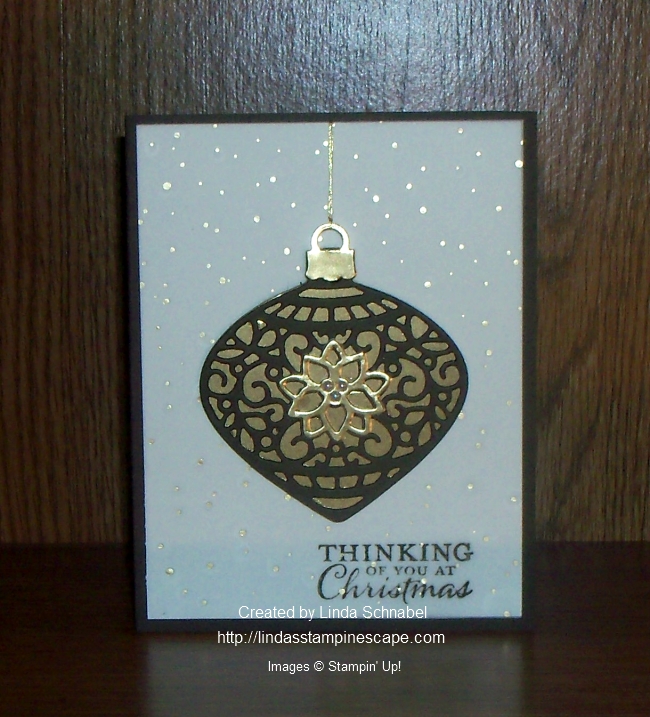
Our last card on the right seems to be everybody’s favorite. It was really quite simple to make, but so elegant when done in Very Vanilla and Basic Black. The Enamel Shapes were also used on this card – the package comes with both Silver and Gold. The designer paper we used comes from the Annual Catalog called “This Christmas”. It’s a specialty designer paper because it is a little thinner than our normal designer paper… but you get more!!
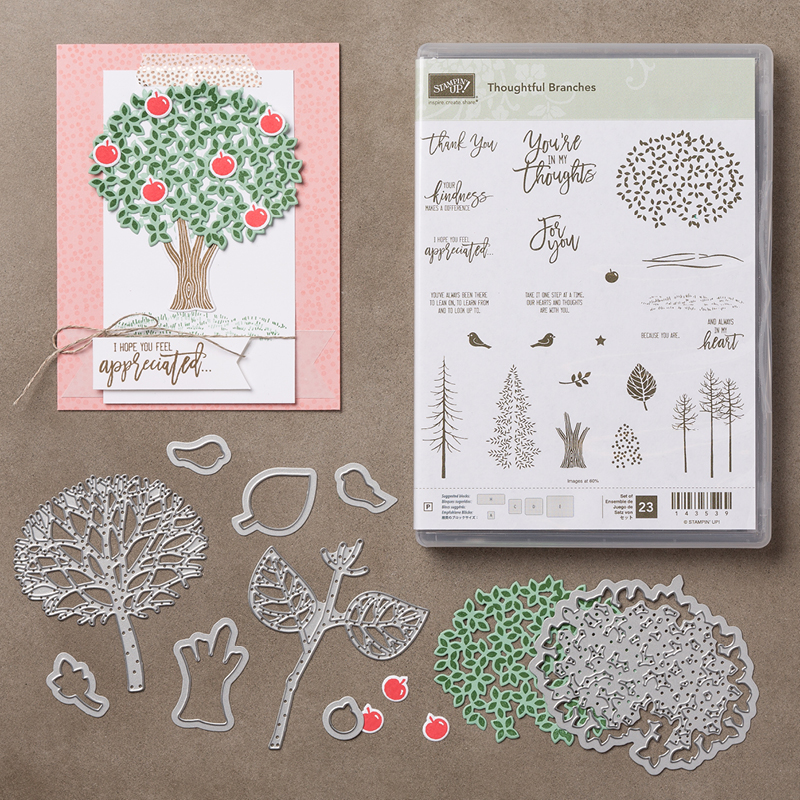
I hope you enjoyed today’s card share, I would love it if you would please “LIKE” this post at the bottom if you did, and then tell me which one is your favorite!! The key ingredients to make these cards are listed below.
Thank you for spending a part of your Friday with me …
I hope you have a marvelous day!


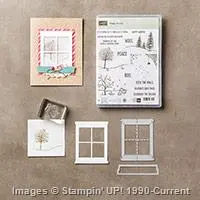
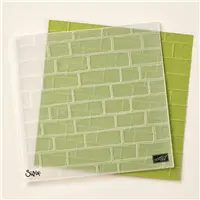
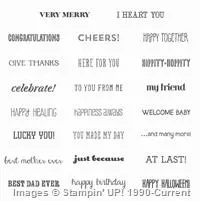
Today’s Stampin’ Supply List …