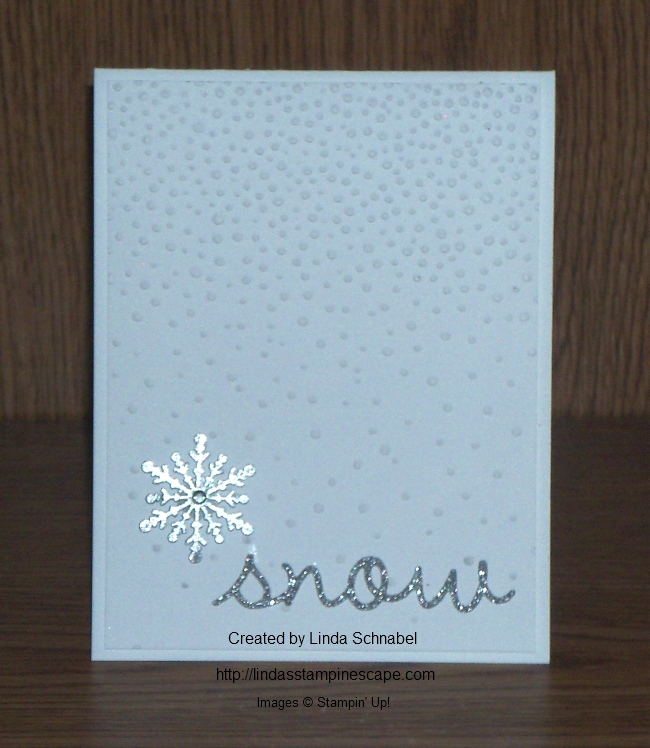
Hello Stampin’ Friends ~
I have to say a quick “Thank You” to those who participated in the Online Extravaganza! I will be sending your “Thank You” card bundles out tomorrow!
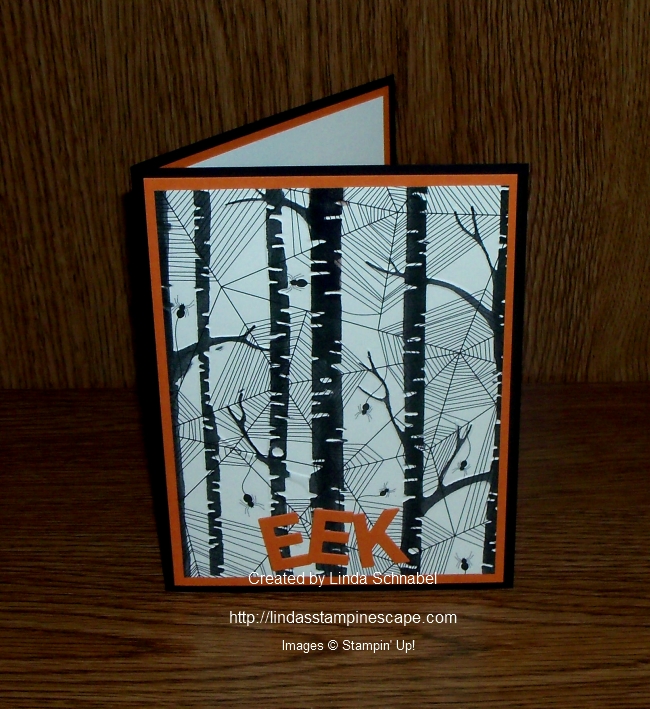
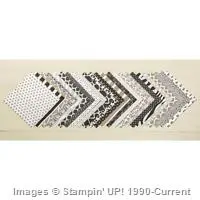
Today I have a quick -n- cute card for you, using the “Go Wild” Designer Series Paper Stack that just hit the Weekly Deals yesterday. I teamed up this fun designer paper with the sassy “In This Together” stamp set.
The card made me think of my granddaughter … the pattern of the paper, the pop of Melon Mambo, and her skinny legs!

Oh yes … and she loves to shop! ‘Tis the Season (for shopping) and my Destiny LOVES to shop, anytime of the year!! This will be her birthday card and on the inside I’ll write “Happy Birthday! Now let’s go shopping!” This stamp set has two other cute stamps that I have used often. It’s a great stamp set for friends.
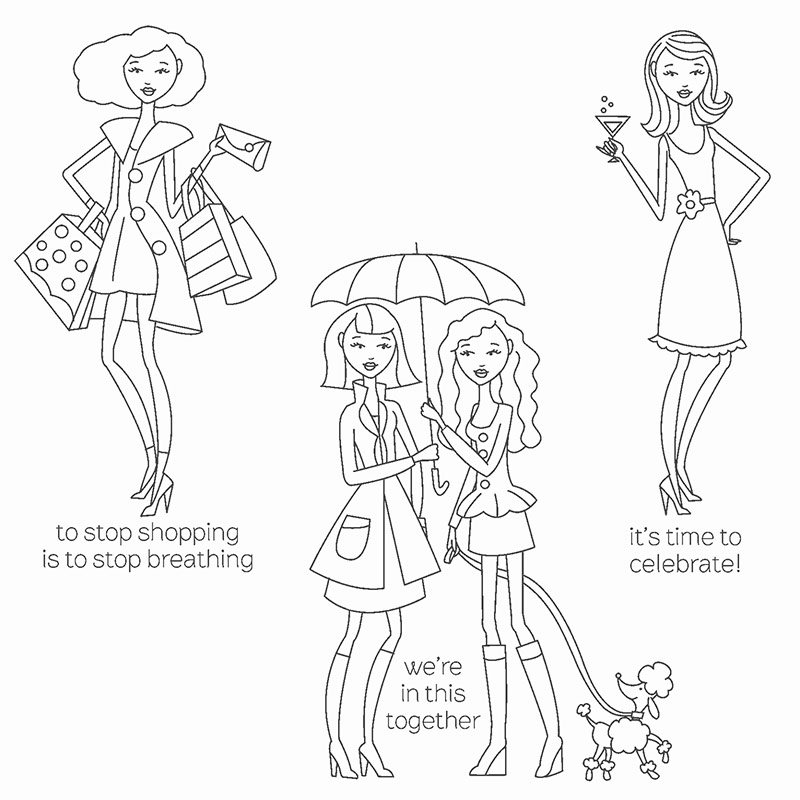
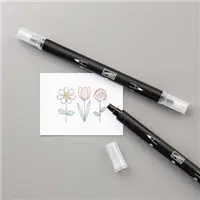
I could have done much more coloring on this image but I wanted to just highlight her dress, shoes and matching bag! I used the Melon Mambo ink pad and blender pen to color, and then a black marker for her leggings.

Had to add a bit of the color in the front to the inside of the card too. To finish off the card I popped up the front with dimensionals and added a bit of bling as her buttons.
Just a simple, fun card that has that bit of a wild side flair!! What girl wouldn’t love it!
Hope you have a wonderful day … and thank you for stopping by. Tomorrow I’ll be sharing another card done with this awesome designer paper!

TODAY’S STAMPIN’ SUPPLY LIST …


Built for Free Using: My Stampin Blog