Hello Stampin’ Friends ~
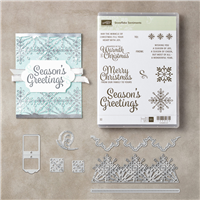
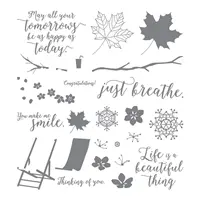
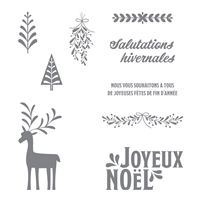
Yes, a little late with my post today but I couldn’t pass up sharing these 2 cards! Today I have a guest stamper: Chris W. She is in one of my Stamp Clubs and changed up her card so I thought I would feature it and share the flexibility of the Snowflakes Sentiments Bundle.
First, I will share one of the cards we made during our October club. I cased this card from the talented fellow demonstrator – Mary Brown. I made my card using Very Vanilla instead of the Whisper White Mary used. I loved that Mary cut the snowflakes apart to create her card, so we did as well …
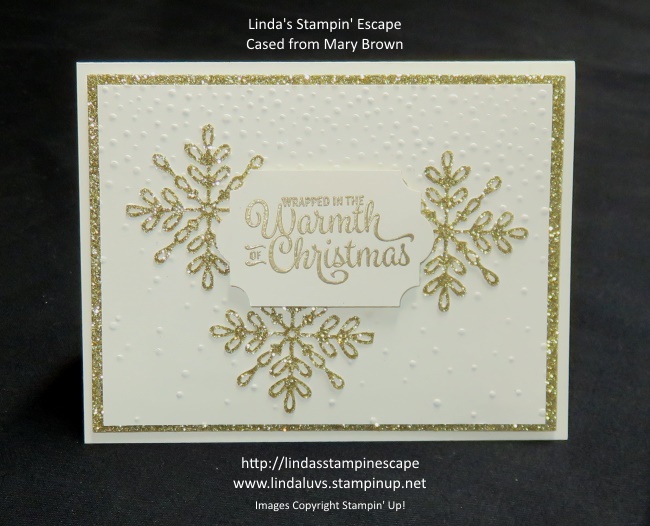
Cutting the snowflakes apart was a big hit, but how would you love to see the card with the design cut per the die? Well, that is what Chris did and I love the way the snowflakes look draped down from the top.

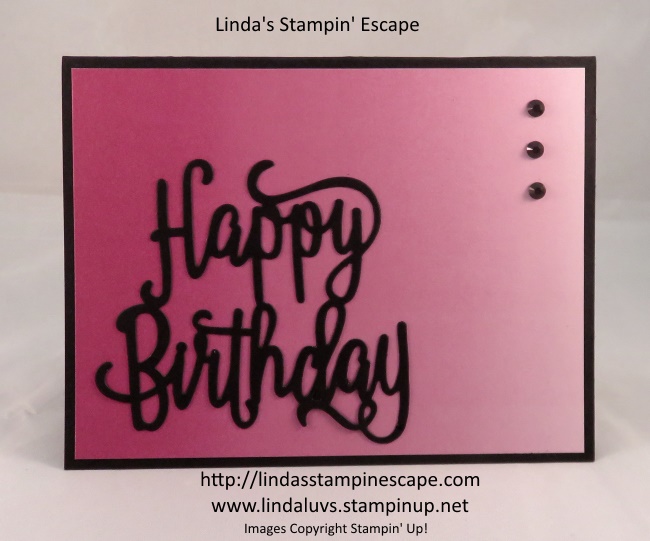
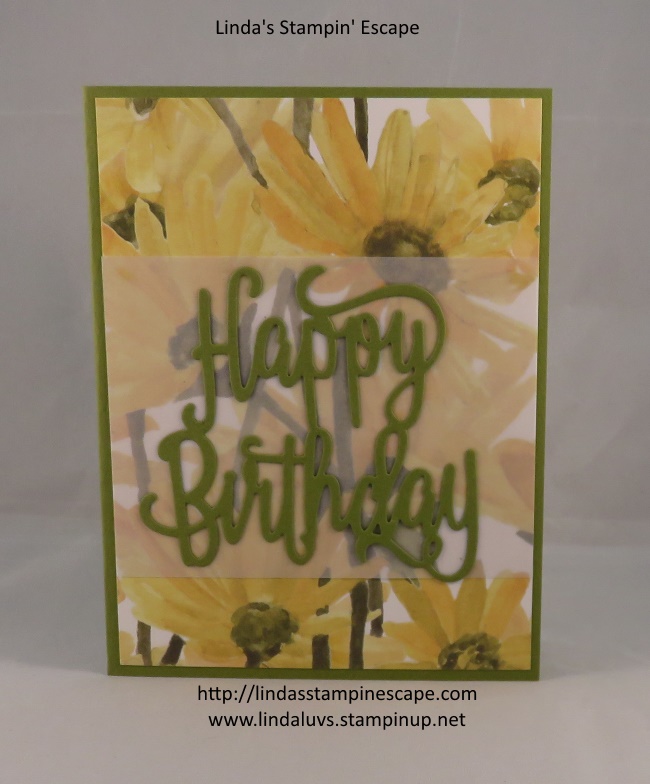
Either way … the cards are beautiful. Retreat worthy … don’t you think!? AND … if you think they look pretty here, you should see them in person! LOVE the Sparkle!!
Stop back tomorrow as I have more to share with you from the beautiful Snowflake Sentiments bundle!
Thanks for stopping by today!
Hope you are having a good day ~

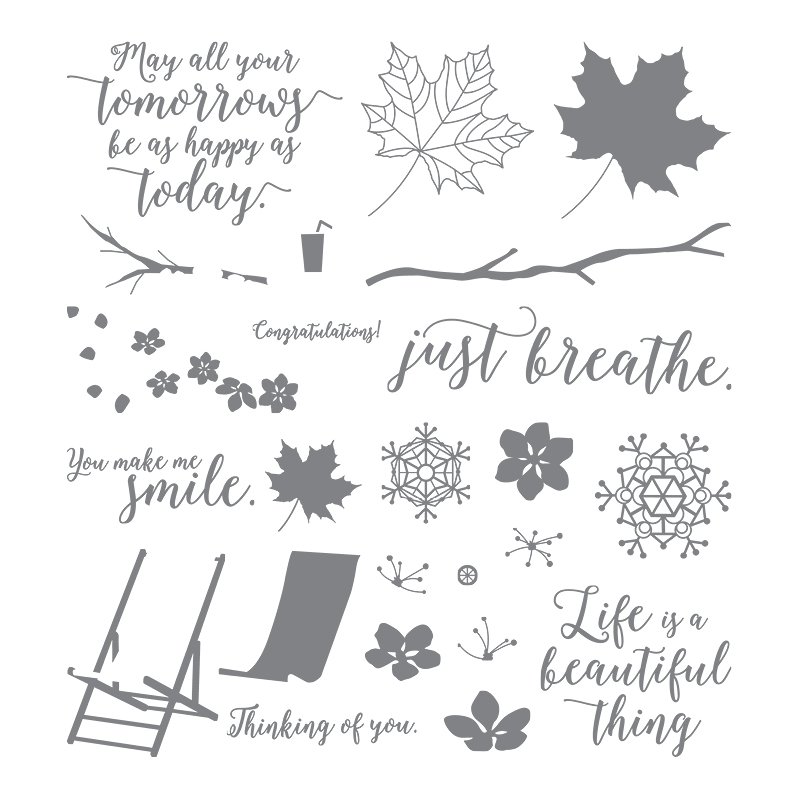
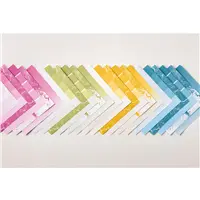
Today’s Stampin’ Supply List …