Hello Stampin’ Friends ~
Just got back from Door County … the cute little place we stayed at did not have WiFi (which is a blessing and a curse) A blessing because there were no interruptions, just a nice time to visit and a curse because I needed to post for today but … better late than never!
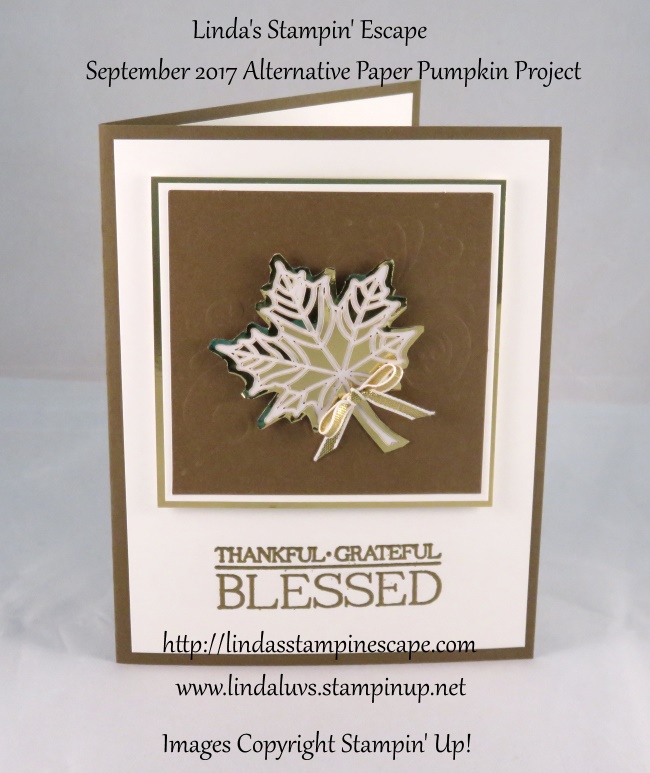
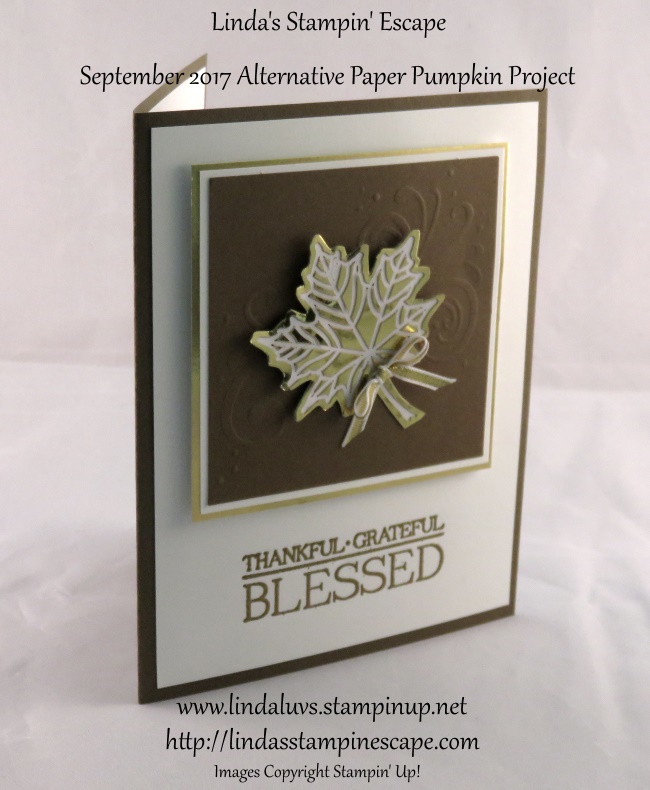
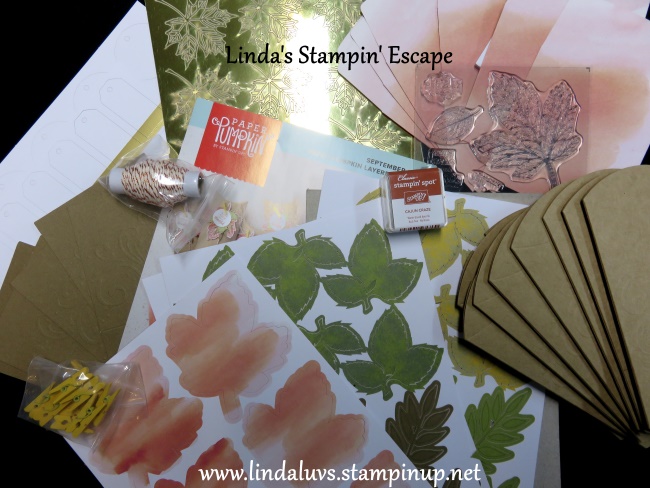
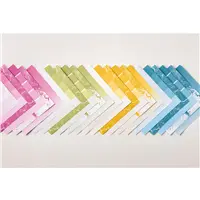
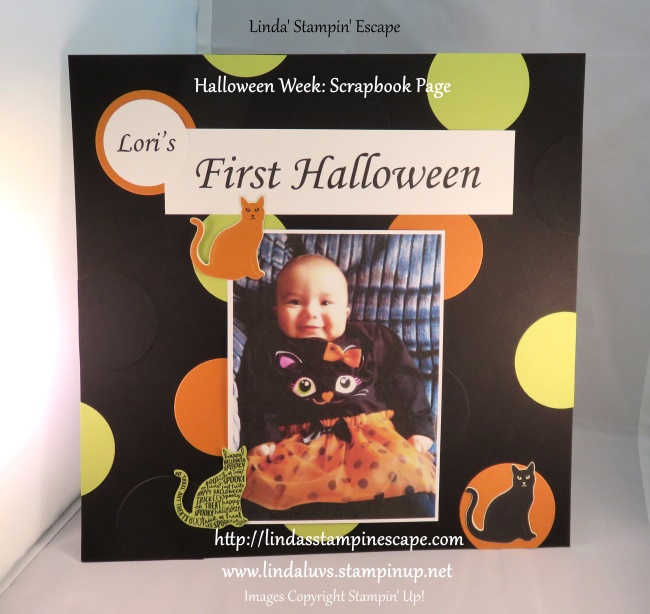
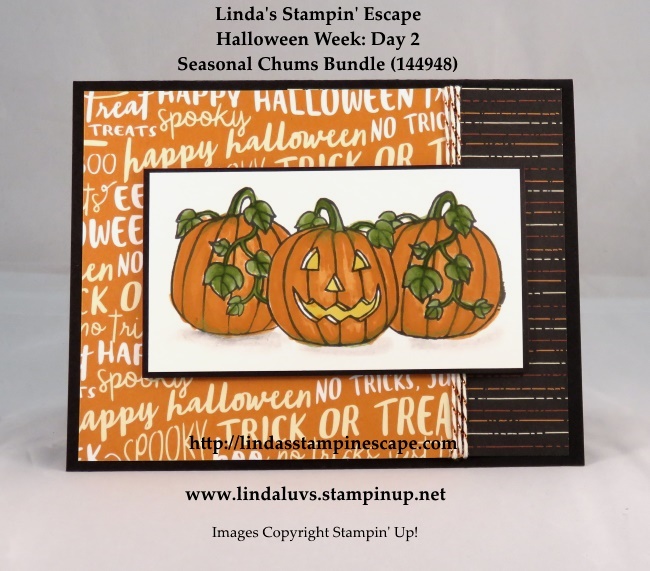
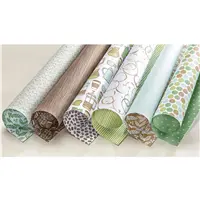
My cards today are all created with a simple layout and our Designer Series papers that are on sale …
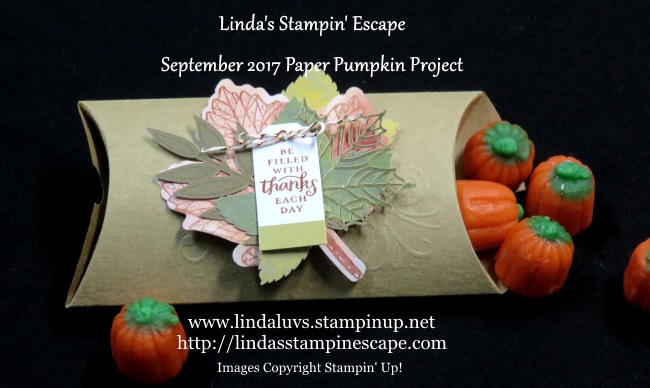
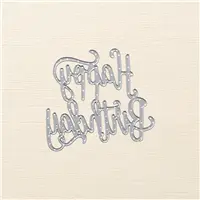
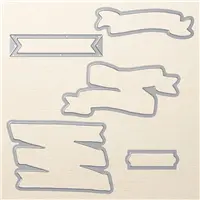
My first card features the Wood Textures Designer Series paper and the Happy Birthday Thinlits dies on page 77 of the Annual Catalog.


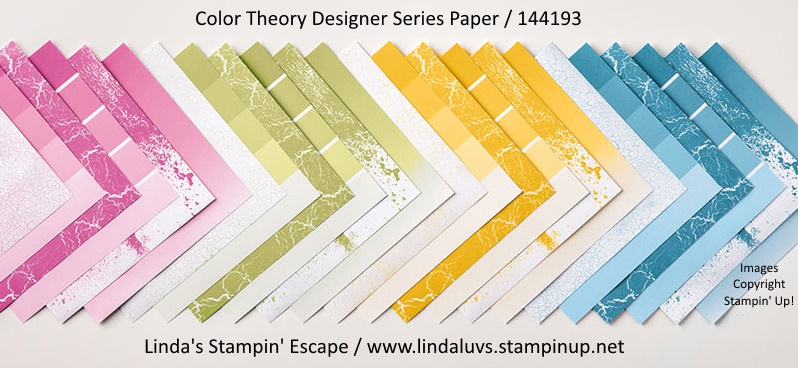
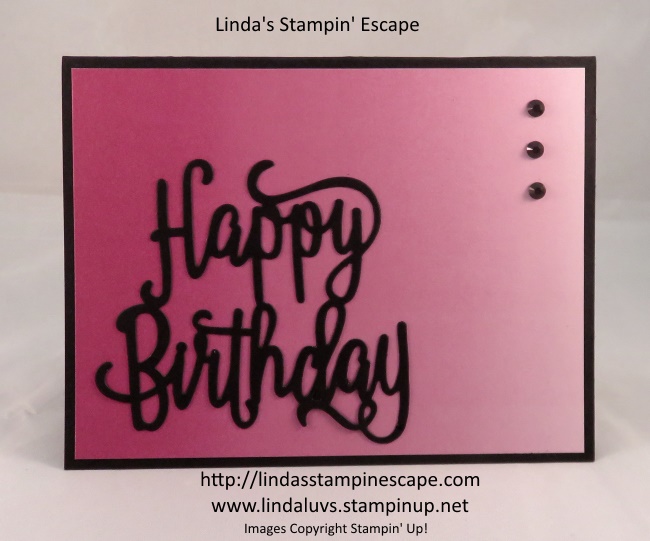
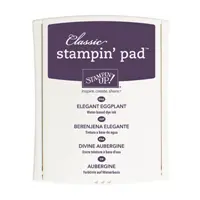
Each card will feature the Happy Birthday Thilits Die… the next card features the Color Theory Designer Series paper and the Black Rhinestones for that touch of bling!
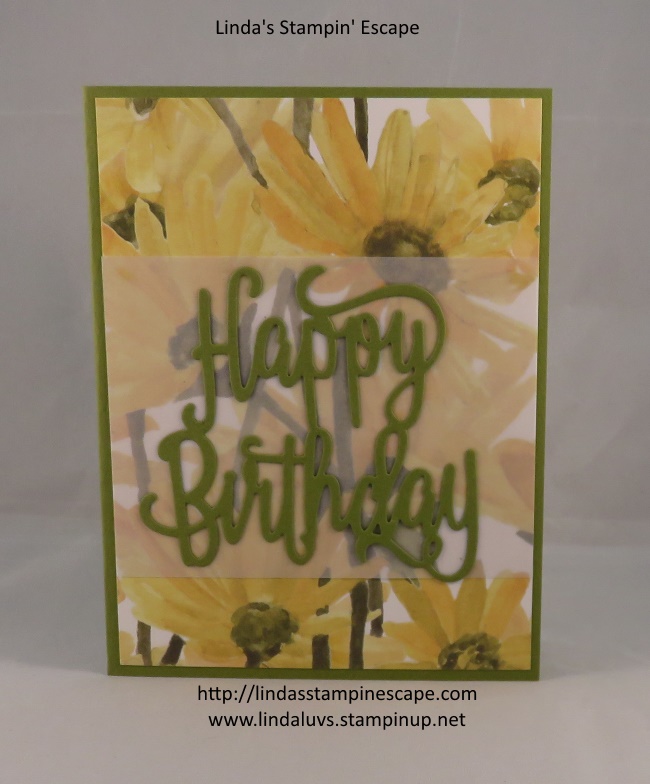
My last card features the Delightful Daisy Designer Series paper and a touch of vellum cardstock that helps to highlight the Happy Birthday Thinlits die.

All 3 cards are quick -n- easy to make and can be created for a special birthdaye just by changing out the designer paper.

Click on the picture to view all the papers on sale!
I want to Thank You for joining me today.
Enjoy your Sunday!

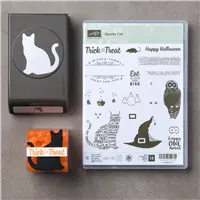
Today’s Stampin’ Supply List …


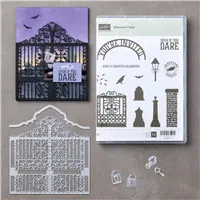


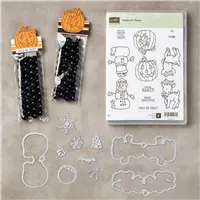


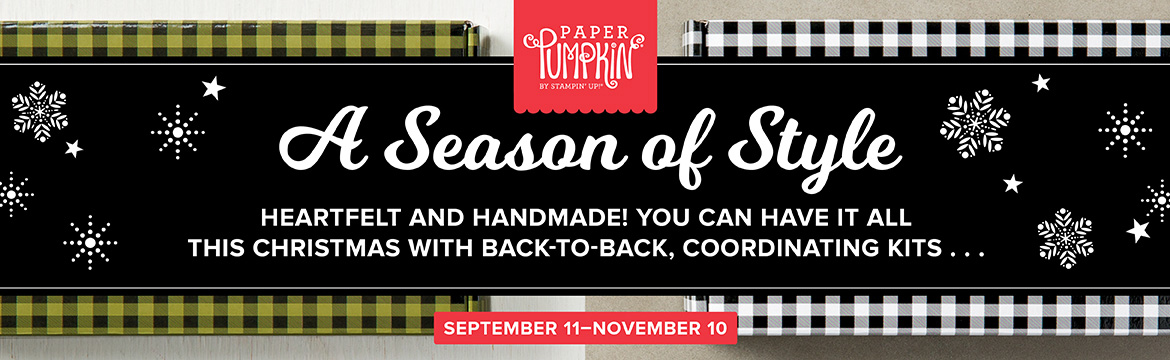
 HOW COOL IS THAT!! Two coordinating kits! However, they work fine as stand alone kits. Give it a test drive and join us for the fun!!