Hello Stampin’ Friends ~
Happy New Year, friends! I hope you had a wonderful holiday season💖 I don’t know about you, but there is just something about the start of a new year that feels fresh, exciting, and full of creative possibilities. And in the stamping world… this is one of my favorite times of the year! Tomorrow the NEW Spring Mini Catalog, Online Exclusives, Kits, and Product of the Month will all be revealed! PLUS ….
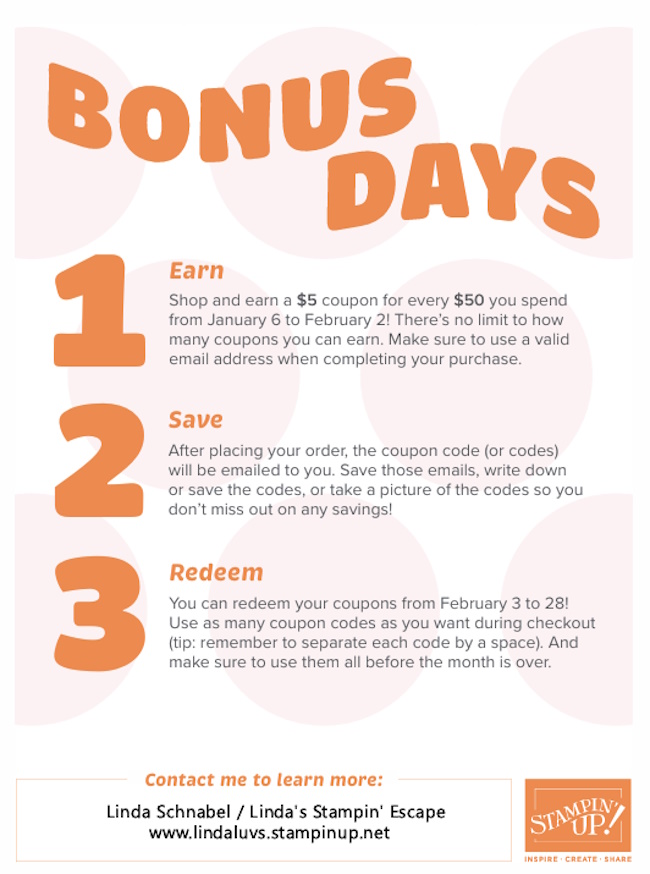
You may have already heard the buzz — Bonus Days are BACK! 🎉 This is such a fabulous promotion because you get rewarded for doing what you already love: shopping for stamps, paper, ink, and all the crafty goodness. During Bonus Days, you’ll earn rewards to use on future orders AND you still receive your usual Stampin’ Rewards. That means more freebies, more fun, and more reasons to treat yourself. (Yes please! 🙌) Here’s how it works, if you are new to Bonus Days …
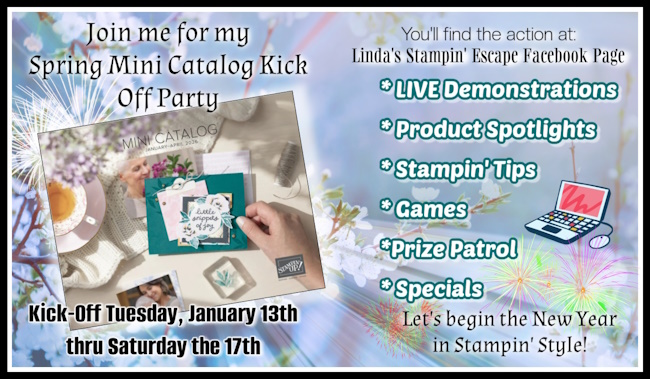
And the excitement doesn’t stop there! I’m thrilled to invite you to my Online Spring Mini Catalog Kick-Off Party, happening next week — Tuesday, January 13th through Saturday! 🎊 We’ll be celebrating all the NEW Spring Mini Catalog goodies with inspiration, card ideas, LIVE demonstrations, games, prize patrols, and fun surprises sprinkled throughout the week. Whether you join me live, pop in to play along, or catch the replays, there will be something for everyone.
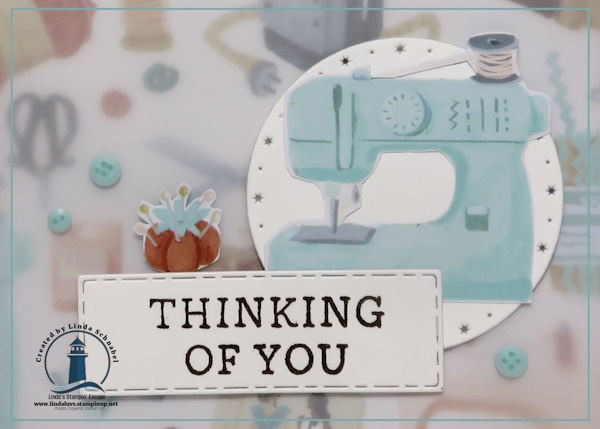
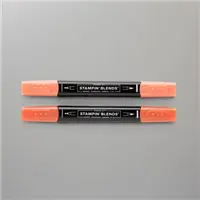
While you’re waiting for the party fun to officially kick off next week, I couldn’t resist sharing a little creative inspiration with you. 💕 This adorable card was one I whipped together using scraps left on my desk — a perfect reminder that creativity doesn’t have to be complicated. Sometimes a few leftovers, a simple layout, and a little play time are all you need to create something special.
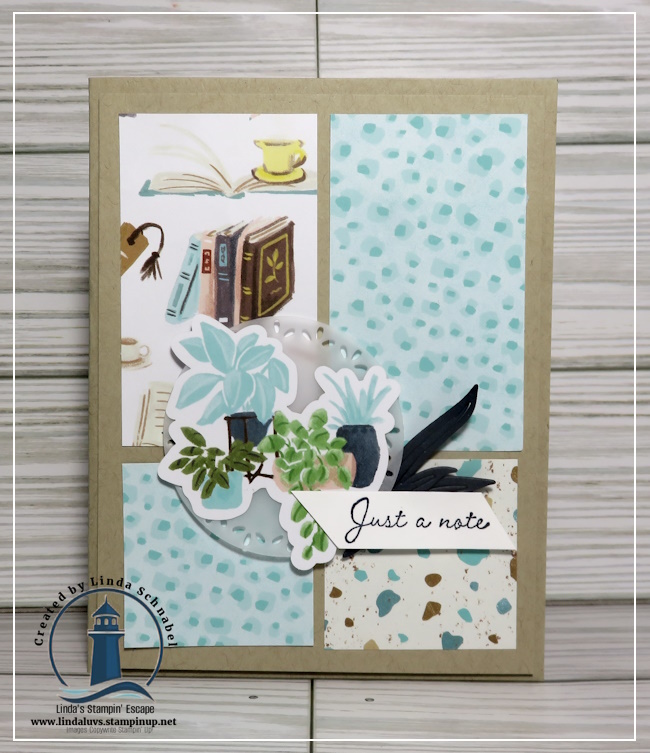
This sweet little card features the Hobby Haven Specialty Designer Series Paper, and oh my goodness… it is just charming! With playful illustrations inspired by baking, sewing, reading, and all those cozy, simple pleasures we love, this paper is perfect for creating cards that feel extra personal — and even cute gift packaging too. The two sheets of precut pieces make it so easy to add layers and dimension, and if you love a little fussy cutting (you know I do 😉), there’s plenty of opportunity to add fun details that really make your projects pop!
Speaking of pop … the pop of vellum cut from one of the Spotlight on Nature dies helped to create my focal point, and adds a touch of warmth. And the Just a Note used for the greeting … comes from the Just a Note Bundle!! What do you think about today’s design?
✨ Let’s Kick Off a Creative New Year Together! ✨
Between Bonus Days, a brand-new Spring Mini Catalog, Online Exclusives, New Kits, Product of the Month release, and an Online Kick-Off Party packed with inspiration and prizes… there is so much happening, and it all starts tomorrow! Be sure to join me, mark your calendar, and get ready to be inspired. Grab your coffee, your crafty heart, and maybe even your wish list — because this is going to be SO much fun.
Let’s make this a creative year to remember! 💕🎨✂️
— Stampin’ Hugs, Linda 💖
NOTE: Online Kick-Off Party starts Tuesday, January 13th!!