Hello Stampin’ Friends,
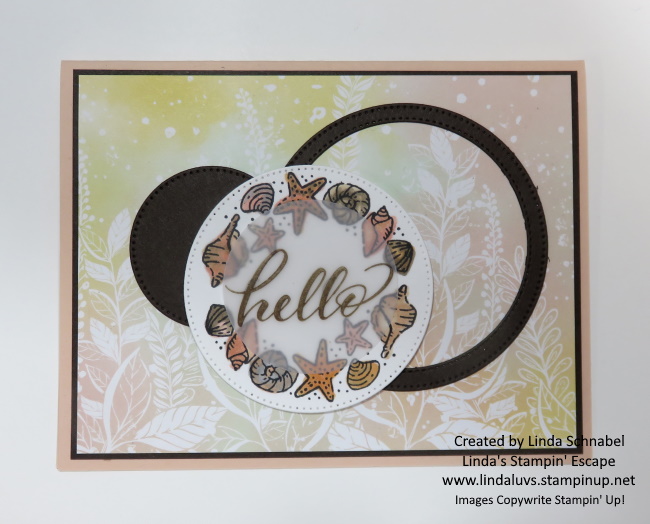
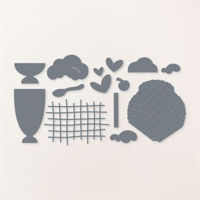
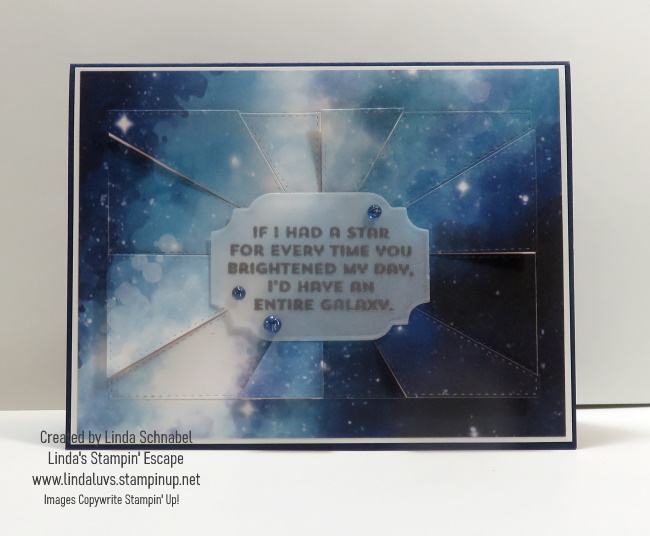
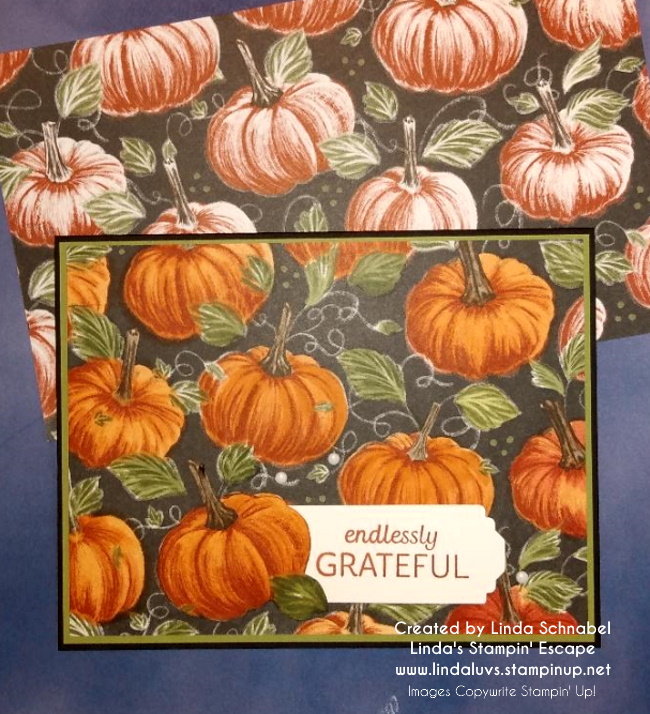
Are you ready for more Circle Sayings? This card will bring the Sunshine to Brighten Your Day and will leave you yearning to hear the waves crashing against the rocks. Yesterday I shared the Sea Shells with you … today, the waves, and I will be combining the Patchwork Pieces dies into the card.
Let’s begin with out color pallet; I wanted the feel of the ocean and all it’s beautiful blue/green tones; Coastal Cabana, Azure Afternoon, Tahitian Tide, Pool Party, and Lost Lagoon dance across this card. You will have to cut one of each of these colors but then you’ll have enough left overs for 5 more cards!!

My card base is Coastal Cabana and then I matted with Azure Afternoon 4″ x 5-1/2″. For the layers you will cut one of each; I began with a 3-7/8″ x 5-3/8″ of each color. CENTER your die onto your cardstock … this way you can use the “frame” if you want to. I did on this card.
Now comes the fun part … choose the colors in a pattern that you prefer. I began with Pool Party, then Lost Lagoon, followed by Coastal Cabana, Tahitian Tide, then Azure Afternoon and the small piece on the bottom is Lost Lagoon. Experiment and have fun creating your color scheme.

Before I secured my layers down with the Tombo Liquid Glue, I used a Sponge Dauber to sponge on some Craft White Ink to make them look more like waves rippling through the ocean. It also created a softer transition between colors.
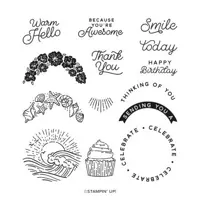
Next up was my waves from the Circle Sayings set. I simply colored this with my Lemon Lolly and Tahitian Tide Stampin’ Blends, but then after it dried, I added the Coastal Cabana from my Stampin’ Write Markers as there is not one in the alcohol based blends yet. Then I added some Shimmery White Embossing Paste to my wave!! Talk about texture… I love it!
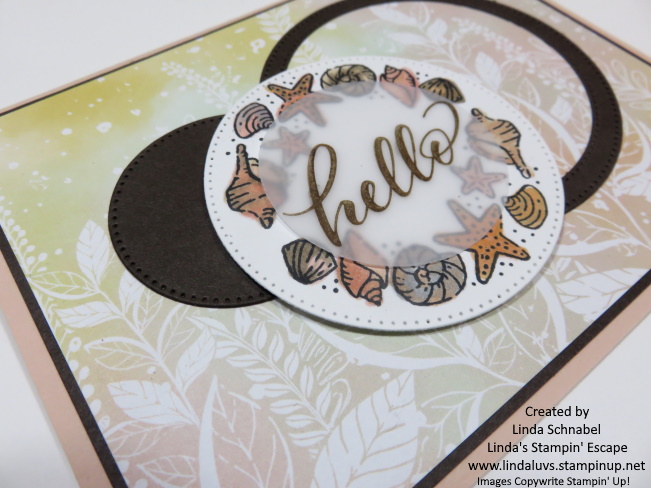
I punched out my design with the coordinating 2-3/8″ punch from the Circle Sayings Bundle. The Coastal Cabana mat was die cut from the Reach for the Stars bundle.
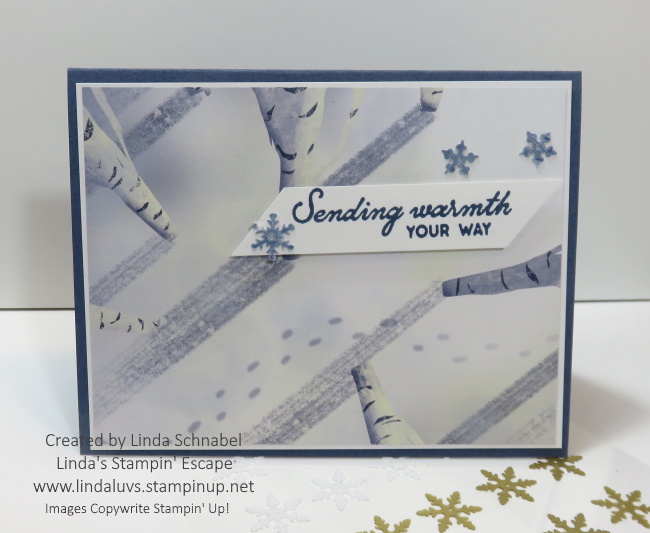
I attached my stamped image with the Stampin’ Dimensionals to give some added dimension to the card. The greeting “Sunshine to Brighten Your Day” comes from the Sending Smiles stamp set and was stamped with Memento Ink to coordinate with our stamped image.
The fun color pallet and texture of this card will leave you feeling inspired. Happy Stamping and have a wonderful weekend!