Hello Stampin’ Friends ~
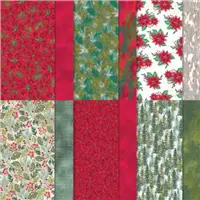
Are you a paper hoarder like me? I always love having a stash of designer paper in many different patterns that I can use at a moments notice, and creating a gift bag is such an occasion.
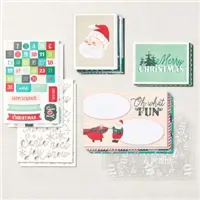
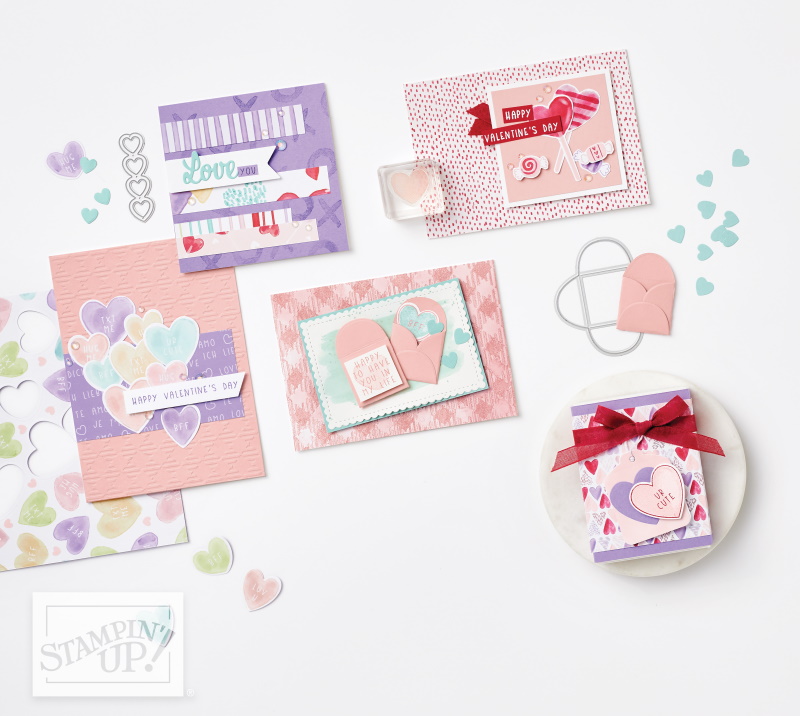
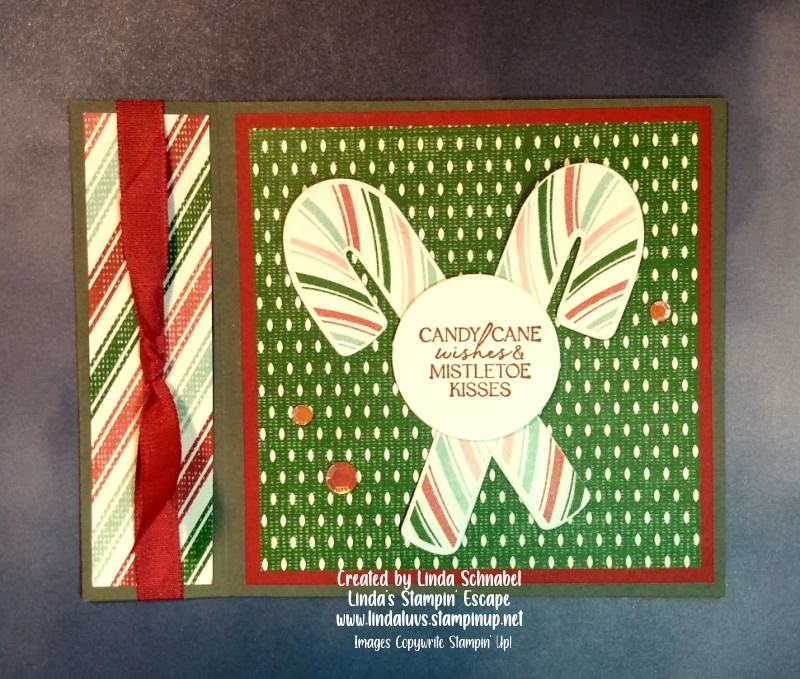
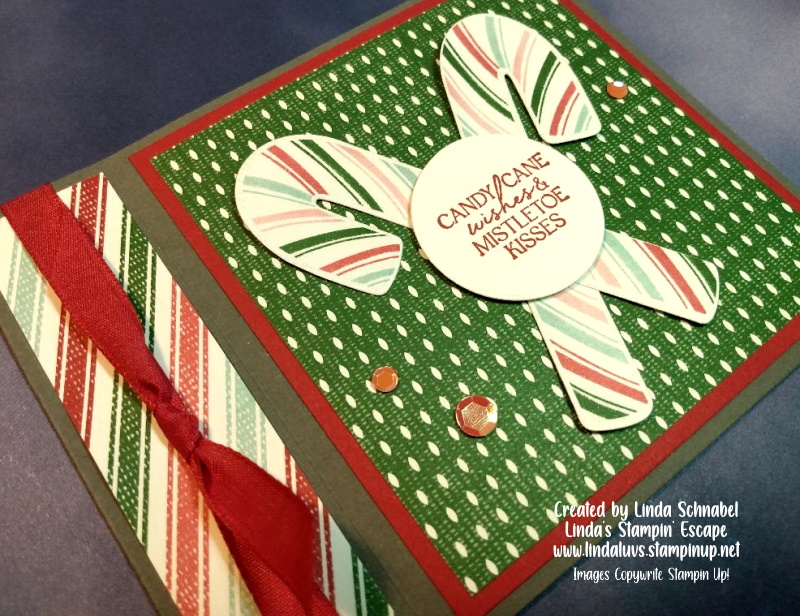
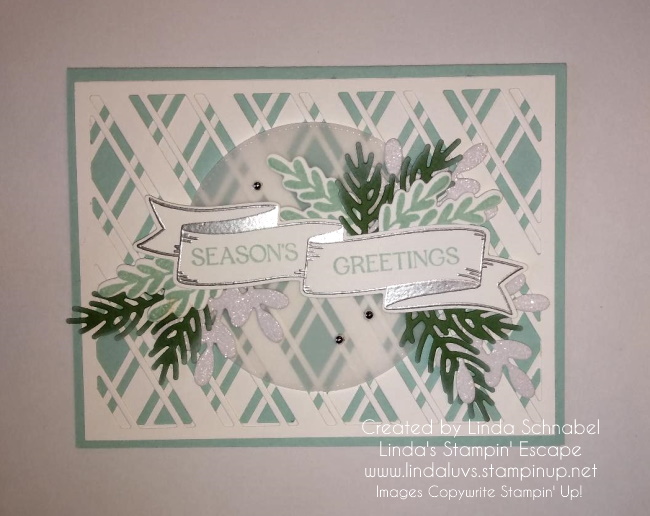
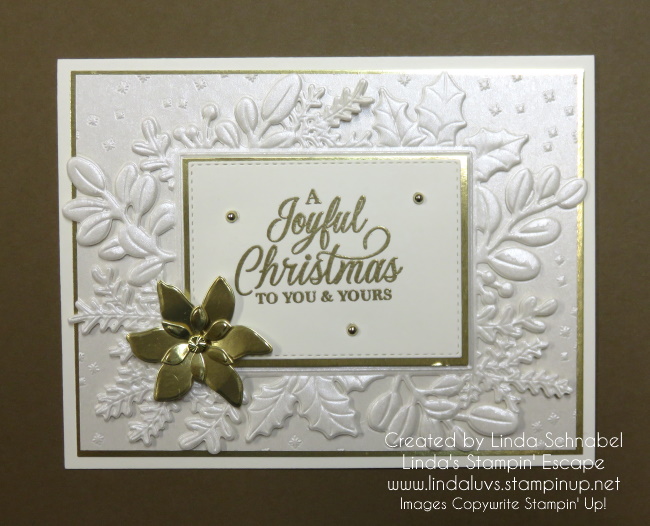
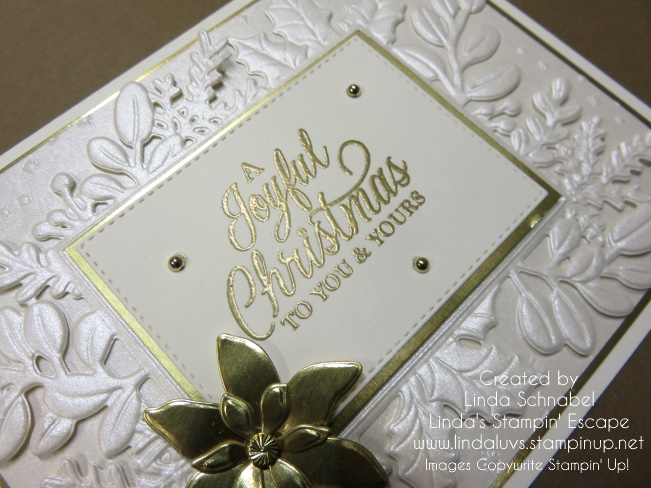
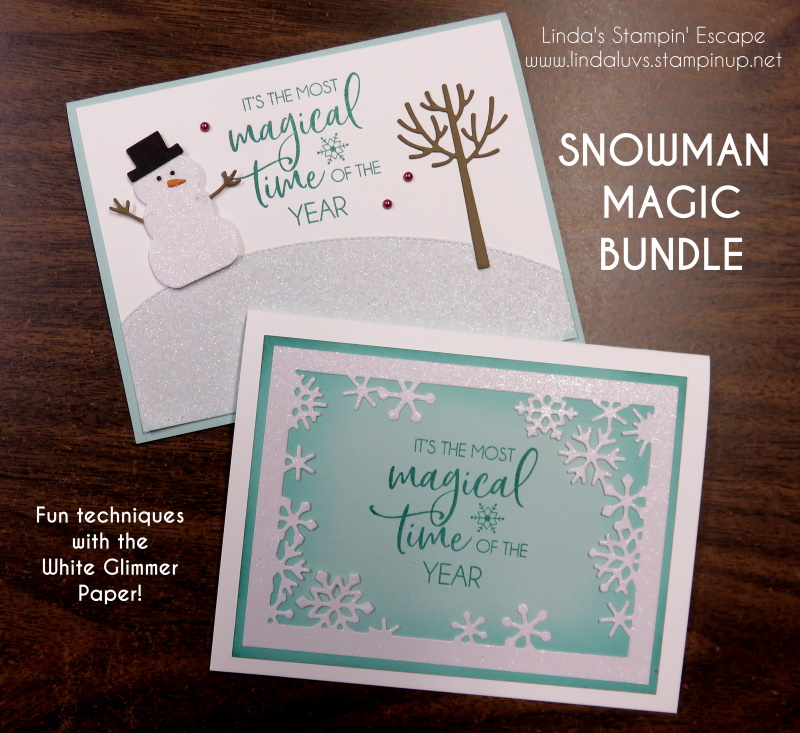
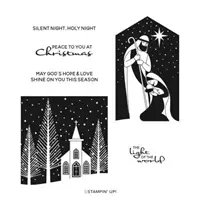
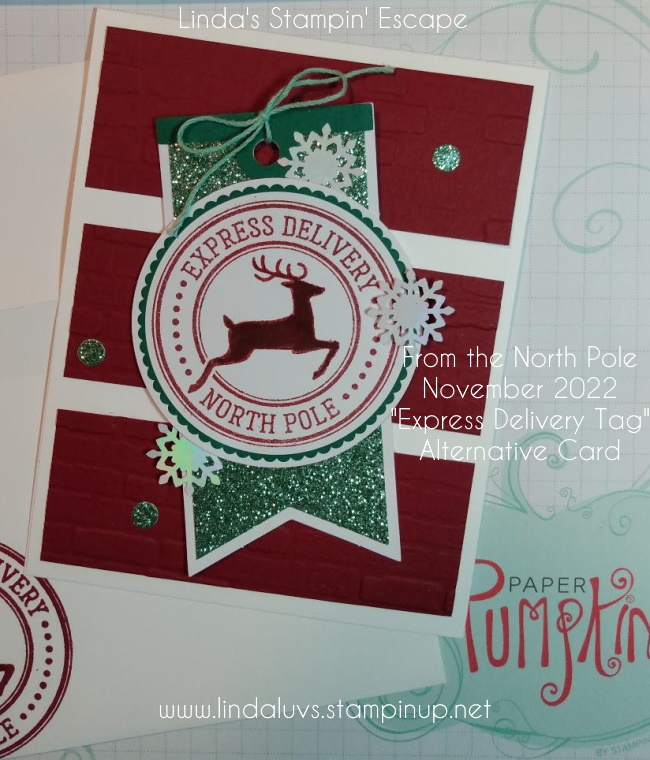
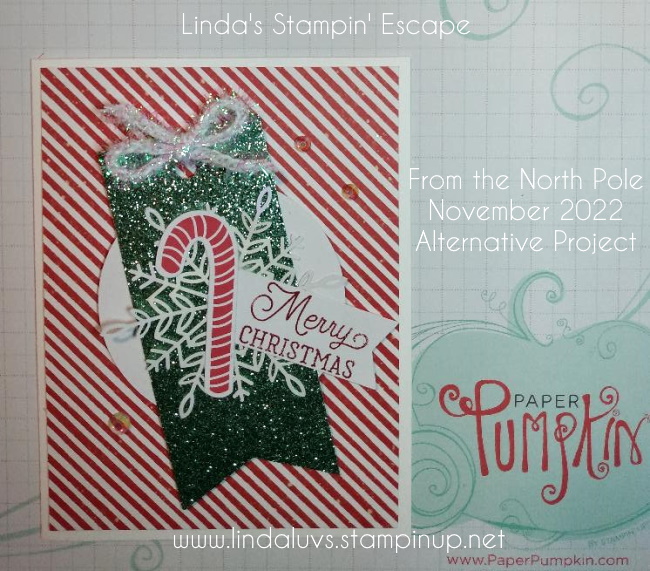
Creating your own Gift Bag is so easy and then you can create a coordinating card to go with it. Today’s post has a cute bag highlighting the Santa’s Delivery paper ….

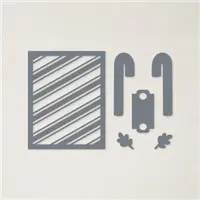
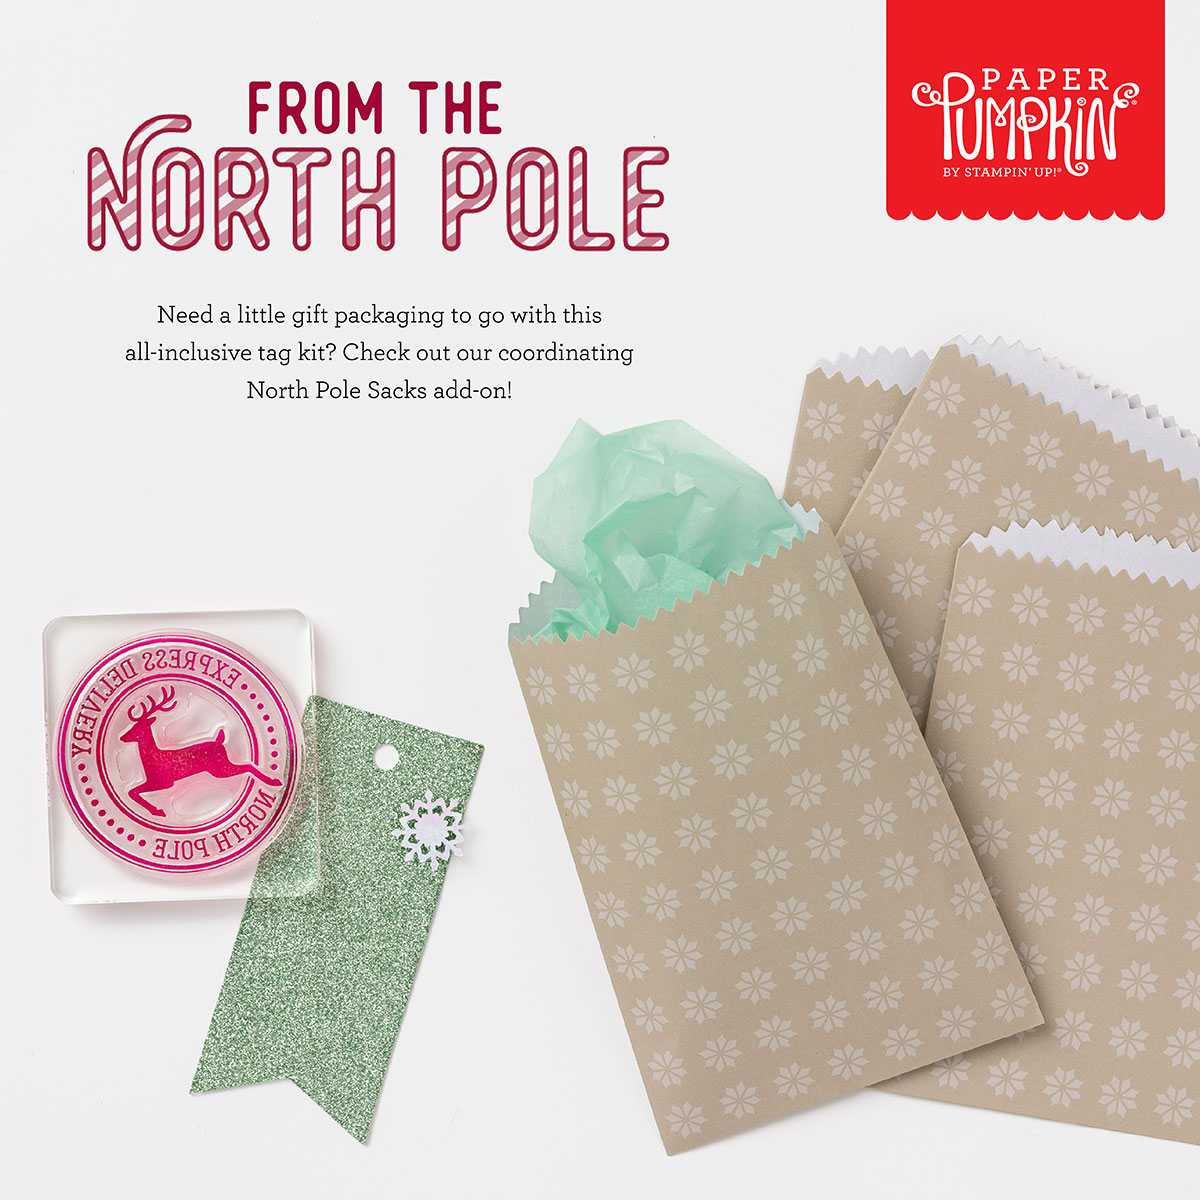
I love this Santa Express gift bag created by Stampin’ Up! Concept Artists for the July-Dec Mini Catalog.
Here are the measurements to recreate this project at home:
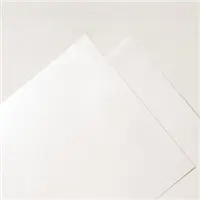
1- Start with 8-1/2″ x 11″ piece of designer paper.
2- On 11″ side, score at 4-1/4″, 5-1/4″, 9-1/2″, 10 1/2″.
3- On 8-1/2″ side, score 1″ and 6-1/2″.
4- Fold at 6-1/2 mark first for the flap and then glue the rest of the bag together.
Enjoy making gift bags for your friends and loved ones.

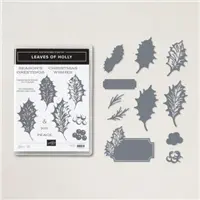
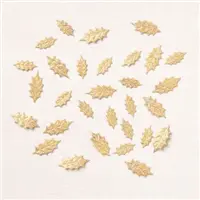
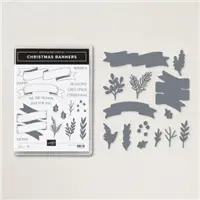
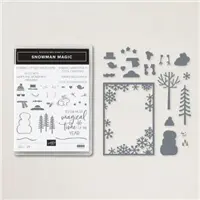
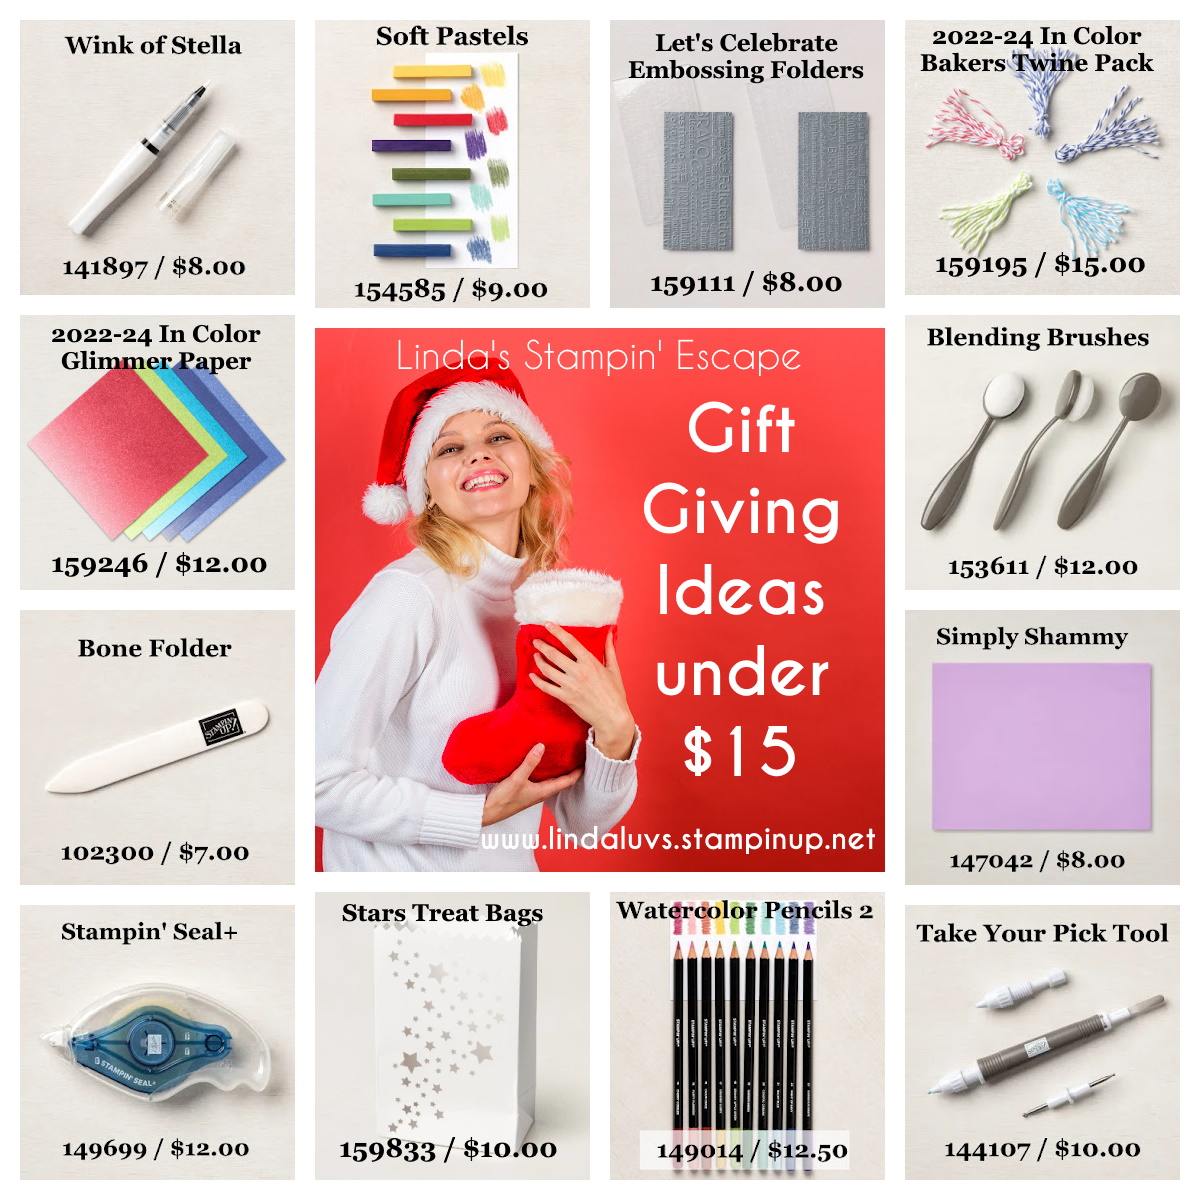
Here are the products used in today’s post … Click on the item for more information or to purchase.