Hello Stampin’ Friends ~
I wanted personally invite you to my 2022 Holiday Stamping Retreat which just happens to land on our 10 Year Anniversary of hosting Retreats. My retreats are like no other … they are smaller and intimate and designed with you in mind for a relaxing, creative weekend away getting pampered.
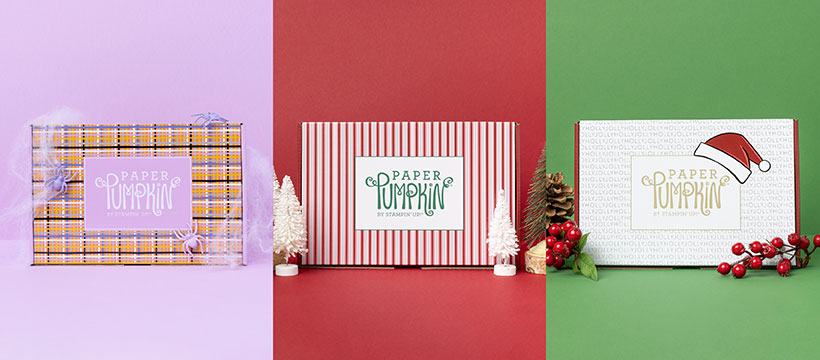
Our theme this year is “Sweetest Christmas”
My retreats our all inclusive, so for one “bundled” price you will receive all the stamping projects for the entire weekend, your 2 nights lodging, along with 5 delicious home cooked meals prepared just for you… and loads of fun, pillow gifts and surprises!!
Take some time for yourself, bond with a friend or your daughter, and make new friends while enjoying a fun filled, relaxing retreat filled with stamping and camaraderie.
The date for my Holiday Stamping Retreat is November 4th thru November 6th, 2022.
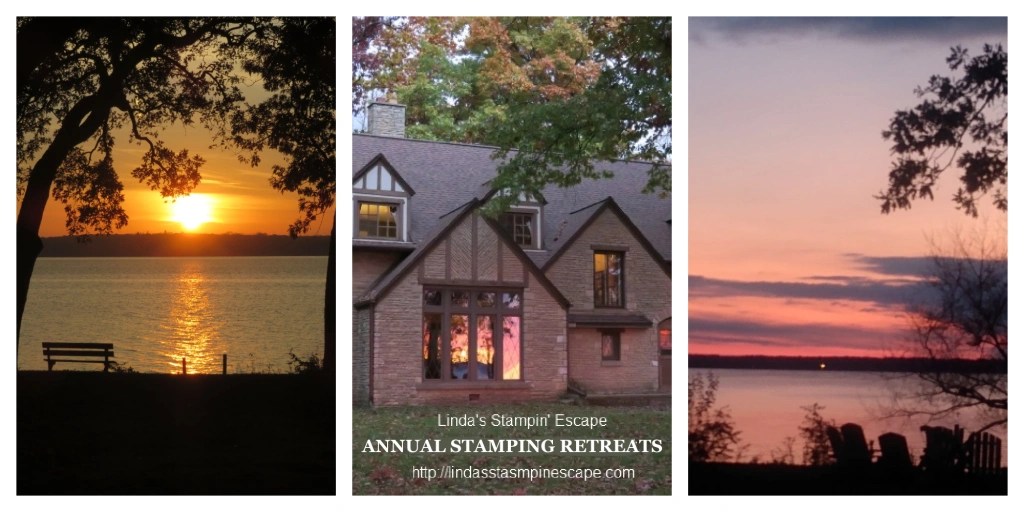
OUR LODGING:
We will be staying at an intimate setting on beautiful Green Lake in a 1930’s English Tudor home ….
YOUR ROOMS:
You will be retiring each night in the privacy of your own clean and comfortable room. Most bedrooms have two twin beds; for you and a friend. We can accommodate a group of three, and have one single room. * Rooms are decided on a first come first serve basis so get your RSVP in!
YOUR MEALS:
We will gather around the table ….
- Friday evening with your first of many home cooked meals before we head out to stamp. After … we’ll gather for dessert and some added fun!
- Saturday Morning we will have a hot breakfast with coffee / juice to get your ready for your stamping! We break for a delicious lunch, afterwards you can explore the grounds before our second stamping session of the day. Saturday evening includes a wonderful meal and more stamping.
- On Sunday morning we gather one last time to eat some breakfast before we have to say good-bye and head out. It’s a beautiful weekend.
THE STAMPING:
- We have 4 stamping sessions throughout the weekend, spaced so you can explore & enjoy the beautiful surroundings, relax and just unwind.
- We have a private area where we meet to stamp, well lit and comfortable.
- All of your projects are pre-cut, die cut and ready to assemble so you can enjoy the stamping experience.
*** The only thing you need to bring for stamping is your basic stampin’ supplies: Scissors, Bone Folder, your Favorite Adhesive & Refills. If there is anything special I need to you bring … I will send out a notice to attendees.
The stamp sessions have plenty of space and well lit, great projects, lots of snacks, and fun with friends.
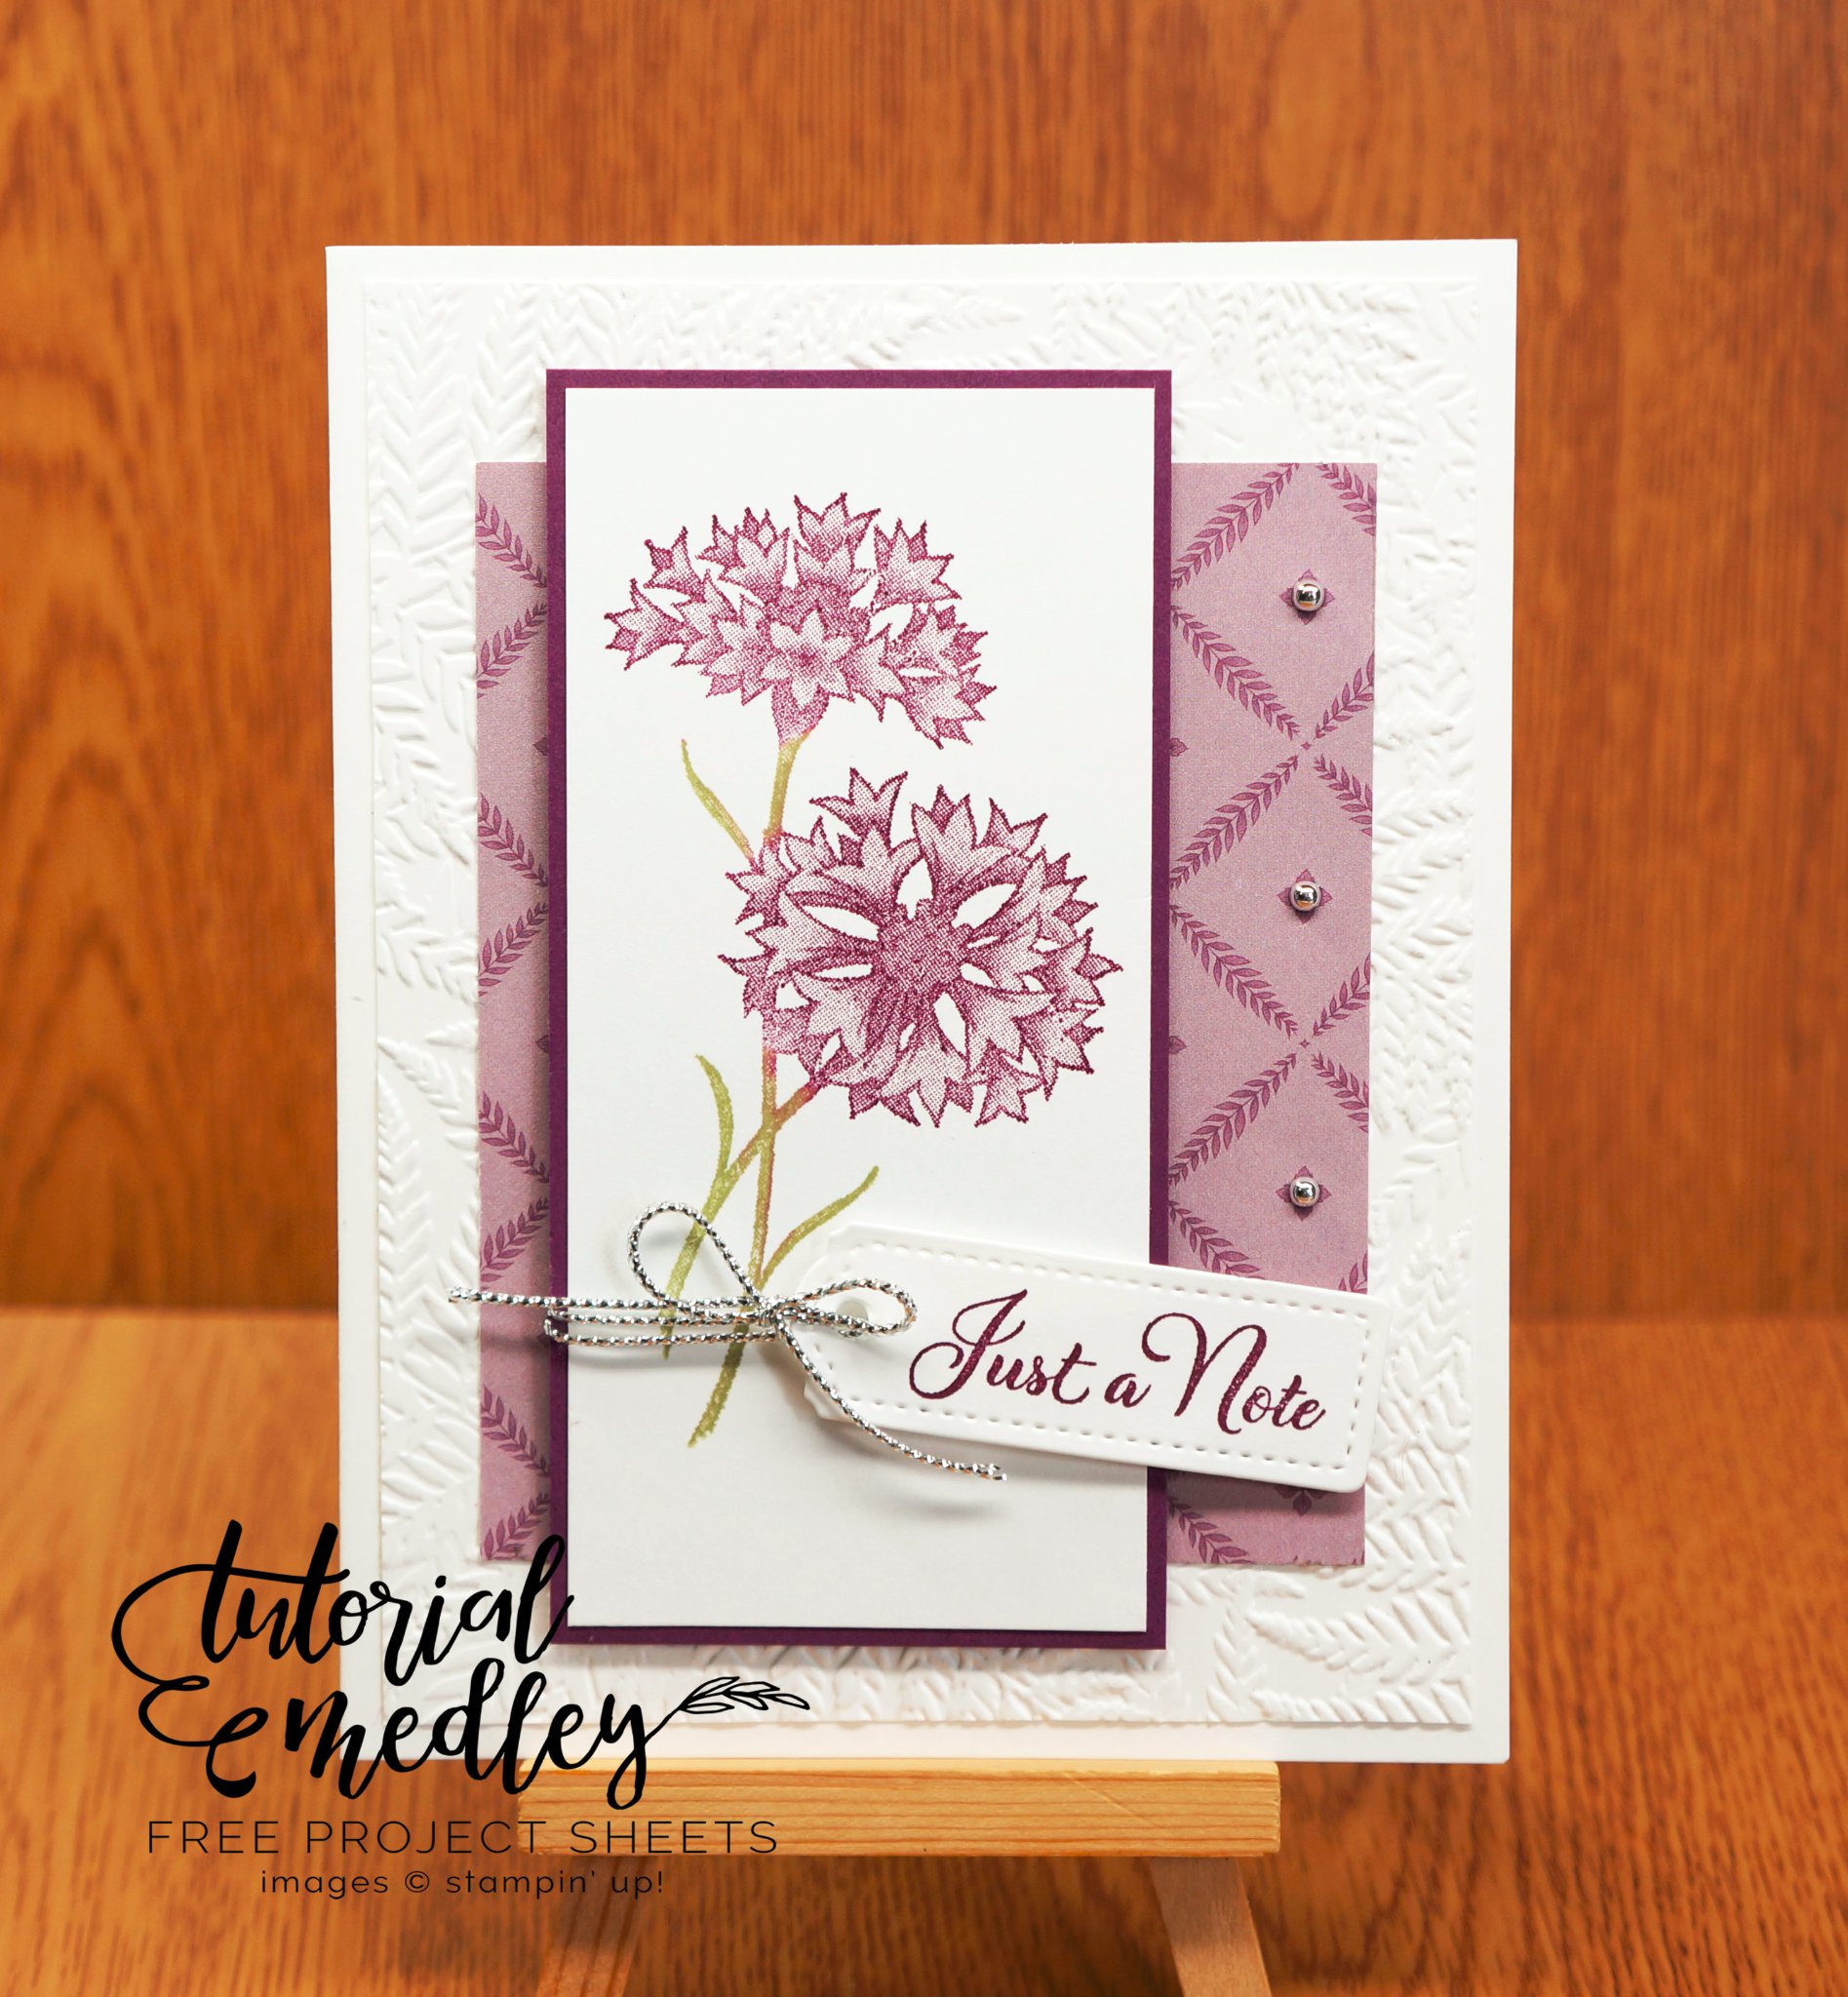
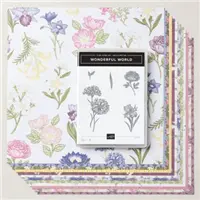
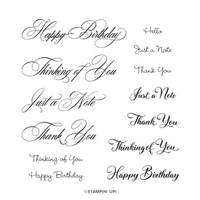
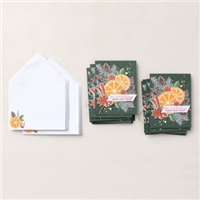
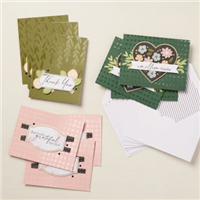
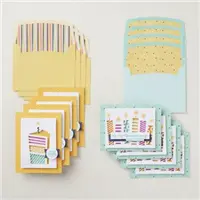
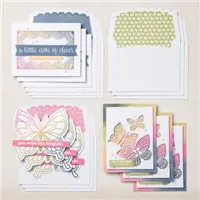
PROJECTS ….
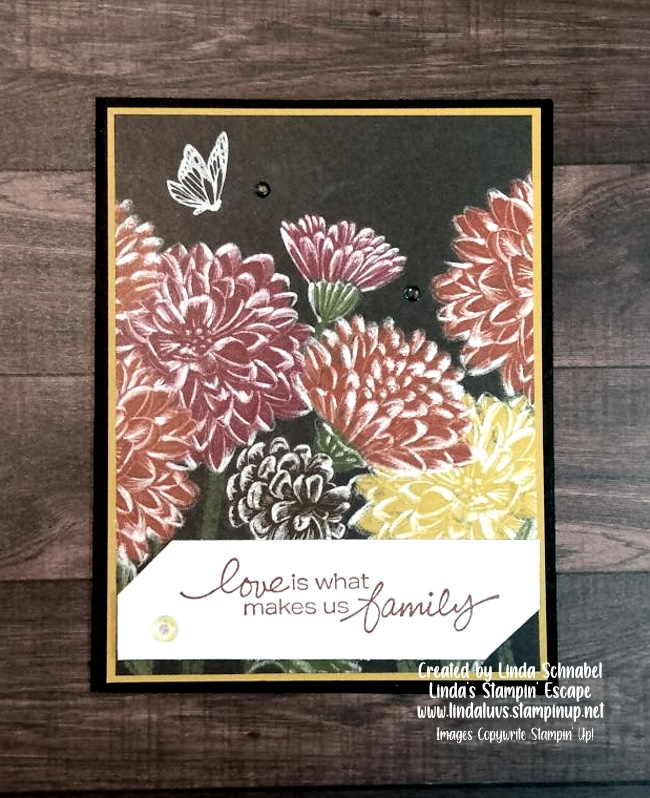
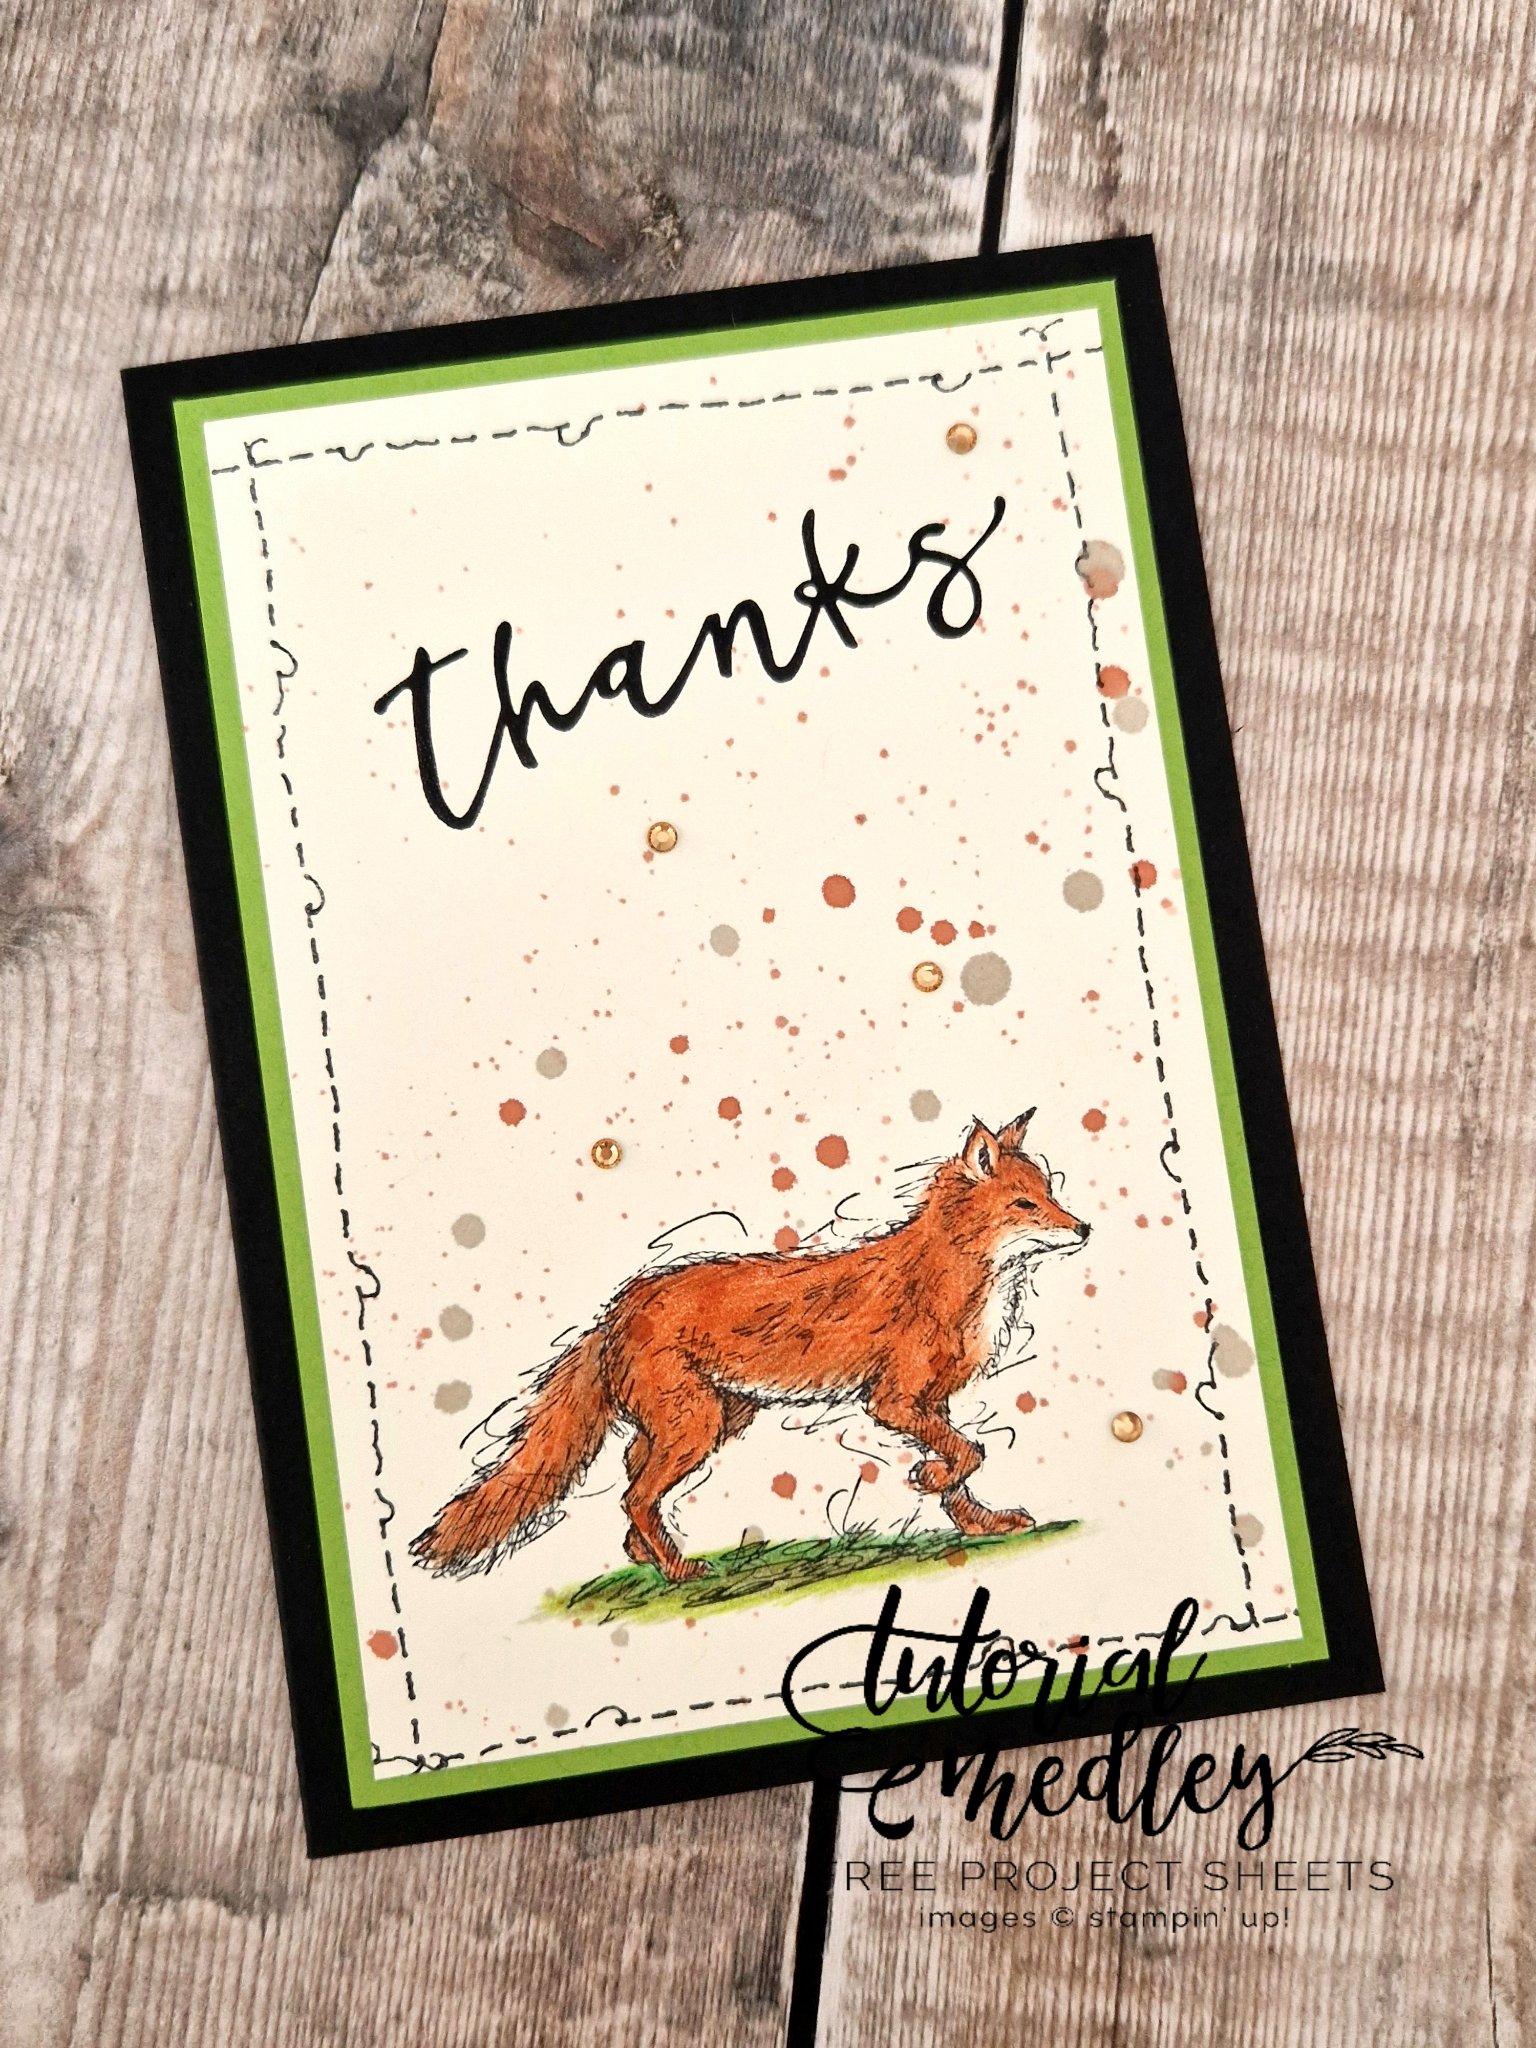
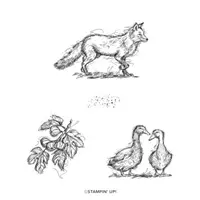
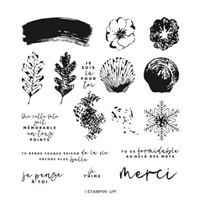
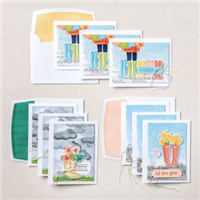
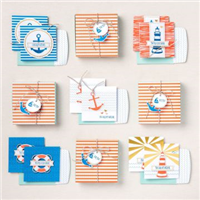
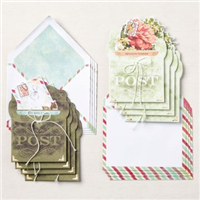
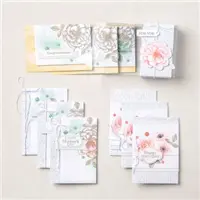
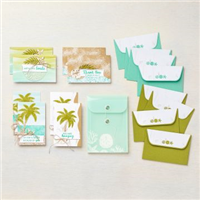
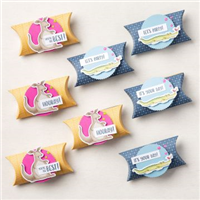
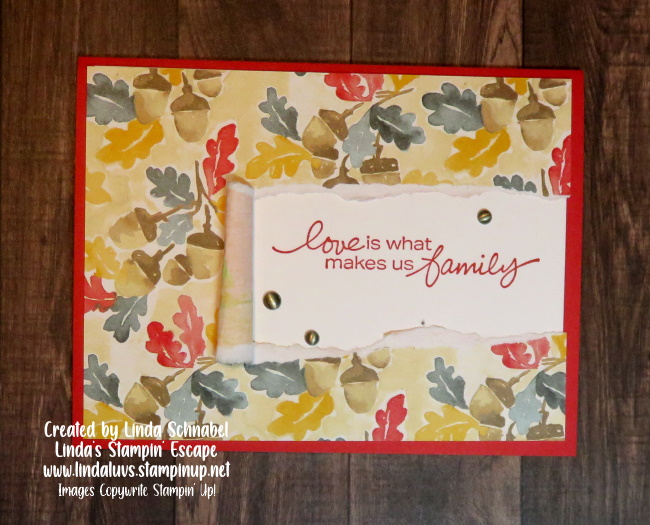
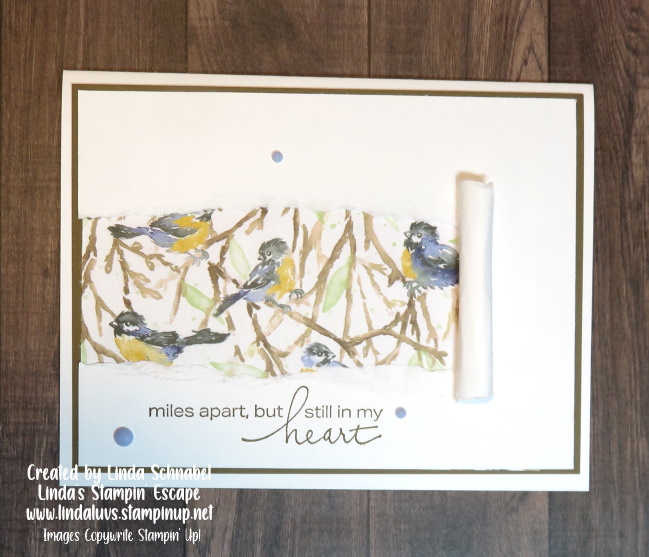
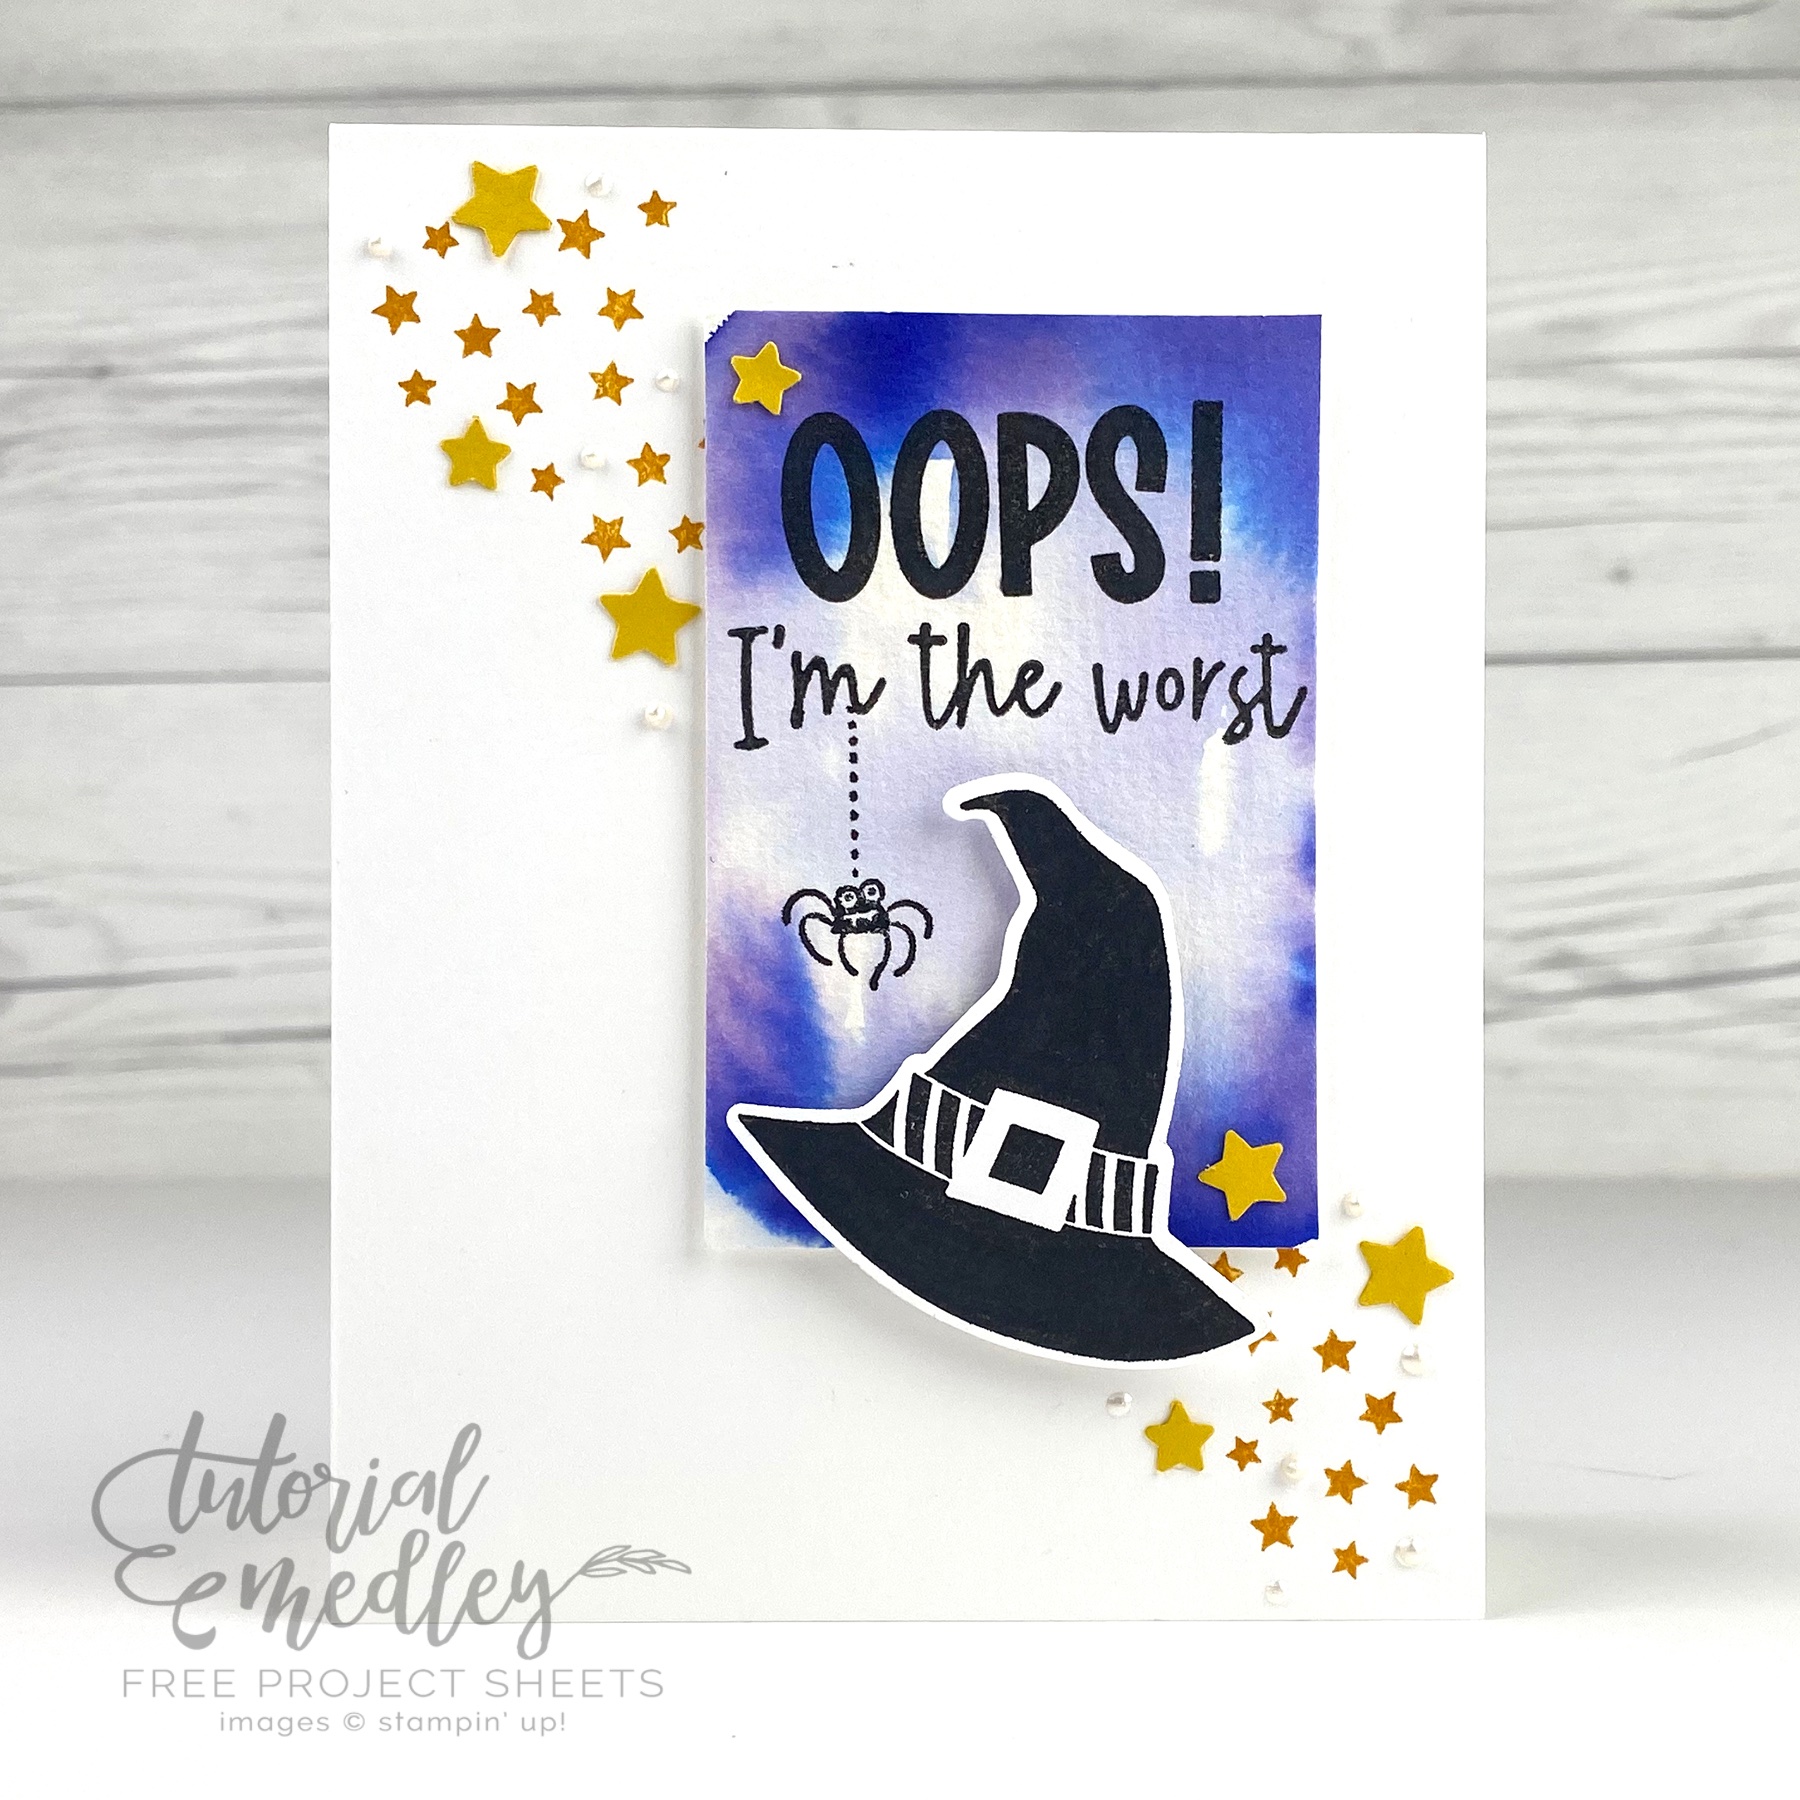
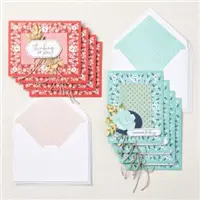
As Stampin’ Up! demonstrators, the projects are designed to showcase the beautiful stamp sets, the ease of creating with coordinating products, and fabulous accessories resulting in great cards and projects. Here we showcase some of the projects we did at the 2021 Holiday and 2022 Spring Stamping Retreats …
The cards / projects are all created and cut for you … all you need are your basic stamping supplies. Remember, this is a no stress weekend, you do not have to drag half your stamp room to get some stamping done (we do the work for you).
Our Stamping room is … spacious and is loaded with windows!! In fact, you even have a view if the lake!
Will YOU be joining us on the beautiful shores of Green Lake for a relaxing weekend Stamping Retreat?
Is this the year you finally treat yourself to a weekend of stamping fun and pampering?
We’re saving you a seat! Can’t wait to have you join us in November.
Please feel free to share or save ...