Hello Stampin’ Friends ~
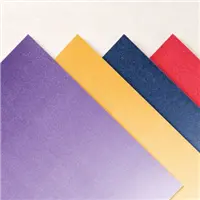
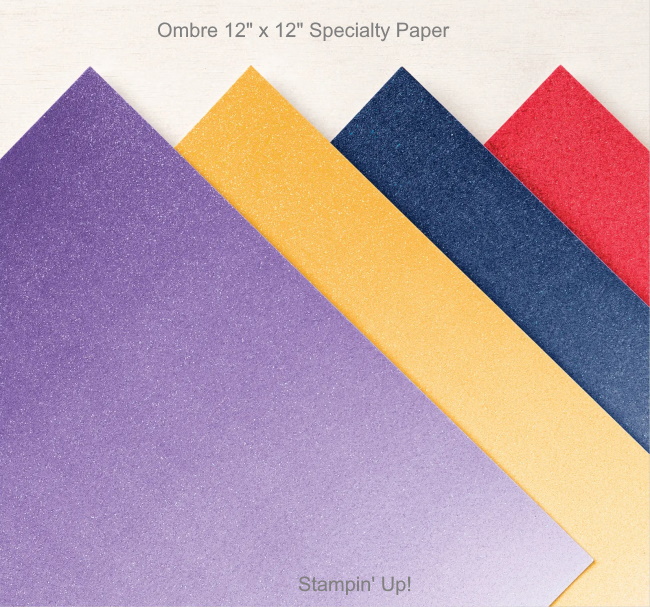
It’s Finally Friday and it’s time to have some fun!! How about adding sparkle to any paper project with our Ombre Specialty Paper! ![]()
Available in Gorgeous Grape, Mango Melody, Night of Navy, and Poppy Parade, this selection of shimmery sheets adds the perfect amount of pizzazz to your projects. Plus, the color of each piece cascades from light to dark, offering even more options for creative expression!
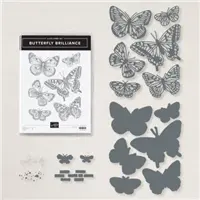
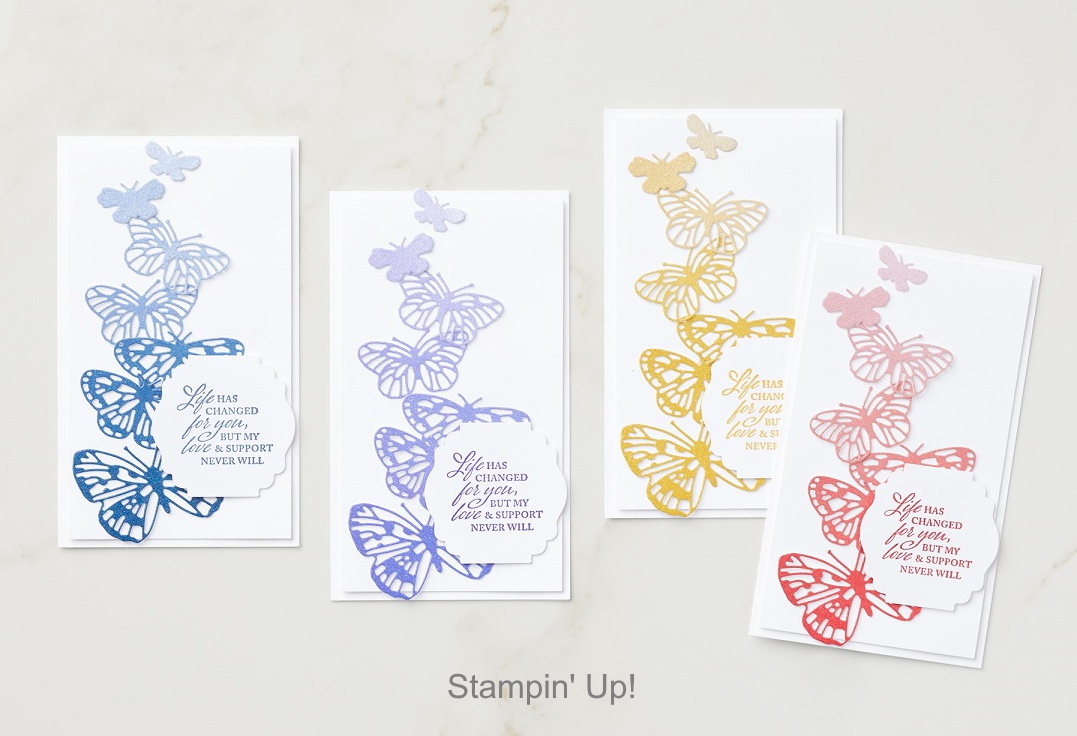
Now imagine a field full of beautiful butterflies in amazing colors … what a wonderful way to cheer someone up or wish them a happy birthday. These simply beautiful cards were created with the Brilliant Wings Dies ….
How will you use these gorgeous, glittery sheets?
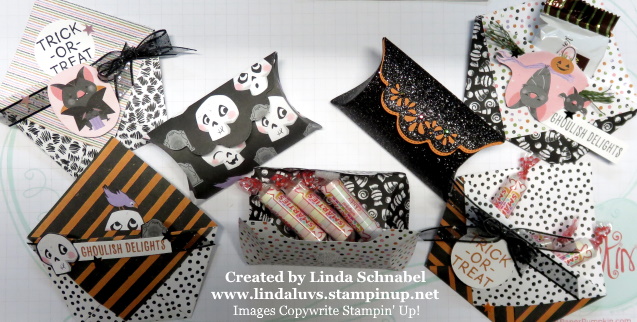
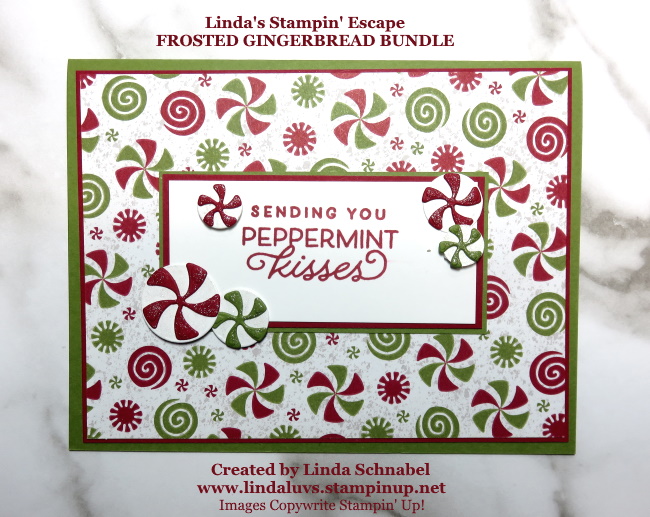
Don’t you just love a quick -n- easy cards … especially when you know they will touch the heart of another. It’s not how long you spend making the card, it’s that you send it to someone who needs one, and you never know when your card will be just the thing that brightens their day!
Thank you for dropping in and checking out my blog.
Happy Stampin’ ~

TODAY’S STAMPIN’ SUPPLY LIST … If you liked the products used in todays projects, I have links for you below. Just click on the item you would like more information on, or to begin your shopping. It will take you directly to my website. Thank you ♥