Hello Stampin’ Friends ~
There’s nothing I love more than sitting down in my stamp room with a project that’s creative, relaxing, and already beautifully coordinated for me. Today I’m excited to share the Lots to Love Card Kit from Stampin’ Up! — a perfect example of how easy it can be to create stunning handmade cards, even when time is short. I’ve included a video in this post so you can see the kit in action, and of course, I couldn’t resist creating a couple of alternative projects to show you just how much versatility you can get from one simple kit.
The Lots to Love Card Kit is designed for crafters who love beautiful results without complicated steps. Everything is pre-coordinated, making this kit ideal for:
- Quick crafting sessions
- Beginner stampers or seasoned crafters
- Craft nights with friends
- Building a stash of heartfelt cards for everyday occasions
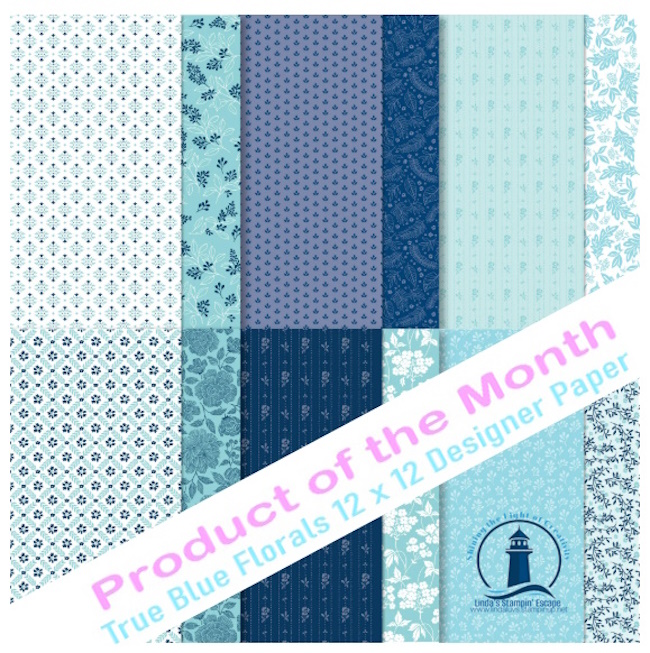
The colors and designs in this kit have a soft, cheerful feel that works perfectly for thank-you cards, friendly hellos, and thinking-of-you cards. It’s one of those kits you can pull out when you want to create something lovely without overthinking every detail.
Check out the video, where I walk you through the kit and share both alternative cards step by step. Seeing how the pieces come together makes it so much easier to imagine how you can adapt these ideas for your own style — or even create your own variations using the same kit.
Click HERE to Watch on YouTube
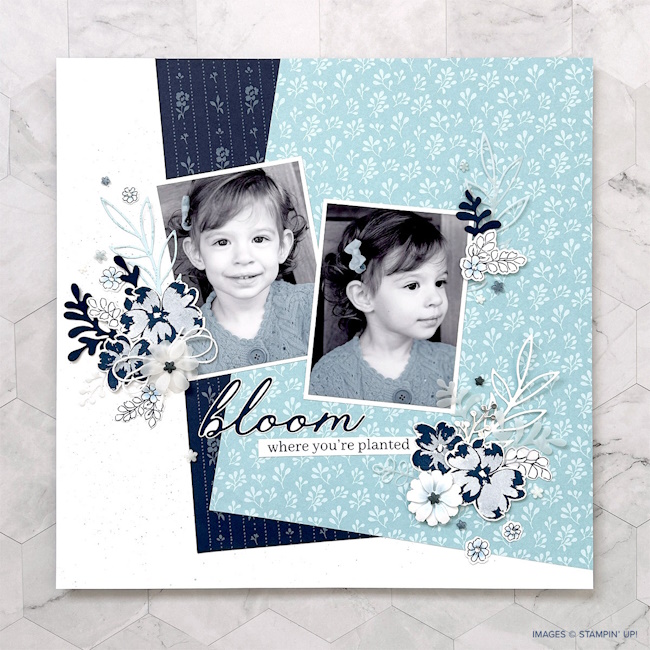
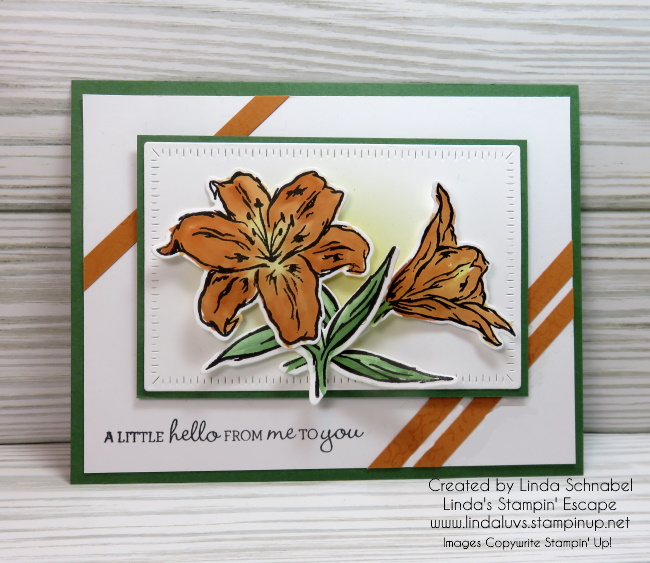
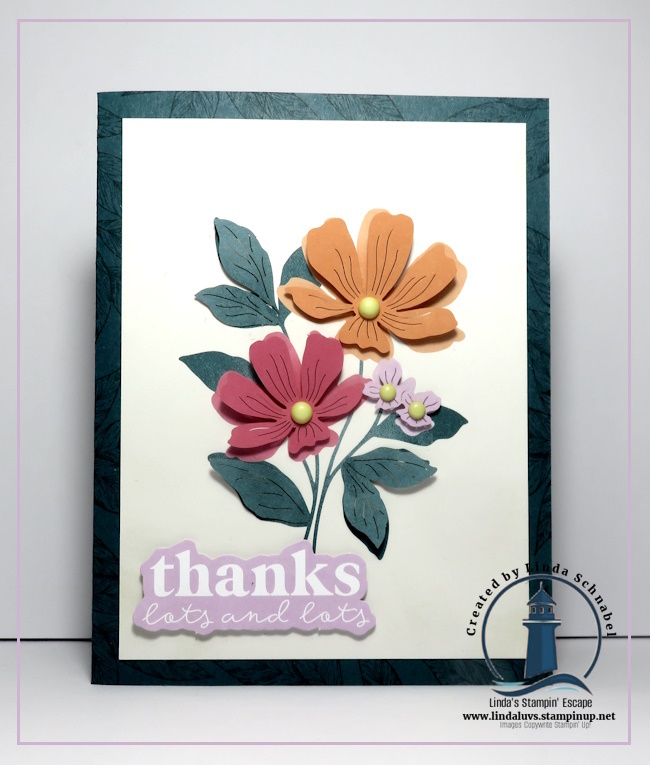
On this card, I removed the frame altogether, which beautifully exposes the floral focal point and creates a clean, crisp design that still feels warm and inviting. This layout is perfect when you want a simple card that lets the artwork shine without a lot of layers.
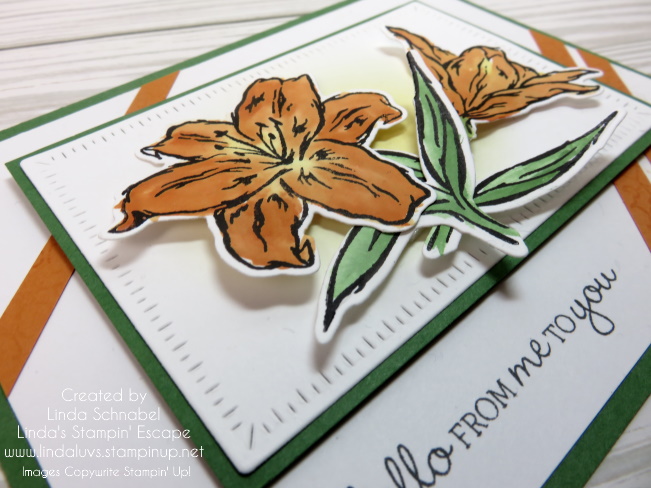
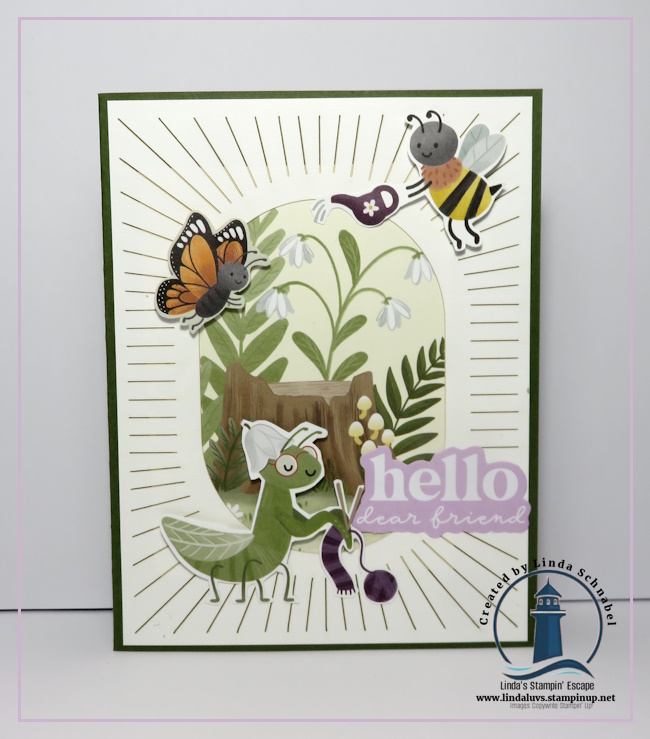
For this card, I used the frame from the first card and paired it with the Cute as a Bug Designer Series Paper. This simple swap instantly changes the personality of the card and shows how easily kit elements can mix with products you already have in your craft room. It’s a great way to stretch your kit and get even more variety from the supplies inside.
If you’re looking for an easy, enjoyable way to create beautiful handmade cards, the Lots to Love Card Kit is a wonderful addition to your craft room. I’ve linked all the supplies below so you can click and start shopping when you’re ready. And if you haven’t yet … grab a cup of coffee, press play on the video, and come spend a little creative time with me — you might be surprised how much joy one simple kit can bring. 💛
Have a wonderful day ~