
Happy Saturday my Stampin’ Friends!
Hope this post finds you well and in good spirits. We are having a beautiful day here in southeastern Wisconsin … we may even get to 40 degrees! I’ll take this “heat wave” since they are predicting below zero temps in 2 days.
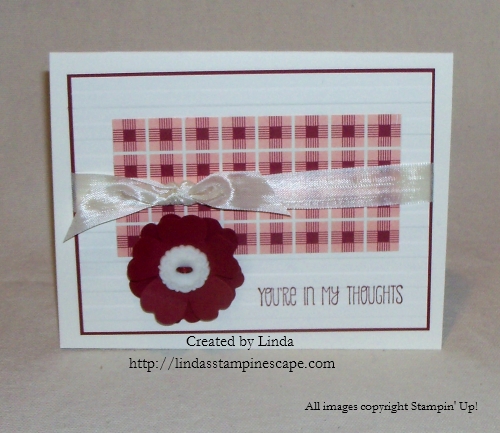
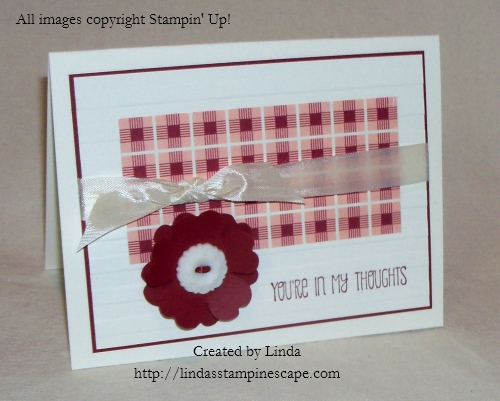
Today I have a cute little “Sneak Peek” card for you that not only gives you a sneak peek at the Occasions catalog, but also a Sale-a-bration item that you can earn free!
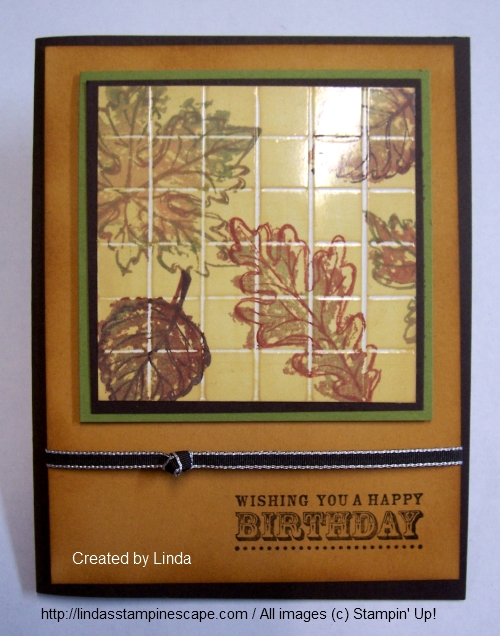
As I promised yesterday, I am going to show you a peek at the new designer paper “Watercolor Wonder” … there are so many beautiful patterns in there, I decided to showcase my least favorite~
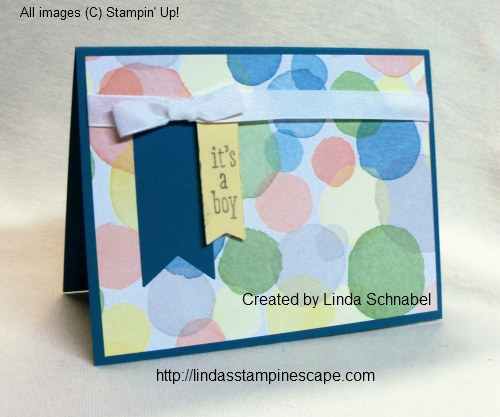
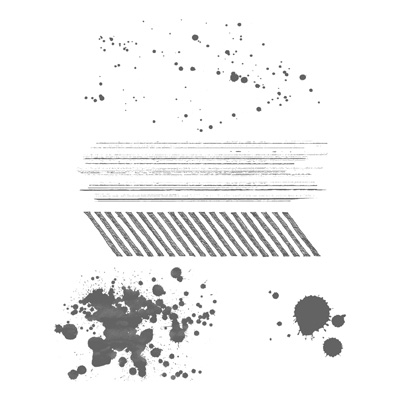
I’m not to big on “splotches” … is that a word? Anyway, I decided to challenge myself with my least favorite, but I must say that I love the way this turned out. How cute for a baby card. I know my baby is 30 something, but I still recall that little ones are good at making “splotches”.
Once I chose the paper, I cased a pattern from our Stampin’ Success magazine, and used the new “Banner Framelit Dies” to cut out a banner from the designer paper.
Next, I punched a banner from our Sale-a-bration banner punch, but it was a bit short, so I made it longer. I took a picture showing how to do it, but because the product has not yet been released … I can only show samples and not the actual product. So I will be sure to show you how I did it, after the catalog release.
I used the same stamp set as yesterday, “A Dozen Thoughts” and decided to use my “Stamp-a-ma-jig” to place the words where I wanted them on the banner. I then roughed up the edges to create a bit more texture.

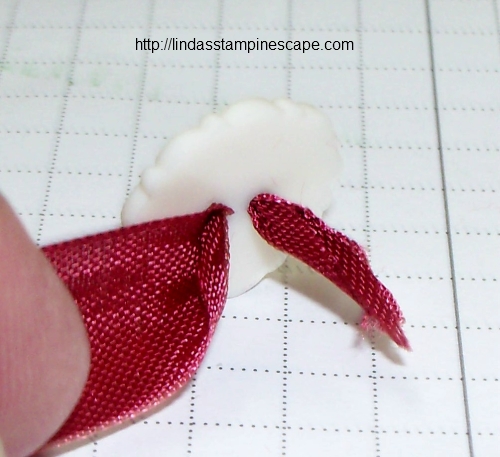
Then I just finished it off with a pretty little bow.
Thank you for stopping by today! Enjoy your Saturday.

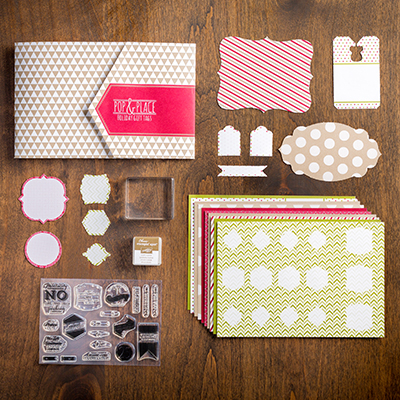
Here is a list of supplies used for today’s card …
|
ITEM |
PRICE |
DESCRIPTION |
|
$26.95 |
A Dozen Thoughts Stamp Set – WOOD |
|
|
$18.95 |
A Dozen Thoughts Stamp Set – CLEAR |
|
|
Available Jan 3 |
$10.95 |
Watercolor Wonder Designer Series Paper |
|
Available Jan 3 |
$26.95 |
Banner Framelit Dies |
|
Sale-a-bration |
FREE |
Banner Punch |


