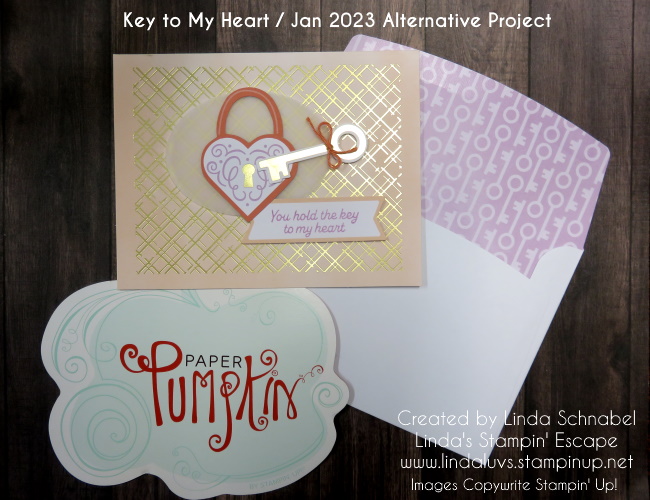
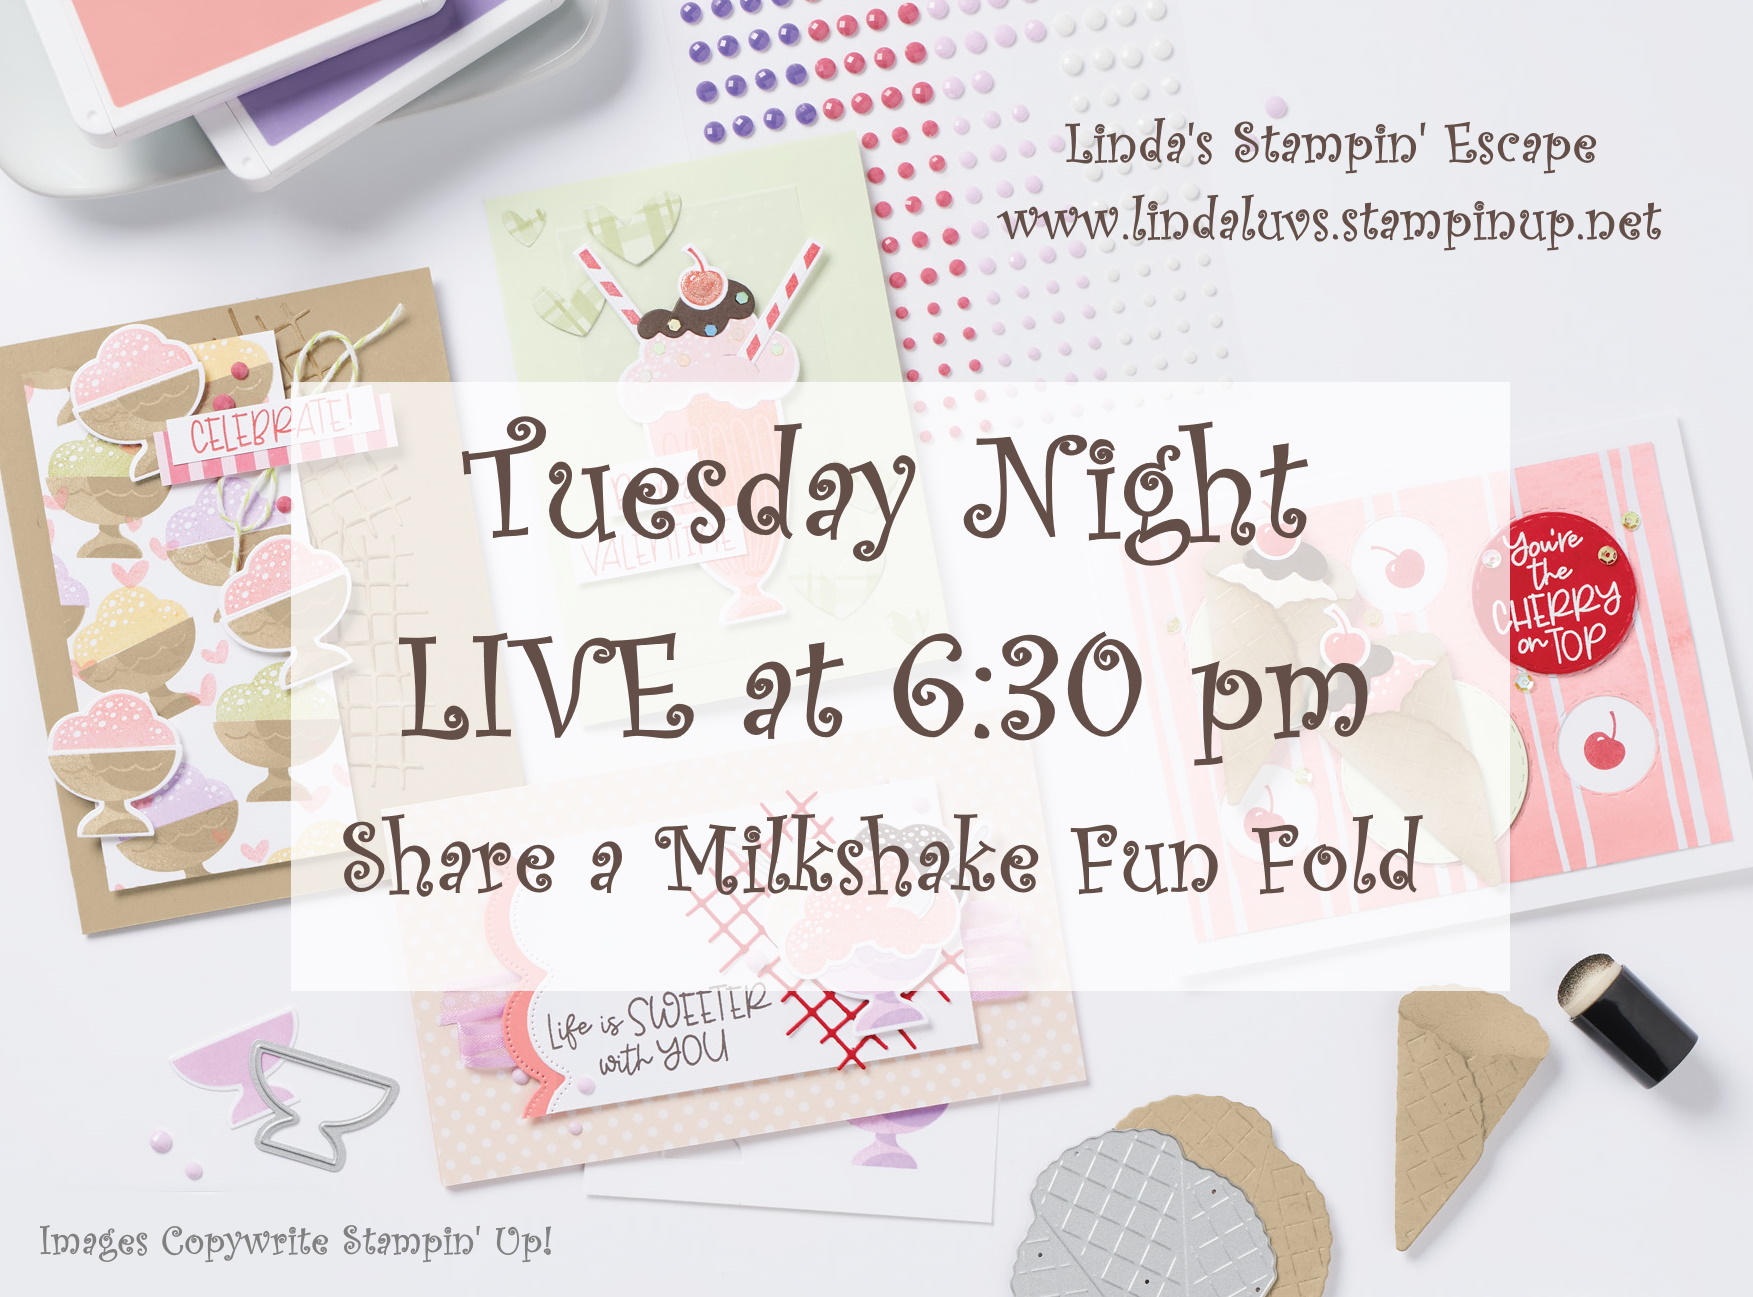
Hello Stampin’ Friends ~
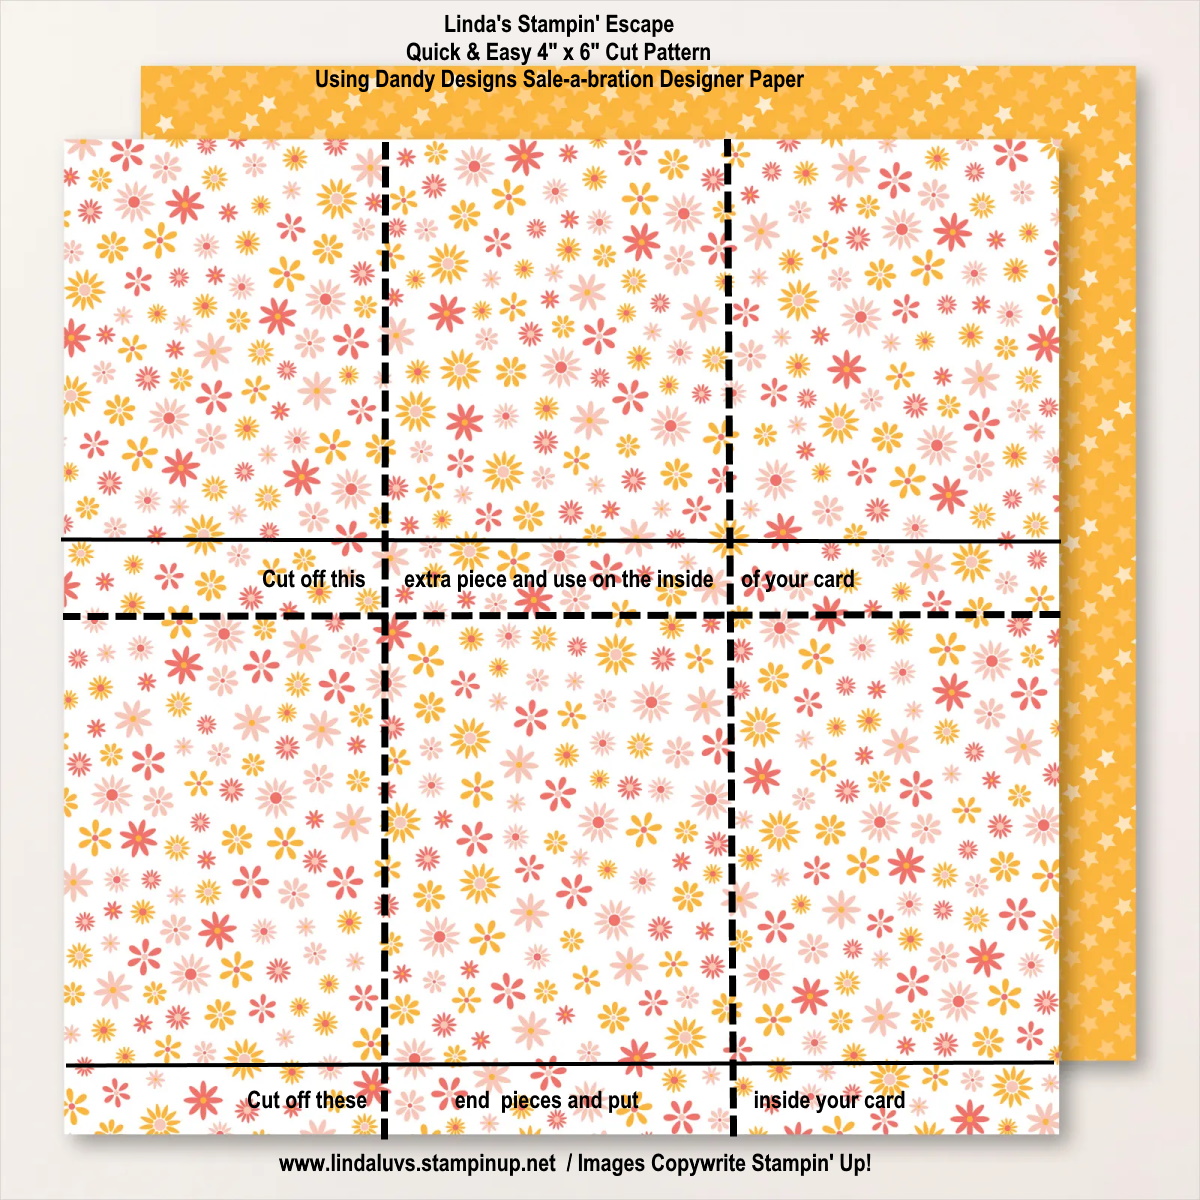
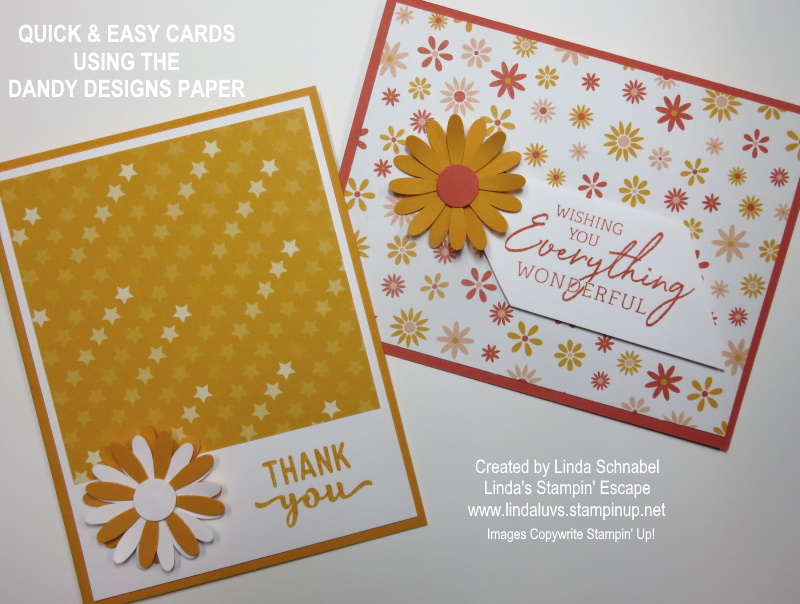
Are you ready for some more fun cards? I’m getting punchy with the Fun Cut pattern and Dandy Designs paper I shared with you yesterday. I thought I’d share some cute cards you can recreate right away by using punches you have in your stamp room. I also added the Organdy Glitter ribbon and Iridescent Rhinestones.
Let’s take a look! Today I’m using the paper with with the Fresh Freesia and the Petal Pink. We’ll start out with the Heart Punch Pack. I punched the solid heart from the designer paper and the Scalloped Heart in Basic White cardstock.

So you’ll see the same layouts as yesterday, just my new colors and I’m highlighting the Peaceful Moments stamp set … I’m using this for my greetings on all 4 of the cards. Here you will also see the Stitched with Whimsy dies which adds texture and this cute pattern of stitching which really frames your greeting. Both the greeting and the hearts are popped up with Stampin’ Dimensionals.
My second card features the Label Me Lovely punch …
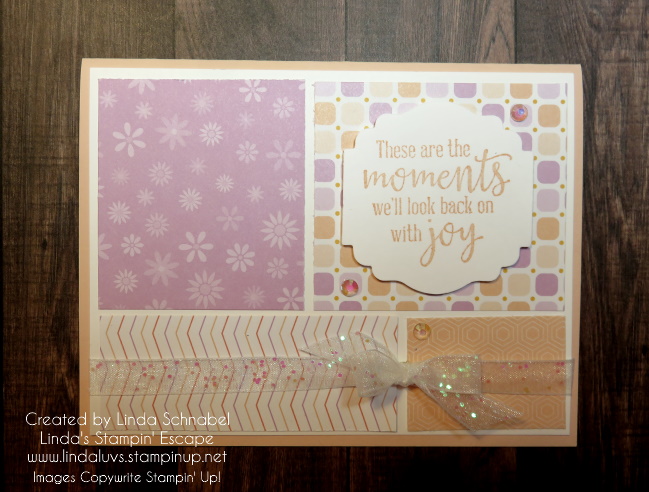
This sweet and simple card also showcase a bit of bling with the Iridescent Rhinestones and White Organdy Glitter Ribbon … WOW these go together really nicely! I tied my bow “first” and then attached it to the ribbon with a Mini Glue Dot.
The third card … there she is, our Medium Daisy Punch!

Once you get your Dandy Designs paper cut and laid out onto your card mat, you can really whip out a whole stack of cards. I just added a simple banner with my Daisy and then added a few Iridescent Rhinestones.
For my last card I kept it really simple, and sorry, but on punch …

Again I brought in the Stitched Whimsy Dies, Organdy Glitter Ribbon and Iridescent Rhinestones. This pattern, a great sentiment set and a few items you have in your stamp room will create wonderful cards to share and bring joy to a friend or family member.
I want to thank you for joining me today. Have an awesome Thursday …
the weekend is almost here!

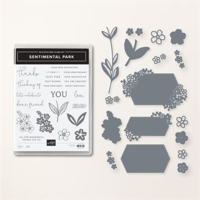
Here is our supply list for today’s card ….