Hello Stampin’ Friends ~
I just want to give a shout out to all the amazing ladies who took time out of their day yesterday to spend World Cardmaking Day with me … what a FUN day!! And as I promised them, I would share my Linen card right here on my blog.
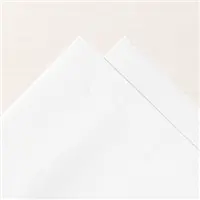
On my first Linen card, I used the “Masking Paper” to create the card front. I cut out butterflies from Brilliant Wings out of the Masking paper and then adhered it directly onto the Linen paper.

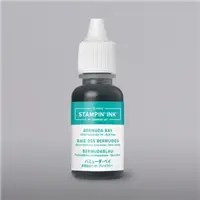
Then with alcohol in my Spritzer and about 5 drops of Bermuda Bay ink … I spritzed the color onto the Linen paper. The alcohol helps to dry the ink faster, and what it leaves behind when you remove the “butterfly masks” is a soft beautiful “dyed” Linen paper.
For the second card, I used the Stampin’ Write Markers in Flirty Flamingo, Coastal Cabana and Highland Heather and laid down the ink directly onto the block … then spritzed it with alcohol until wet … then stamped that onto the Linen paper.

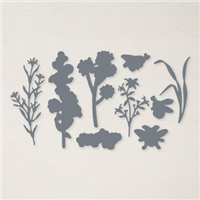
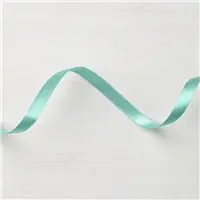
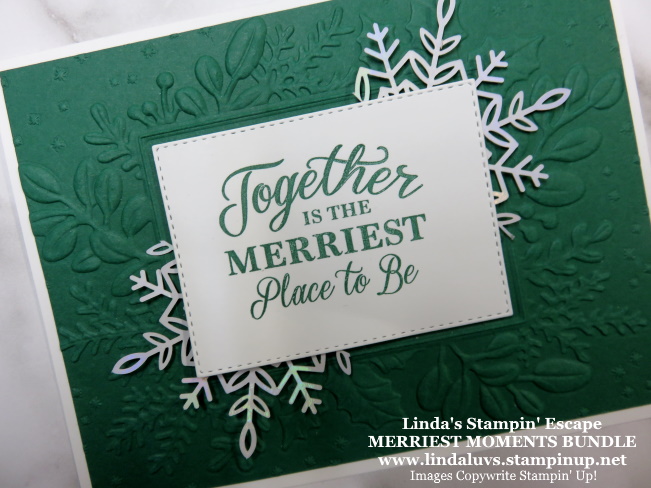
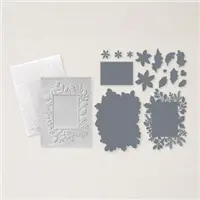
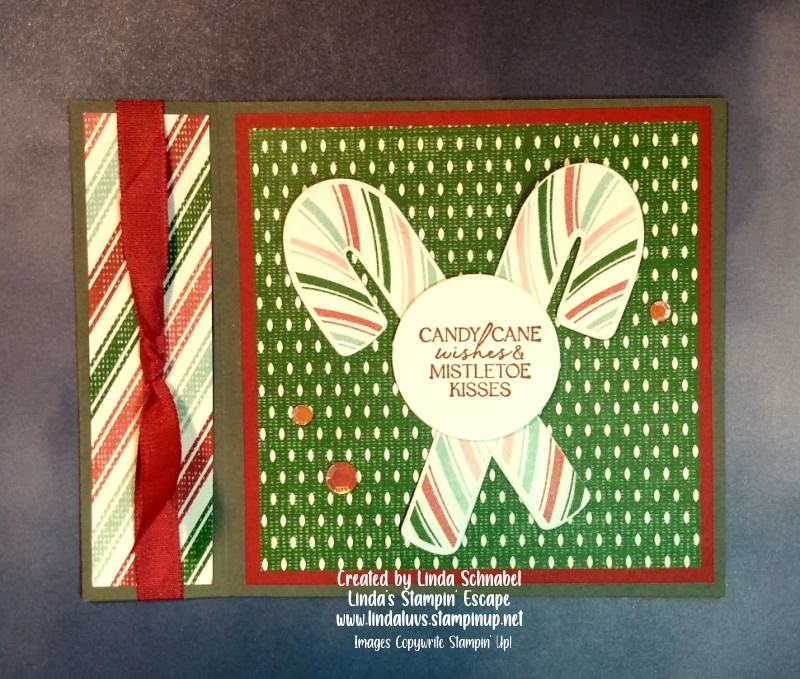
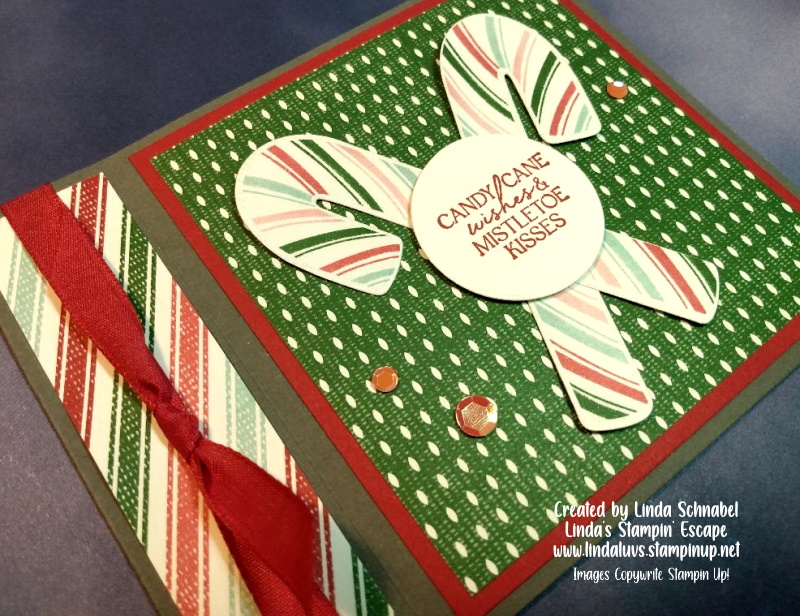
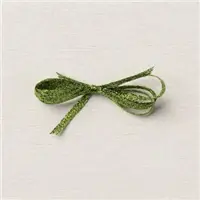
I used the Honeybee Blooms dies in Basic Black to create my silhouettes which were adhered to the Linen paper using the Multipurpose Liquid Glue … it holds best on the Linen paper. I mounted the card front onto Basic Black. I then added Pool Party Shimmer Ribbon and made a simple bow. My greeting comes from the Charming Sentiments stamp set and was stamped with Momento Ink.
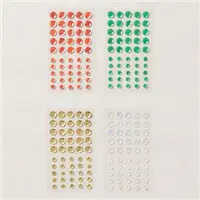
To complete my card I added 3 Iridescent Rhinestones … I love that they pick up the color of the pink and blue hues. You will be able to view the replay on my Facebook Page or YouTube Channel.
I am grateful to my stampin’ friends for the fun day we had yesterday, and I thank you for joining me today. Have a beautiful Sunday.

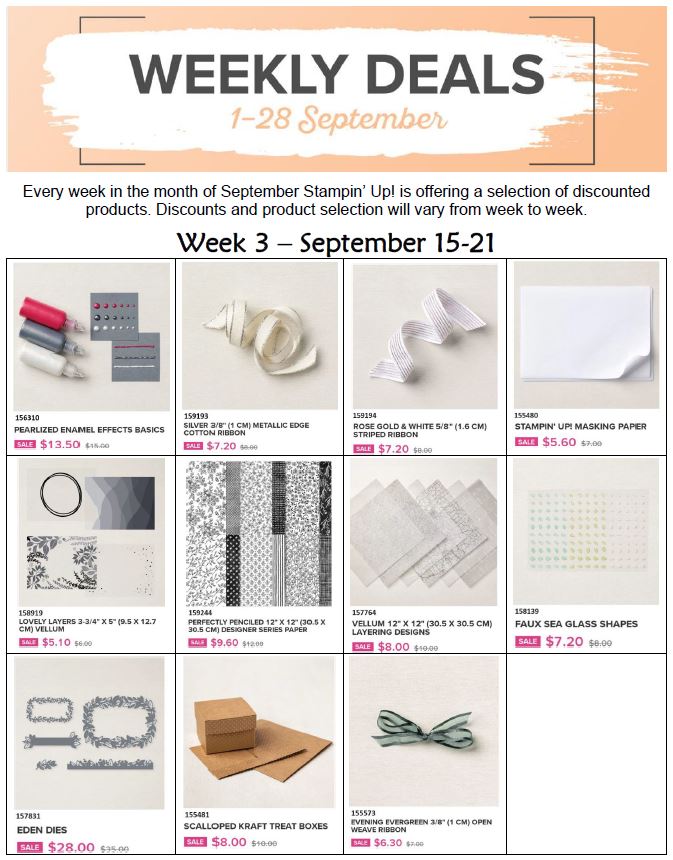
Here is a list of supplies that I used for my two cards today ….