Hello Stampin’ Friends ~
Are you one of those people who runs for the camera or grab your phone when you see a rainbow? Me too!! Who doesn’t like rainbows … they portray happiness and good luck, so doesn’t that sound like the perfect card to send someone.
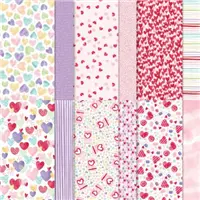
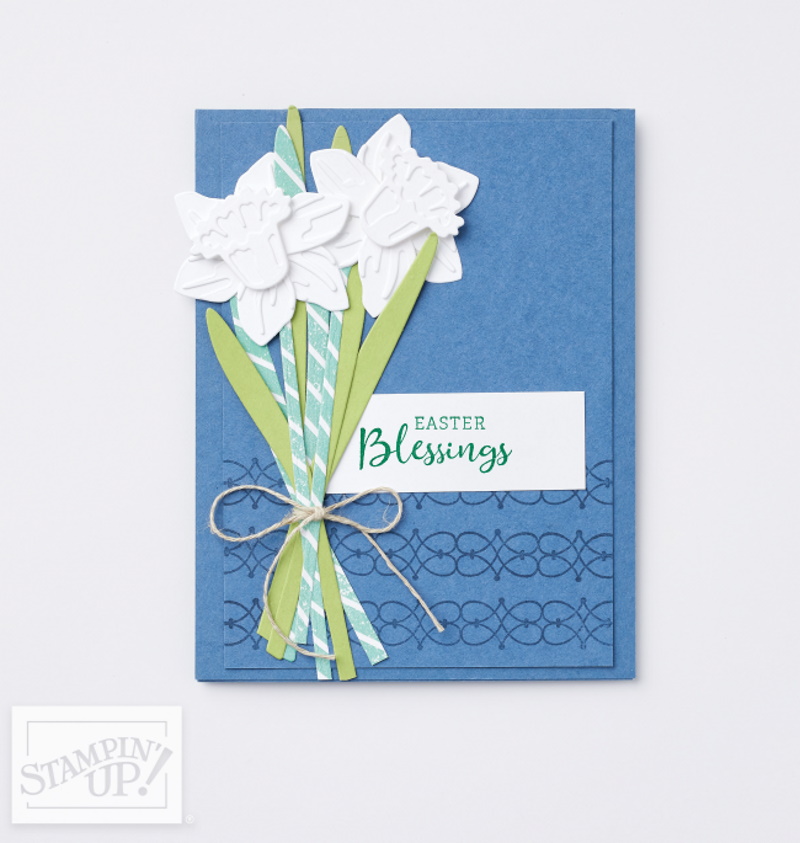
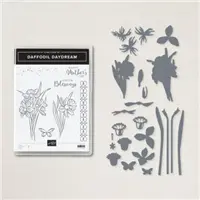
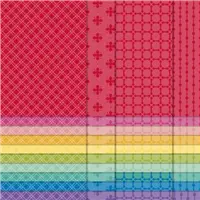
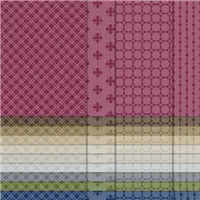
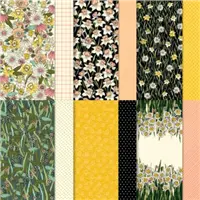
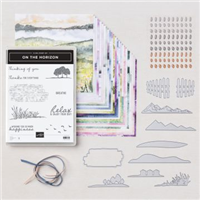
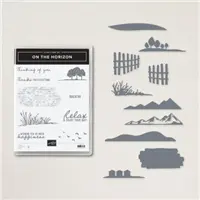
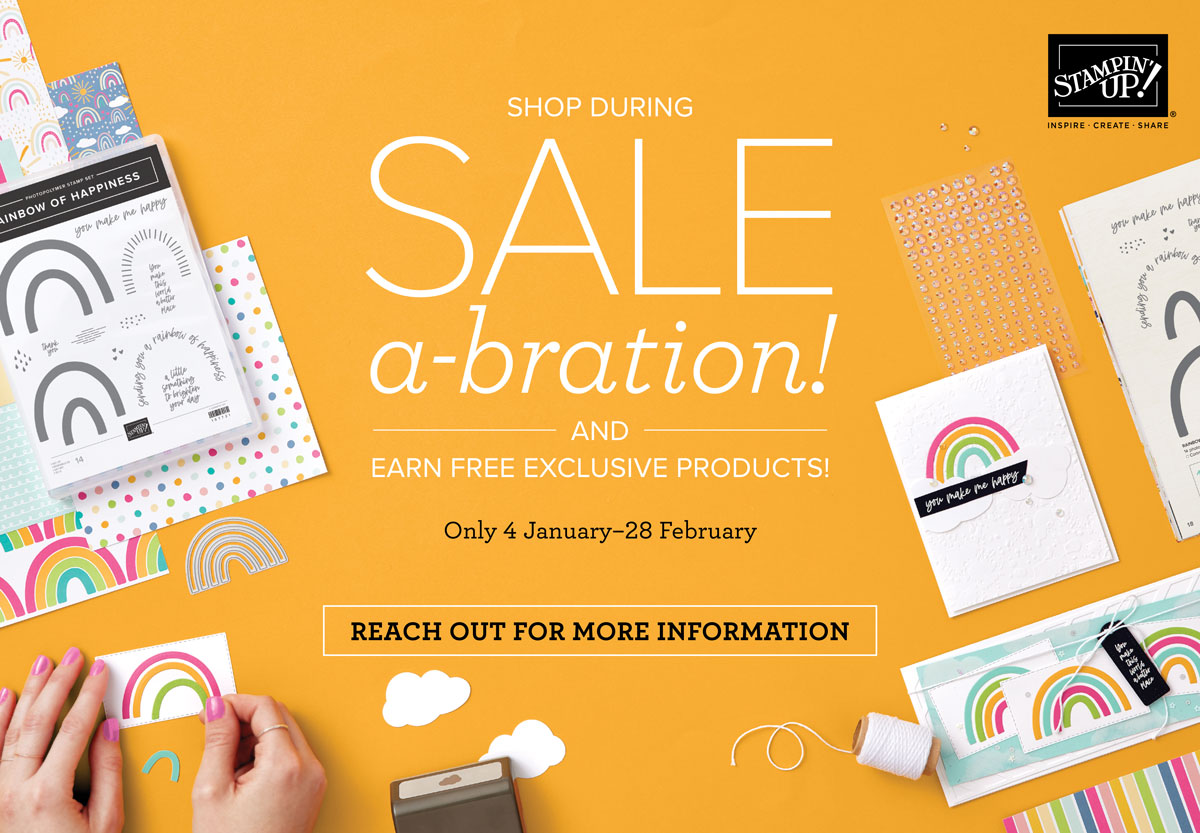
Today I have a quick video that introduces the Sunshine & Rainbows Designer paper which coordinates with the bundle and how you can get it for FREE!!
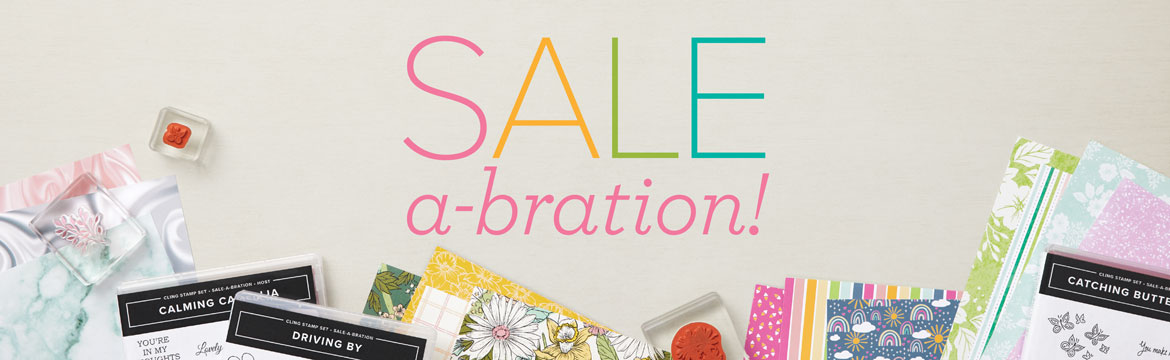
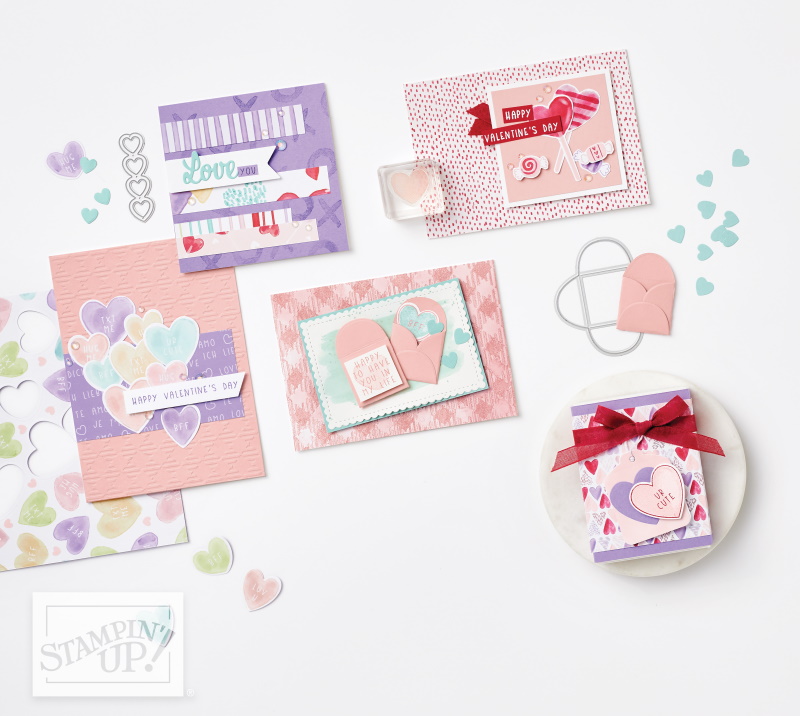
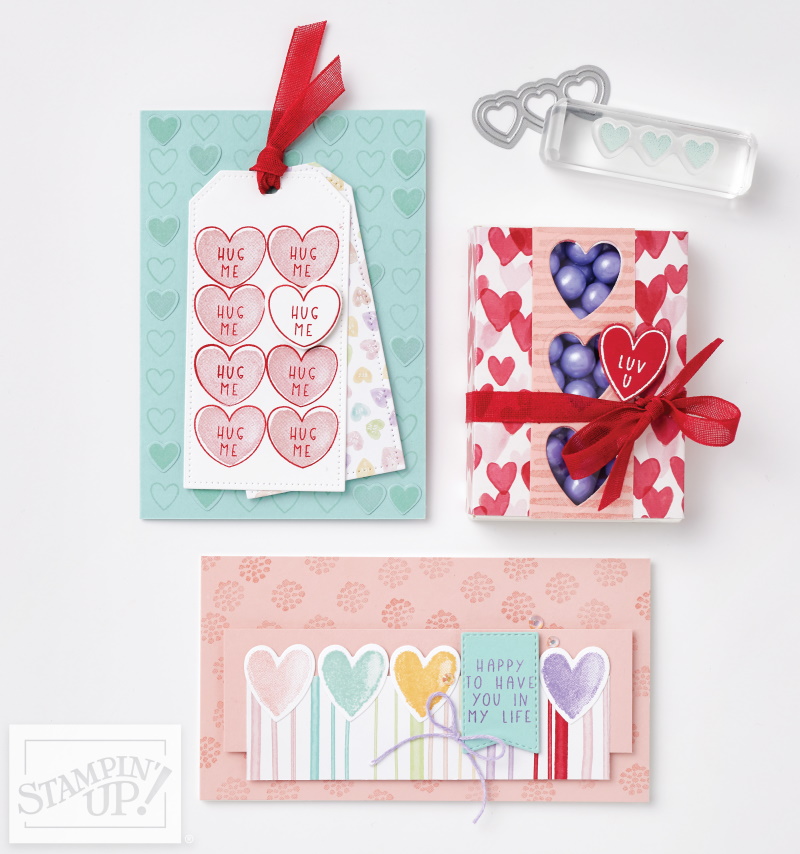
Add a little sunshine and rainbows to your life with this beautiful set of products. Look through our products to find the coordination you are looking for and get your Sale-A-Bration products for FREE! Now through February 28!!
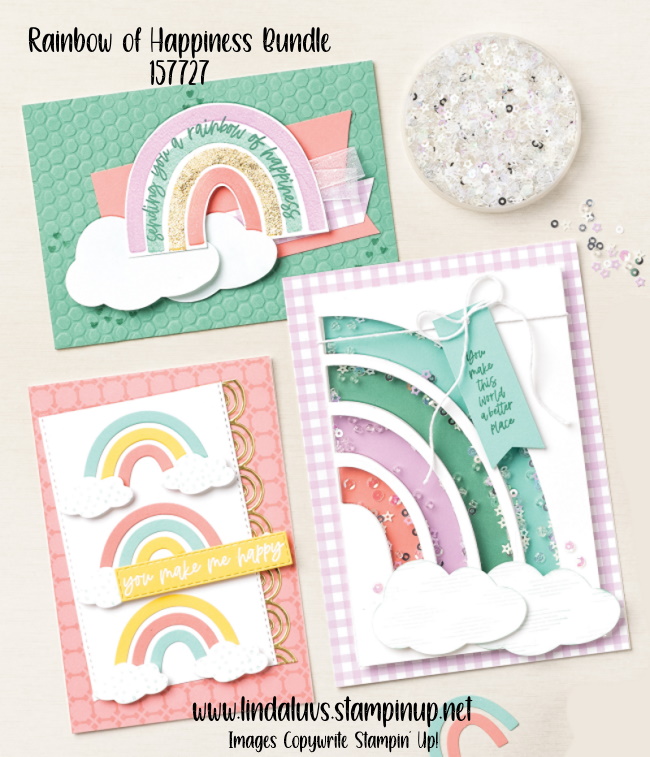
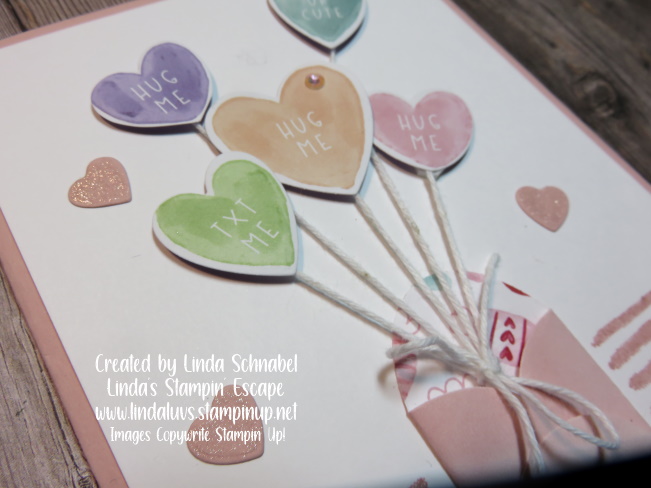
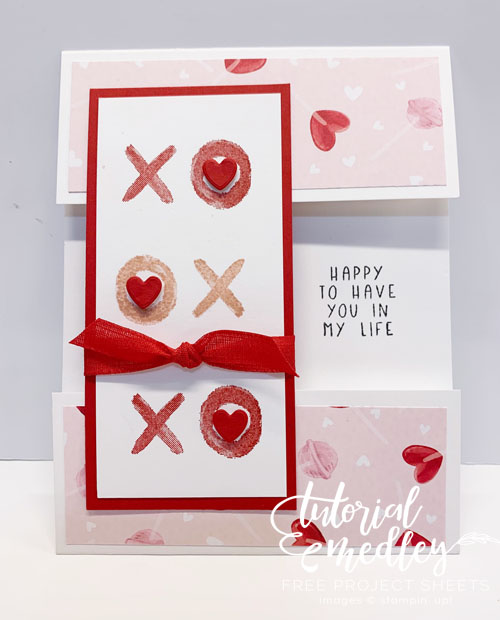
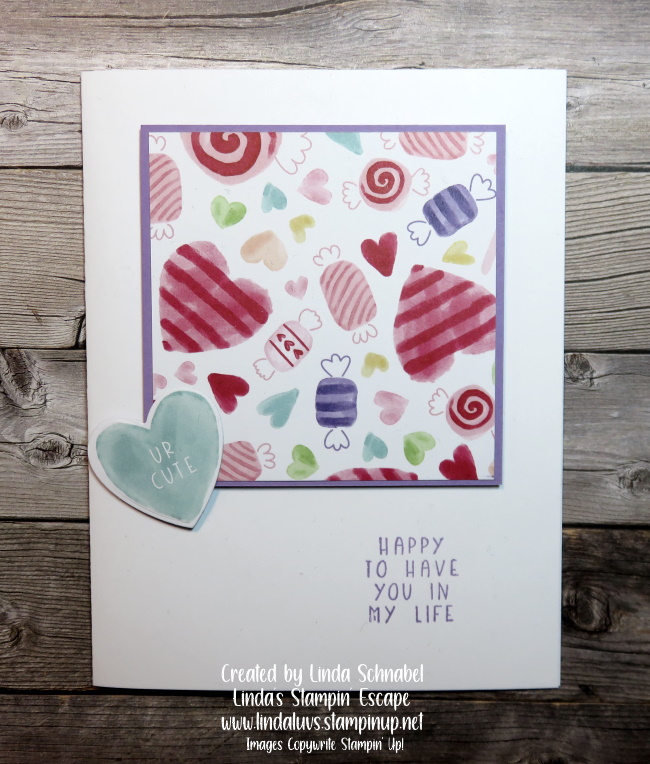
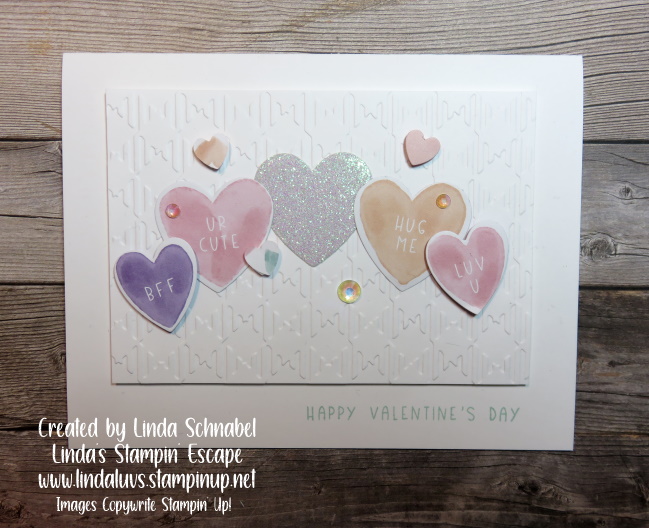
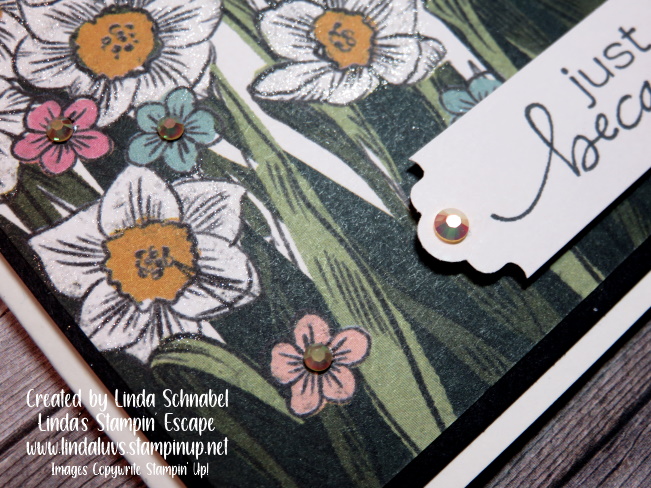
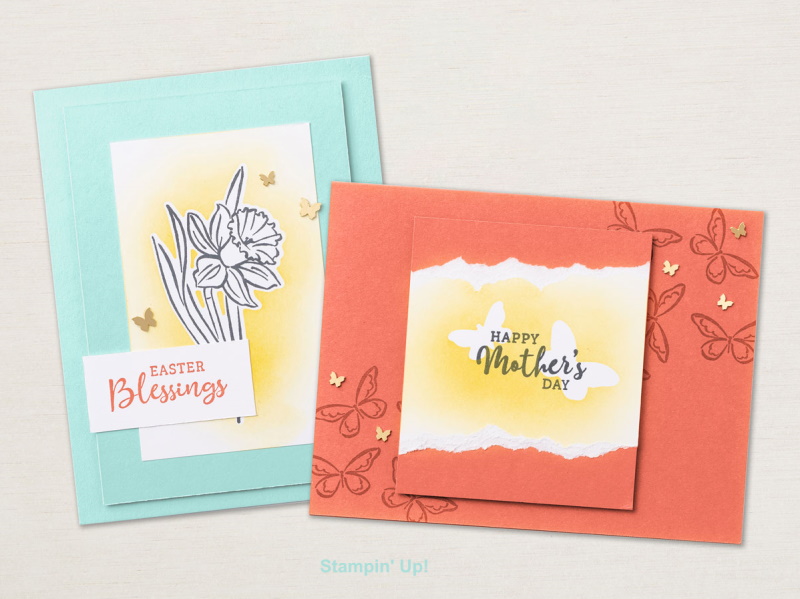
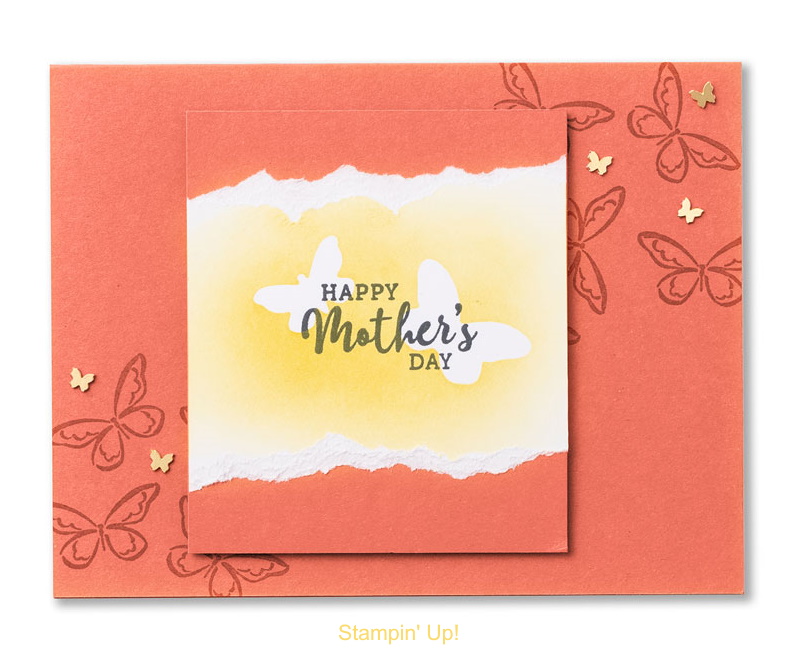
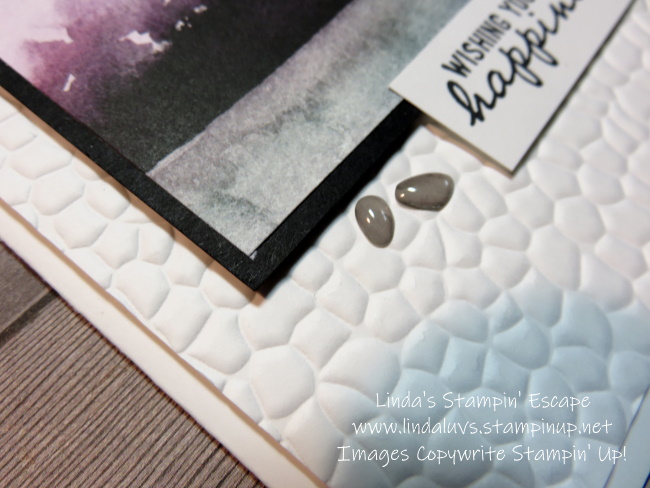
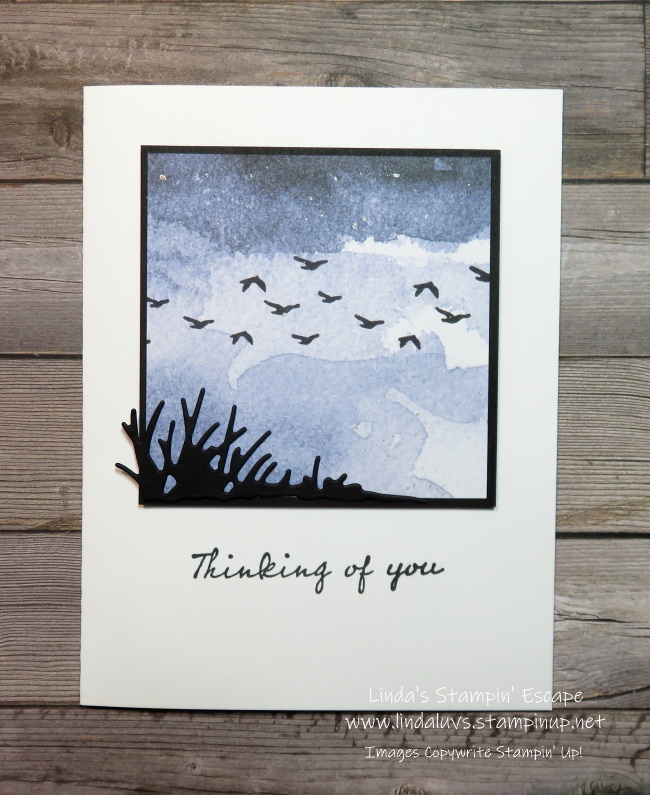
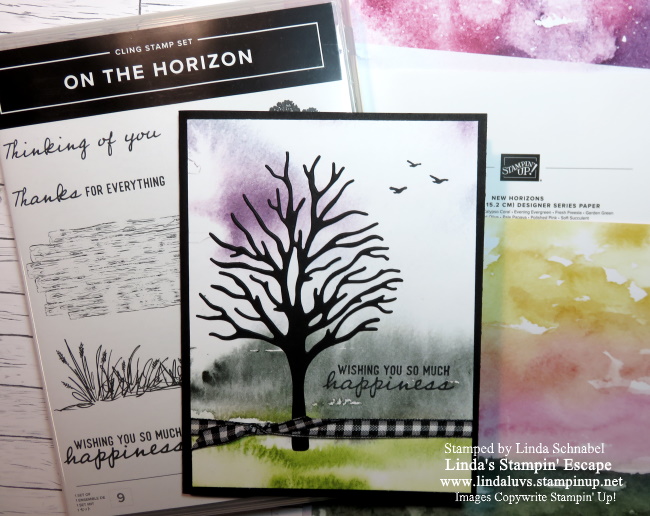
I fell in love with all the different ways you can make cards with this bundle. Look at all they layers, fun and bling!! It’s just a bundle of smiles and happiness 🙂
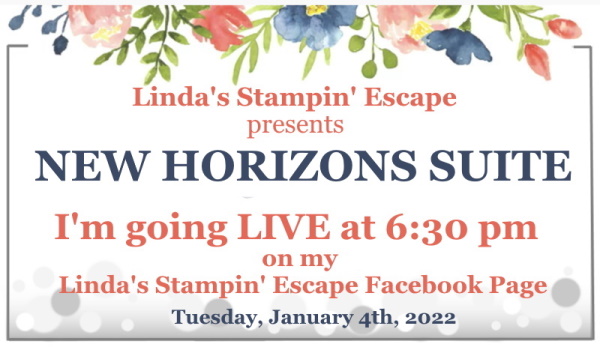
The Rainbow of Happiness is just one of the bundles that will be highlighted during my Mini Catty and Sale-a-bration Kick off Party!!

If you are new to my group and would like to join in on the party … CLICK HERE and request membership!! Feel free to invite your friends to join in!! If you are a Stampin’ Up! demonstrator, you are welcome to join in on the fun … I do however, reserve the prizes for my customers and downline members. I appreciate your understanding.
Thank you for the visit today!! Hope to see you at the party.
Happy Monday … Let’s have a great week!